The Adafruit Lithium Ion Battery (Part ID: 5035) is a high-capacity rechargeable battery designed for powering a wide range of electronic devices and projects. With a nominal voltage of 3.7V and a capacity of 10050mAh (10 Ah), this battery is ideal for applications requiring long-lasting, portable power. Its compact design and reliable performance make it a popular choice for hobbyists, engineers, and product developers.
Explore Projects Built with Lithium Ion Battery - 3.7V 10050mAh (10 Ah)
Use Cirkit Designer to design, explore, and prototype these projects online. Some projects support real-time simulation. Click "Open Project" to start designing instantly!
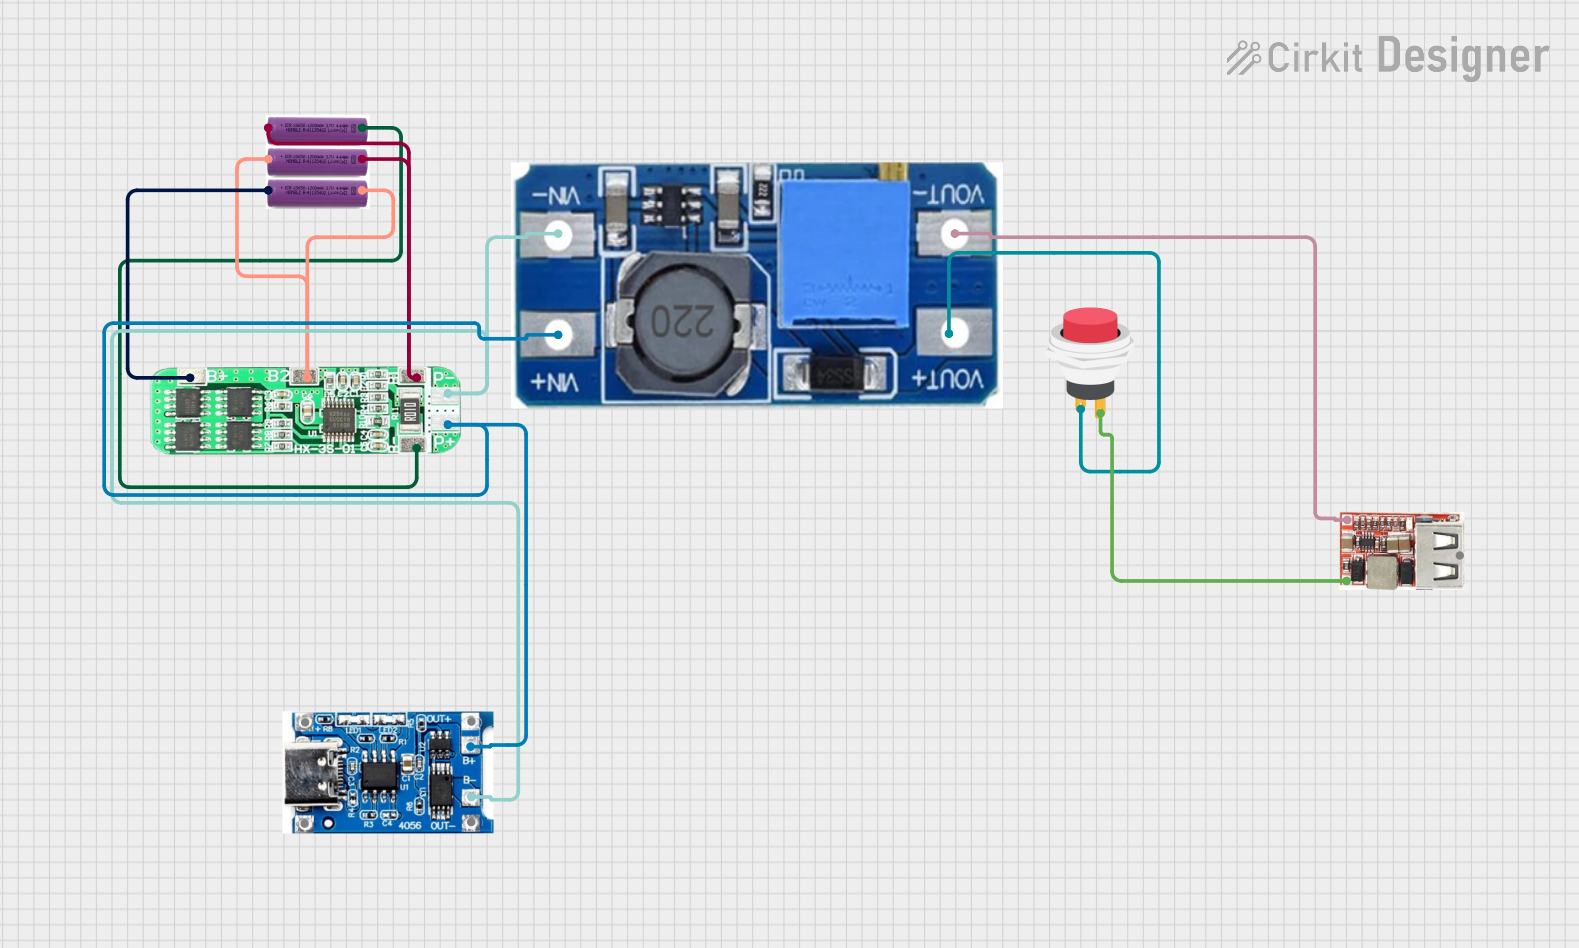
This circuit is a battery management and power supply system that uses three 3.7V batteries connected to a 3S 10A Li-ion 18650 Charger Protection Board Module for balanced charging and protection. The system includes a TP4056 Battery Charging Protection Module for additional charging safety, a Step Up Boost Power Converter to regulate and boost the voltage, and a USB regulator to provide a stable 5V output, controlled by a push switch.
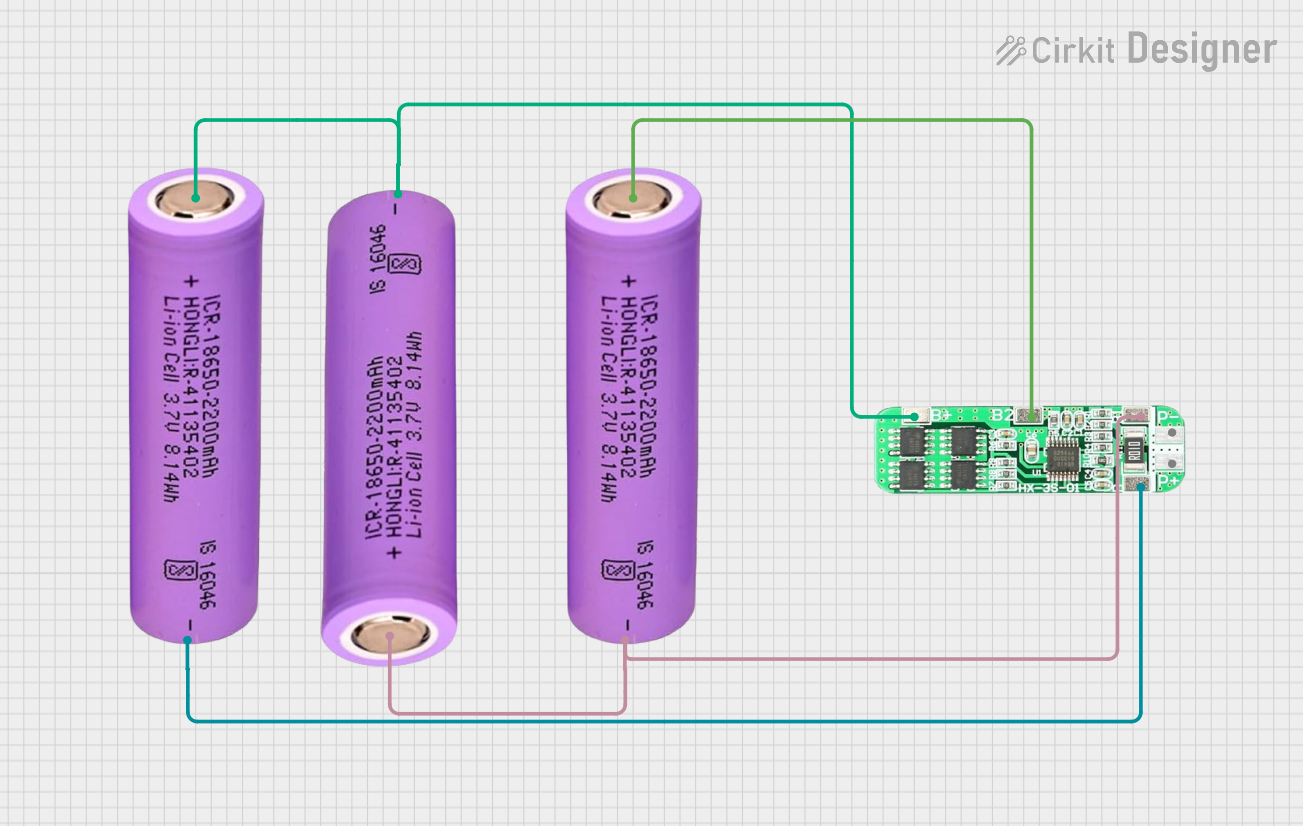
This circuit consists of three 18650 batteries connected in series to a 3S 10A Li-ion 18650 Charger Protection Board Module. The protection board manages the charging and discharging of the battery pack, ensuring safe operation by balancing the cells and providing overcharge, over-discharge, and short-circuit protection.
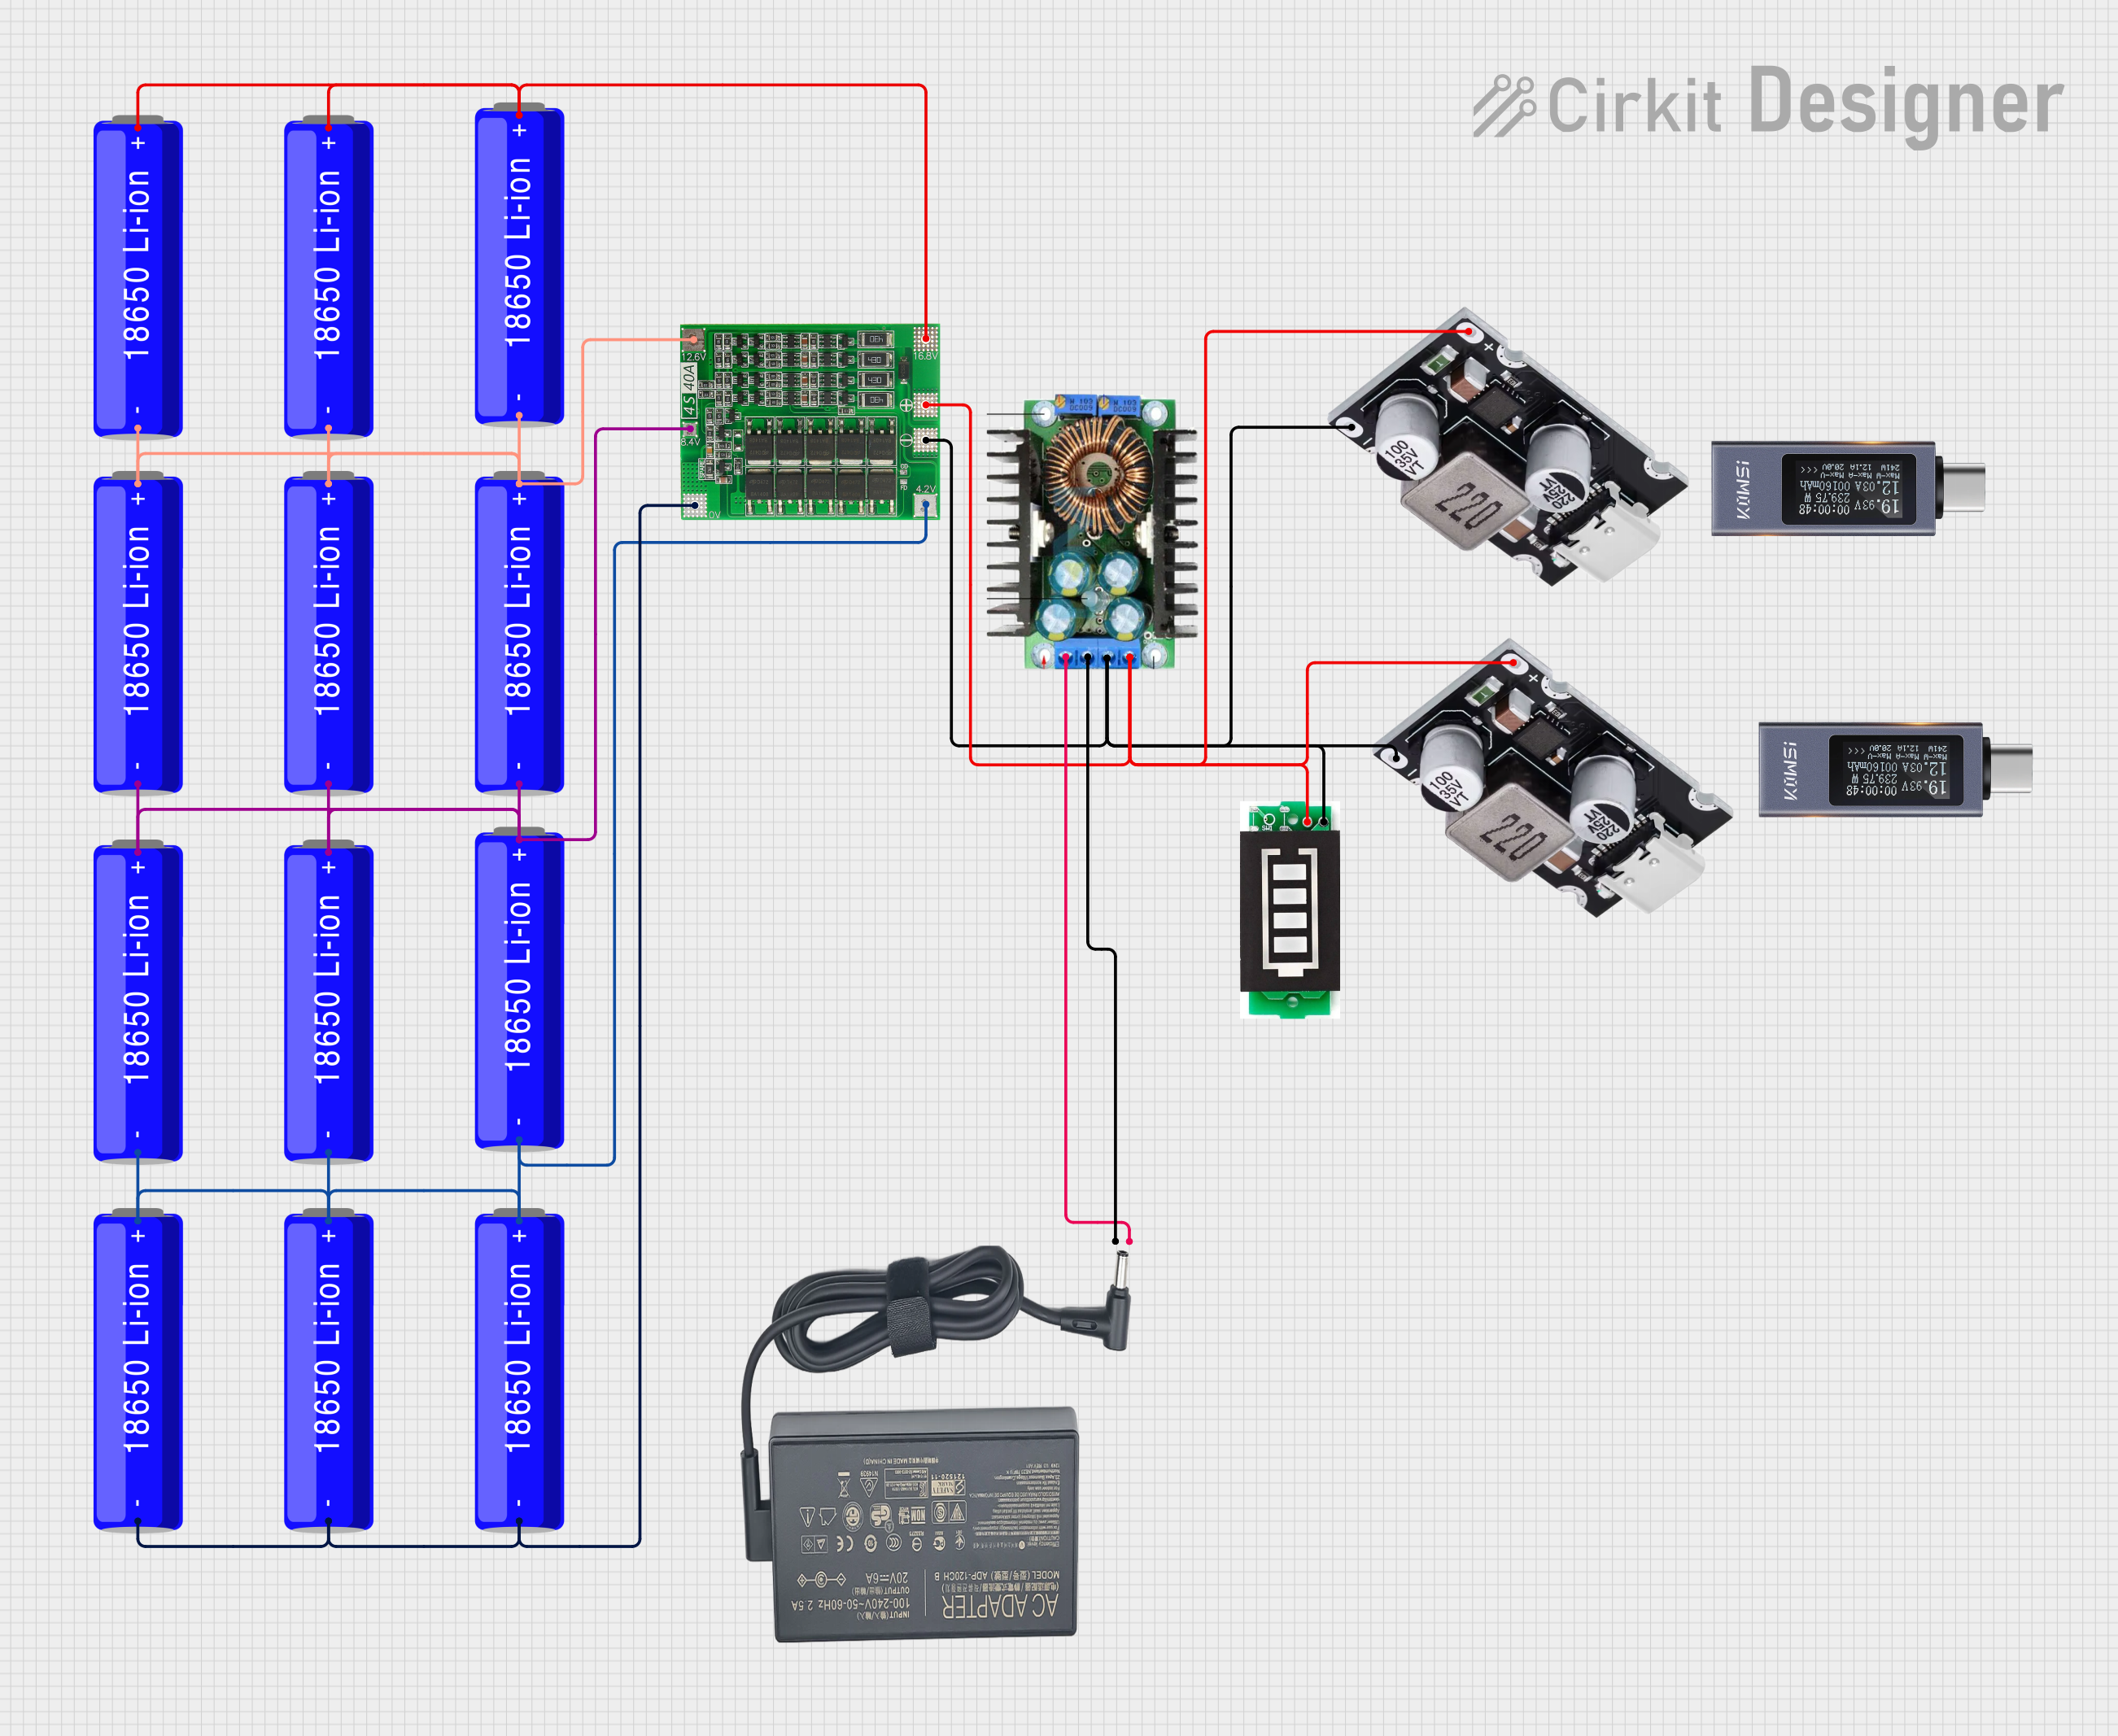
This circuit is a battery management and charging system for a 4S Li-ion battery pack. It includes multiple 18650 Li-ion batteries connected to a 4S40A BMS for balancing and protection, a battery indicator for monitoring charge status, and an XL4016 module for voltage regulation. The system is designed to be charged via a 20V input from a charger.
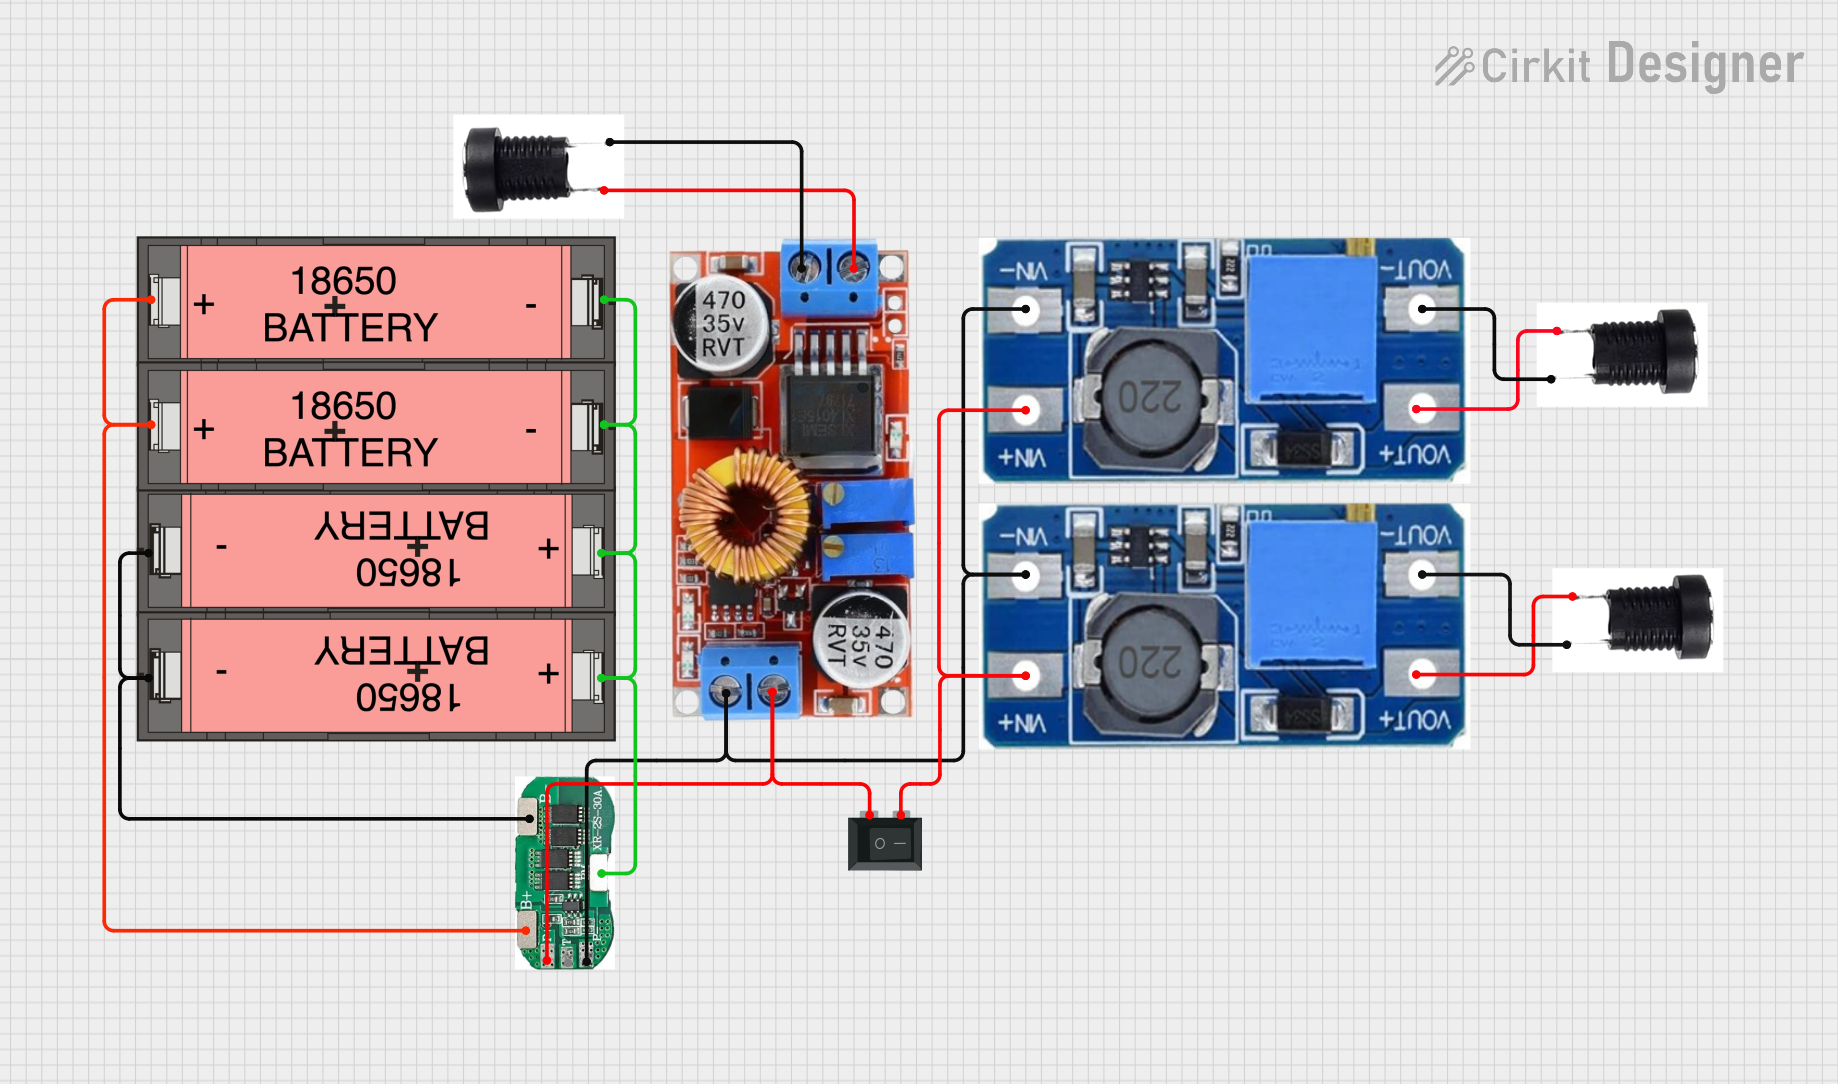
This circuit is a power management system that uses four Li-ion 18650 batteries connected to a 2S 30A BMS for battery management and protection. The system includes step-up and step-down voltage regulators to provide adjustable output voltages, controlled by a rocker switch, and multiple DC jacks for power input and output.
Powering microcontrollers (e.g., Arduino, Raspberry Pi) with appropriate voltage regulation
Technical Specifications
The following table outlines the key technical details of the Adafruit Lithium Ion Battery:
Parameter
Value
Manufacturer
Adafruit
Part ID
5035
Nominal Voltage
3.7V
Capacity
10050mAh (10 Ah)
Chemistry
Lithium-Ion
Maximum Charge Voltage
4.2V
Discharge Cutoff
3.0V
Maximum Discharge Rate
2C (20A)
Recommended Charge Rate
0.5C (5A)
Connector Type
JST-PH 2-pin
Dimensions
90mm x 60mm x 10mm
Weight
~200g
Pin Configuration and Descriptions
The battery is equipped with a JST-PH 2-pin connector. The pinout is as follows:
Pin
Name
Description
1
Positive (+)
Positive terminal of the battery (3.7V nominal)
2
Negative (-)
Negative terminal of the battery (ground)
Usage Instructions
How to Use the Battery in a Circuit
Connecting the Battery:
Use the JST-PH 2-pin connector to connect the battery to your circuit or charging module. Ensure the polarity matches the device's input terminals.
If your device does not have a JST-PH connector, you can use an adapter or carefully solder wires to the connector.
Voltage Regulation:
The battery outputs a nominal voltage of 3.7V, which can vary between 3.0V (discharged) and 4.2V (fully charged).
Use a voltage regulator (e.g., a buck or boost converter) if your circuit requires a stable voltage different from the battery's range.
Charging the Battery:
Use a dedicated lithium-ion battery charger with a constant current/constant voltage (CC/CV) charging profile.
Ensure the charger is configured for a maximum charge voltage of 4.2V and a recommended charge current of 0.5C (5A).
Discharging the Battery:
Avoid discharging the battery below 3.0V to prevent damage.
Use a battery protection circuit or a low-voltage cutoff feature in your design to safeguard the battery.
Important Considerations and Best Practices
Safety: Never short-circuit the battery terminals, puncture, or expose the battery to fire or water.
Storage: Store the battery in a cool, dry place at ~50% charge for long-term storage.
Handling: Handle the battery with care to avoid physical damage or stress on the connector.
Compatibility: Verify that your device or circuit is compatible with the battery's voltage and current ratings.
Example: Using the Battery with an Arduino UNO
To power an Arduino UNO with this battery, you can use a DC-DC boost converter to step up the voltage to 5V. Below is an example circuit and Arduino code:
Circuit Setup
Connect the battery's positive terminal to the input of the boost converter.
Connect the boost converter's output to the Arduino's VIN pin (5V input).
Connect the battery's negative terminal to the Arduino's GND pin.
Arduino Code Example
// Example code to blink an LED using Arduino UNO powered by the battery
// Ensure the boost converter is set to output 5V for the Arduino

const int ledPin = 13; // Built-in LED pin on Arduino UNO

void setup() {
  pinMode(ledPin, OUTPUT); // Set the LED pin as an output
}

void loop() {
  digitalWrite(ledPin, HIGH); // Turn the LED on
  delay(1000);                // Wait for 1 second
  digitalWrite(ledPin, LOW);  // Turn the LED off
  delay(1000);                // Wait for 1 second
}
Troubleshooting and FAQs
Common Issues and Solutions
Battery Not Charging:
Ensure the charger is compatible with lithium-ion batteries and configured for 4.2V.
Check the connections and polarity of the JST-PH connector.
Device Not Powering On:
Verify the battery voltage using a multimeter. Recharge if the voltage is below 3.0V.
Ensure the device's input voltage range matches the battery's output.
Battery Drains Quickly:
Check for excessive current draw in your circuit.
Ensure the battery is fully charged before use.
Overheating During Use:
Avoid exceeding the maximum discharge rate (20A).
Ensure proper ventilation and avoid short circuits.
FAQs
Q: Can I use this battery to directly power a 5V device?
A: No, the battery's voltage ranges from 3.0V to 4.2V. Use a DC-DC boost converter to step up the voltage to 5V.
Q: How long will the battery last on a single charge?
A: Battery life depends on the load current. For example, at a 1A load, the battery can last approximately 10 hours (10050mAh ÷ 1000mA).
Q: Is the battery protected against overcharging and over-discharging?
A: No, this battery does not include built-in protection. Use an external protection circuit or a charger with safety features.
Q: Can I connect multiple batteries in series or parallel?
A: Yes, but ensure proper balancing and protection circuits are used to prevent damage or unsafe conditions.


 Open Project in Cirkit Designer