How to Use CNC Shield V3 Engraving Machine Expansion Board: Examples, Pinouts, and Specs

Introduction
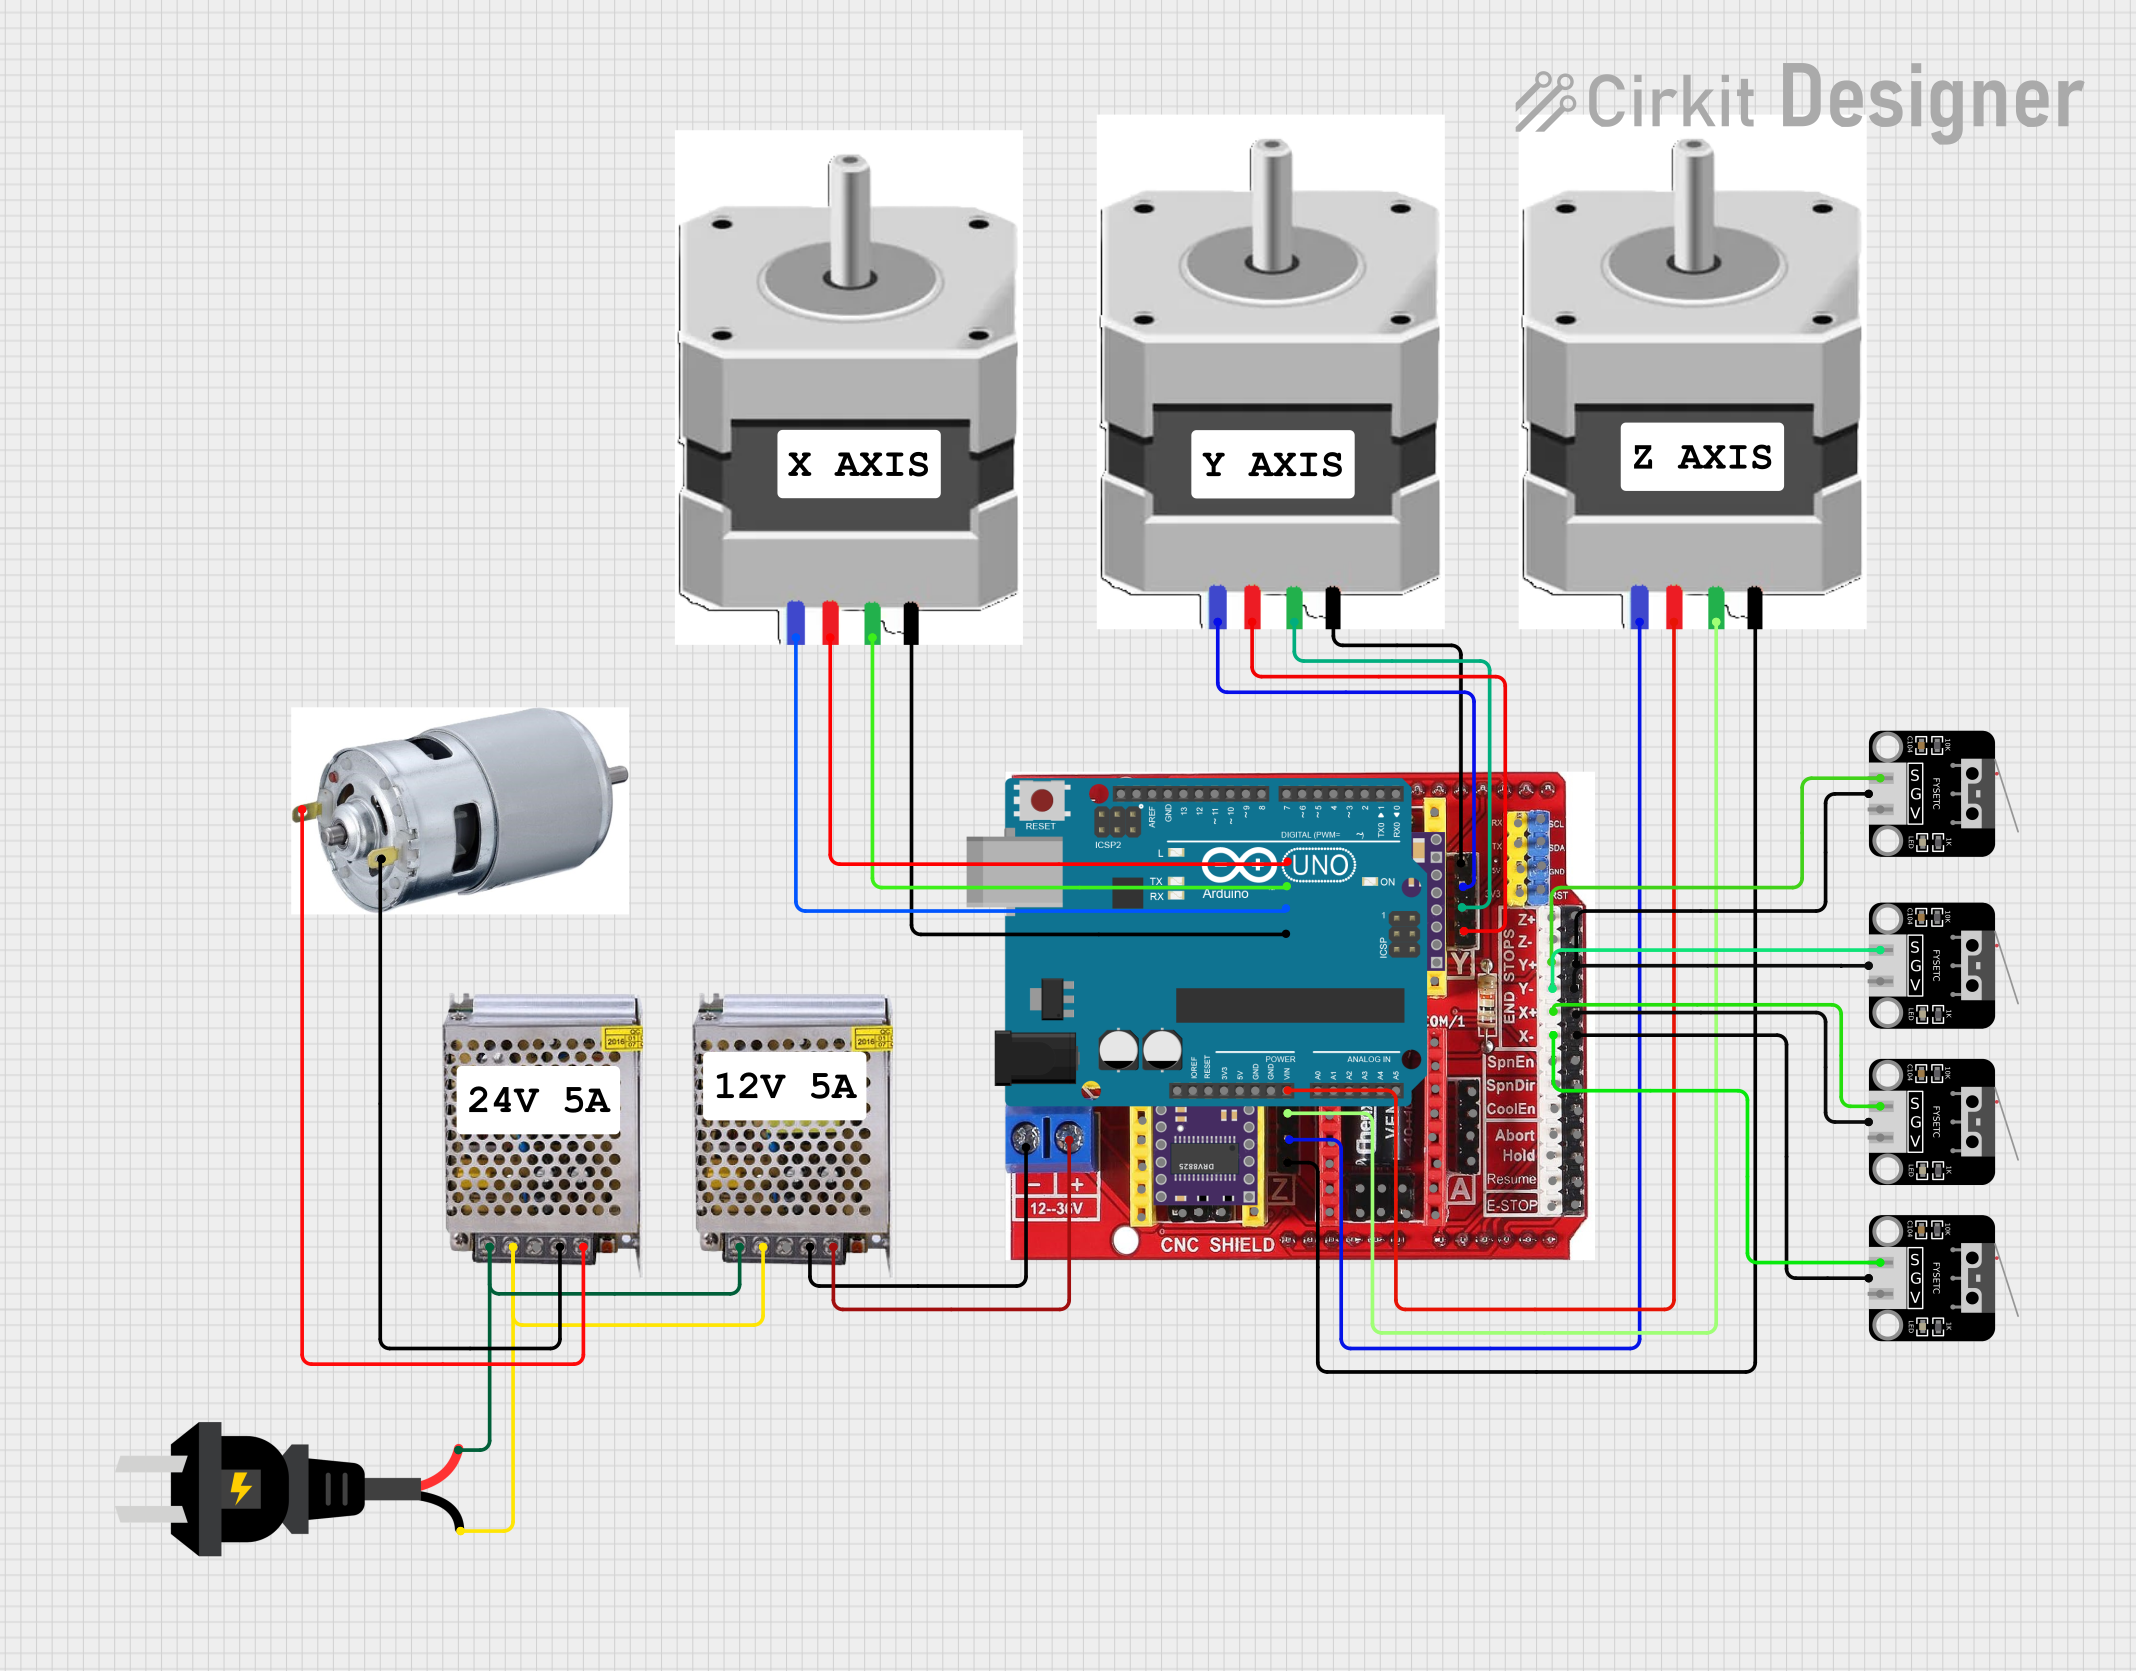
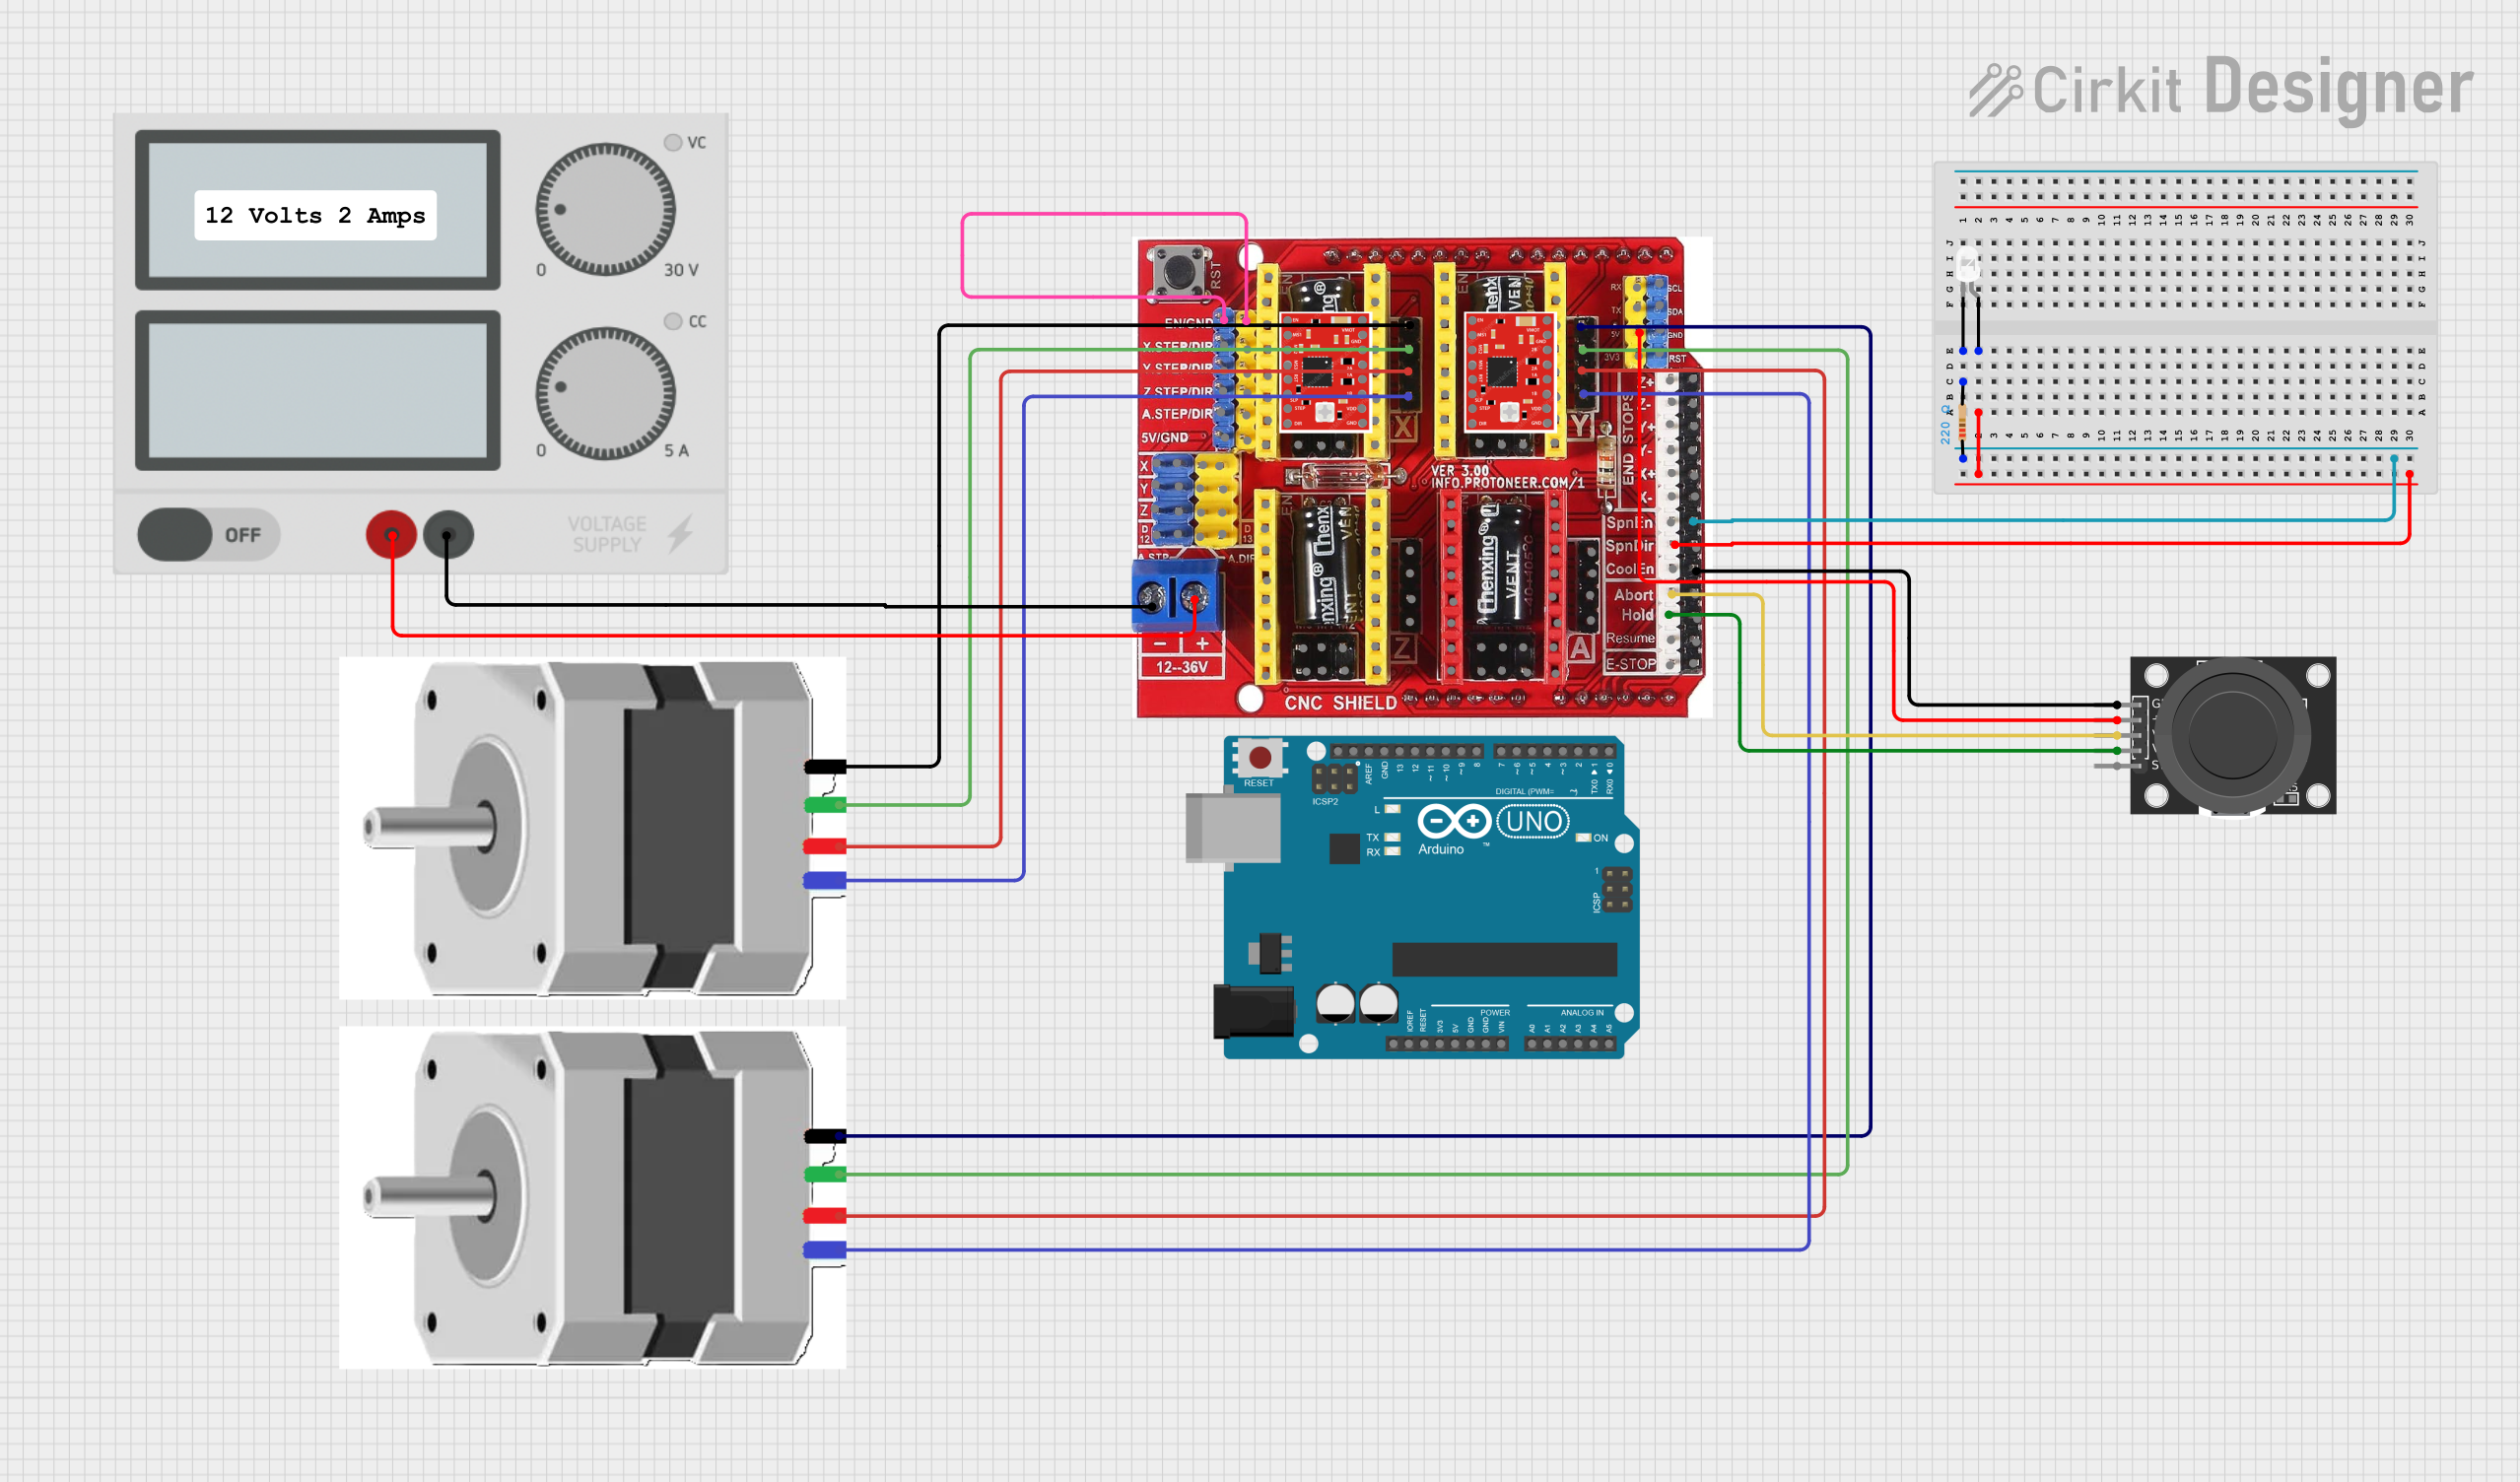
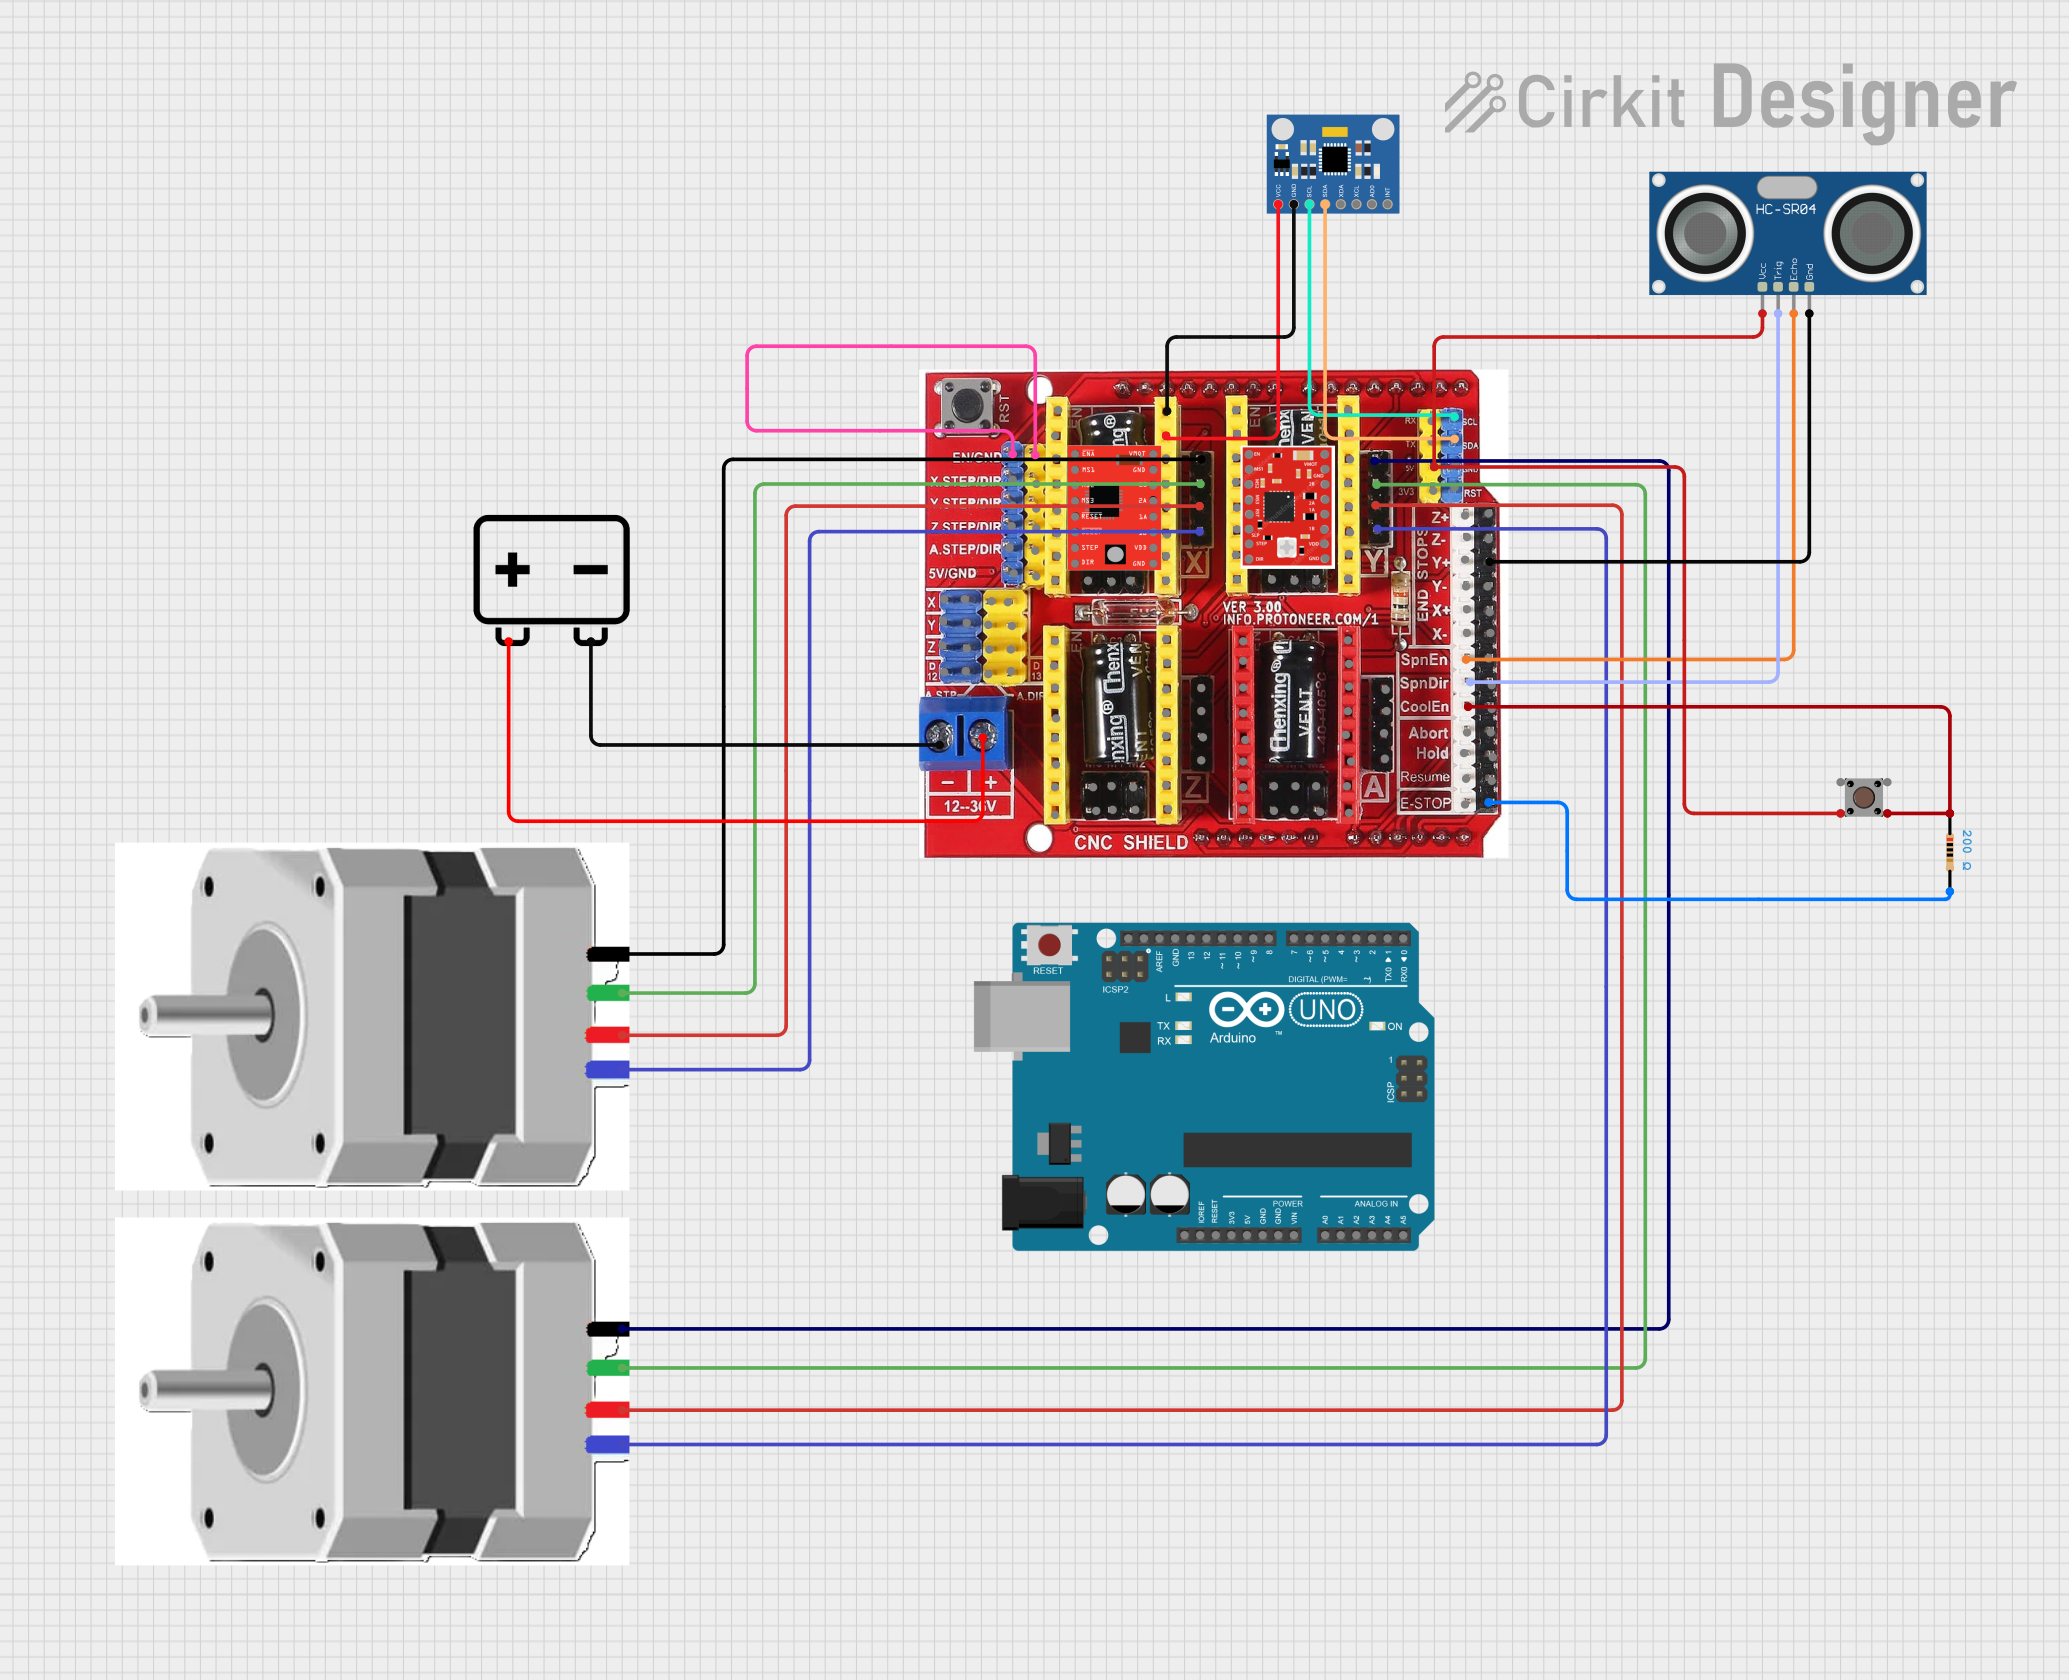
The CNC Shield V3 Engraving Machine Expansion Board by WWZMDiB is a versatile and powerful expansion board designed to control stepper motors for CNC machines. It is commonly used in DIY CNC routers, laser cutters, and engraving machines. The board is compatible with the Arduino UNO and uses GRBL firmware for the control of up to four stepper motors, allowing for precise and efficient machine operations.
Explore Projects Built with CNC Shield V3 Engraving Machine Expansion Board

Explore Projects Built with CNC Shield V3 Engraving Machine Expansion Board
Common Applications and Use Cases
- DIY CNC routers
- Laser engraving and cutting machines
- 3D printers
- Small-scale milling machines
- Prototyping and hobbyist projects
Technical Specifications
Key Technical Details
- Operating Voltage: 12-36V DC
- Current Rating: 1.5-2.5A per channel (with proper cooling)
- Stepper Motor Drivers: Supports A4988, DRV8825, and similar modules
- Axes: Control of up to 4 axes, X, Y, Z, and an additional axis (A-axis)
- Microstepping: Up to 1/16 with A4988, up to 1/32 with DRV8825
Pin Configuration and Descriptions
| Pin Number | Description | Notes |
|---|---|---|
| EN | Enable (Active Low) | Common for all stepper drivers |
| X-STEP | X-Axis Step Control | Connect to stepper driver |
| X-DIR | X-Axis Direction Control | Connect to stepper driver |
| Y-STEP | Y-Axis Step Control | Connect to stepper driver |
| Y-DIR | Y-Axis Direction Control | Connect to stepper driver |
| Z-STEP | Z-Axis Step Control | Connect to stepper driver |
| Z-DIR | Z-Axis Direction Control | Connect to stepper driver |
| A-STEP | A-Axis (Extra Axis) Step | Connect to stepper driver |
| A-DIR | A-Axis (Extra Axis) Direction | Connect to stepper driver |
| I/O Pins | Various Input/Output Pins | For endstops and accessories |
| 5V and GND | Power Supply for Logic | 5V from Arduino or external source |
Usage Instructions
How to Use the Component in a Circuit
- Power Supply: Connect a 12-36V DC power supply to the board, ensuring that the power requirements of the stepper motors are met.
- Stepper Drivers: Insert the stepper motor drivers (A4988, DRV8825, or similar) into the designated slots, paying attention to the orientation.
- Motor Connections: Connect the stepper motors to the respective outputs on the stepper drivers.
- Arduino Connection: Mount the CNC Shield onto an Arduino UNO board.
- Firmware: Upload the GRBL firmware to the Arduino UNO.
- Software: Use CNC control software (e.g., Universal Gcode Sender) to send commands to the GRBL for operation.
Important Considerations and Best Practices
- Ensure that the stepper drivers are properly cooled with heatsinks and, if necessary, active cooling.
- Adjust the current limit on the stepper drivers according to the specifications of your stepper motors.
- Use shielded cables for motor connections to reduce electromagnetic interference.
- Always power off the system before making or changing connections to prevent damage.
- Configure the GRBL settings according to your machine's specifications for optimal performance.
Troubleshooting and FAQs
Common Issues Users Might Face
- Motors Not Moving: Check connections, ensure that the power supply is adequate, and verify that the GRBL settings are correct.
- Inaccurate Movement: Calibrate the steps per unit in the GRBL settings and ensure that the microstepping is set correctly on the stepper drivers.
- Overheating Drivers: Ensure proper cooling and check that the current limits are set correctly for the motors.
Solutions and Tips for Troubleshooting
- If the motors are not moving, verify that the enable pin is not being driven high inadvertently.
- For inaccurate movement, use a caliper to measure the actual movement and adjust the steps per unit accordingly.
- If drivers are overheating, add heatsinks, improve airflow, or reduce the current setting.
FAQs
Q: Can I use this board for a 3D printer? A: Yes, the CNC Shield V3 can be used for 3D printers with appropriate firmware like GRBL.
Q: What software can I use to control my CNC with this board? A: You can use any software that is compatible with GRBL, such as Universal Gcode Sender or GRBL Controller.
Q: How do I adjust the current limit for my stepper motors? A: The current limit is adjusted via potentiometers on the stepper drivers. Refer to the driver's datasheet for the correct procedure.
Q: Can I control a spindle with this board? A: Yes, there are pins available to control a spindle with PWM signal from the GRBL.
Example Code for Arduino UNO
Below is an example of initializing the GRBL firmware on the Arduino UNO, which is the first step before using CNC control software to operate your machine.
// This code is intended to be used with the GRBL firmware on the Arduino UNO.
// It does not directly control the CNC Shield but sets up the environment for GRBL.

void setup() {
  // Initialize serial communication at 115200 baud rate
  Serial.begin(115200);
}

void loop() {
  // Main loop where GRBL will process and execute G-code commands
  // No code is needed here as GRBL runs in the background.
}
Remember, this code is not a direct control for the CNC Shield but is used to initialize the Arduino UNO with GRBL firmware. Actual control of the CNC machine is done through G-code commands sent from a host computer via a serial connection to the GRBL firmware.