
How to Use Adafruit Adalogger FeatherWing: Examples, Pinouts, and Specs
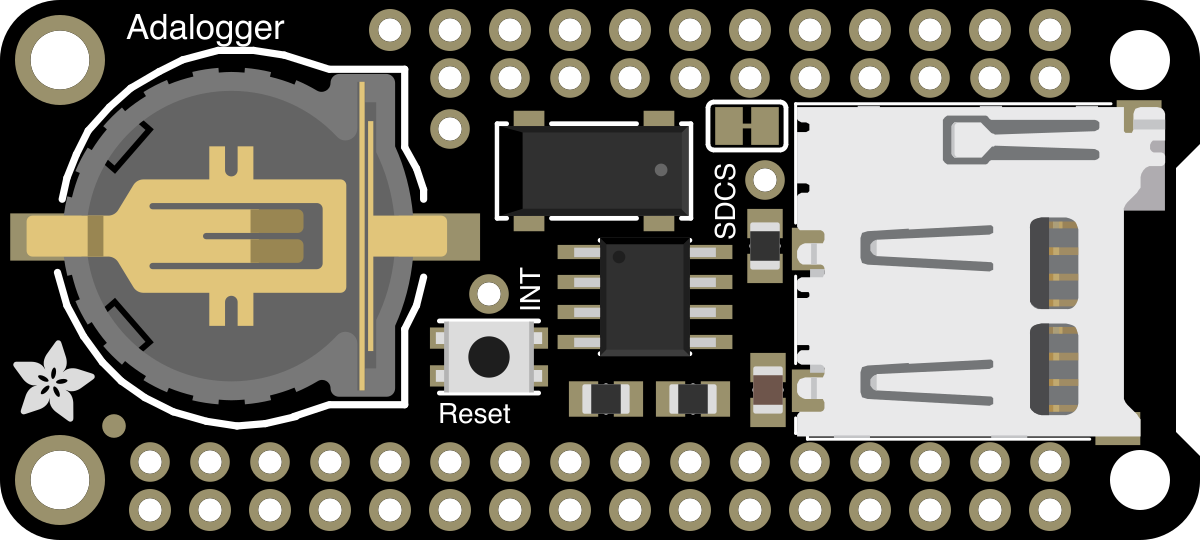
 Design with Adafruit Adalogger FeatherWing in Cirkit Designer
Introduction
The Adafruit Adalogger FeatherWing (Manufacturer Part ID: 2922) is a versatile add-on board designed for use with Adafruit Feather microcontrollers. It combines a real-time clock (RTC) and microSD card slot, enabling users to log data with precise timestamps. This makes it an ideal solution for applications requiring data storage and timekeeping, such as environmental monitoring, IoT projects, and sensor data logging.
Explore Projects Built with Adafruit Adalogger FeatherWing
 Open Project in Cirkit Designer
 Open Project in Cirkit Designer
 Open Project in Cirkit Designer
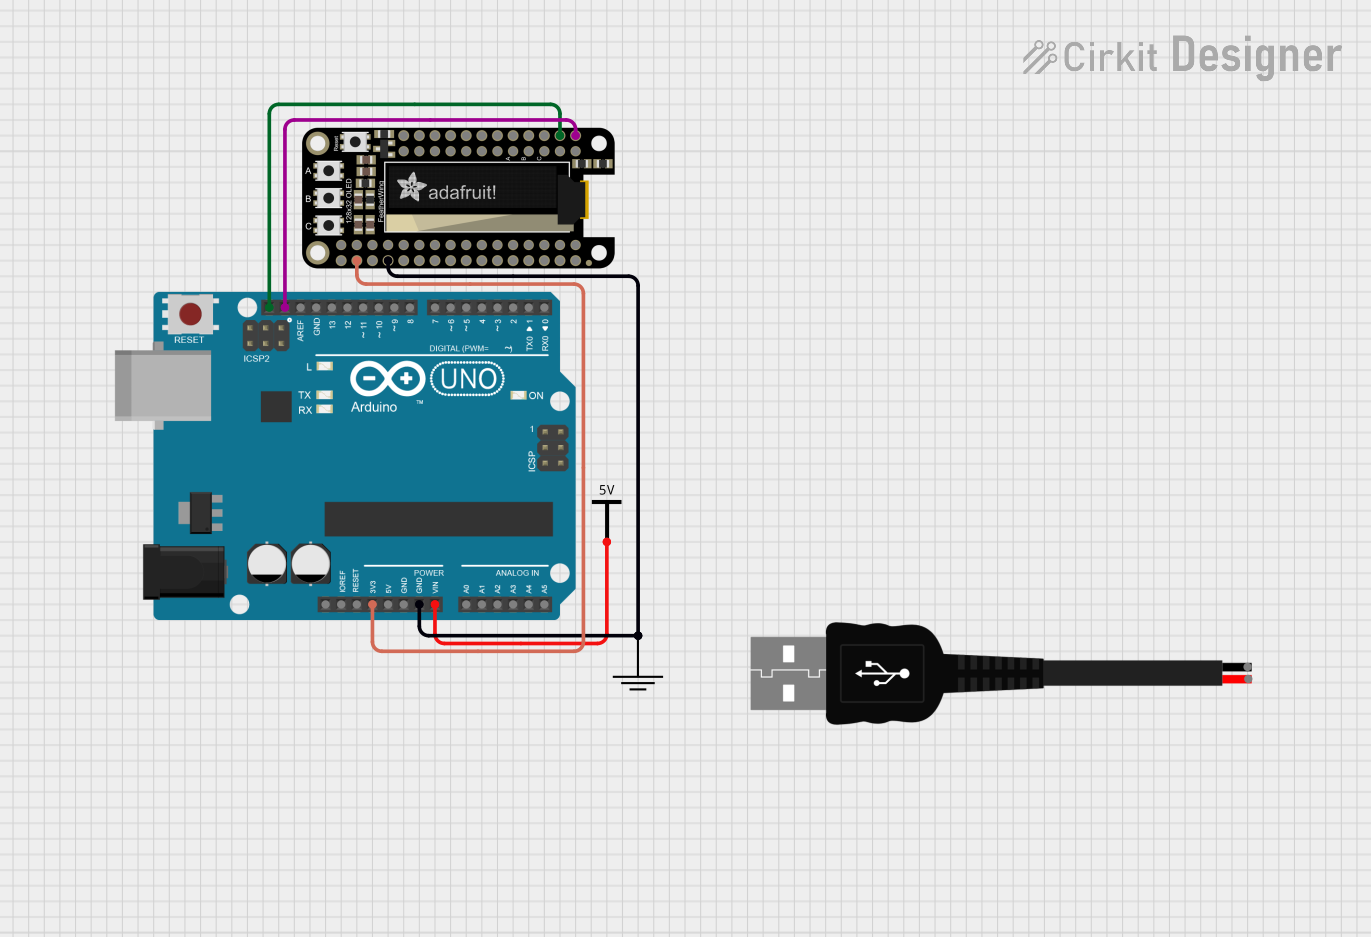 Open Project in Cirkit Designer
Explore Projects Built with Adafruit Adalogger FeatherWing
Open Project in Cirkit DesignerOpen Project in Cirkit DesignerOpen Project in Cirkit DesignerOpen Project in Cirkit DesignerCommon Applications:
- Environmental data logging (e.g., temperature, humidity, pressure)
- IoT projects requiring time-stamped data
- GPS tracking and logging
- Scientific experiments and research
- Prototyping projects with Feather boards
Technical Specifications
Key Technical Details:
- Real-Time Clock (RTC): DS3231 precision RTC with battery backup
- MicroSD Card Slot: Supports FAT16/FAT32 formatted microSD cards
- Power Supply: Operates at 3.3V (compatible with Feather boards)
- Battery Backup: CR1220 coin cell holder for RTC (battery not included)
- Dimensions: 50.8mm x 22.8mm x 6.5mm (2.0" x 0.9" x 0.25")
- Weight: 5.4g (0.19oz)
Pin Configuration and Descriptions:
The Adalogger FeatherWing connects directly to Feather microcontrollers via its headers. Below is the pinout description:
| Pin Name | Description |
|---|---|
| 3V | 3.3V power input/output |
| GND | Ground connection |
| SCL | I2C clock line for RTC communication |
| SDA | I2C data line for RTC communication |
| SDCS | Chip Select (CS) pin for the microSD card interface |
| MOSI | SPI Master Out Slave In (data line for microSD card) |
| MISO | SPI Master In Slave Out (data line for microSD card) |
| SCK | SPI clock line for microSD card communication |
| BAT | Connection for CR1220 coin cell battery to maintain RTC functionality |
Usage Instructions
How to Use the Adalogger FeatherWing in a Circuit:
Attach the FeatherWing to a Feather Board:
- Align the FeatherWing's headers with the Feather microcontroller's headers.
- Solder the headers for a secure connection.
Insert a microSD Card:
- Use a FAT16/FAT32 formatted microSD card.
- Insert the card into the microSD slot on the FeatherWing.
Connect a CR1220 Battery (Optional):
- Insert a CR1220 coin cell battery into the battery holder to enable RTC backup.
Connect to Power:
- Power the Feather board via USB or a LiPo battery. The FeatherWing will draw power from the Feather.
Program the Feather Board:
- Use the Adafruit RTC and SD libraries to interact with the RTC and microSD card.
Example Code for Arduino UNO-Compatible Feather Boards:
Below is an example sketch to log data with timestamps to the microSD card:
#include <Wire.h>
#include <Adafruit_Sensor.h>
#include <RTClib.h> // Library for the DS3231 RTC
#include <SD.h>     // Library for microSD card

RTC_DS3231 rtc; // Create an RTC object
const int chipSelect = 10; // SD card chip select pin

void setup() {
  Serial.begin(9600);
  while (!Serial); // Wait for Serial Monitor to open

  // Initialize RTC
  if (!rtc.begin()) {
    Serial.println("Couldn't find RTC");
    while (1);
  }

  // Check if RTC lost power and set the time if needed
  if (rtc.lostPower()) {
    Serial.println("RTC lost power, setting the time!");
    rtc.adjust(DateTime(F(__DATE__), F(__TIME__))); // Set to compile time
  }

  // Initialize SD card
  if (!SD.begin(chipSelect)) {
    Serial.println("SD card initialization failed!");
    while (1);
  }
  Serial.println("SD card initialized.");
}

void loop() {
  // Get current time from RTC
  DateTime now = rtc.now();

  // Open a file on the SD card
  File dataFile = SD.open("datalog.txt", FILE_WRITE);

  // If the file is available, write data to it
  if (dataFile) {
    dataFile.print("Timestamp: ");
    dataFile.print(now.year(), DEC);
    dataFile.print('/');
    dataFile.print(now.month(), DEC);
    dataFile.print('/');
    dataFile.print(now.day(), DEC);
    dataFile.print(" ");
    dataFile.print(now.hour(), DEC);
    dataFile.print(':');
    dataFile.print(now.minute(), DEC);
    dataFile.print(':');
    dataFile.println(now.second(), DEC);
    dataFile.close(); // Close the file
    Serial.println("Data logged.");
  } else {
    Serial.println("Error opening datalog.txt");
  }

  delay(1000); // Log data every second
}
Important Considerations and Best Practices:
- Ensure the microSD card is properly formatted (FAT16 or FAT32).
- Use a CR1220 coin cell battery to maintain RTC functionality during power loss.
- Avoid removing the microSD card while the FeatherWing is powered to prevent data corruption.
- Use proper pull-up resistors for I2C lines if not already included in your setup.
Troubleshooting and FAQs
Common Issues and Solutions:
RTC Not Detected:
- Ensure the FeatherWing is securely connected to the Feather board.
- Verify the I2C connections (SCL and SDA).
- Check if the CR1220 battery is installed correctly.
SD Card Initialization Fails:
- Confirm the microSD card is formatted as FAT16 or FAT32.
- Check the chip select (CS) pin configuration in your code.
- Ensure the microSD card is properly inserted into the slot.
Data Logging Stops Unexpectedly:
- Verify the microSD card has sufficient storage space.
- Check for loose connections between the FeatherWing and Feather board.
RTC Loses Time After Power Loss:
- Install a CR1220 coin cell battery to maintain RTC functionality.
FAQs:
Can I use this FeatherWing with non-Adafruit Feather boards?
- Yes, as long as the board supports 3.3V logic and has compatible I2C and SPI pins.
What is the maximum capacity of the microSD card supported?
- The FeatherWing supports microSD cards up to 32GB formatted as FAT16 or FAT32.
Do I need to install additional libraries?
- Yes, install the
RTClibandSDlibraries in the Arduino IDE for RTC and SD card functionality.
- Yes, install the
Can I use the RTC without a battery?
- Yes, but the RTC will lose time when power is disconnected.
This documentation provides a comprehensive guide to using the Adafruit Adalogger FeatherWing for data logging and timekeeping applications.