How to Use B 103 Slide Potentiometer: Examples, Pinouts, and Specs
Introduction
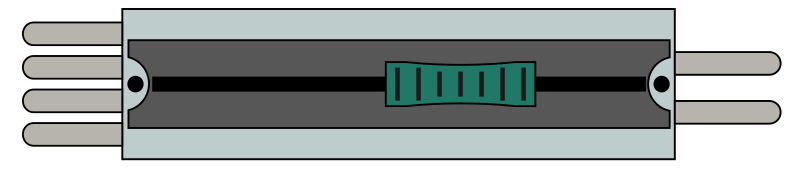
The B 103 Slide Potentiometer by Genric is a variable resistor designed to adjust resistance through a sliding contact along a resistive track. This component is widely used in applications requiring smooth and precise control of resistance, such as audio volume control, lighting dimmers, and other adjustable electronic circuits. Its compact design and ease of use make it a popular choice for both hobbyists and professionals.
Explore Projects Built with B 103 Slide Potentiometer
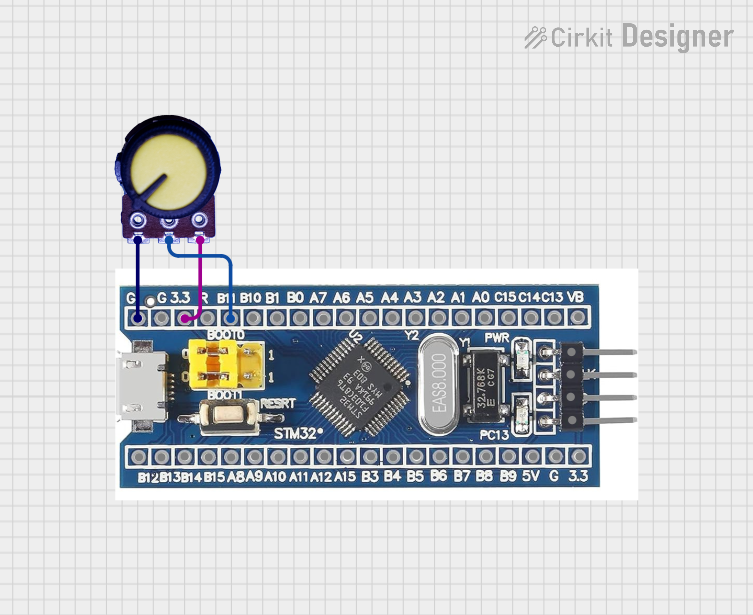
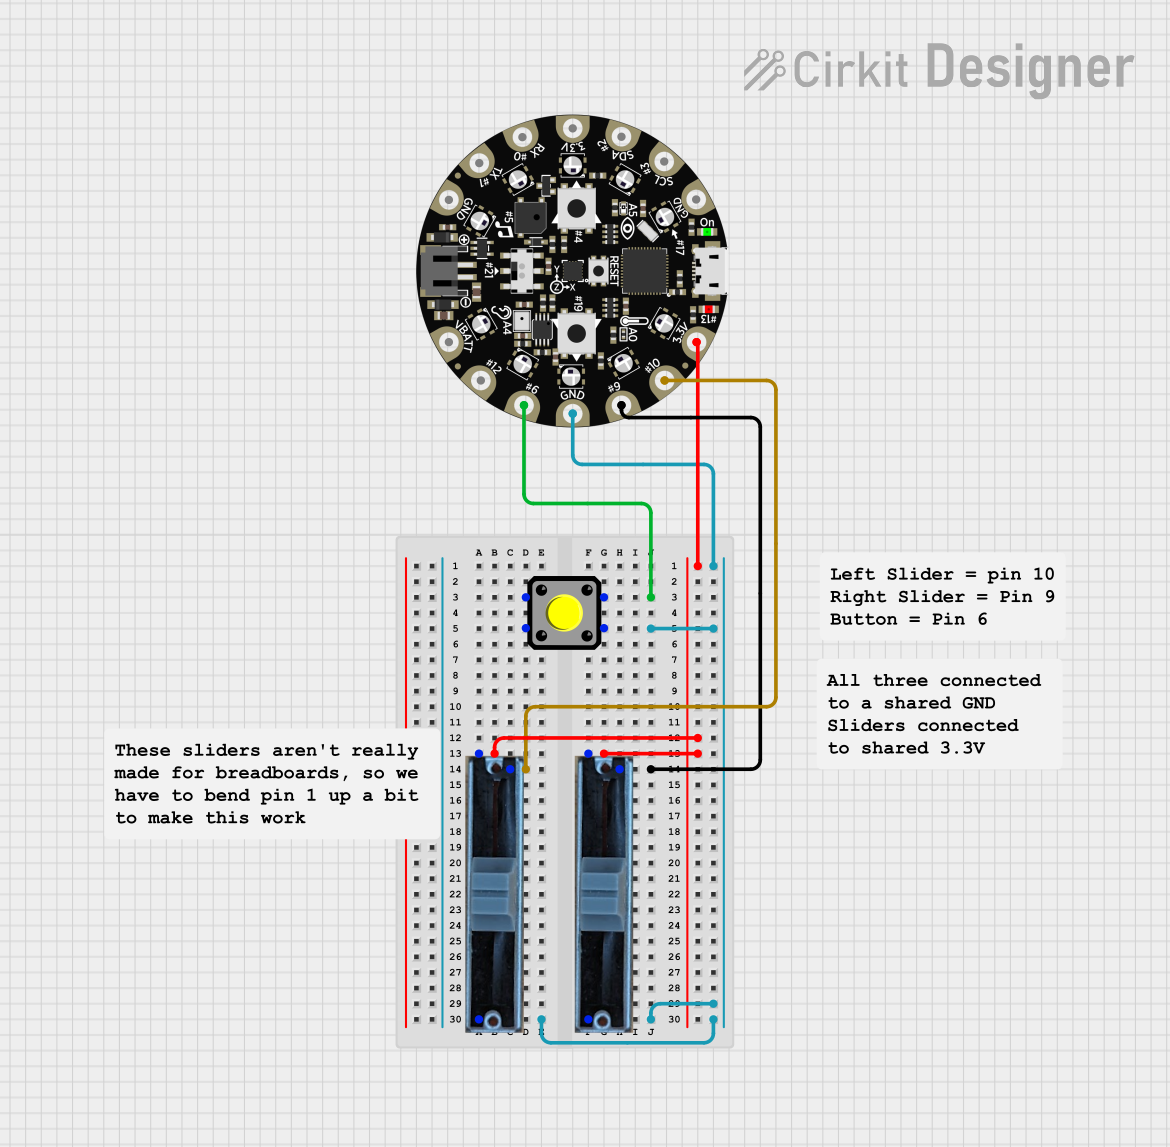

Explore Projects Built with B 103 Slide Potentiometer
Common Applications
- Audio equipment (e.g., volume control, equalizers)
- Lighting dimmers
- Adjustable power supplies
- Sensor calibration
- User interface controls in electronic devices
Technical Specifications
The following table outlines the key technical details of the B 103 Slide Potentiometer:
| Parameter | Value |
|---|---|
| Resistance Value | 10 kΩ (10,000 ohms) |
| Taper Type | Linear |
| Maximum Voltage | 50 V DC |
| Power Rating | 0.1 W (100 mW) |
| Operating Temperature | -10°C to +60°C |
| Mechanical Life | 10,000 cycles |
| Travel Length | 30 mm |
| Dimensions | 45 mm x 10 mm x 5 mm |
Pin Configuration and Descriptions
The B 103 Slide Potentiometer typically has three pins, as described below:
| Pin Number | Name | Description |
|---|---|---|
| 1 | Terminal 1 | One end of the resistive track. Connect to ground or a fixed voltage source. |
| 2 | Wiper | The sliding contact that provides the adjustable resistance output. |
| 3 | Terminal 2 | The other end of the resistive track. Connect to a fixed voltage source or load. |
Usage Instructions
How to Use the B 103 Slide Potentiometer in a Circuit
Basic Connection:
- Connect Terminal 1 to ground (GND).
- Connect Terminal 3 to a fixed voltage source (e.g., 5V).
- The Wiper (Pin 2) will provide an adjustable voltage between 0V and 5V, depending on the slider's position.
As a Voltage Divider:
- Use the potentiometer to divide voltage by connecting Terminal 1 to GND, Terminal 3 to a voltage source, and the Wiper to the input of another circuit.
- The output voltage at the wiper is determined by the position of the slider.
As a Variable Resistor:
- Connect Terminal 1 and Wiper (Pin 2) in series with a load. The resistance between these two pins will vary as the slider moves.
Important Considerations and Best Practices
- Avoid exceeding the maximum voltage (50 V DC) or power rating (0.1 W) to prevent damage.
- Ensure the potentiometer is mounted securely to avoid mechanical stress during operation.
- Use a multimeter to verify resistance values before connecting to sensitive circuits.
- For audio applications, ensure the potentiometer's taper type (linear) is suitable for the desired control behavior.
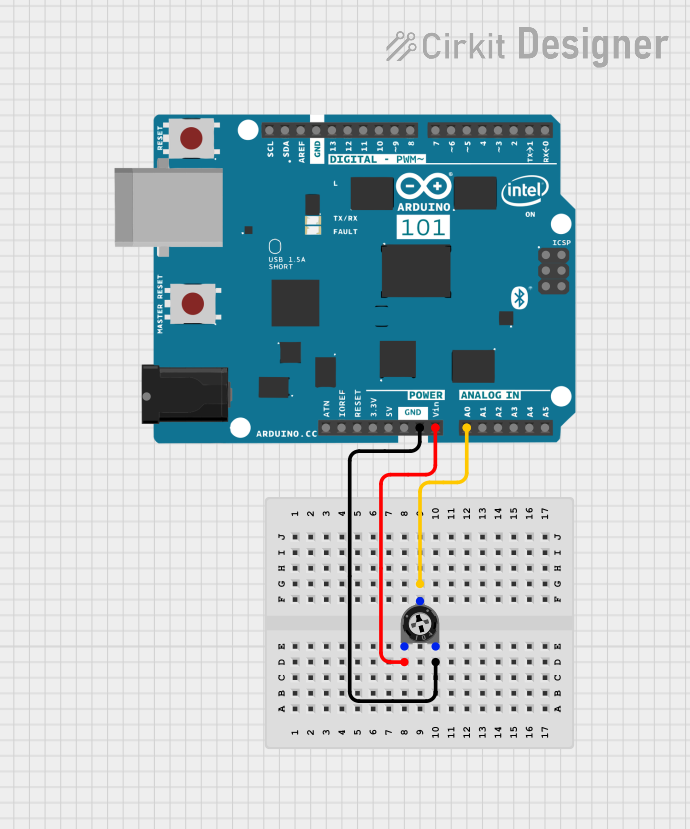
Example: Connecting to an Arduino UNO
The B 103 Slide Potentiometer can be used with an Arduino UNO to read analog values. Below is an example code snippet:
// Example: Reading the B 103 Slide Potentiometer with Arduino UNO
// Connect Terminal 1 to GND, Terminal 3 to 5V, and Wiper (Pin 2) to A0.

const int potPin = A0; // Analog pin connected to the potentiometer wiper
int potValue = 0;      // Variable to store the potentiometer value

void setup() {
  Serial.begin(9600); // Initialize serial communication at 9600 baud
}

void loop() {
  potValue = analogRead(potPin); // Read the analog value from the potentiometer
  Serial.print("Potentiometer Value: ");
  Serial.println(potValue); // Print the value to the Serial Monitor
  delay(100); // Small delay for stability
}
Notes:
- The
analogRead()function will return a value between 0 and 1023, corresponding to the voltage at the wiper (0V to 5V). - Use the Serial Monitor in the Arduino IDE to observe the potentiometer's output.
Troubleshooting and FAQs
Common Issues and Solutions
No Output Voltage:
- Cause: Incorrect wiring or loose connections.
- Solution: Verify that all pins are connected properly. Ensure the voltage source is active.
Inconsistent or Noisy Output:
- Cause: Dust or debris on the resistive track.
- Solution: Clean the potentiometer gently with compressed air or a contact cleaner.
Potentiometer Not Adjusting Resistance:
- Cause: Mechanical failure or worn-out track.
- Solution: Replace the potentiometer if it has exceeded its mechanical life (10,000 cycles).
Overheating:
- Cause: Exceeding the power rating (0.1 W).
- Solution: Ensure the current through the potentiometer does not exceed its limits.
FAQs
Q1: Can I use the B 103 Slide Potentiometer for audio applications?
A1: Yes, the B 103 is suitable for audio applications like volume control. However, ensure the linear taper is appropriate for your specific use case.
Q2: What is the difference between a linear and logarithmic potentiometer?
A2: A linear potentiometer (like the B 103) changes resistance proportionally to the slider's position, while a logarithmic potentiometer changes resistance exponentially, which is often used in audio applications for better volume control.
Q3: Can I use this potentiometer with a 12V power supply?
A3: Yes, as long as the voltage does not exceed 50V and the power dissipation remains below 0.1 W.
Q4: How do I mount the potentiometer securely?
A4: Use screws or adhesive to fix the potentiometer to a stable surface. Ensure the slider can move freely without obstruction.
By following this documentation, you can effectively integrate the B 103 Slide Potentiometer into your projects and troubleshoot common issues with ease.