How to Use PIR Motion Sensor: Examples, Pinouts, and Specs
Introduction
A Passive Infrared (PIR) Motion Sensor detects motion by measuring changes in infrared radiation, typically emitted by warm bodies. It is a low-cost, low-power device widely used in motion detection applications. PIR sensors are commonly found in security systems, automatic lighting, and energy-saving devices. They are ideal for detecting human or animal movement within a specific range.
Explore Projects Built with PIR Motion Sensor
Explore Projects Built with PIR Motion Sensor
Technical Specifications
Below are the key technical details of a typical PIR Motion Sensor:
- Operating Voltage: 4.5V to 20V DC (commonly 5V or 12V)
- Current Consumption: < 50 µA (standby), ~65 mA (active)
- Detection Range: 3 to 7 meters (adjustable in some models)
- Detection Angle: ~120° (varies by model)
- Output Signal: Digital (High: 3.3V or 5V, Low: 0V)
- Warm-up Time: ~30 seconds after power-up
- Operating Temperature: -20°C to 50°C
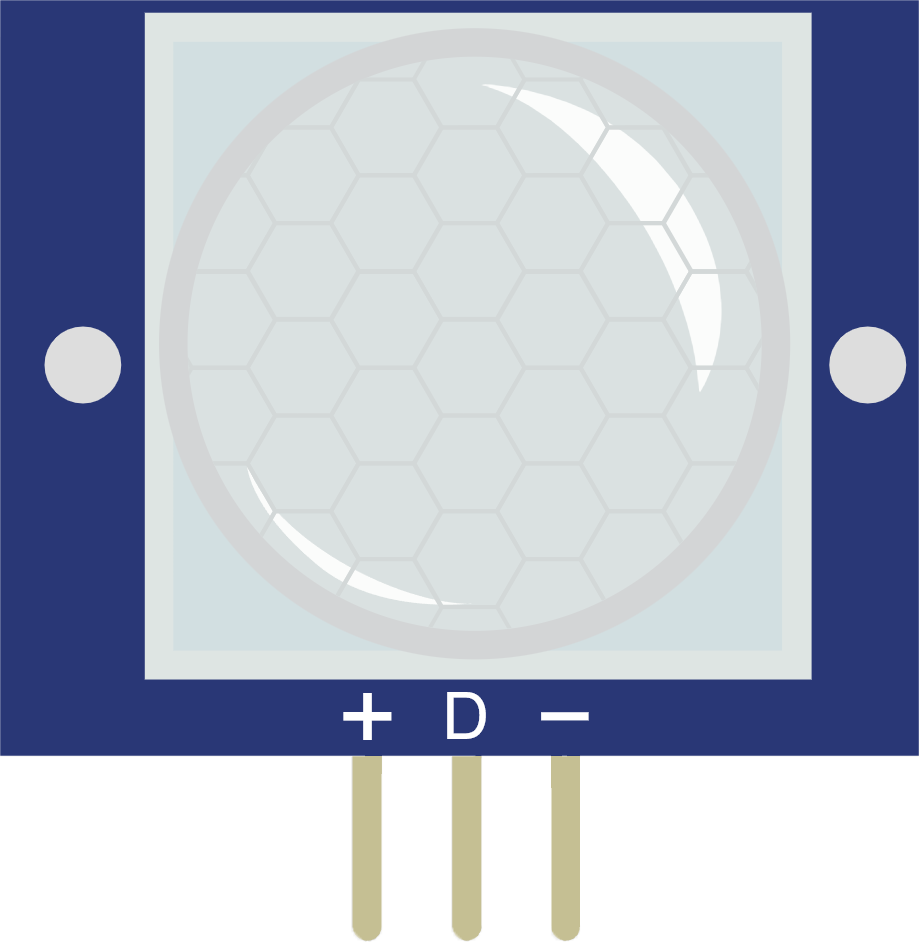
Pin Configuration and Descriptions
The PIR Motion Sensor typically has three pins. Below is the pinout description:
| Pin Name | Description |
|---|---|
| VCC | Power supply input (4.5V to 20V DC) |
| OUT | Digital output signal (High/Low) |
| GND | Ground connection |
Some PIR sensors may also include additional features such as sensitivity and delay time adjustment knobs.
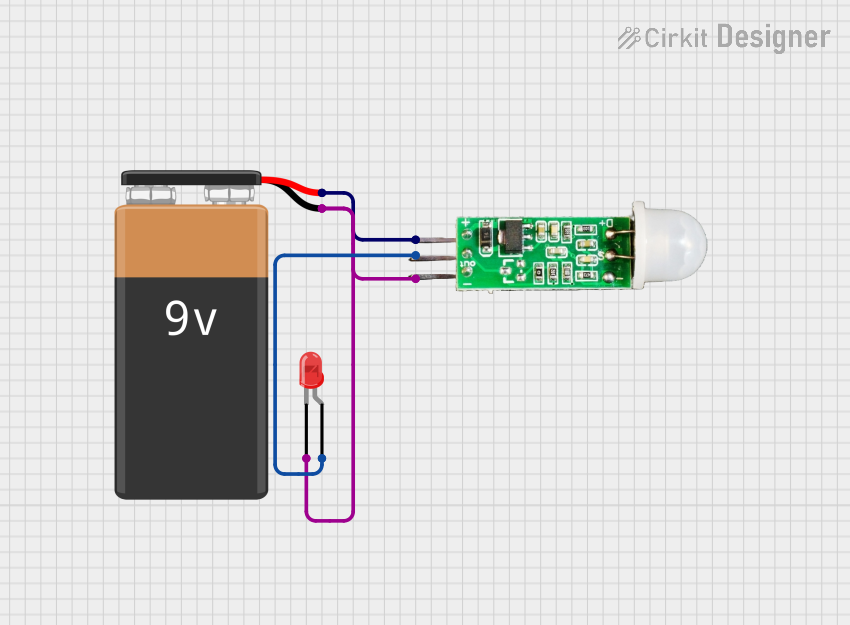
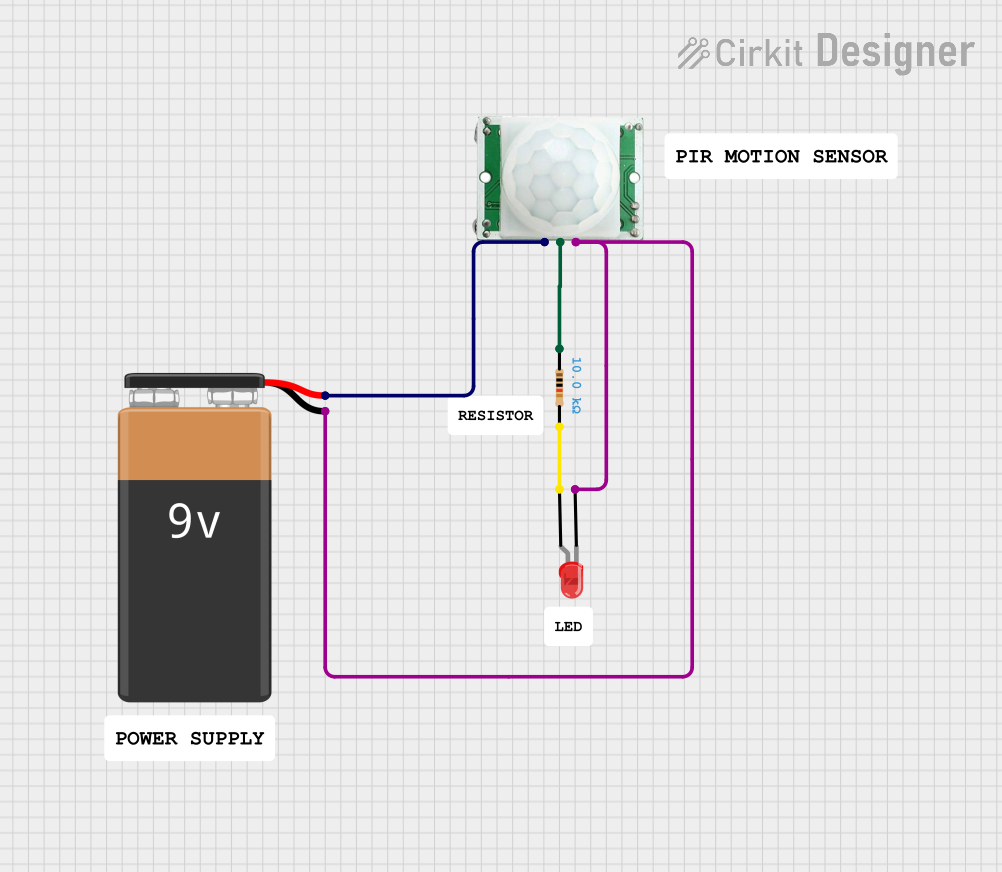
Usage Instructions
How to Use the PIR Motion Sensor in a Circuit
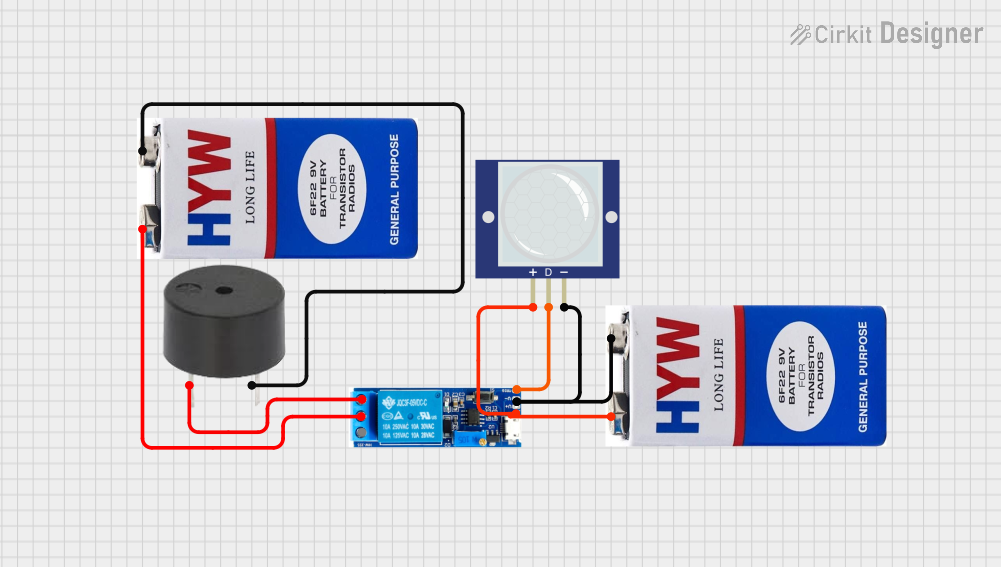
- Power the Sensor: Connect the VCC pin to a 5V or 12V power source and the GND pin to the ground.
- Connect the Output: Connect the OUT pin to a microcontroller (e.g., Arduino) or directly to a device (e.g., relay module or LED).
- Adjust Settings: If your PIR sensor has sensitivity and delay time adjustment knobs, tune them as needed:
- Sensitivity: Adjusts the detection range.
- Delay Time: Sets how long the output remains HIGH after motion is detected.
- Wait for Warm-up: Allow the sensor to stabilize for ~30 seconds after powering it on.
Important Considerations and Best Practices
- Avoid Direct Sunlight: PIR sensors are sensitive to infrared radiation, so avoid placing them in direct sunlight or near heat sources.
- Minimize Interference: Keep the sensor away from moving objects like fans or curtains to prevent false triggers.
- Mounting Height: Install the sensor at an appropriate height (e.g., 2-3 meters) for optimal detection.
- Power Supply: Use a stable power source to avoid erratic behavior.
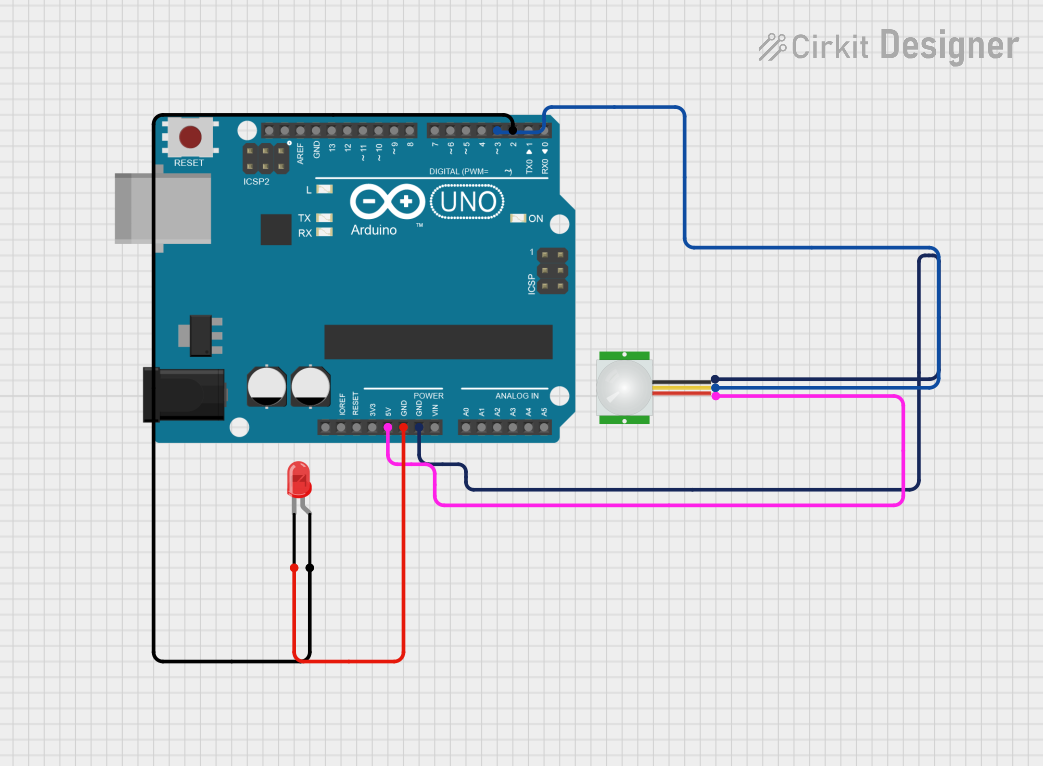
Example: Connecting PIR Motion Sensor to Arduino UNO
Below is an example of how to connect and use a PIR Motion Sensor with an Arduino UNO:
Circuit Connections
- VCC: Connect to Arduino's 5V pin.
- OUT: Connect to Arduino's digital pin 2.
- GND: Connect to Arduino's GND pin.
Arduino Code
// PIR Motion Sensor Example with Arduino UNO
// This code reads the PIR sensor's output and turns on an LED when motion is detected.

int pirPin = 2;       // PIR sensor output pin
int ledPin = 13;      // Built-in LED pin on Arduino

void setup() {
  pinMode(pirPin, INPUT);  // Set PIR pin as input
  pinMode(ledPin, OUTPUT); // Set LED pin as output
  Serial.begin(9600);      // Initialize serial communication
}

void loop() {
  int motionDetected = digitalRead(pirPin); // Read PIR sensor output

  if (motionDetected == HIGH) { // If motion is detected
    digitalWrite(ledPin, HIGH); // Turn on LED
    Serial.println("Motion detected!");
  } else {
    digitalWrite(ledPin, LOW);  // Turn off LED
    Serial.println("No motion.");
  }

  delay(100); // Small delay to stabilize readings
}
Troubleshooting and FAQs
Common Issues and Solutions
Sensor Not Detecting Motion:
- Ensure the sensor is powered correctly (check VCC and GND connections).
- Verify that the warm-up time (~30 seconds) has elapsed.
- Check the sensitivity adjustment knob (if available) and increase the range.
False Triggers:
- Avoid placing the sensor near heat sources, reflective surfaces, or moving objects.
- Ensure the sensor is not exposed to strong air currents.
Output Signal Stuck HIGH or LOW:
- Check the wiring and ensure the OUT pin is connected to the correct input pin on the microcontroller.
- Verify the power supply voltage is within the sensor's operating range.
FAQs
Q1: Can the PIR sensor detect motion through glass?
A1: No, PIR sensors cannot detect motion through glass as infrared radiation does not pass through it effectively.
Q2: How do I increase the detection range?
A2: Use the sensitivity adjustment knob (if available) or ensure the sensor is mounted at an optimal height and angle.
Q3: Can I use the PIR sensor outdoors?
A3: Yes, but ensure it is housed in a weatherproof enclosure to protect it from rain and extreme temperatures.
Q4: Why does the sensor take time to stabilize after powering on?
A4: The sensor requires a warm-up period (~30 seconds) to calibrate its internal circuitry and avoid false triggers.