
How to Use Unproven!: Examples, Pinouts, and Specs
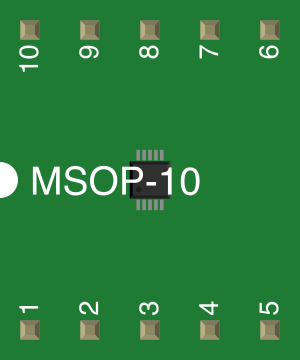
 Design with Unproven! in Cirkit Designer
Introduction
- The term "Unproven" refers to a circuit component or technology that has not yet been tested or validated for reliability and performance in practical applications. These components are often in the prototype or experimental stage and may require extensive testing before being deployed in real-world scenarios.
- Common applications include research and development projects, experimental circuits, and proof-of-concept designs. They are typically used by engineers and researchers exploring new technologies or concepts.
Explore Projects Built with Unproven!
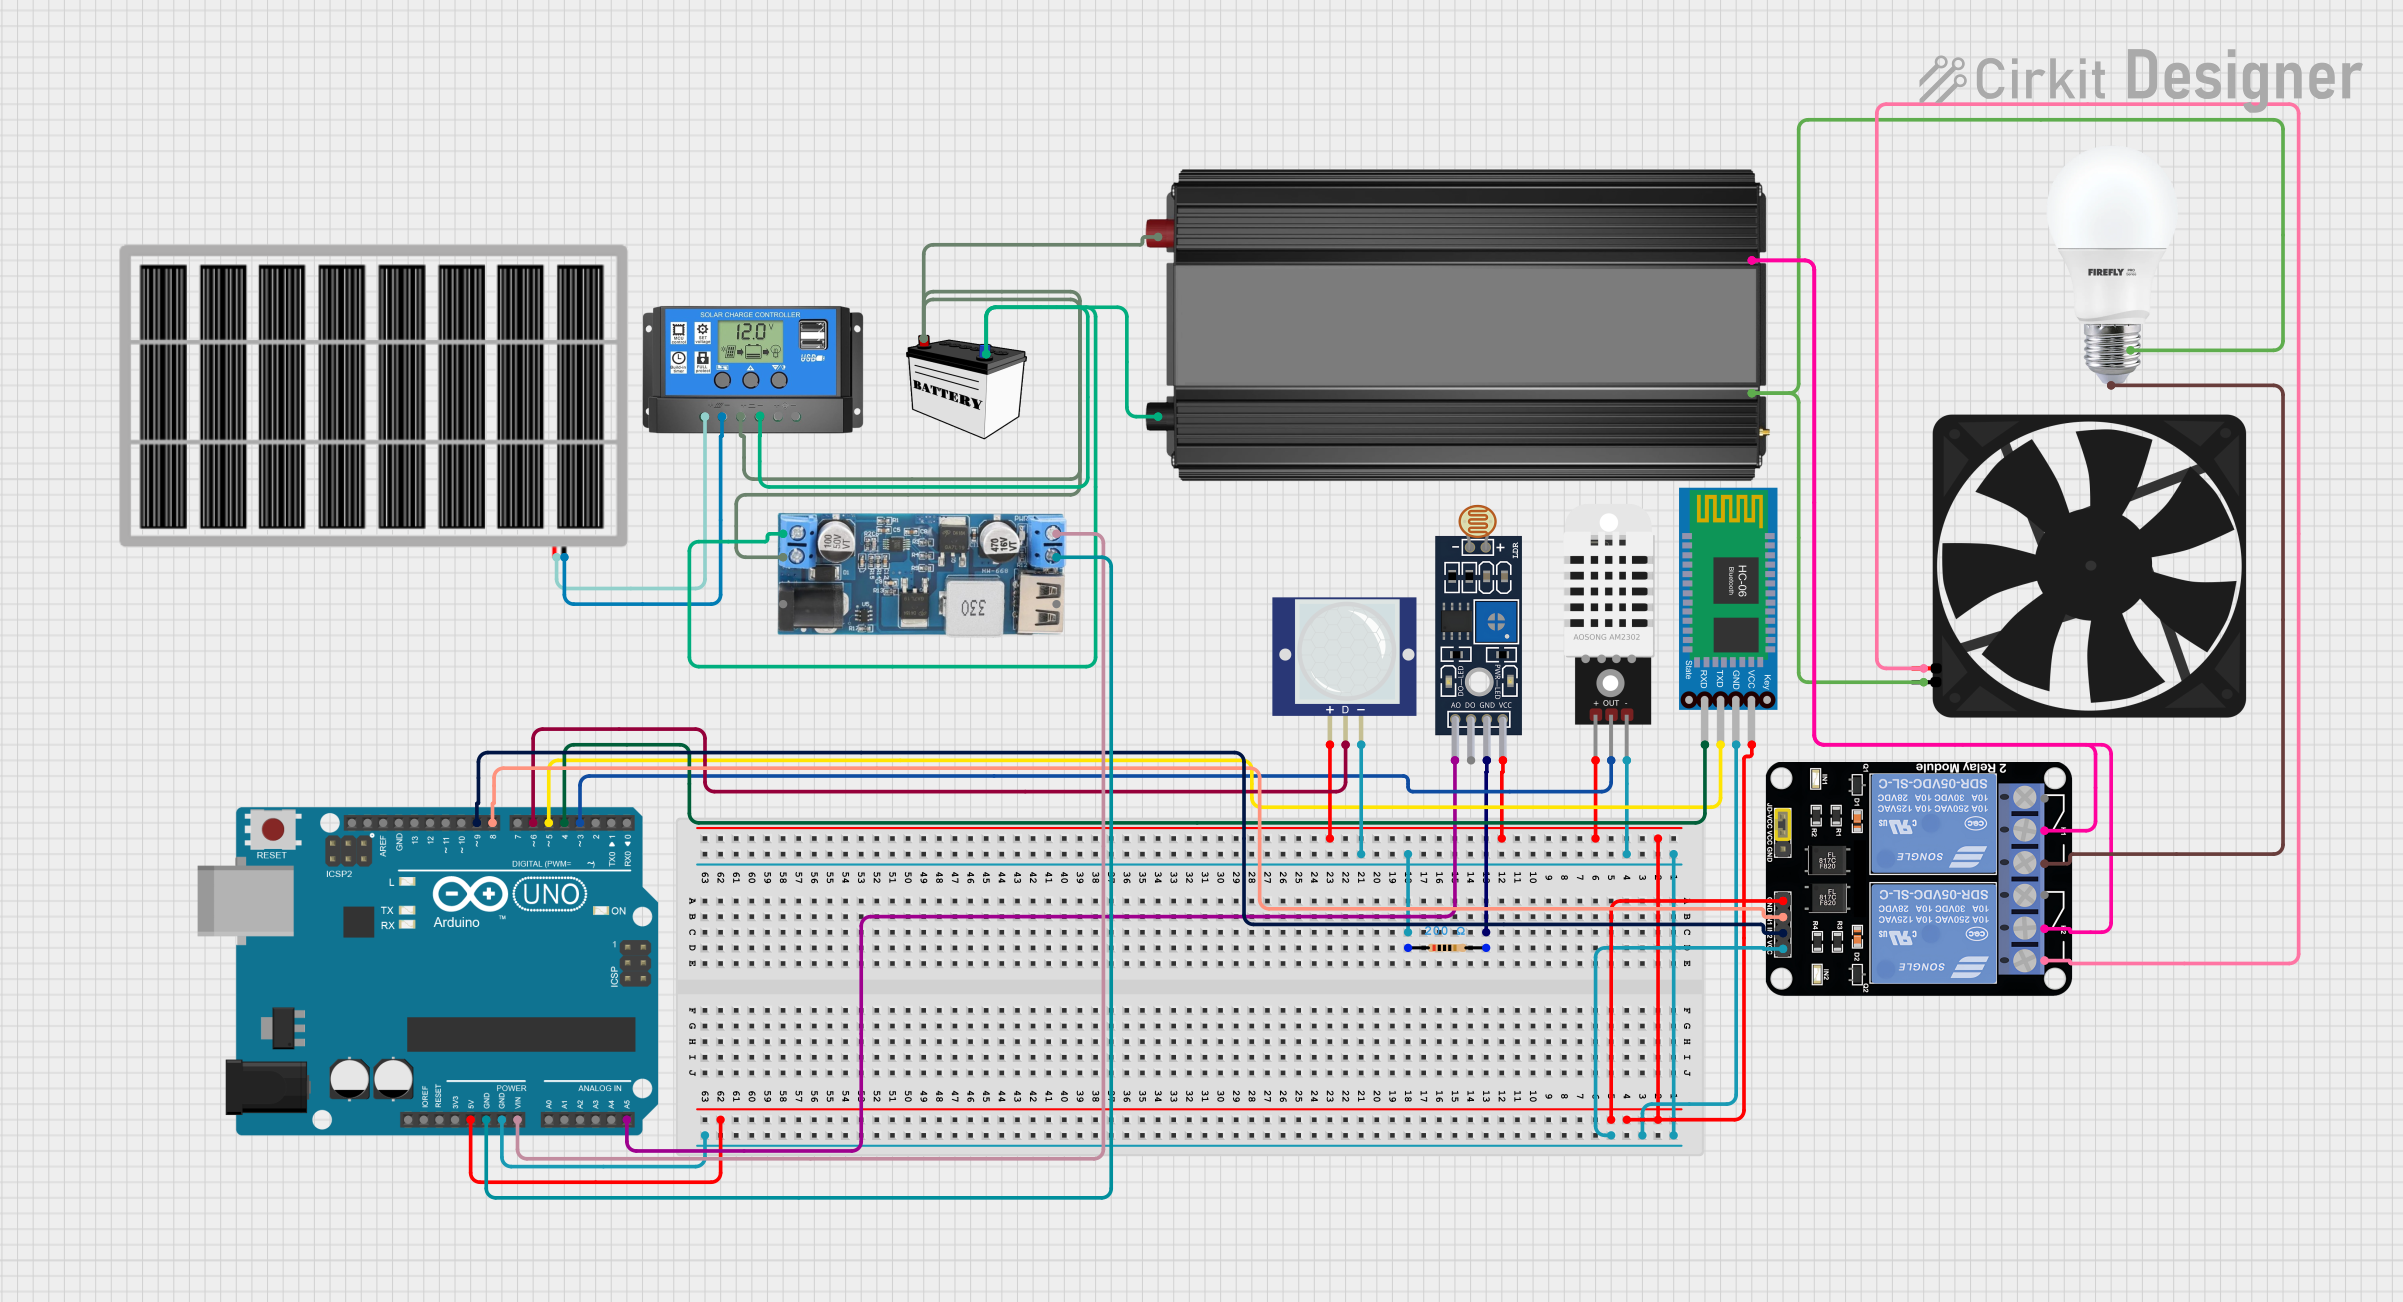 Open Project in Cirkit Designer
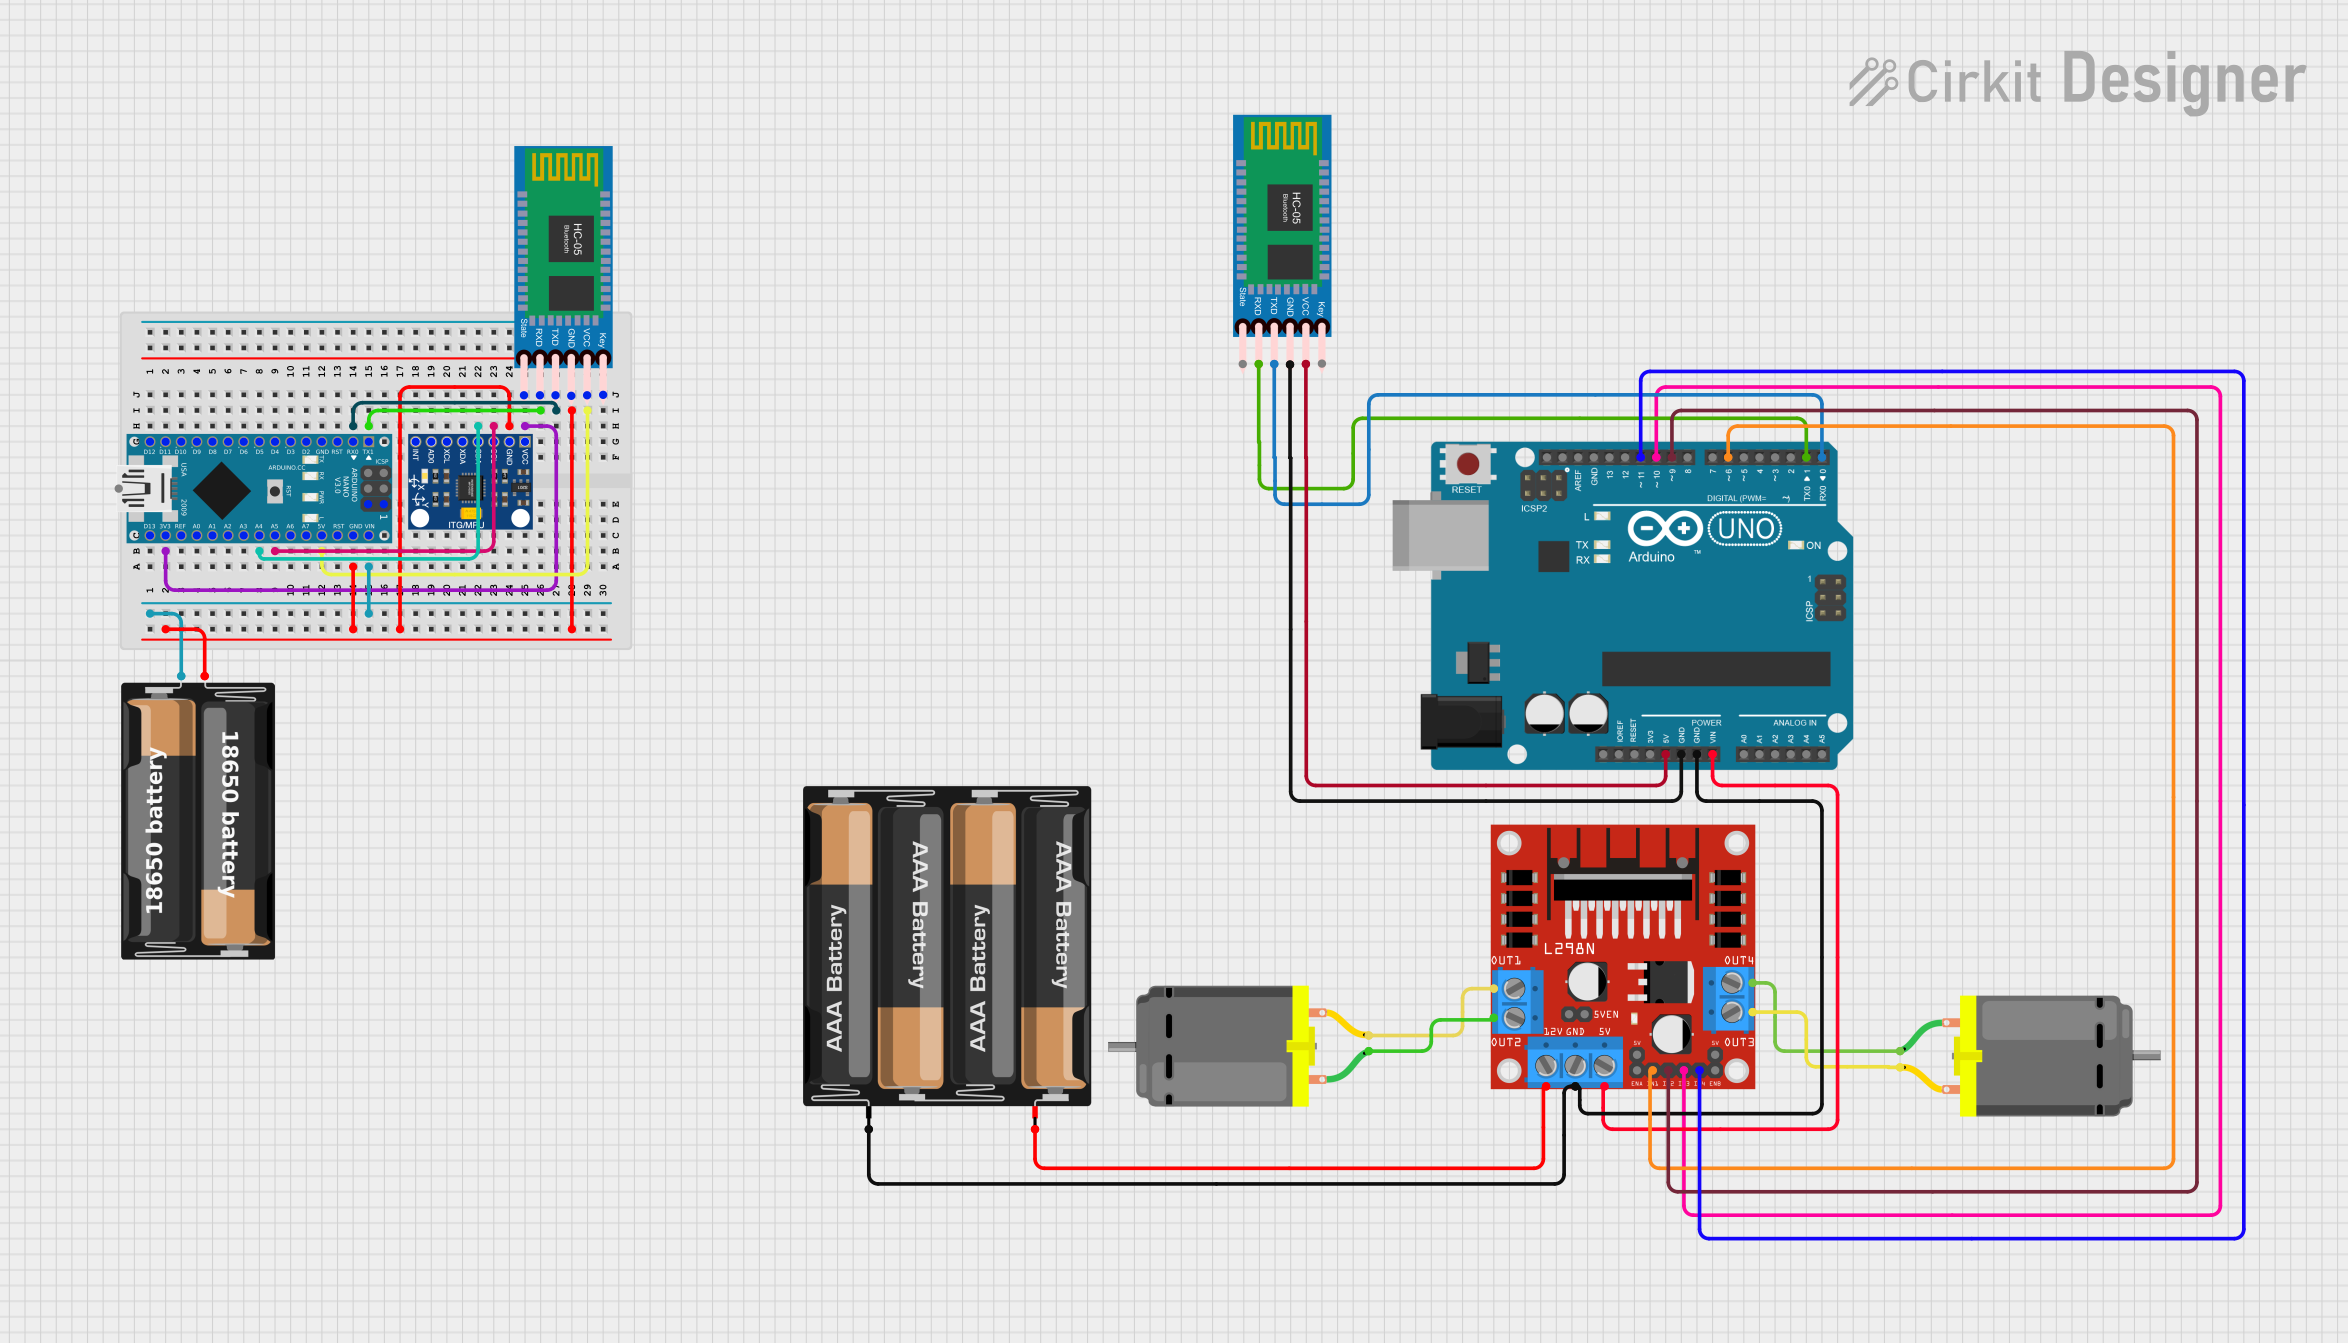 Open Project in Cirkit Designer
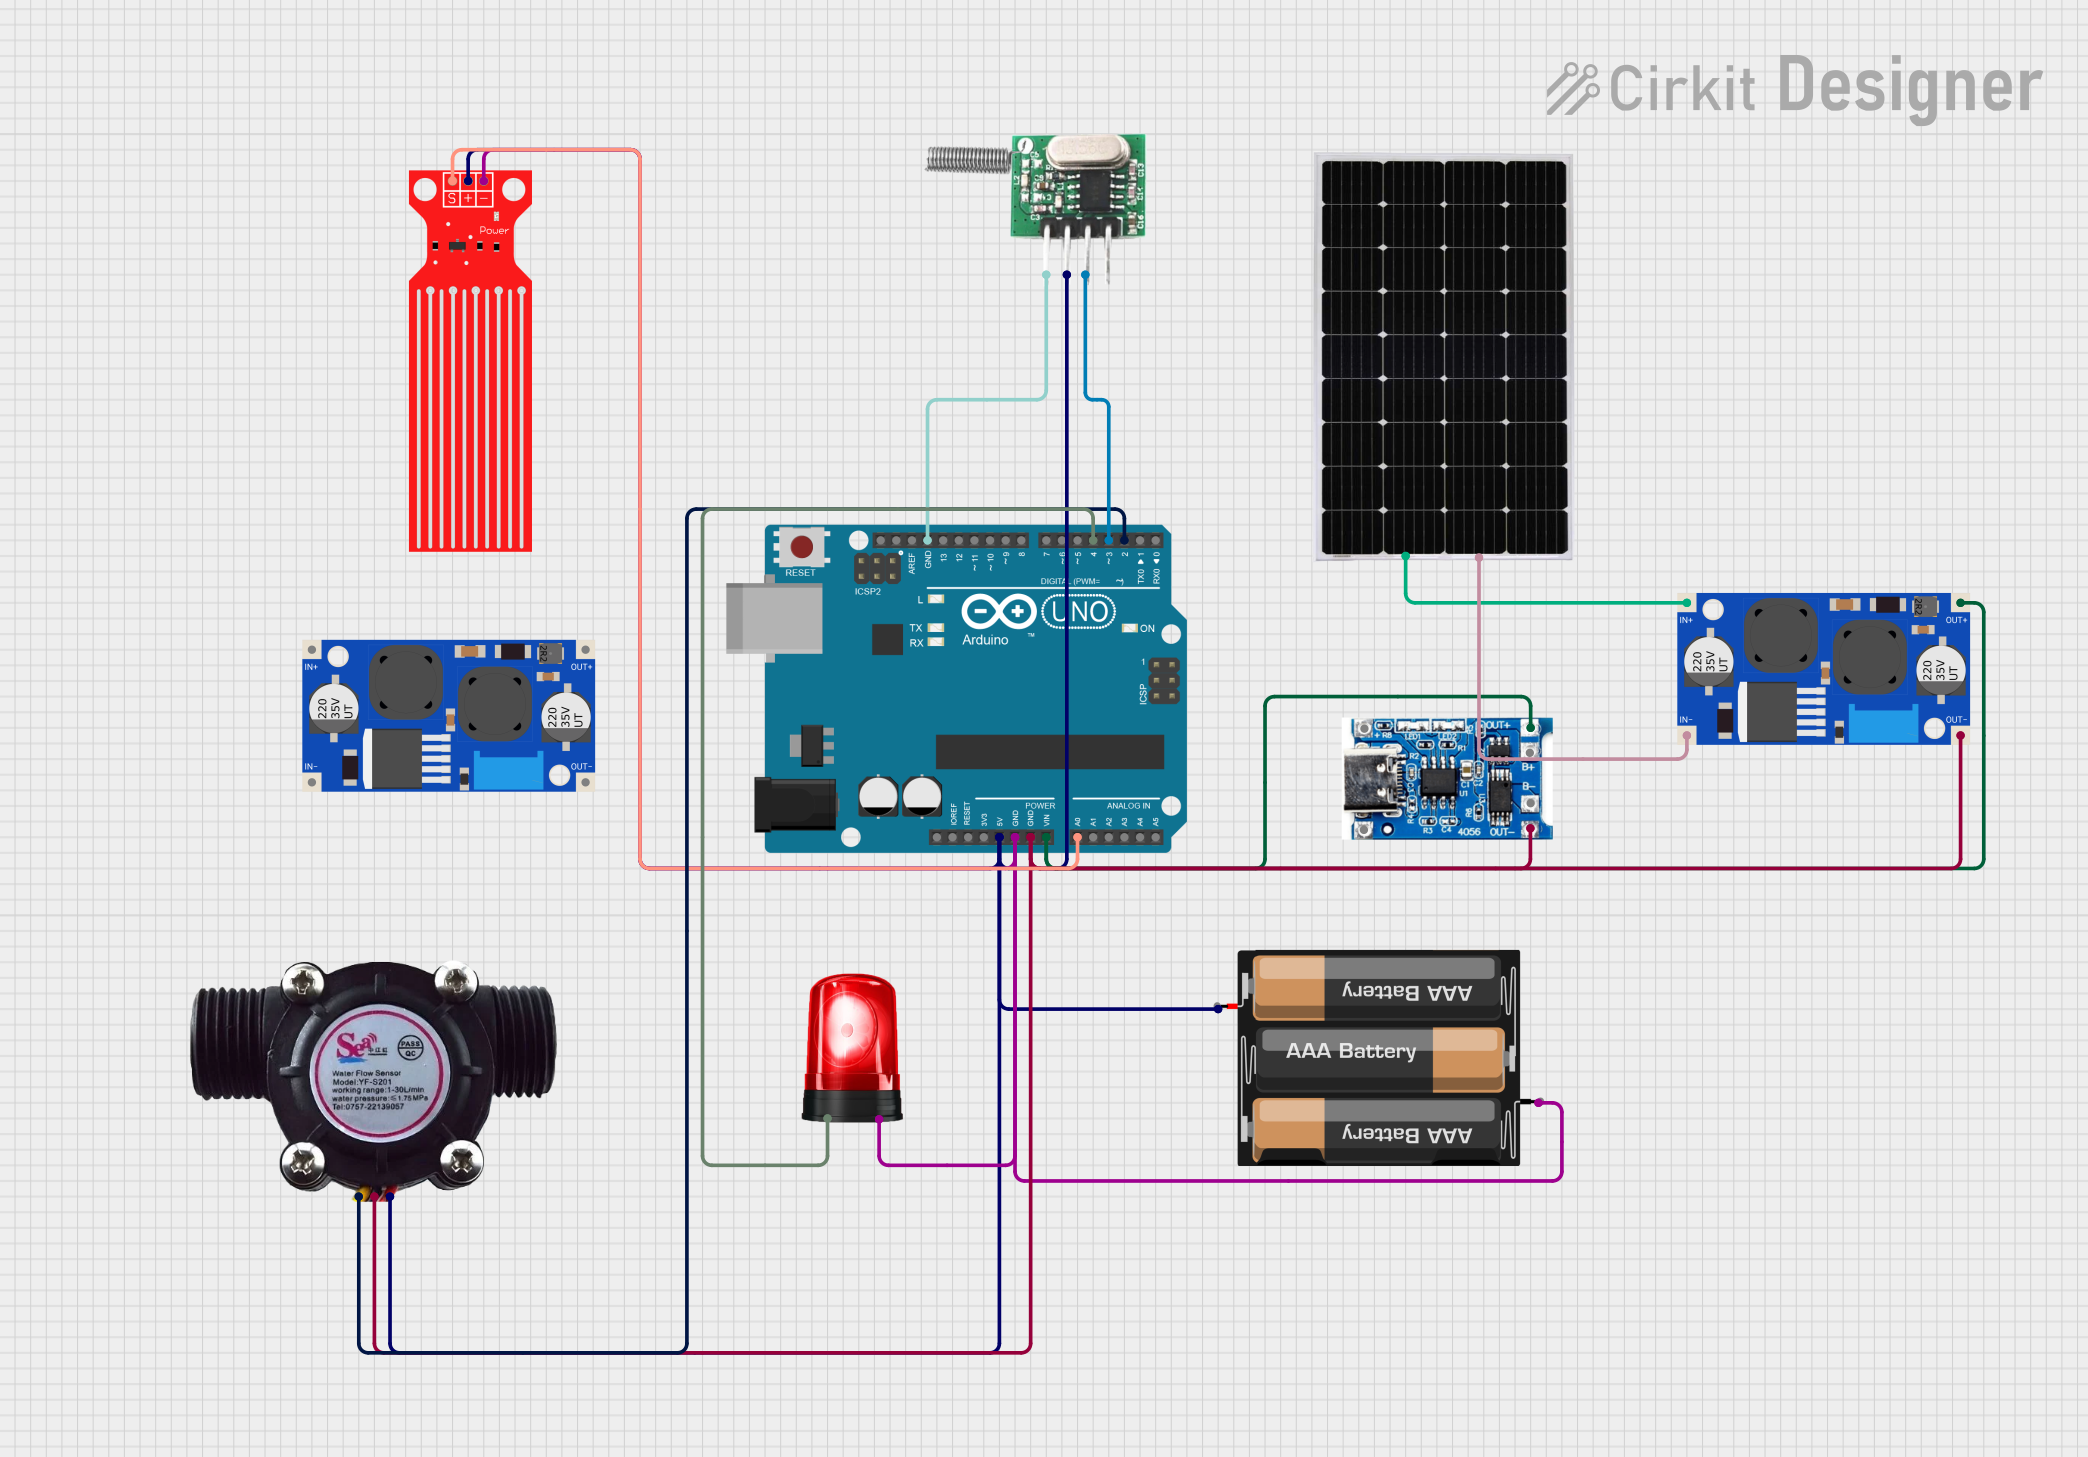 Open Project in Cirkit Designer
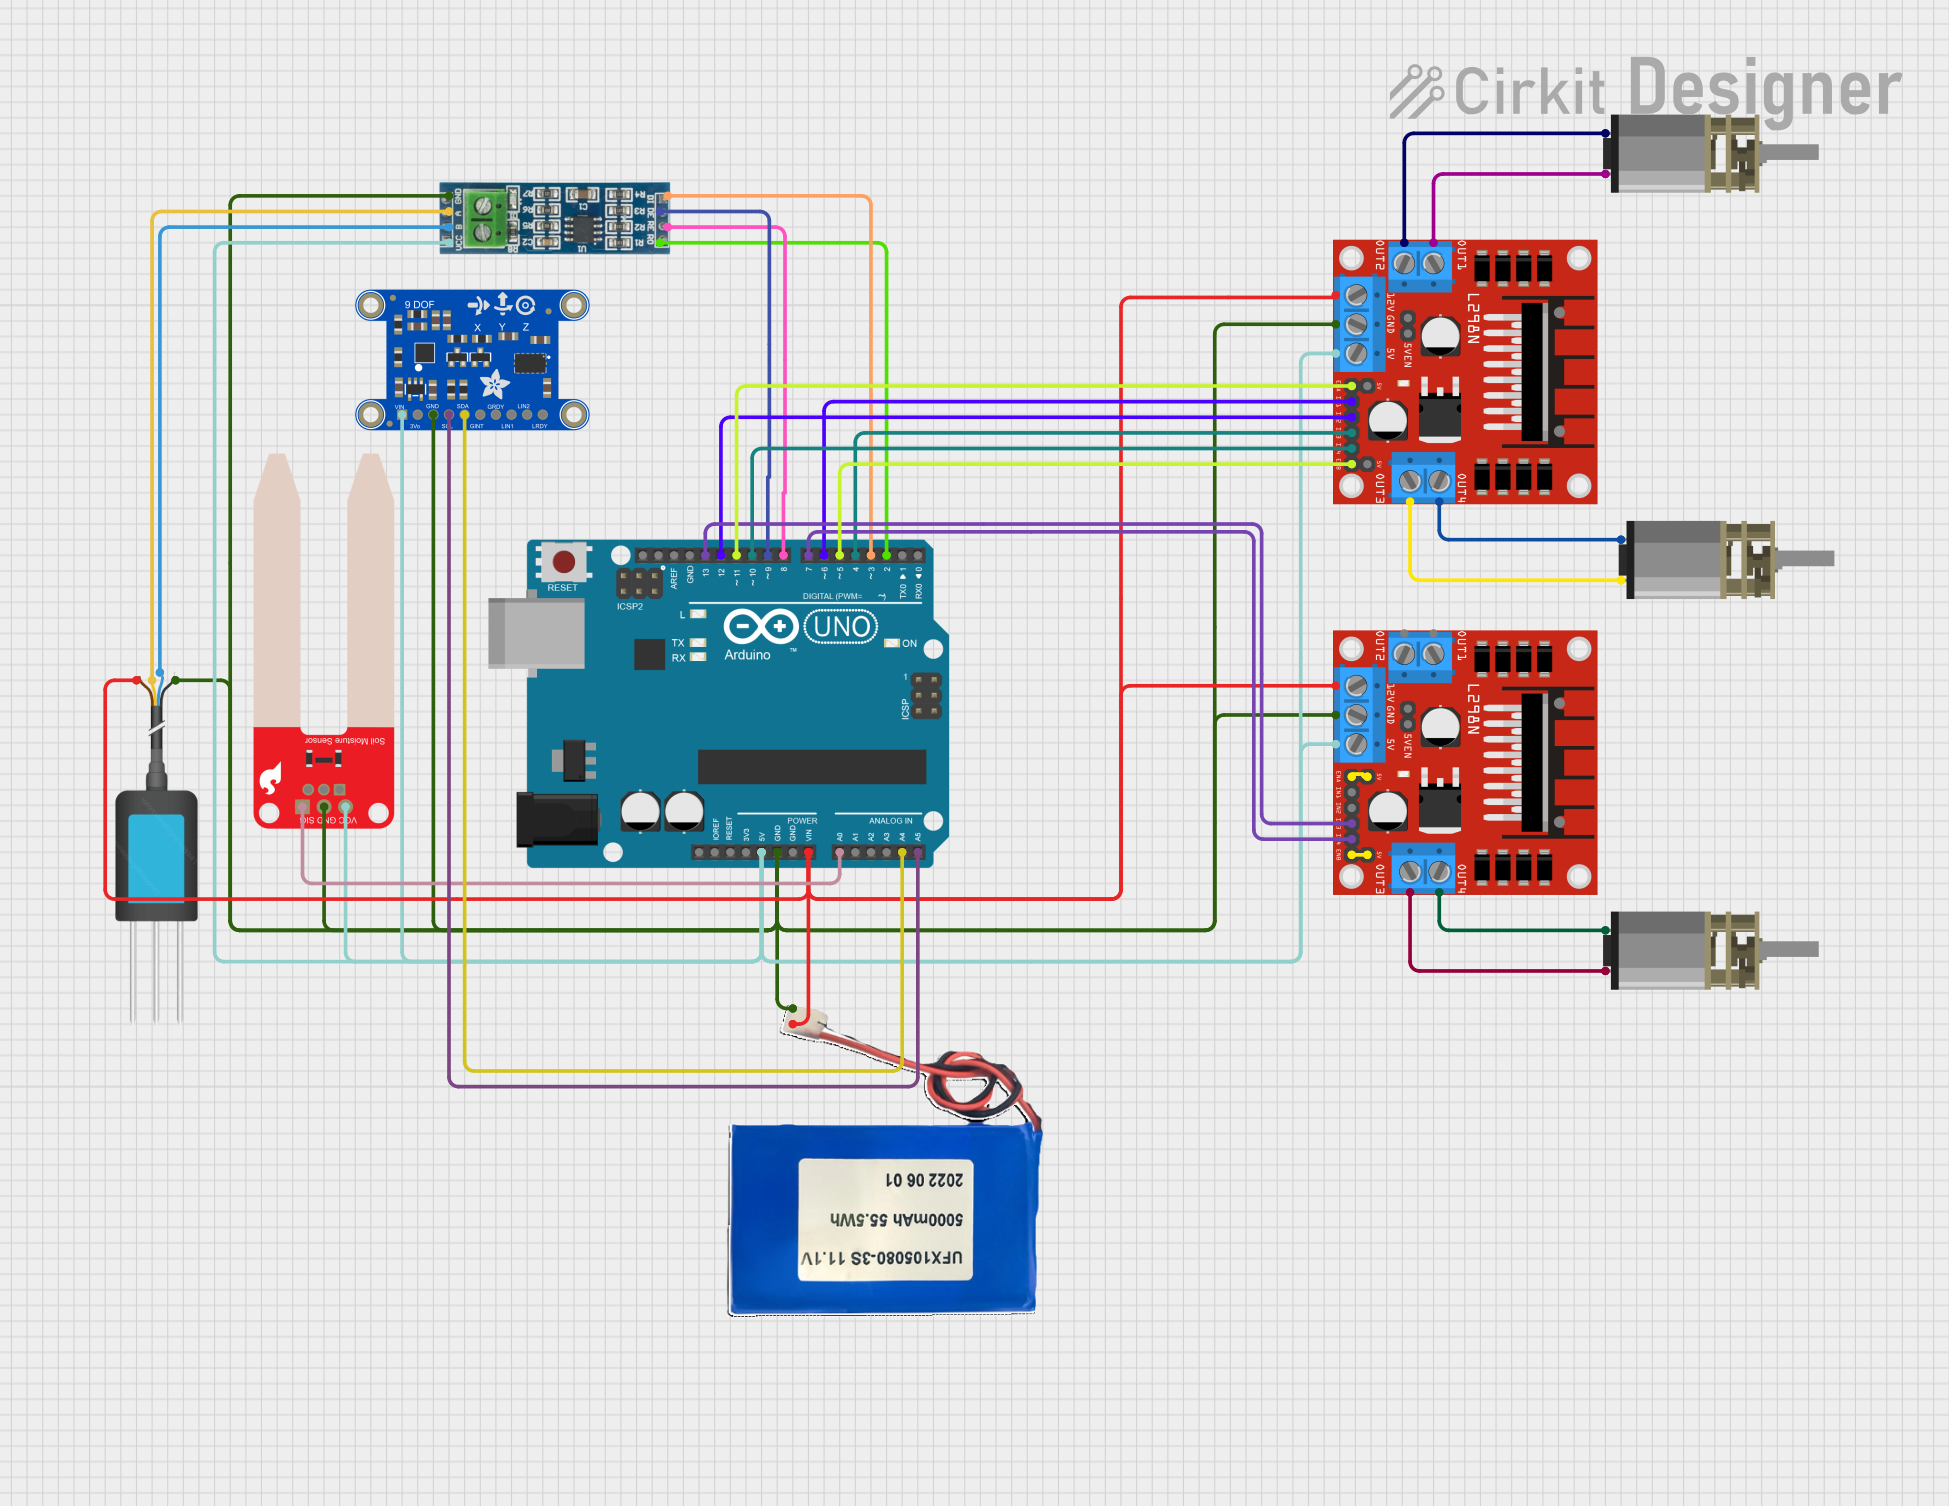 Open Project in Cirkit Designer
Explore Projects Built with Unproven!
Open Project in Cirkit DesignerOpen Project in Cirkit DesignerOpen Project in Cirkit DesignerOpen Project in Cirkit DesignerTechnical Specifications
Since the "Unproven" component is not standardized or validated, its technical specifications can vary widely depending on the specific design or prototype. Below is a general template for documenting such components:
Example Technical Details
| Parameter | Description |
|---|---|
| Voltage Range | Typically varies; ensure compatibility with your circuit requirements. |
| Current Rating | Undefined; measure or calculate based on the design. |
| Power Rating | Not specified; depends on the material and construction of the component. |
| Operating Frequency | May vary; test to determine the optimal range. |
| Temperature Range | Unknown; avoid extreme conditions until tested. |
Example Pin Configuration
| Pin Number | Pin Name | Description |
|---|---|---|
| 1 | Input/Control | Accepts input signals or control voltage (if applicable). |
| 2 | Output | Outputs the processed signal or power (if applicable). |
| 3 | Ground (GND) | Connects to the circuit ground. |
| 4 | Optional Pin | May serve as a configuration or auxiliary pin (varies by design). |
Note: Always refer to the specific datasheet or documentation provided by the manufacturer or designer of the unproven component.
Usage Instructions
Testing the Component:
- Before integrating the unproven component into a circuit, test it in isolation to determine its behavior.
- Use a breadboard or test rig to avoid permanent connections during the testing phase.
Circuit Integration:
- Ensure the component's voltage and current ratings (if known) are compatible with your circuit.
- Use appropriate resistors, capacitors, or other protective components to prevent damage during testing.
Best Practices:
- Document all observations during testing, including voltage, current, and temperature behavior.
- Avoid using the component in critical applications until it has been thoroughly validated.
- If using with a microcontroller like Arduino UNO, ensure the component does not exceed the microcontroller's input/output limits.
Example Arduino Code
If the unproven component is connected to an Arduino UNO for testing, the following code can be used as a basic template to read or control the component:
// Example Arduino code for testing an unproven component
// This code assumes the component is connected to pin 9 for control
// and pin A0 for reading an analog signal.

const int controlPin = 9; // Pin connected to the component's control input
const int readPin = A0;   // Pin connected to the component's output

void setup() {
  pinMode(controlPin, OUTPUT); // Set control pin as output
  pinMode(readPin, INPUT);     // Set read pin as input
  Serial.begin(9600);          // Initialize serial communication
}

void loop() {
  // Send a test signal to the component
  digitalWrite(controlPin, HIGH); // Turn on the component
  delay(1000);                    // Wait for 1 second
  digitalWrite(controlPin, LOW);  // Turn off the component
  delay(1000);                    // Wait for 1 second

  // Read the component's output
  int sensorValue = analogRead(readPin); // Read analog value
  Serial.print("Component Output: ");    // Print output to serial monitor
  Serial.println(sensorValue);           // Display the value
}
Important: Modify the code based on the specific behavior and pin configuration of the unproven component. Always monitor the component's performance during testing.
Troubleshooting and FAQs
Common Issues
Component Overheating:
- Cause: Exceeding voltage, current, or power limits.
- Solution: Use protective components like resistors or current-limiting circuits. Reduce input power.
No Output Signal:
- Cause: Incorrect wiring or incompatible input signals.
- Solution: Double-check the pin configuration and ensure proper connections.
Unstable Performance:
- Cause: Lack of proper shielding or noise in the circuit.
- Solution: Use decoupling capacitors and ensure a clean power supply.
FAQs
Can I use an unproven component in a production circuit?
- No, unproven components should only be used in experimental or non-critical applications until they are validated.
How do I determine the specifications of an unproven component?
- Perform controlled tests to measure voltage, current, and other parameters. Consult the designer or manufacturer if possible.
What precautions should I take when testing an unproven component?
- Use a current-limited power supply, monitor the component's temperature, and avoid prolonged operation under unknown conditions.
By following these guidelines, you can safely experiment with unproven components while minimizing risks and gaining valuable insights into their behavior.