How to Use Voltage Regulator: Examples, Pinouts, and Specs
Introduction
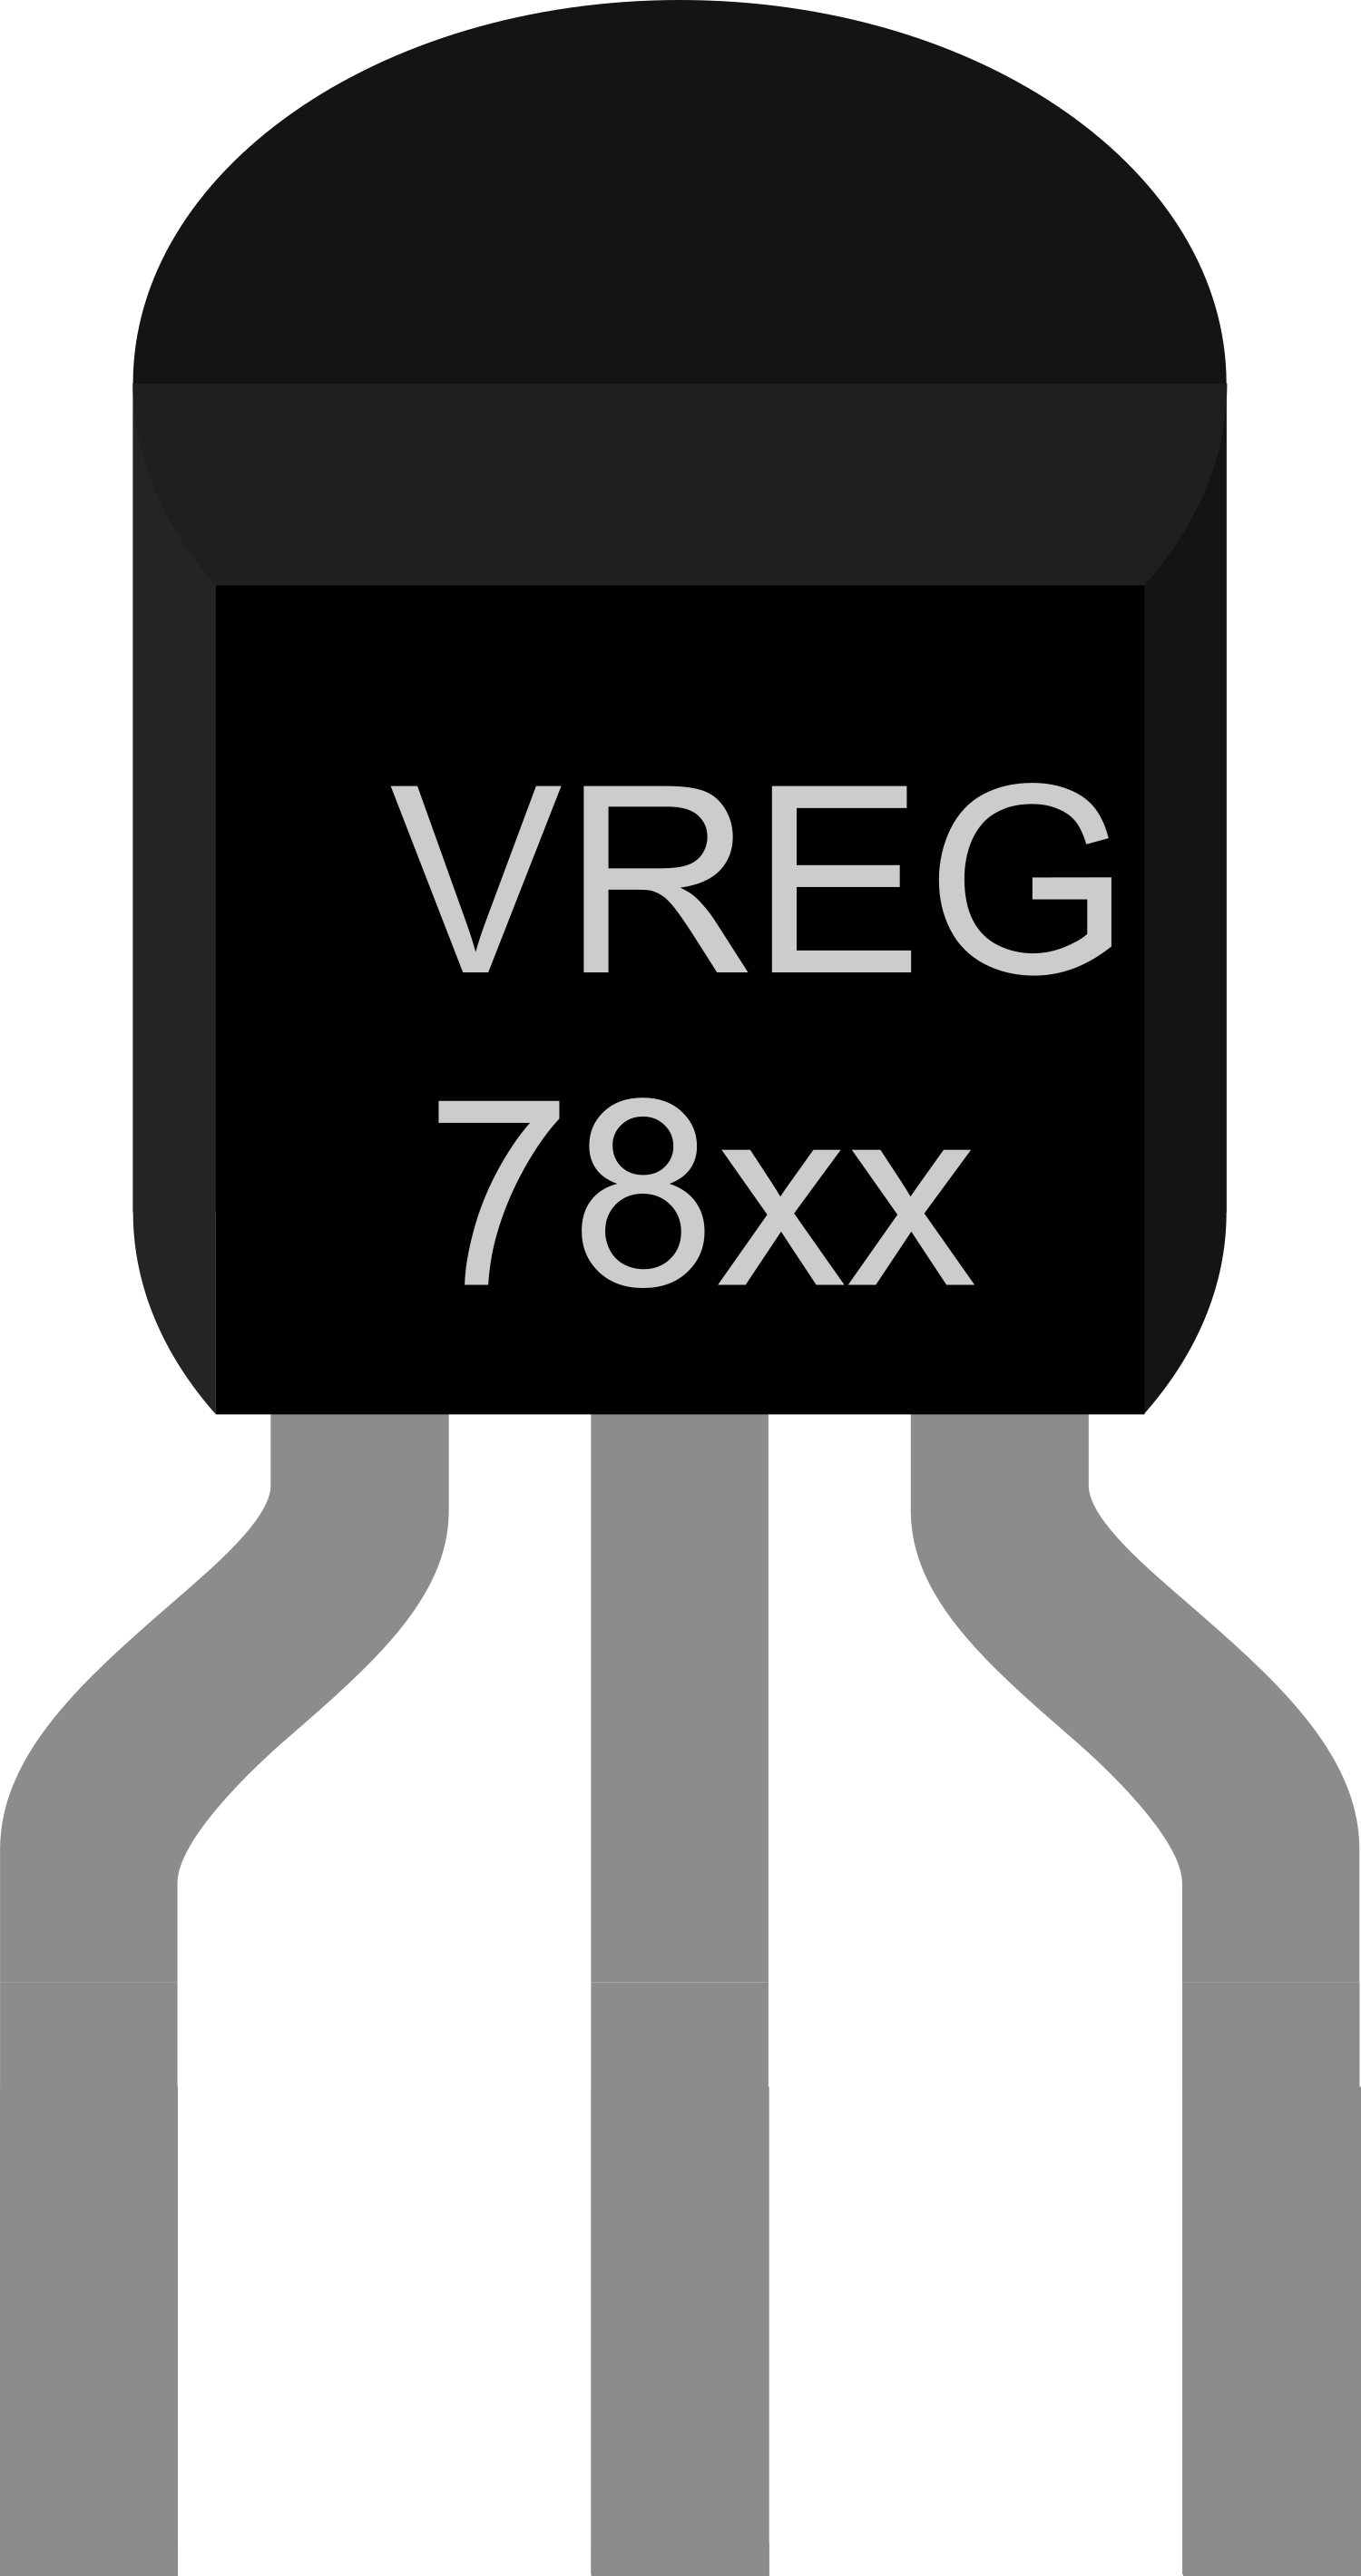
A Voltage Regulator is an essential electronic component that ensures a constant voltage level to electronic devices, regardless of variations in input voltage and load conditions. This component is crucial for protecting sensitive electronics by providing a stable power supply, thus preventing damage due to voltage spikes or drops. Common applications include power supplies for computers, mobile phones, and other consumer electronics, as well as in automotive charging systems, solar power systems, and any circuit requiring a stable voltage supply.
Explore Projects Built with Voltage Regulator


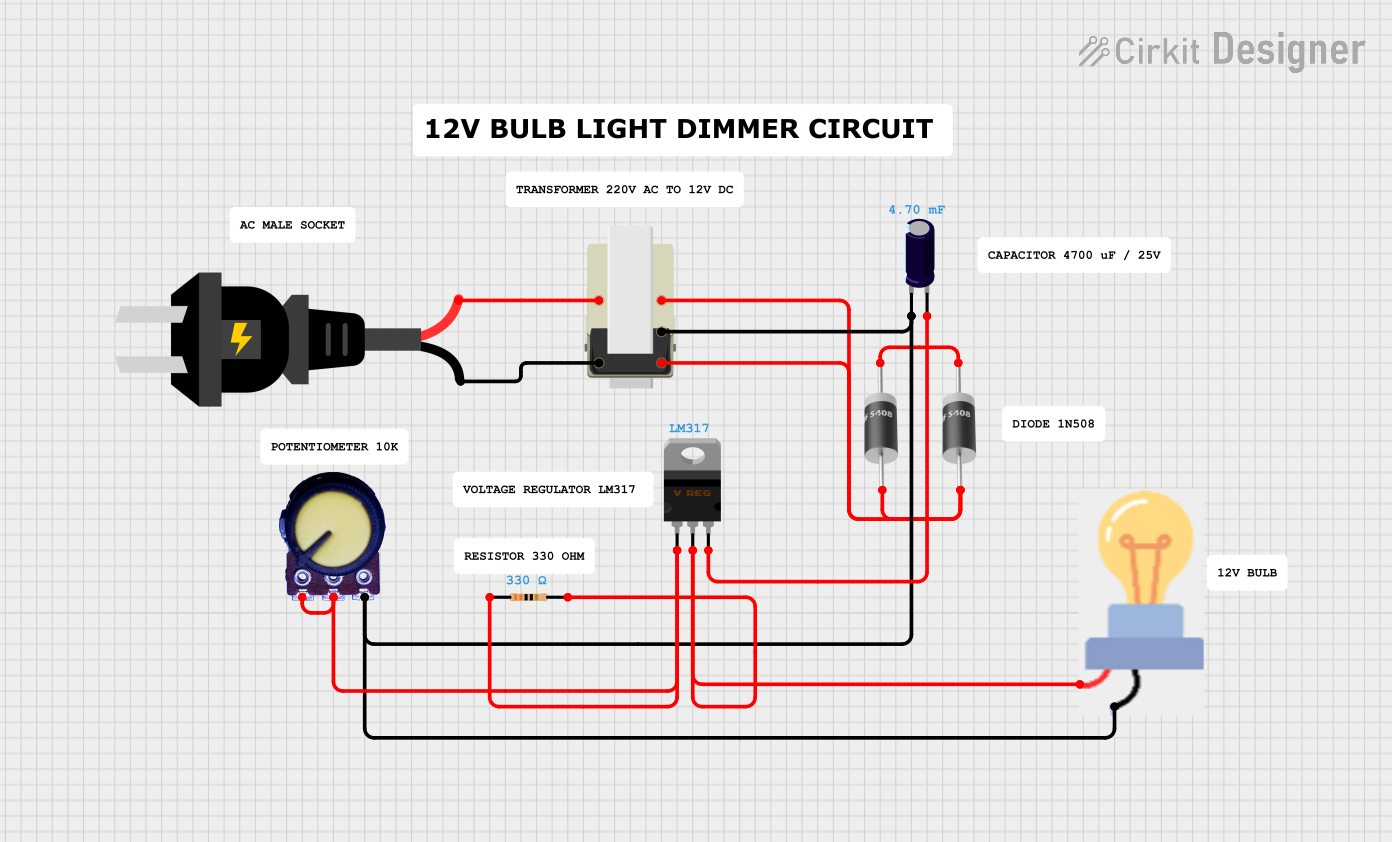
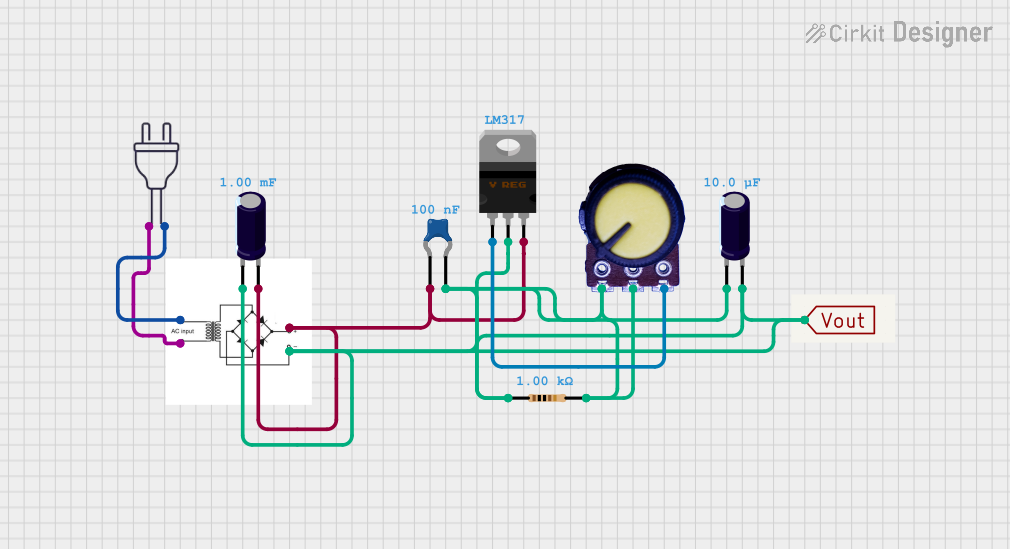
Explore Projects Built with Voltage Regulator
Technical Specifications
Key Technical Details
- Input Voltage Range: The range of voltage the regulator can accept.
- Output Voltage: The stable voltage level the regulator provides.
- Output Current: The maximum current the regulator can supply.
- Power Dissipation: The amount of power the regulator can dissipate as heat.
- Efficiency: The ratio of output power to input power, expressed as a percentage.
- Line Regulation: The ability to maintain a constant output voltage despite changes in the input voltage.
- Load Regulation: The ability to maintain a constant output voltage despite changes in the load.
Pin Configuration and Descriptions
| Pin Number | Name | Description |
|---|---|---|
| 1 | IN | Input voltage pin where the unregulated voltage is applied. |
| 2 | GND | Ground pin connected to the system ground. |
| 3 | OUT | Output voltage pin providing the regulated voltage. |
| 4 | ADJ | Adjustment pin for variable voltage regulators (if applicable). |
Note: The pin configuration may vary depending on the specific type of voltage regulator (e.g., fixed or adjustable, linear or switching). Always refer to the manufacturer's datasheet for exact pinout information.
Usage Instructions
How to Use the Component in a Circuit
- Connection: Connect the input voltage to the IN pin, ensuring it is within the specified input voltage range of the regulator.
- Grounding: Connect the GND pin to the system ground.
- Output: Connect the OUT pin to the circuit that requires regulated voltage.
- Heat Dissipation: If the regulator is expected to dissipate significant power, attach an appropriate heatsink to prevent overheating.
- Capacitors: It is common practice to place a capacitor on both the input and output pins close to the regulator to filter out noise and provide stability.
Important Considerations and Best Practices
- Input Voltage: Ensure the input voltage is always above the dropout voltage of the regulator to maintain regulation.
- Current Limiting: Be aware of the maximum output current and avoid exceeding it to prevent damage.
- Thermal Considerations: Monitor the temperature of the regulator and provide adequate cooling.
- Safety: Use appropriate safety precautions when working with electricity and electronics.
Troubleshooting and FAQs
Common Issues
- Voltage Drop: If the output voltage is lower than expected, check if the input voltage is within the specified range and that the load does not exceed the current rating.
- Overheating: If the regulator is too hot, ensure proper heatsinking and airflow. Also, check if the power dissipation is within the specified limits.
- Noise: If the output voltage is noisy, verify the input and output capacitors are of the correct value and in good condition.
Solutions and Tips for Troubleshooting
- Check Connections: Verify all connections are secure and correct.
- Measure Voltages: Use a multimeter to measure the input and output voltages to ensure they are within specifications.
- Inspect Components: Look for signs of damage or overheating on the regulator and surrounding components.
FAQs
Q: Can I use a voltage regulator to step up voltage? A: No, standard voltage regulators are designed to step down voltage. For stepping up voltage, you would need a boost converter or a different type of regulator.
Q: How do I choose the right capacitor values for the input and output? A: Capacitor values are typically recommended in the regulator's datasheet. Generally, a 0.1µF ceramic capacitor on the input and a 1µF electrolytic capacitor on the output are common starting points.
Q: What is the difference between linear and switching regulators? A: Linear regulators provide a simple and low-noise solution but are less efficient and can dissipate more heat. Switching regulators are more complex but offer higher efficiency and better performance for larger voltage differences.
Example Code for Arduino UNO
// This example demonstrates how to use a voltage regulator with an Arduino UNO
// to power an external component that requires a regulated voltage.

void setup() {
  // No setup required for the voltage regulator itself.
  // Just ensure that the regulated voltage is compatible with the Arduino's voltage.
}

void loop() {
  // Your code here to interact with the component powered by the voltage regulator.
  // For example, if you're powering an LED, you can turn it on and off.
  digitalWrite(LED_BUILTIN, HIGH); // Turn on the LED
  delay(1000);                     // Wait for a second
  digitalWrite(LED_BUILTIN, LOW);  // Turn off the LED
  delay(1000);                     // Wait for a second
}
Note: The above code is a simple demonstration and does not directly interact with the voltage regulator. The regulator is part of the power supply circuit and does not require software control.
Remember to always consult the datasheet of the specific voltage regulator model you are using for precise information and recommendations.