
How to Use ROBSTRIDE01 MOTOR: Examples, Pinouts, and Specs
 Design with ROBSTRIDE01 MOTOR in Cirkit Designer
Introduction
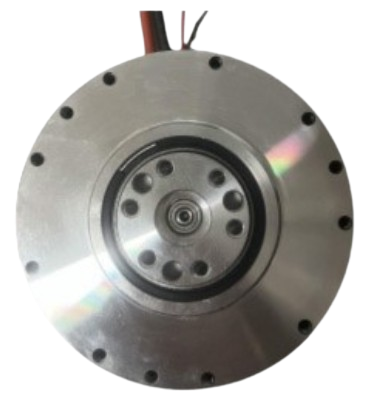
The ROBSTRIDE01 MOTOR is a high-performance motor designed specifically for robotic applications. Manufactured by ROBSTRIDE, this motor offers precise control and efficient power output, making it ideal for movement and actuation in robotics systems. Its robust design ensures reliability and durability, even in demanding environments.
Explore Projects Built with ROBSTRIDE01 MOTOR
 Open Project in Cirkit Designer
 Open Project in Cirkit Designer
 Open Project in Cirkit Designer
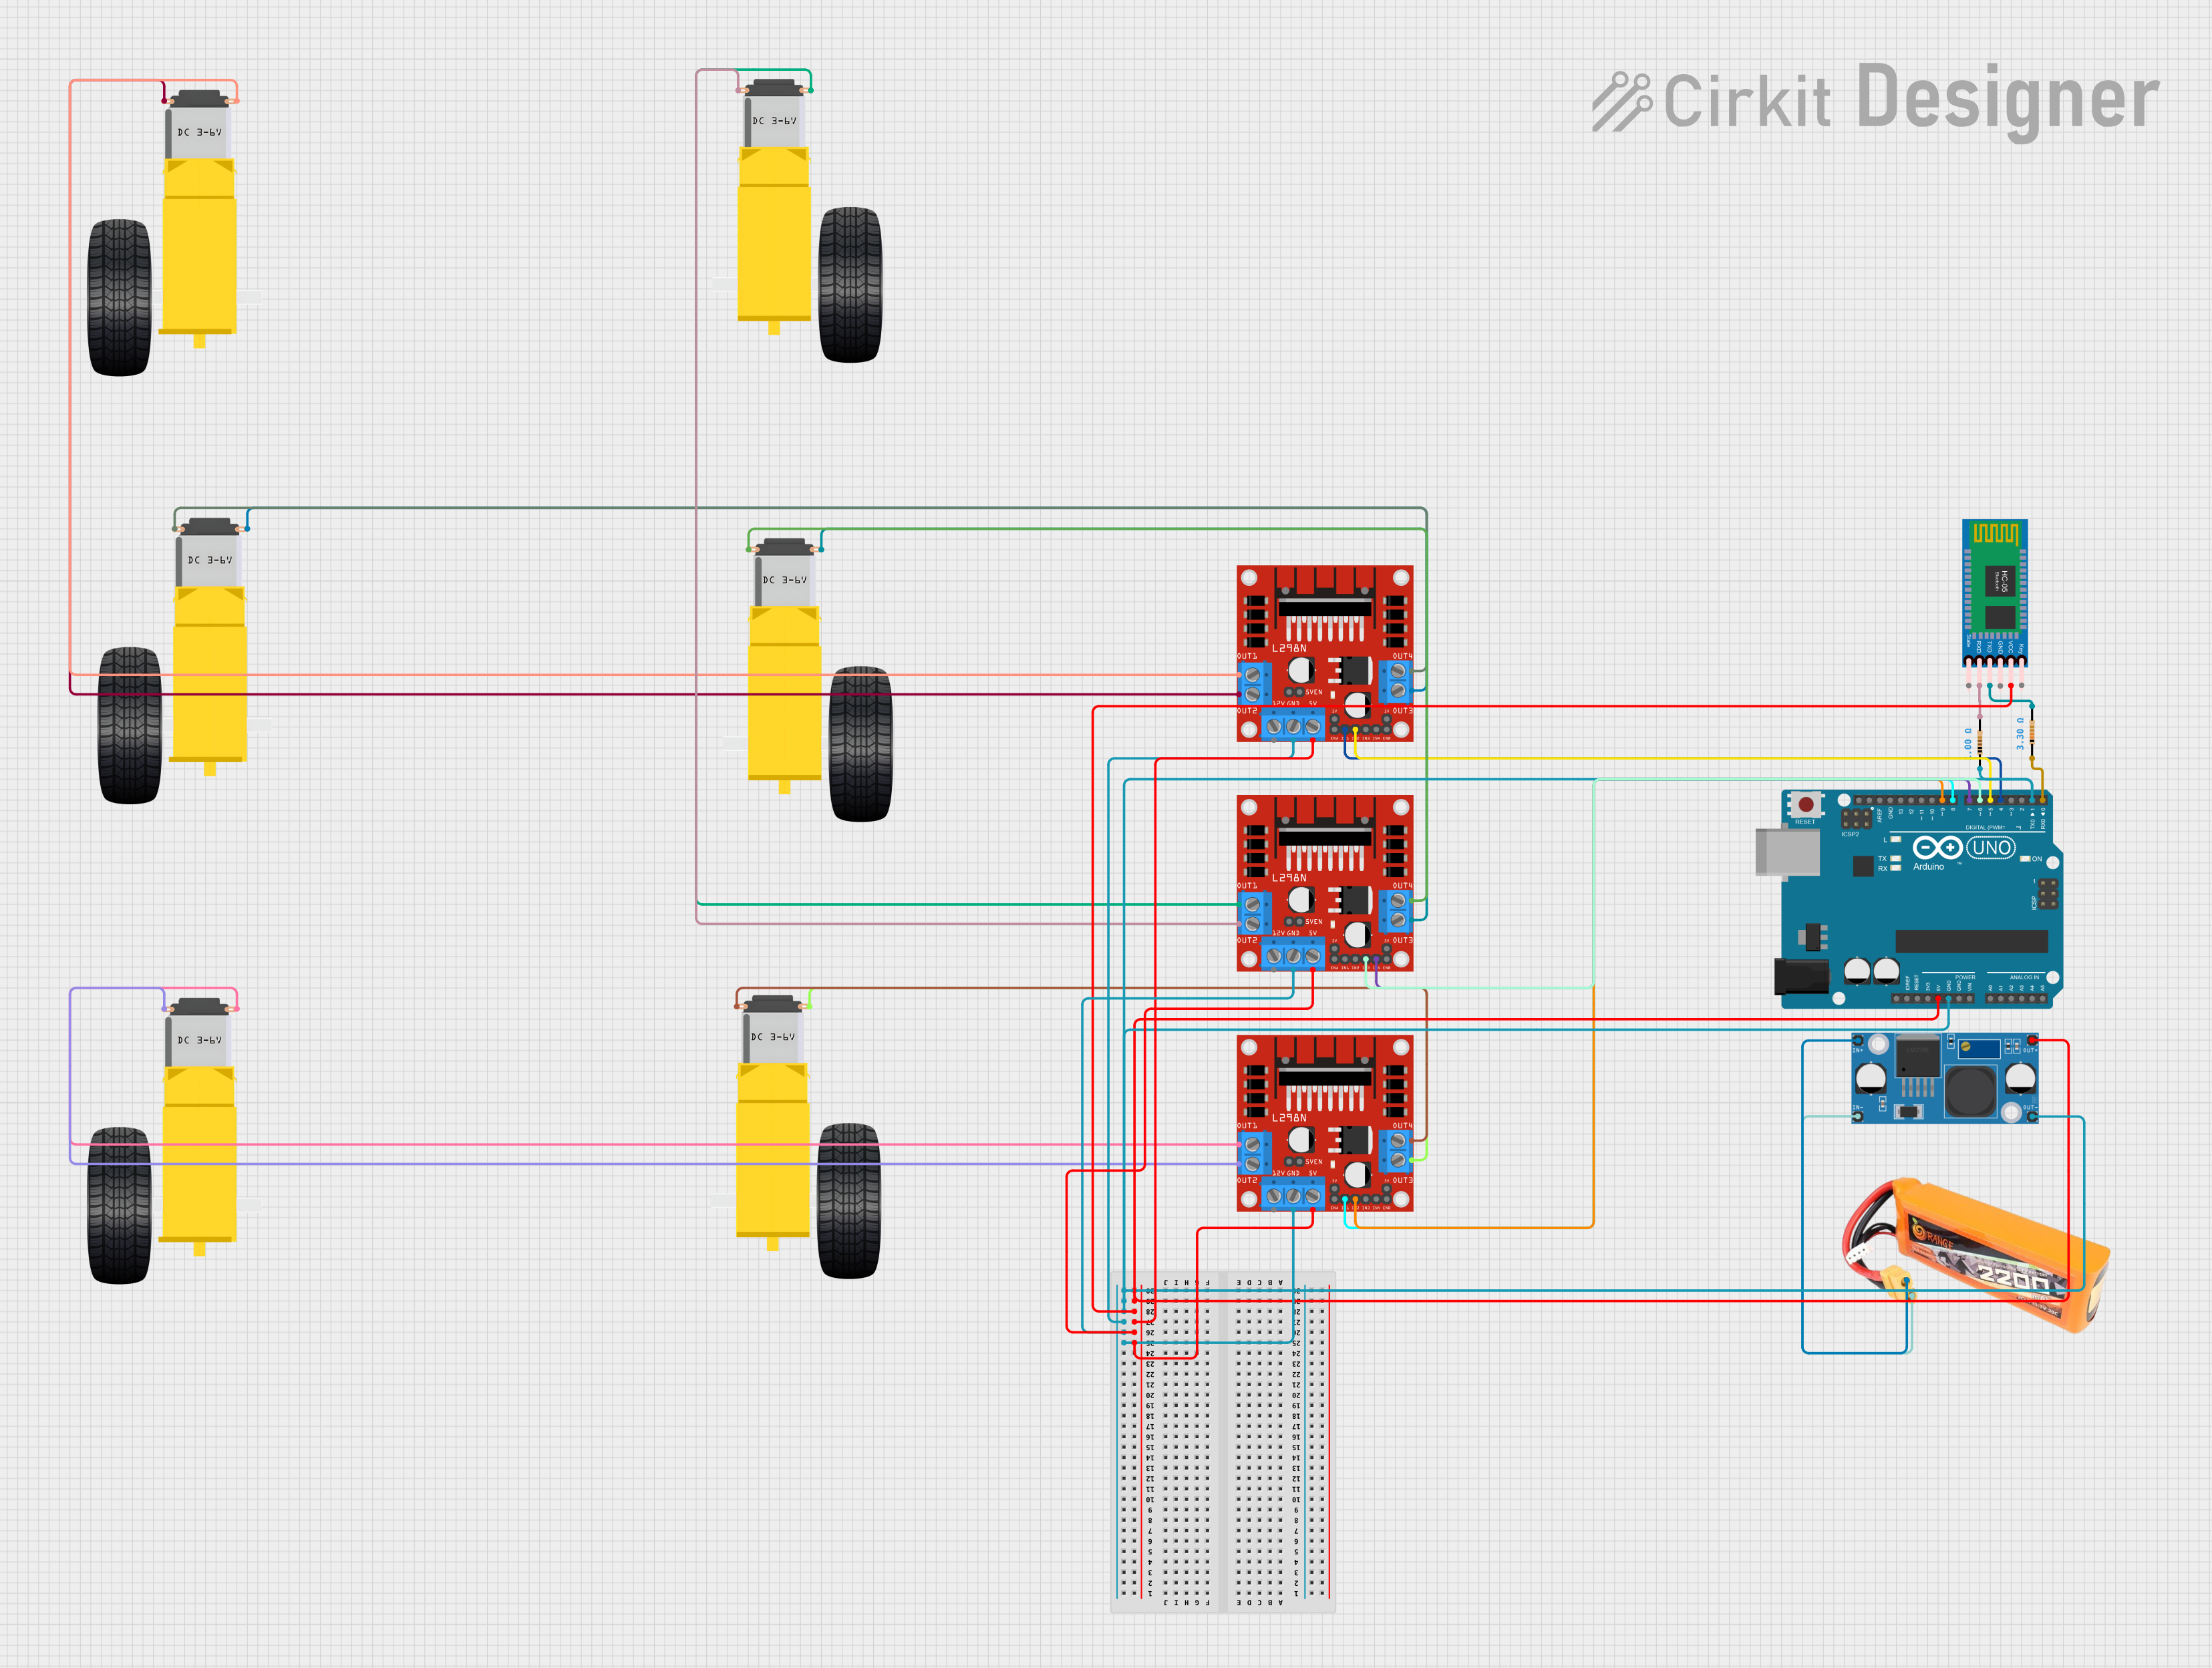 Open Project in Cirkit Designer
Explore Projects Built with ROBSTRIDE01 MOTOR
Open Project in Cirkit DesignerOpen Project in Cirkit DesignerOpen Project in Cirkit DesignerOpen Project in Cirkit DesignerCommon Applications and Use Cases
- Robotic arms and manipulators
- Autonomous vehicles and drones
- Conveyor systems in industrial automation
- Precision actuation in mechatronic systems
- Educational and hobbyist robotics projects
Technical Specifications
The ROBSTRIDE01 MOTOR is engineered to deliver optimal performance in a variety of robotic applications. Below are its key technical specifications:
| Parameter | Value |
|---|---|
| Manufacturer | ROBSTRIDE |
| Part ID | 01 |
| Motor Type | DC Brushless Motor |
| Operating Voltage | 12V - 24V DC |
| Rated Current | 2.5A |
| Stall Current | 5A |
| Rated Torque | 0.8 Nm |
| Maximum Torque | 1.5 Nm |
| Speed Range | 0 - 3000 RPM |
| Efficiency | 85% |
| Operating Temperature | -10°C to 60°C |
| Dimensions | 50mm x 50mm x 80mm |
| Weight | 450g |
Pin Configuration and Descriptions
The ROBSTRIDE01 MOTOR features a 6-pin connector for interfacing with controllers and power supplies. The pin configuration is as follows:
| Pin Number | Name | Description |
|---|---|---|
| 1 | V+ | Positive power supply input (12V - 24V DC) |
| 2 | GND | Ground connection |
| 3 | PWM | Pulse Width Modulation input for speed control |
| 4 | DIR | Direction control input (High: Forward, Low: Reverse) |
| 5 | FG | Frequency generator output for speed feedback |
| 6 | EN | Enable input (High: Enable motor, Low: Disable motor) |
Usage Instructions
To use the ROBSTRIDE01 MOTOR in a circuit, follow these steps:
- Power Supply: Connect the V+ pin to a DC power supply (12V - 24V) and the GND pin to the ground of the power supply.
- Control Signals: Use a microcontroller or motor driver to provide PWM and DIR signals for speed and direction control.
- Enable Signal: Ensure the EN pin is set to High to activate the motor.
- Feedback: Use the FG pin to monitor the motor's speed if required.
Important Considerations and Best Practices
- Voltage Range: Ensure the power supply voltage is within the specified range (12V - 24V DC) to avoid damage to the motor.
- Current Limiting: Use a motor driver with current limiting features to protect the motor from overcurrent conditions.
- Heat Dissipation: If the motor operates continuously at high loads, consider adding a heat sink or cooling system to prevent overheating.
- Wiring: Use appropriate gauge wires to handle the current requirements of the motor.
Example: Connecting to an Arduino UNO
Below is an example of how to control the ROBSTRIDE01 MOTOR using an Arduino UNO:
// Define motor control pins
const int pwmPin = 9;  // PWM signal for speed control
const int dirPin = 8;  // Direction control
const int enPin = 7;   // Enable motor

void setup() {
  // Set motor control pins as outputs
  pinMode(pwmPin, OUTPUT);
  pinMode(dirPin, OUTPUT);
  pinMode(enPin, OUTPUT);

  // Enable the motor
  digitalWrite(enPin, HIGH);
}

void loop() {
  // Set motor direction to forward
  digitalWrite(dirPin, HIGH);

  // Set motor speed to 50% using PWM
  analogWrite(pwmPin, 128); // 128 is 50% duty cycle (0-255 range)

  delay(5000); // Run motor for 5 seconds

  // Set motor direction to reverse
  digitalWrite(dirPin, LOW);

  // Set motor speed to 75% using PWM
  analogWrite(pwmPin, 192); // 192 is 75% duty cycle

  delay(5000); // Run motor for 5 seconds
}
Troubleshooting and FAQs
Common Issues and Solutions
Motor Does Not Start
- Cause: EN pin is not set to High.
- Solution: Ensure the EN pin is connected to a High signal to enable the motor.
Motor Runs in the Wrong Direction
- Cause: Incorrect DIR pin signal.
- Solution: Check the DIR pin connection and ensure it is set correctly (High for forward, Low for reverse).
Motor Overheats
- Cause: Prolonged operation at high loads or insufficient cooling.
- Solution: Reduce the load on the motor or add a heat sink/cooling system.
No Speed Feedback from FG Pin
- Cause: FG pin not connected or damaged.
- Solution: Verify the FG pin connection and ensure it is properly interfaced with the controller.
FAQs
Q: Can I use a 5V power supply with the ROBSTRIDE01 MOTOR?
A: No, the motor requires a power supply voltage between 12V and 24V DC. Using a 5V supply will not provide sufficient power for operation.
Q: Is the motor compatible with other microcontrollers besides Arduino?
A: Yes, the motor can be controlled by any microcontroller or motor driver that supports PWM and direction control signals.
Q: What is the maximum cable length for connecting the motor?
A: The maximum cable length depends on the wire gauge and current requirements. For optimal performance, use short, thick wires to minimize voltage drop.
Q: Can the motor operate continuously at maximum torque?
A: Operating continuously at maximum torque may cause overheating. It is recommended to operate within the rated torque for prolonged use.