How to Use tactile inducer speaker: Examples, Pinouts, and Specs
Introduction
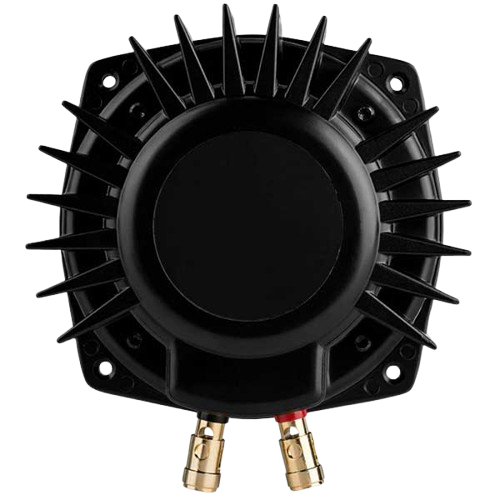
The tactile inducer speaker is a specialized transducer designed to convert electrical signals into vibrations or low-frequency sound waves. Unlike traditional speakers, which emit sound into the air, tactile inducer speakers are designed to transmit vibrations directly to a surface or object, allowing users to "feel" the sound. This makes them ideal for applications where haptic feedback or immersive audio experiences are required.
Explore Projects Built with tactile inducer speaker


Explore Projects Built with tactile inducer speaker
Common Applications and Use Cases
- Haptic feedback systems in gaming and virtual reality (VR) devices.
- Immersive audio systems for home theaters or personal audio setups.
- Assistive devices for individuals with hearing impairments.
- Automotive systems for tactile alerts and notifications.
- Wearable devices for vibration-based notifications.
Technical Specifications
Below are the key technical details for a typical tactile inducer speaker:
| Parameter | Value |
|---|---|
| Operating Voltage | 3V to 12V |
| Rated Power | 5W |
| Impedance | 4Ω or 8Ω |
| Frequency Range | 20Hz to 200Hz |
| Dimensions | Varies (e.g., 40mm diameter) |
| Weight | Typically 50g to 150g |
| Mounting Type | Adhesive or screw-mounted |
Pin Configuration and Descriptions
Tactile inducer speakers typically have two terminals for electrical connections:
| Pin | Description |
|---|---|
| + | Positive terminal for connecting to the power source or amplifier. |
| - | Negative terminal for connecting to the ground or amplifier. |
Usage Instructions
How to Use the Component in a Circuit
- Power Requirements: Ensure the power supply matches the operating voltage range (3V to 12V). Exceeding this range may damage the component.
- Amplifier Connection: Tactile inducer speakers require an audio amplifier to drive them effectively. Connect the positive (+) and negative (-) terminals of the speaker to the corresponding output terminals of the amplifier.
- Mounting: Secure the speaker to a surface using adhesive or screws. For optimal performance, attach it to a rigid surface that can effectively transmit vibrations.
- Audio Input: Feed an audio signal (preferably low-frequency) into the amplifier. The speaker will convert this signal into vibrations.
Important Considerations and Best Practices
- Surface Selection: The material and rigidity of the mounting surface significantly affect the performance. Hard, flat surfaces like wood or metal work best.
- Frequency Range: Use low-frequency signals (20Hz to 200Hz) for optimal tactile feedback. High frequencies may not produce noticeable vibrations.
- Heat Dissipation: Prolonged use at high power levels may cause the speaker to heat up. Ensure proper ventilation or use a heat sink if necessary.
- Polarity: Always connect the terminals with the correct polarity to avoid phase issues.
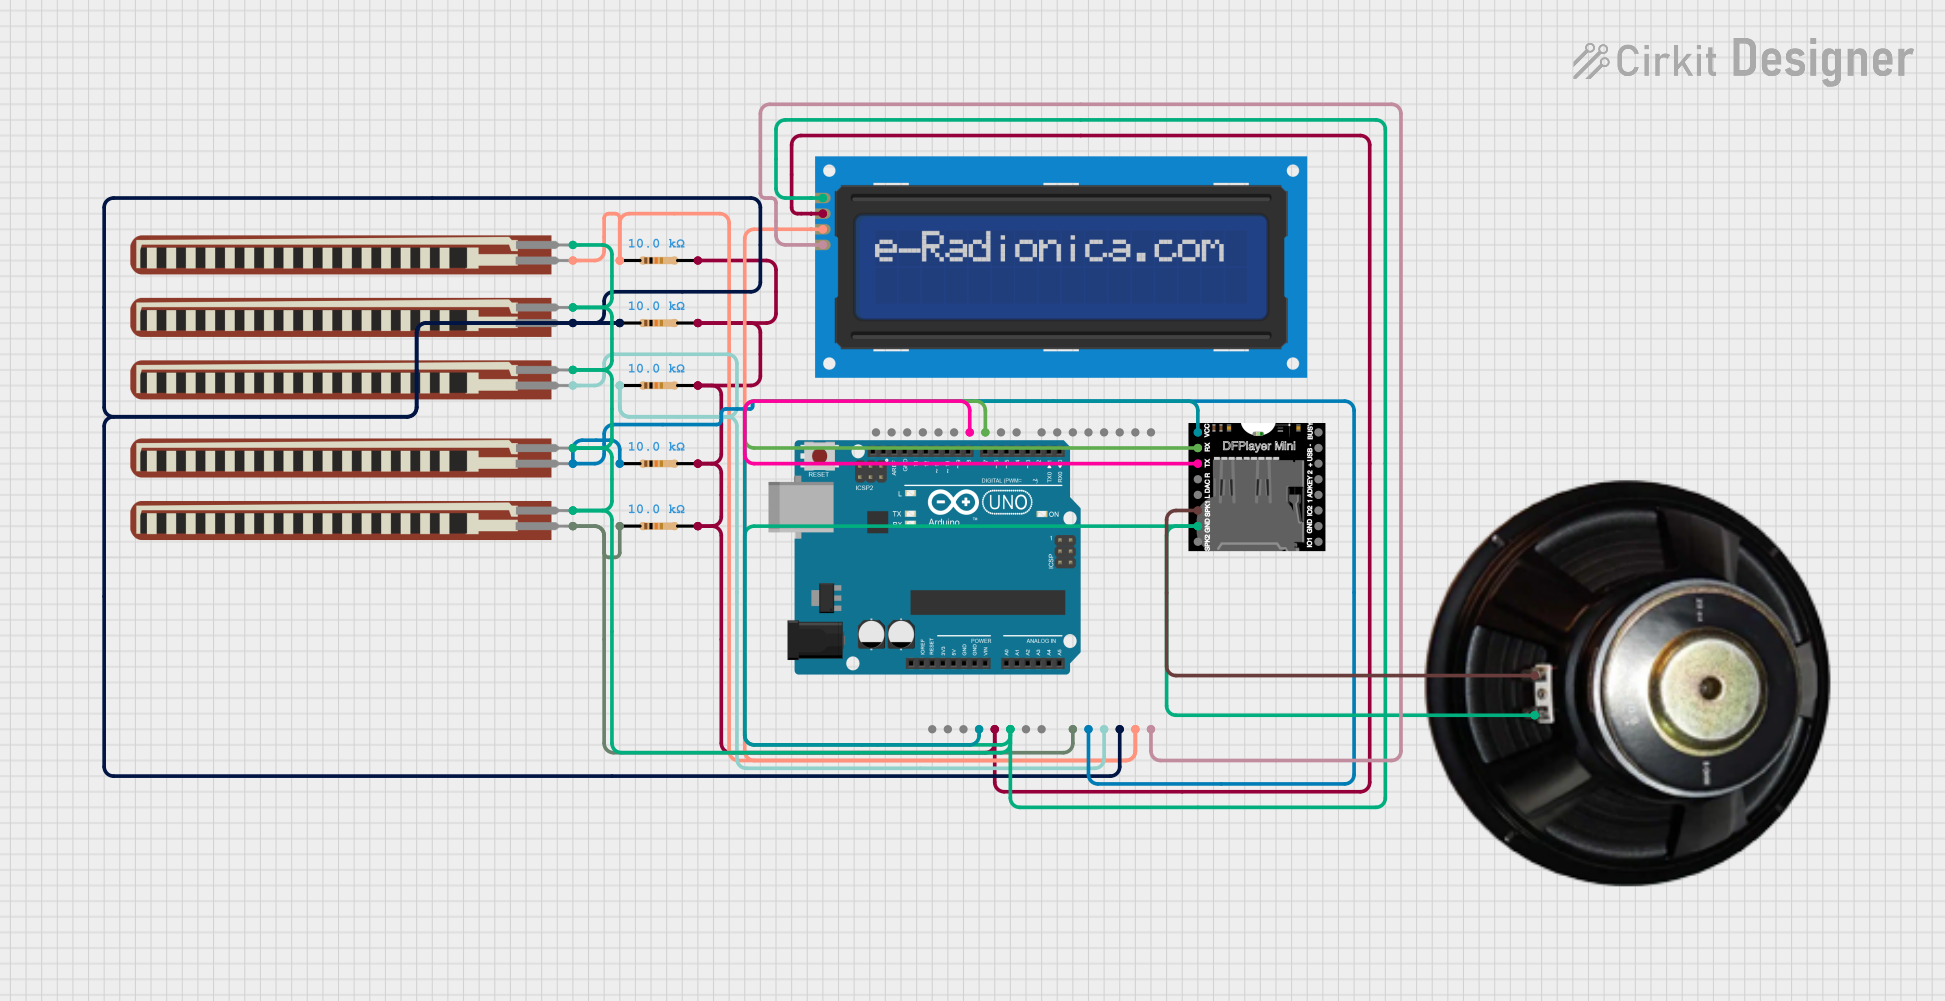
Example: Connecting to an Arduino UNO
To use a tactile inducer speaker with an Arduino UNO, you will need an audio amplifier module (e.g., PAM8403). Below is an example of how to generate a low-frequency signal using Arduino:
// Example code to generate a low-frequency signal for a tactile inducer speaker
// Connect the speaker to an amplifier, and the amplifier to the Arduino's PWM pin

const int speakerPin = 9; // PWM pin connected to the amplifier input

void setup() {
  pinMode(speakerPin, OUTPUT); // Set the speaker pin as an output
}

void loop() {
  // Generate a 100Hz square wave signal
  tone(speakerPin, 100); // Output a 100Hz tone
  delay(5000);           // Keep the tone for 5 seconds
  noTone(speakerPin);    // Stop the tone
  delay(1000);           // Wait for 1 second before repeating
}
Note: The Arduino cannot directly drive the tactile inducer speaker. Always use an amplifier to avoid damaging the Arduino.
Troubleshooting and FAQs
Common Issues and Solutions
No Vibration or Sound:
- Cause: Incorrect wiring or insufficient power supply.
- Solution: Double-check the connections and ensure the power supply meets the required voltage and current ratings.
Weak Vibrations:
- Cause: Poor mounting surface or low input signal.
- Solution: Attach the speaker to a rigid surface and increase the input signal amplitude.
Overheating:
- Cause: Prolonged use at high power levels.
- Solution: Reduce the power input or add a heat sink for better heat dissipation.
Distorted Vibrations:
- Cause: Mismatched impedance between the speaker and amplifier.
- Solution: Use an amplifier that matches the speaker's impedance (e.g., 4Ω or 8Ω).
FAQs
Q1: Can I use the tactile inducer speaker without an amplifier?
A1: No, the tactile inducer speaker requires an amplifier to drive it effectively. Directly connecting it to a microcontroller or power source may result in insufficient performance or damage.
Q2: What type of adhesive should I use for mounting?
A2: Use a strong, vibration-resistant adhesive such as double-sided foam tape or epoxy. Ensure the surface is clean and dry before mounting.
Q3: Can I use this speaker for regular audio playback?
A3: Tactile inducer speakers are optimized for low-frequency vibrations and are not suitable for high-quality audio playback.
Q4: How do I test if the speaker is working?
A4: Connect it to an amplifier and play a low-frequency audio signal (e.g., 50Hz to 100Hz). You should feel vibrations when touching the surface to which the speaker is mounted.