
How to Use WeMos D1 Mini: Examples, Pinouts, and Specs

 Design with WeMos D1 Mini in Cirkit Designer
Introduction
The WeMos D1 Mini is a compact Wi-Fi development board based on the ESP8266 chip, designed specifically for Internet of Things (IoT) applications. It combines a powerful microcontroller with built-in Wi-Fi capabilities, making it an excellent choice for projects requiring wireless connectivity. The board is small, versatile, and compatible with the Arduino IDE, making it accessible to both beginners and experienced developers.
Explore Projects Built with WeMos D1 Mini
 Open Project in Cirkit Designer
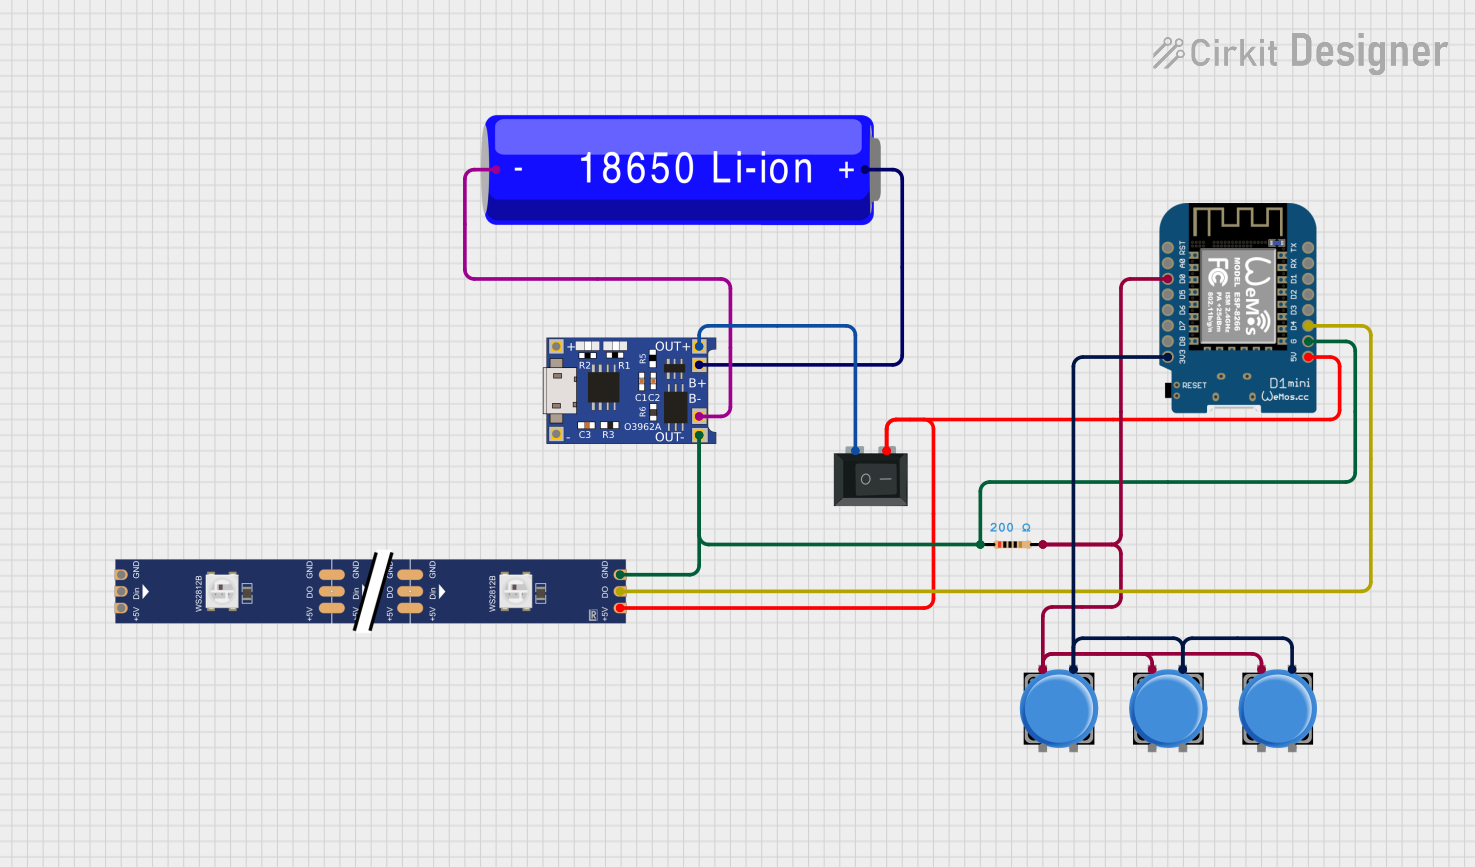 Open Project in Cirkit Designer
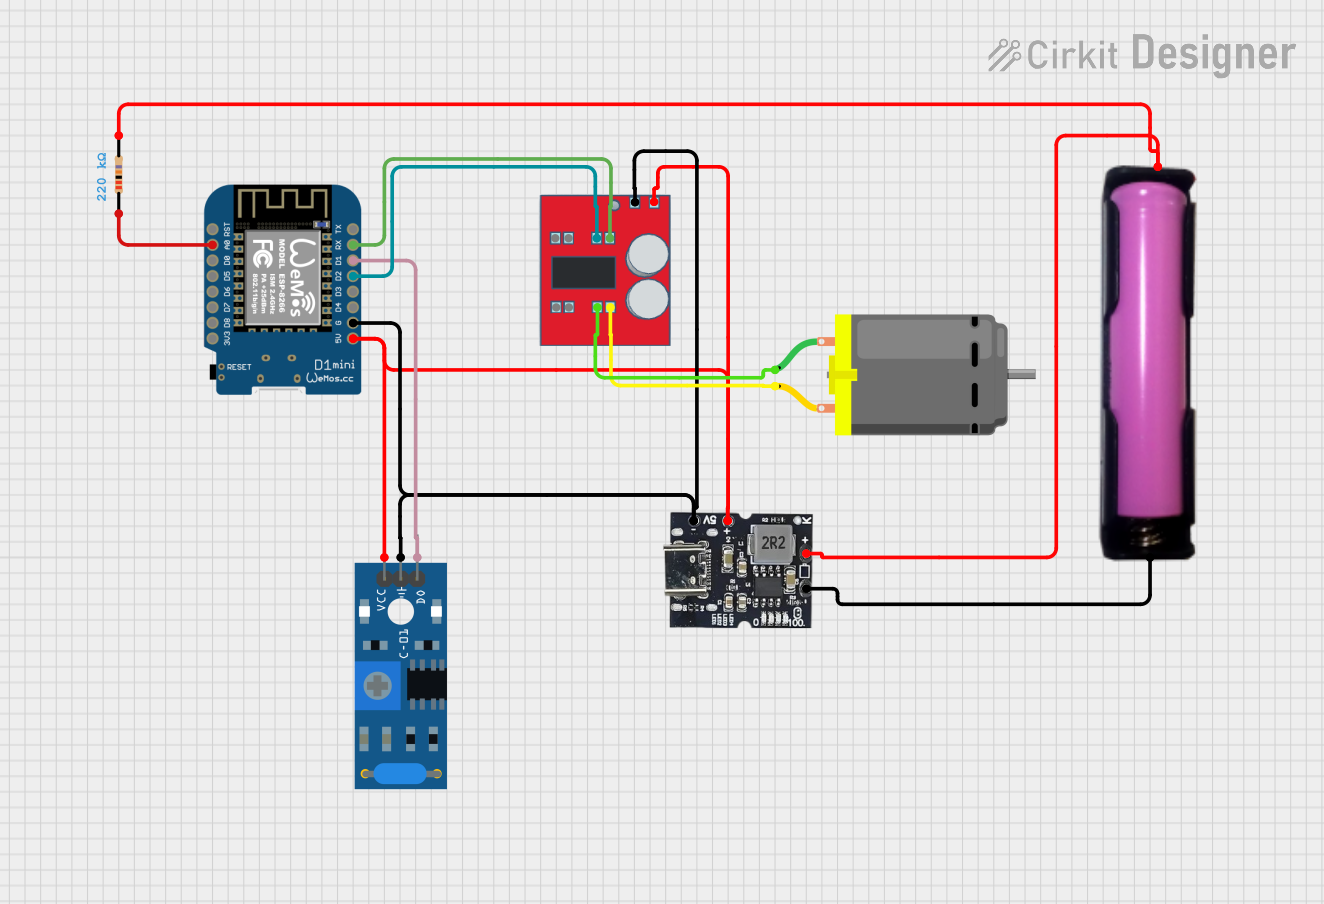 Open Project in Cirkit Designer
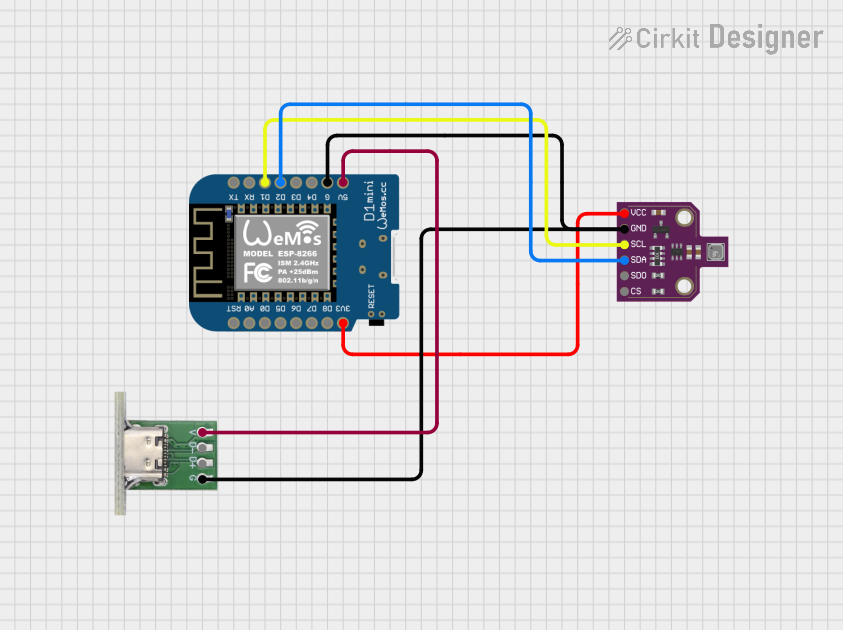 Open Project in Cirkit Designer
Explore Projects Built with WeMos D1 Mini
Open Project in Cirkit DesignerOpen Project in Cirkit DesignerOpen Project in Cirkit DesignerOpen Project in Cirkit DesignerCommon Applications and Use Cases
- Home automation systems
- IoT sensor networks
- Wireless data logging
- Smart appliances
- Remote monitoring and control
- Prototyping Wi-Fi-enabled devices
Technical Specifications
The WeMos D1 Mini is packed with features that make it a powerful yet compact development board. Below are its key technical specifications:
| Specification | Details |
|---|---|
| Microcontroller | ESP8266 (32-bit Tensilica L106 running at 80/160 MHz) |
| Flash Memory | 4 MB (32 Mbit) |
| Operating Voltage | 3.3V |
| Input Voltage (VIN) | 5V (via USB or VIN pin) |
| Digital I/O Pins | 11 (D0-D10) |
| PWM Pins | All digital pins |
| Analog Input Pins | 1 (A0, 10-bit resolution, 0-3.3V range) |
| Wi-Fi | 802.11 b/g/n |
| USB Interface | Micro-USB |
| Dimensions | 34.2mm x 25.6mm |
| Power Consumption | ~70mA (idle), varies with Wi-Fi activity |
| Programming Interface | Arduino IDE, Lua, MicroPython |
Pin Configuration and Descriptions
The WeMos D1 Mini has a total of 16 pins, including power, ground, and GPIO pins. Below is the pinout description:
| Pin | Label | Description |
|---|---|---|
| 1 | 3V3 | 3.3V output (regulated) |
| 2 | G | Ground |
| 3 | D0 | GPIO16 (can be used as digital I/O) |
| 4 | D1 | GPIO5 (can be used as digital I/O, supports I2C SCL) |
| 5 | D2 | GPIO4 (can be used as digital I/O, supports I2C SDA) |
| 6 | D3 | GPIO0 (can be used as digital I/O, pulled up internally) |
| 7 | D4 | GPIO2 (can be used as digital I/O, pulled up internally, also used for LED) |
| 8 | D5 | GPIO14 (can be used as digital I/O, supports SPI SCK) |
| 9 | D6 | GPIO12 (can be used as digital I/O, supports SPI MISO) |
| 10 | D7 | GPIO13 (can be used as digital I/O, supports SPI MOSI) |
| 11 | D8 | GPIO15 (can be used as digital I/O, supports SPI SS, pulled down internally) |
| 12 | RX | GPIO3 (UART RX, can also be used as digital I/O) |
| 13 | TX | GPIO1 (UART TX, can also be used as digital I/O) |
| 14 | A0 | Analog input (0-3.3V, 10-bit resolution) |
| 15 | VIN | 5V input (used to power the board via an external power source) |
| 16 | RST | Reset pin (active low, used to reset the board) |
Usage Instructions
How to Use the WeMos D1 Mini in a Circuit
Powering the Board:
- You can power the board via the micro-USB port or the VIN pin (5V input).
- Ensure the input voltage does not exceed 5V to avoid damaging the board.
Connecting Sensors and Actuators:
- Use the GPIO pins (D0-D10) to connect digital sensors, actuators, or other peripherals.
- For analog sensors, connect them to the A0 pin, ensuring the input voltage is within the 0-3.3V range.
Programming the Board:
- Install the Arduino IDE and add the ESP8266 board package via the Boards Manager.
- Select "WeMos D1 R2 & Mini" as the board type in the Arduino IDE.
- Connect the board to your computer via a micro-USB cable and upload your code.
Wi-Fi Configuration:
- Use the ESP8266WiFi library to connect the board to a Wi-Fi network.
- The board can operate as a Wi-Fi client, access point, or both.
Example Code: Blinking the Built-in LED
The following example demonstrates how to blink the built-in LED on the WeMos D1 Mini (connected to GPIO2/D4):
// Example: Blink the built-in LED on the WeMos D1 Mini

void setup() {
  pinMode(D4, OUTPUT); // Set GPIO2 (D4) as an output pin
}

void loop() {
  digitalWrite(D4, HIGH); // Turn the LED on
  delay(1000);            // Wait for 1 second
  digitalWrite(D4, LOW);  // Turn the LED off
  delay(1000);            // Wait for 1 second
}
Important Considerations and Best Practices
- Voltage Levels: The GPIO pins operate at 3.3V. Avoid applying 5V directly to the pins.
- Wi-Fi Power Consumption: Wi-Fi operations can cause power spikes. Use a stable power source.
- Pull-up/Pull-down Resistors: Some pins (e.g., D3, D4) have internal pull-up resistors. Be mindful of this when connecting external components.
- Reset and Flash Modes: Use the RST pin to reset the board. To enter flash mode, hold the FLASH button (if available) while resetting.
Troubleshooting and FAQs
Common Issues and Solutions
The board is not detected by the computer:
- Ensure the correct USB driver for the CH340 or CP2102 chip (depending on your board version) is installed.
- Try a different USB cable or port.
Upload errors in the Arduino IDE:
- Check that the correct board and COM port are selected in the Arduino IDE.
- Press and hold the FLASH button (if available) while uploading the code.
Wi-Fi connection issues:
- Verify the SSID and password in your code.
- Ensure the Wi-Fi network is within range and supports 2.4 GHz (the ESP8266 does not support 5 GHz).
Analog readings are inaccurate:
- Ensure the input voltage to the A0 pin does not exceed 3.3V. Use a voltage divider if necessary.
FAQs
Q: Can I power the WeMos D1 Mini with a battery?
A: Yes, you can power the board using a 3.7V LiPo battery (via a regulator) or a 5V power source connected to the VIN pin.
Q: Is the WeMos D1 Mini compatible with Arduino libraries?
A: Yes, the board is compatible with most Arduino libraries, especially those designed for the ESP8266.
Q: Can I use the WeMos D1 Mini for OTA (Over-the-Air) updates?
A: Yes, the ESP8266 supports OTA updates, allowing you to upload code wirelessly after initial setup.
Q: What is the maximum current the GPIO pins can source/sink?
A: Each GPIO pin can source/sink up to 12 mA. Avoid exceeding this limit to prevent damage.