
How to Use 40-pin TFT Friend: Examples, Pinouts, and Specs
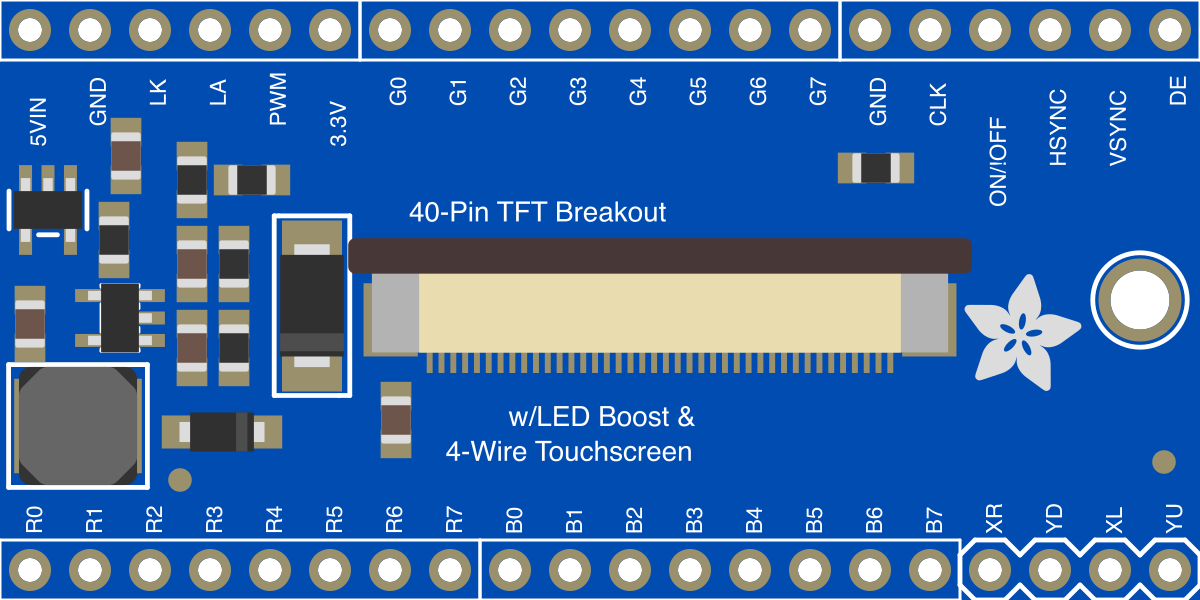
 Design with 40-pin TFT Friend in Cirkit Designer
Introduction
The 40-pin TFT Friend (Manufacturer: Adafruit, Part ID: 1932) is a versatile display module designed to interface with microcontrollers and provide graphical output. It supports a variety of TFT displays with a 40-pin connector, making it an excellent choice for projects requiring visual feedback or user interaction. This module is particularly useful for applications such as graphical user interfaces (GUIs), data visualization, and touchscreen-based controls.
Explore Projects Built with 40-pin TFT Friend
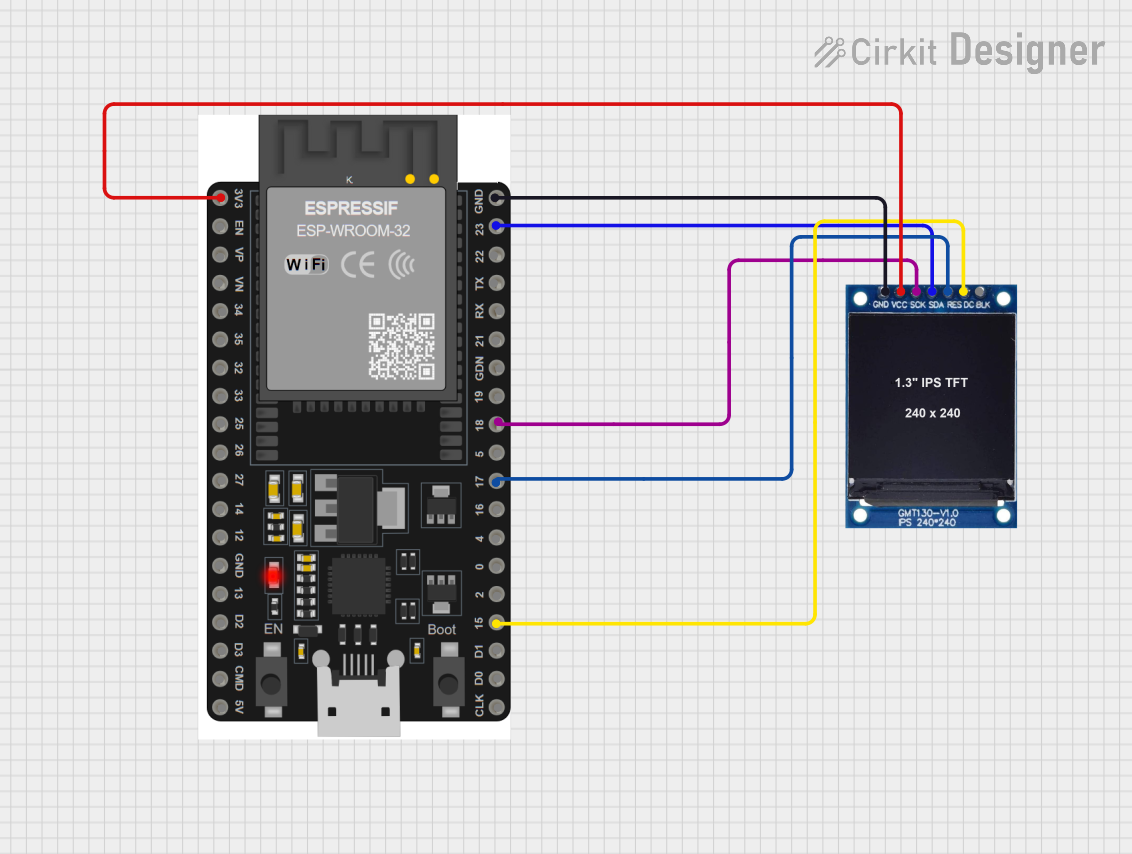 Open Project in Cirkit Designer
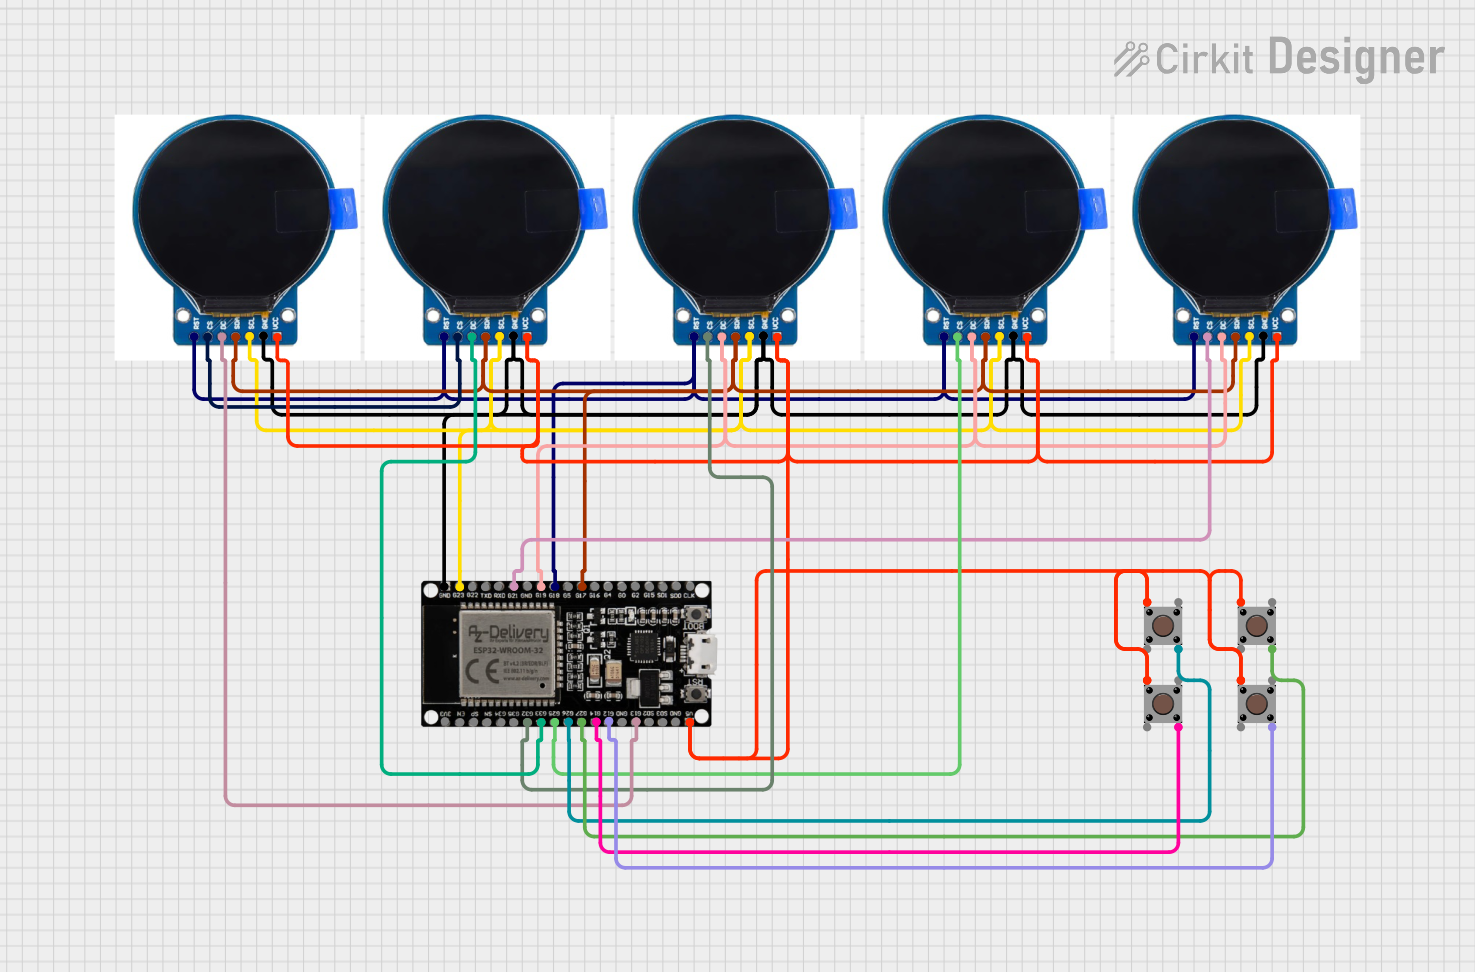 Open Project in Cirkit Designer
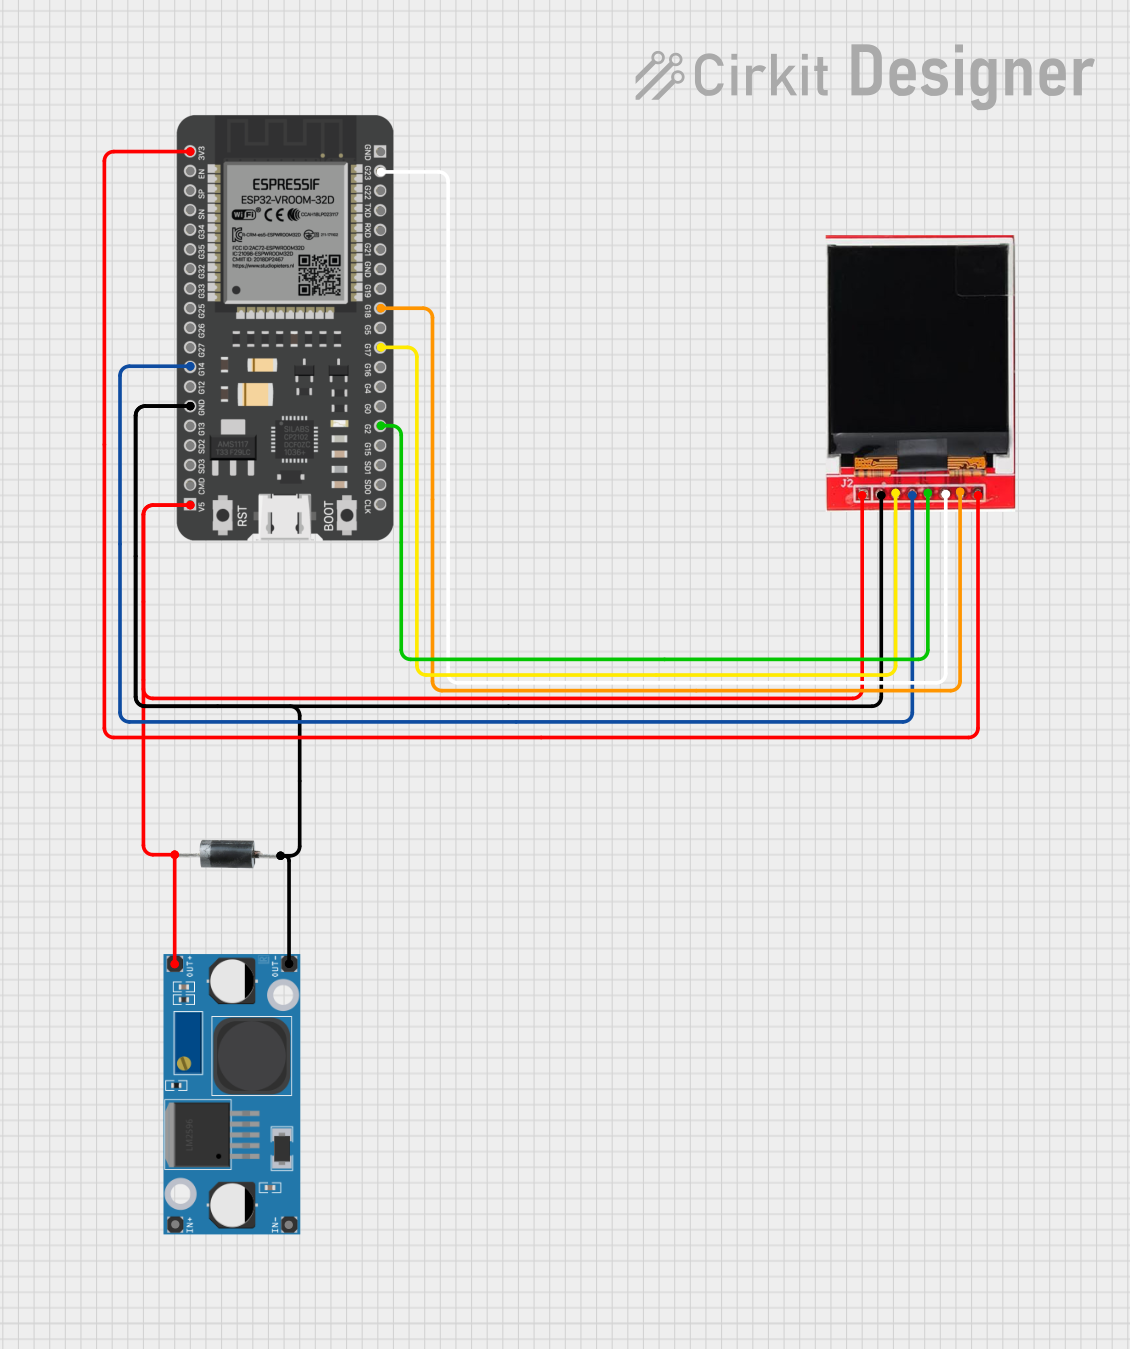 Open Project in Cirkit Designer
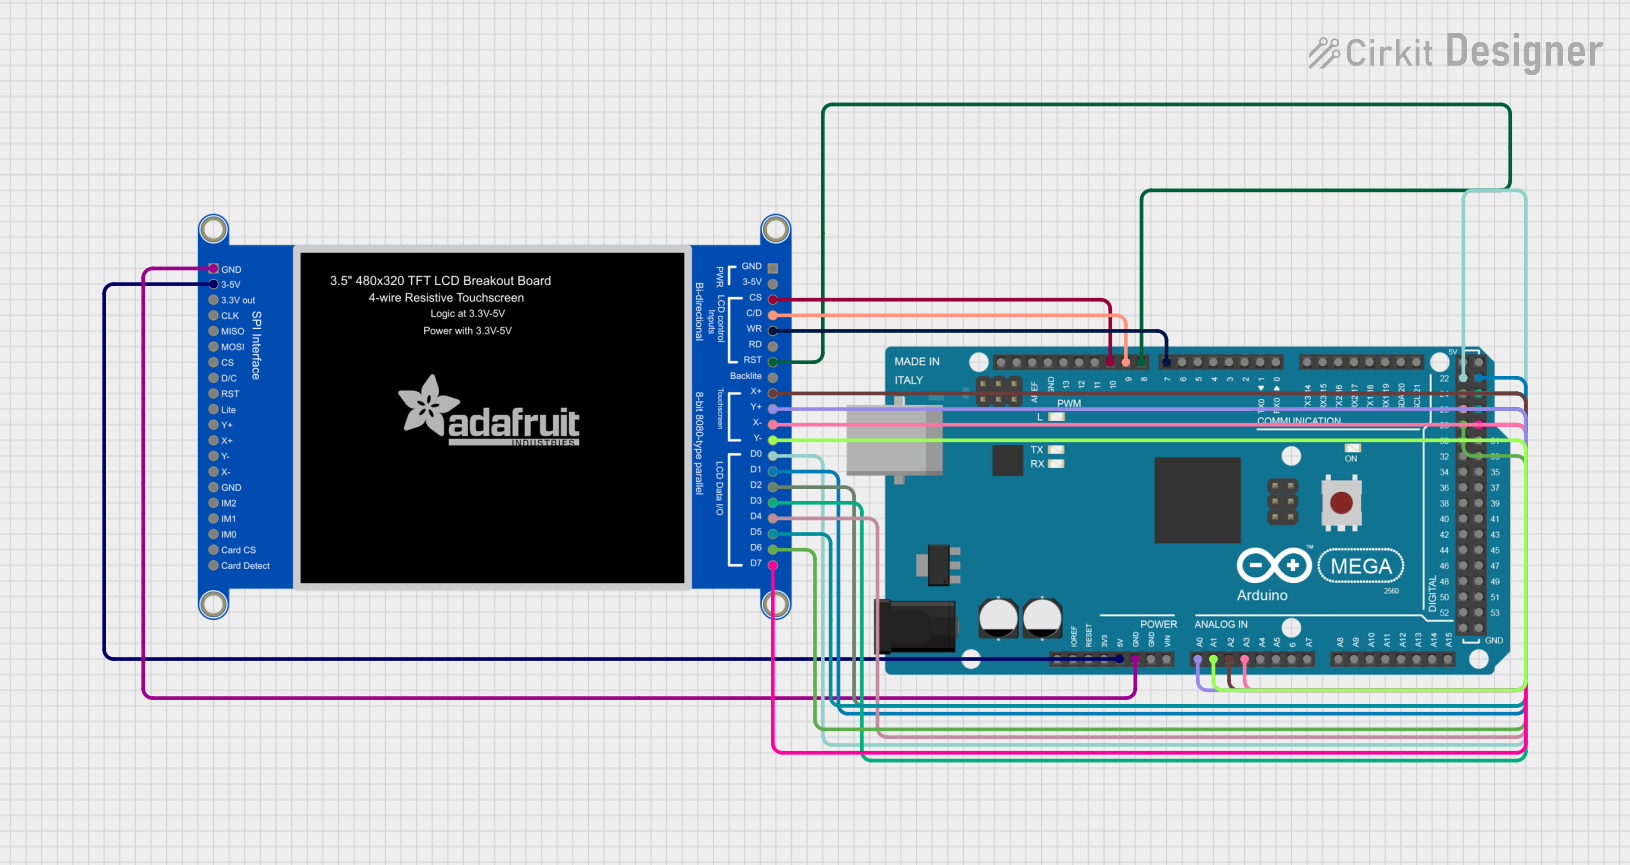 Open Project in Cirkit Designer
Explore Projects Built with 40-pin TFT Friend
Open Project in Cirkit DesignerOpen Project in Cirkit DesignerOpen Project in Cirkit DesignerOpen Project in Cirkit DesignerCommon Applications
- Embedded systems requiring graphical output
- Touchscreen-based user interfaces
- Data monitoring and visualization
- Prototyping for IoT devices
- Educational projects involving microcontrollers like Arduino or Raspberry Pi
Technical Specifications
Key Technical Details
- Input Voltage: 3.3V or 5V (logic level shifting supported)
- Supported Displays: 40-pin TFT displays (e.g., 2.8", 3.5", 4.3", 5.0", and 7.0" sizes)
- Touchscreen Support: Resistive or capacitive (depending on the connected display)
- Interface: Parallel 8-bit or 16-bit data bus
- Logic Level Compatibility: 3.3V and 5V
- Dimensions: 50mm x 50mm (approx.)
- Mounting: Standard 40-pin FPC connector
Pin Configuration and Descriptions
The 40-pin TFT Friend features a 40-pin FPC connector for interfacing with TFT displays. Below is the pinout for the module:
| Pin Number | Pin Name | Description |
|---|---|---|
| 1 | GND | Ground |
| 2 | VCC | Power supply (3.3V or 5V) |
| 3-10 | DB0-DB7 | Data bus (8-bit parallel interface) |
| 11-18 | DB8-DB15 | Data bus (16-bit parallel interface) |
| 19 | RS | Register Select (Command/Data selection) |
| 20 | WR | Write signal |
| 21 | RD | Read signal |
| 22 | CS | Chip Select |
| 23 | RESET | Reset signal |
| 24 | IM0 | Interface mode selection (0 or 1) |
| 25 | IM1 | Interface mode selection (0 or 1) |
| 26 | IM2 | Interface mode selection (0 or 1) |
| 27 | BL_CTRL | Backlight control |
| 28-40 | NC | Not connected |
Note: The exact pinout may vary depending on the specific TFT display connected to the module. Always refer to the display's datasheet for compatibility.
Usage Instructions
How to Use the 40-pin TFT Friend in a Circuit
- Power Supply: Connect the VCC pin to a 3.3V or 5V power source and GND to ground.
- Data Bus: Connect the DB0-DB15 pins to the corresponding data pins on your microcontroller. For 8-bit mode, only DB0-DB7 are required.
- Control Pins: Connect the RS, WR, RD, CS, and RESET pins to GPIO pins on your microcontroller.
- Backlight Control: Use the BL_CTRL pin to adjust the backlight brightness (PWM signal recommended).
- Interface Mode: Configure the IM0, IM1, and IM2 pins to select the desired interface mode (refer to the display datasheet for details).
Important Considerations
- Ensure the logic levels of your microcontroller match the TFT Friend's requirements (3.3V or 5V).
- Use a level shifter if your microcontroller operates at a different voltage.
- Handle the FPC connector carefully to avoid damaging the pins or ribbon cable.
- For touchscreen functionality, additional connections may be required (e.g., X+, X-, Y+, Y- for resistive touchscreens).
Example: Connecting to an Arduino UNO
Below is an example of how to connect the 40-pin TFT Friend to an Arduino UNO and display a simple graphic.
Wiring Diagram
| TFT Friend Pin | Arduino Pin |
|---|---|
| VCC | 5V |
| GND | GND |
| DB0-DB7 | Digital Pins 2-9 |
| RS | Digital Pin 10 |
| WR | Digital Pin 11 |
| RD | Digital Pin 12 |
| CS | Digital Pin 13 |
| RESET | Digital Pin A0 |
| BL_CTRL | Digital Pin A1 |
Arduino Code Example
#include <Adafruit_GFX.h>    // Core graphics library
#include <Adafruit_TFTLCD.h> // Hardware-specific library for TFT

#define LCD_CS A3  // Chip Select pin
#define LCD_CD A2  // Command/Data pin
#define LCD_WR A1  // LCD Write pin
#define LCD_RD A0  // LCD Read pin
#define LCD_RESET A4 // Reset pin

// Create an instance of the TFT library
Adafruit_TFTLCD tft(LCD_CS, LCD_CD, LCD_WR, LCD_RD, LCD_RESET);

void setup() {
  tft.begin(0x9341); // Initialize with the display's driver ID
  tft.fillScreen(0x0000); // Clear the screen (black)
  tft.setTextColor(0xFFFF); // Set text color to white
  tft.setTextSize(2); // Set text size
  tft.setCursor(10, 10); // Set cursor position
  tft.println("Hello, TFT!"); // Display text
}

void loop() {
  // Add your code here for dynamic updates
}
Note: Replace
0x9341with the driver ID of your specific TFT display. Refer to the display's datasheet for the correct ID.
Troubleshooting and FAQs
Common Issues
No Display Output:
- Verify all connections, especially the data and control pins.
- Ensure the correct driver ID is used in the code.
- Check the power supply voltage and current ratings.
Touchscreen Not Responding:
- Confirm that the touchscreen pins are connected correctly.
- Check if the touchscreen library is properly initialized.
Backlight Not Working:
- Ensure the BL_CTRL pin is connected to a PWM-capable pin.
- Verify the backlight control signal is within the required voltage range.
Distorted Graphics:
- Check the interface mode configuration (IM0, IM1, IM2).
- Ensure the data bus is correctly wired and matches the selected mode (8-bit or 16-bit).
Tips for Troubleshooting
- Use a multimeter to check for continuity and proper voltage levels.
- Test the TFT Friend with a known working display to isolate issues.
- Refer to the Adafruit forums and documentation for additional support.
FAQ: Can I use the 40-pin TFT Friend with a Raspberry Pi?
Answer: Yes, but you may need additional libraries and configuration to interface with the GPIO pins.