
How to Use Battery: Examples, Pinouts, and Specs
 Design with Battery in Cirkit Designer
Introduction
A battery is a device that stores electrical energy in chemical form and converts it into electrical energy to power electronic circuits. Batteries are widely used in various applications, ranging from small electronic devices like remote controls and smartphones to larger systems such as electric vehicles and renewable energy storage.
Common applications and use cases include:
- Powering portable electronic devices (e.g., smartphones, laptops, cameras)
- Backup power supplies (e.g., uninterruptible power supplies, emergency lighting)
- Energy storage for renewable energy systems (e.g., solar panels, wind turbines)
- Electric vehicles and robotics
Explore Projects Built with Battery
 Open Project in Cirkit Designer
 Open Project in Cirkit Designer
 Open Project in Cirkit Designer
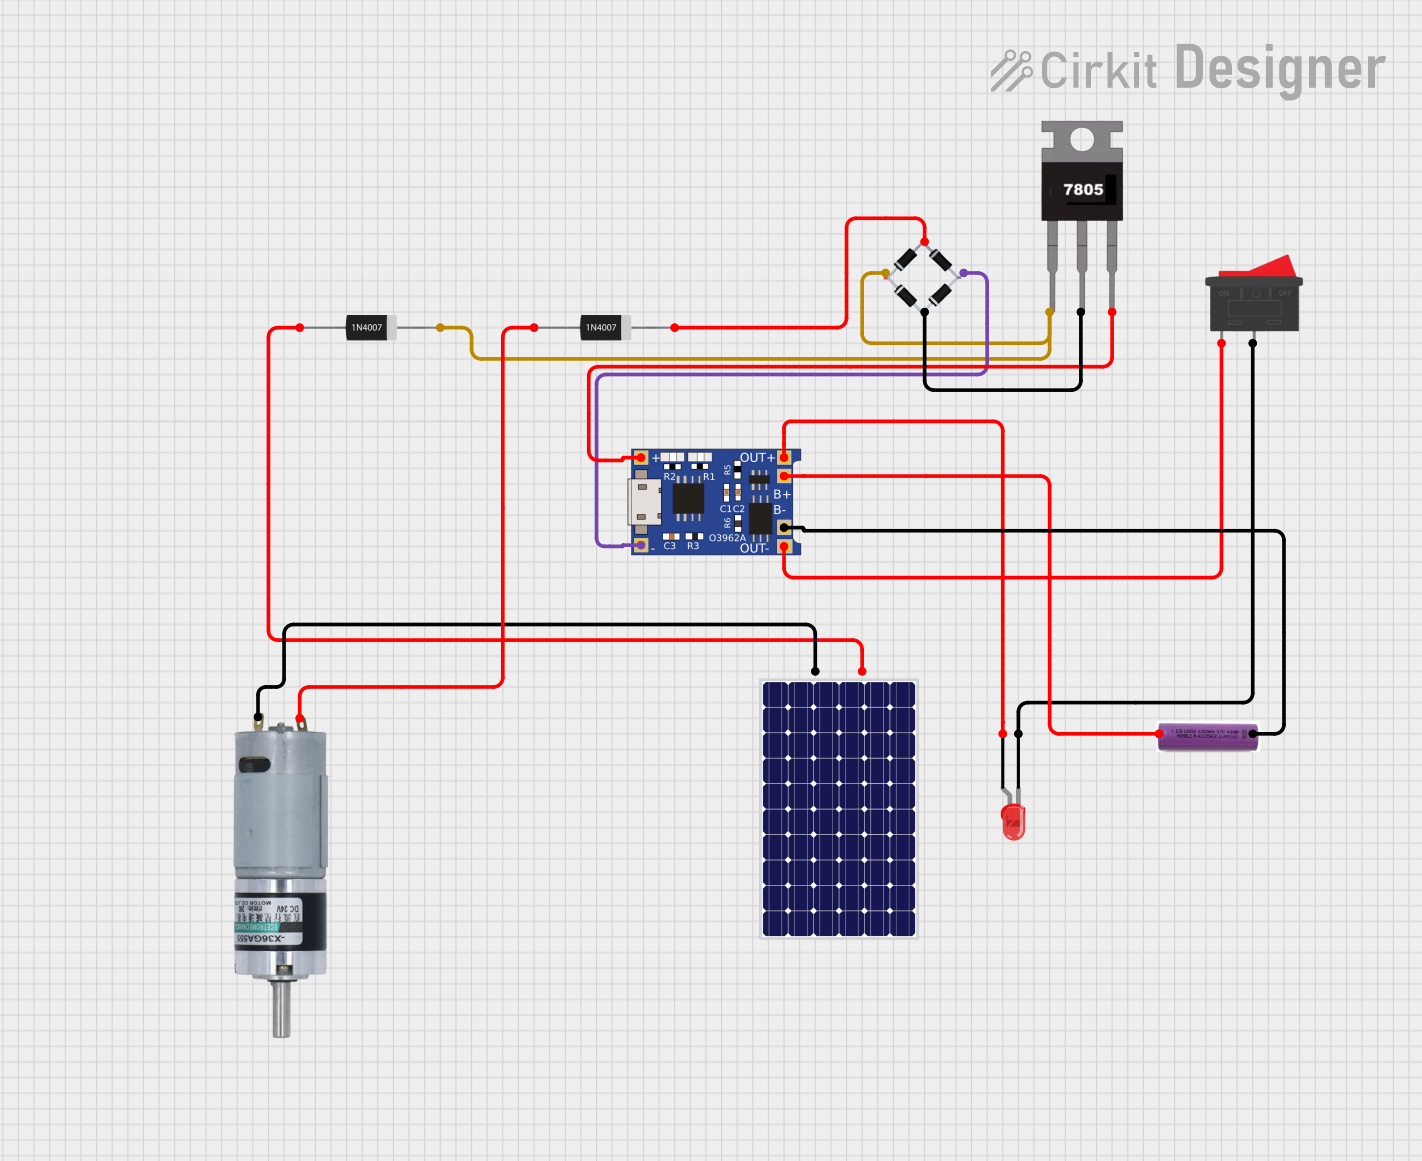 Open Project in Cirkit Designer
Explore Projects Built with Battery
Open Project in Cirkit DesignerOpen Project in Cirkit DesignerOpen Project in Cirkit DesignerOpen Project in Cirkit DesignerTechnical Specifications
Batteries come in various types, sizes, and chemistries. Below are general specifications for common battery types:
| Parameter | Description |
|---|---|
| Voltage Range | Typically 1.2V to 12V for small batteries; higher for specialized batteries |
| Capacity | Measured in milliampere-hours (mAh) or ampere-hours (Ah) |
| Chemistry | Common types: Alkaline, Lithium-ion (Li-ion), Nickel-Metal Hydride (NiMH) |
| Rechargeability | Rechargeable (e.g., Li-ion, NiMH) or non-rechargeable (e.g., Alkaline) |
| Operating Temperature | Typically -20°C to 60°C, depending on the battery type |
| Shelf Life | Varies by type; up to 10 years for some non-rechargeable batteries |
Pin Configuration and Descriptions
Batteries typically have two terminals: positive (+) and negative (-). The table below describes these terminals:
| Pin/Terminal | Symbol | Description |
|---|---|---|
| Positive | (+) | The terminal where current flows out of the battery in a conventional circuit |
| Negative | (-) | The terminal where current flows into the battery in a conventional circuit |
Usage Instructions
How to Use a Battery in a Circuit
- Identify the Battery Type: Choose a battery with the appropriate voltage and capacity for your circuit.
- Connect the Terminals:
- Connect the positive terminal of the battery to the positive rail or input of your circuit.
- Connect the negative terminal to the ground (GND) of your circuit.
- Use a Battery Holder: For safety and convenience, use a battery holder or clip to secure the battery.
- Add Protection:
- Use a fuse or current-limiting resistor to prevent overcurrent.
- For rechargeable batteries, use a proper charging circuit to avoid overcharging or overheating.
Important Considerations and Best Practices
- Polarity: Always ensure correct polarity when connecting the battery to a circuit. Reversing the terminals can damage the circuit or the battery.
- Voltage Matching: Ensure the battery voltage matches the requirements of your circuit to avoid underpowering or damaging components.
- Storage: Store batteries in a cool, dry place to extend their lifespan.
- Disposal: Dispose of batteries properly according to local regulations to prevent environmental harm.
Example: Connecting a Battery to an Arduino UNO
To power an Arduino UNO with a 9V battery, follow these steps:
- Connect the positive terminal of the 9V battery to the Arduino's VIN pin.
- Connect the negative terminal of the battery to the Arduino's GND pin.
Here is an example Arduino sketch to blink an LED while powered by a battery:
// Blink an LED using a battery-powered Arduino UNO
const int ledPin = 13; // Pin connected to the onboard LED

void setup() {
  pinMode(ledPin, OUTPUT); // Set the LED pin as an output
}

void loop() {
  digitalWrite(ledPin, HIGH); // Turn the LED on
  delay(1000);                // Wait for 1 second
  digitalWrite(ledPin, LOW);  // Turn the LED off
  delay(1000);                // Wait for 1 second
}
Troubleshooting and FAQs
Common Issues
Battery Drains Quickly:
- Cause: High current draw or a faulty circuit.
- Solution: Check for short circuits and ensure the battery capacity matches the circuit's requirements.
Device Does Not Power On:
- Cause: Incorrect polarity or insufficient voltage.
- Solution: Verify the battery is connected correctly and has sufficient charge.
Battery Overheats:
- Cause: Overcurrent or overcharging.
- Solution: Use a current-limiting resistor or a proper charging circuit for rechargeable batteries.
Corrosion on Terminals:
- Cause: Leakage from the battery.
- Solution: Clean the terminals with a cotton swab and isopropyl alcohol. Replace the battery if necessary.
FAQs
Q: Can I use a higher voltage battery than specified for my circuit?
A: No, using a higher voltage battery can damage your components. Always match the battery voltage to the circuit's requirements.
Q: How do I know when to replace a battery?
A: Replace the battery when the device shows signs of low power (e.g., dim LEDs, slow operation) or when the battery voltage drops below the recommended level.
Q: Can I mix different types of batteries in the same device?
A: No, mixing battery types (e.g., Alkaline and NiMH) can cause uneven discharge and damage the batteries or device.
Q: Is it safe to recharge non-rechargeable batteries?
A: No, attempting to recharge non-rechargeable batteries can cause leakage, overheating, or explosion. Only recharge batteries labeled as rechargeable.