How to Use PC Screen: Examples, Pinouts, and Specs
Introduction
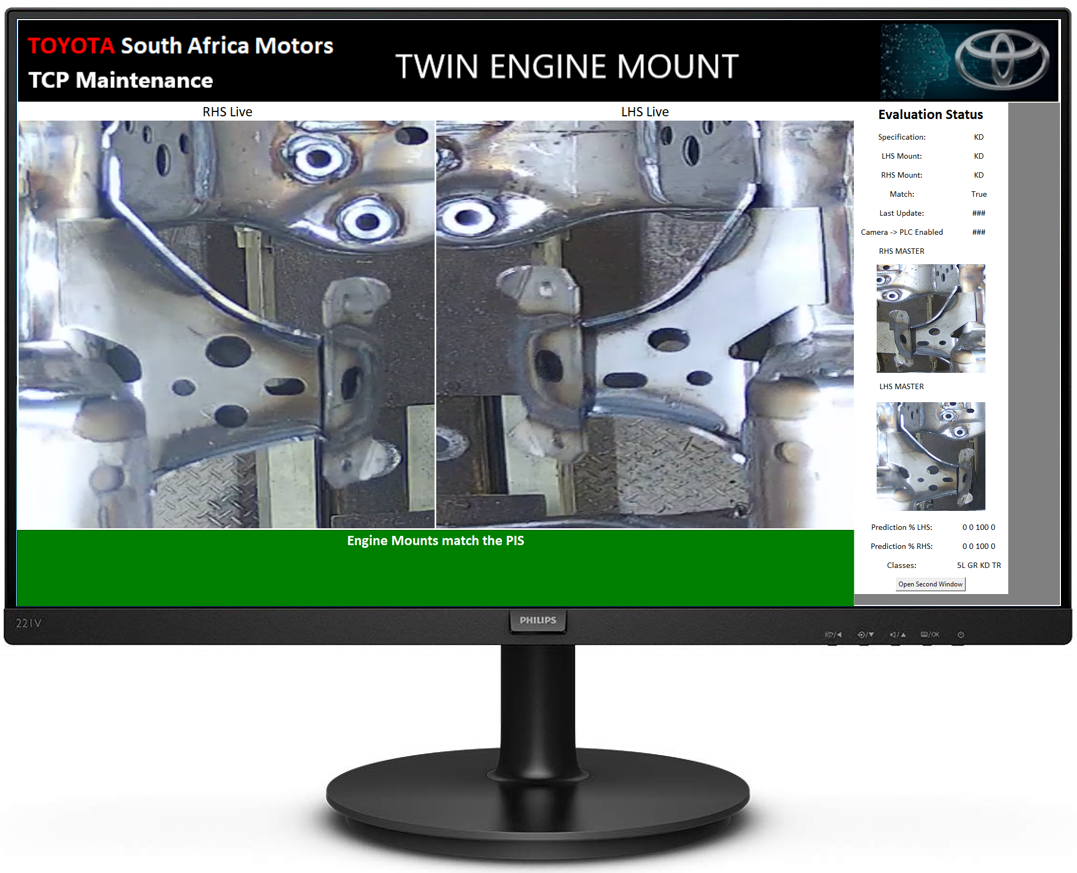
The Philips 221V PC Screen is a versatile computer monitor designed for a wide range of applications, from office work to multimedia entertainment. It offers high-quality display capabilities and is compatible with most desktop and laptop computers. The monitor is known for its crisp image quality and ergonomic design, making it a popular choice for both professional and personal use.
Explore Projects Built with PC Screen

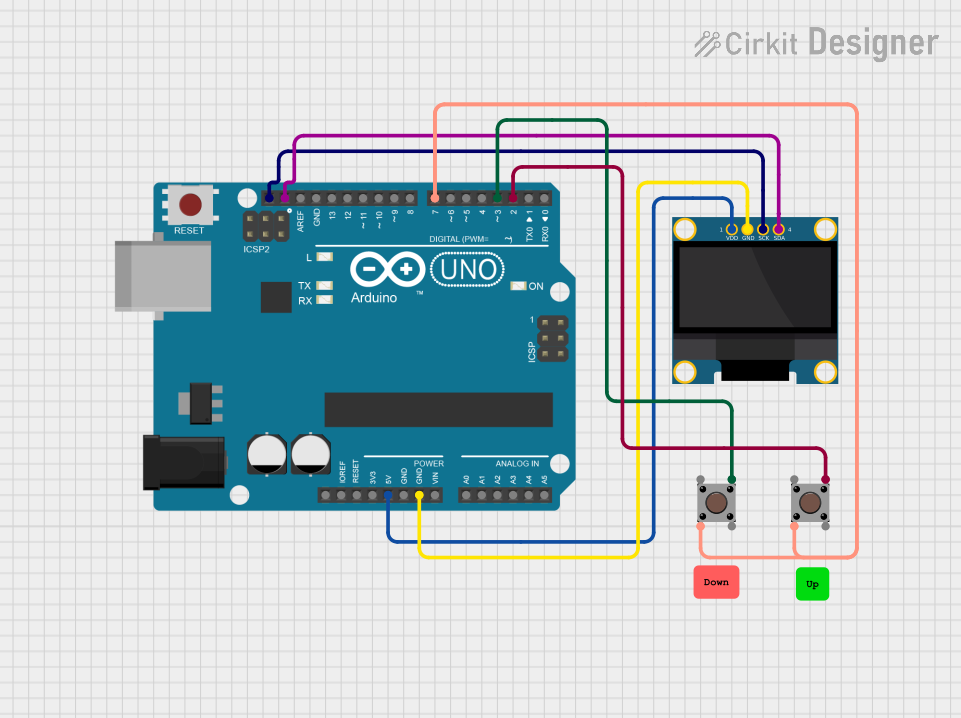


Explore Projects Built with PC Screen
Common Applications and Use Cases
- Office environments for document editing, spreadsheet management, and presentation viewing.
- Home setups for web browsing, video streaming, and gaming.
- Graphic design and photo editing, where color accuracy and clarity are important.
- Educational settings for online classes and digital content display.
Technical Specifications
Key Technical Details
- Screen Size: 21.5 inches (diagonal)
- Aspect Ratio: 16:9
- Resolution: 1920 x 1080 pixels (Full HD)
- Refresh Rate: 60 Hz
- Response Time: 5 ms
- Brightness: 250 cd/m²
- Contrast Ratio: 1000:1 (static)
- Viewing Angles: 170° (H) / 160° (V)
- Color Support: 16.7 million colors
Pin Configuration and Descriptions
| Pin Number | Signal | Description |
|---|---|---|
| 1 | Power | Connects to the power supply (AC input) |
| 2 | HDMI | Digital video and audio input |
| 3 | VGA | Analog video input |
| 4 | DVI | Digital video input (without audio) |
| 5 | Audio In | Audio input for external devices |
| 6 | Headphone Out | Connects to headphones or external speakers |
Usage Instructions
How to Use the Component in a Circuit
Connecting to a Computer:
- Use an HDMI, VGA, or DVI cable to connect the Philips 221V PC Screen to the corresponding video output port on your computer.
- If your computer supports it, HDMI is the preferred connection for its ability to carry both video and audio signals.
Power Connection:
- Connect the power cable to the monitor's power input and plug the other end into an appropriate electrical outlet.
Adjusting Settings:
- Power on the monitor and use the on-screen display (OSD) menu to adjust settings such as brightness, contrast, and color calibration to suit your preferences.
Important Considerations and Best Practices
- Ensure the monitor is placed on a stable surface to prevent tipping.
- Avoid direct sunlight on the screen to reduce glare and prevent overheating.
- Use the monitor in a well-ventilated area to allow proper heat dissipation.
- Regularly clean the screen with a soft, dry cloth to remove dust and fingerprints.
- For optimal performance, use the native resolution of 1920 x 1080 pixels.
Troubleshooting and FAQs
Common Issues Users Might Face
- No Signal Detected: Ensure the video cable is securely connected to both the monitor and the computer. Check if the correct input source is selected in the OSD menu.
- Fuzzy or Blurry Image: Adjust the resolution settings on your computer to match the monitor's native resolution. Check for loose cable connections.
- Color Inconsistencies: Calibrate the color settings using the OSD menu. If the issue persists, consider using a color calibration tool.
Solutions and Tips for Troubleshooting
- If the screen remains blank after turning on the monitor, check the power connections and ensure the power switch is in the ON position.
- In case of flickering, try using a different video cable or connect to a different device to determine if the issue is with the monitor or the video source.
- For audio problems, verify that the audio cable is connected properly if using VGA or DVI, and ensure the volume is not muted or set too low.
FAQs
Q: Can the Philips 221V PC Screen be mounted on a wall? A: Yes, the monitor supports VESA mount compatibility for wall mounting.
Q: Does the monitor have built-in speakers? A: No, the Philips 221V does not have built-in speakers. External speakers or headphones can be connected via the audio out port.
Q: What is the warranty period for the Philips 221V PC Screen? A: The warranty period may vary by region. Please check with Philips or your local retailer for the specific warranty terms.
Q: How do I switch between input sources? A: You can switch between input sources using the OSD menu accessible through the buttons on the monitor.
Note: This documentation is for informational purposes only and does not replace the official Philips user manual. Always refer to the official documentation for detailed instructions and safety information.