How to Use Analog Cam CADDX RATEL 2: Examples, Pinouts, and Specs
Introduction
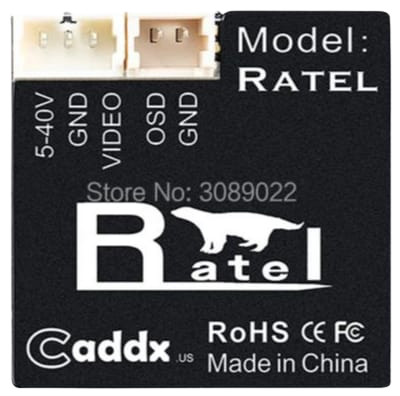
The Analog Cam CADDX RATEL 2 is a specialized analog camera designed for high-resolution imaging and data acquisition. It features advanced optics and customizable settings, making it ideal for applications requiring superior image quality and performance. This camera is widely used in FPV (First Person View) drones, surveillance systems, robotics, and other imaging-related projects. Its robust design and adaptability make it a popular choice for both hobbyists and professionals.
Explore Projects Built with Analog Cam CADDX RATEL 2
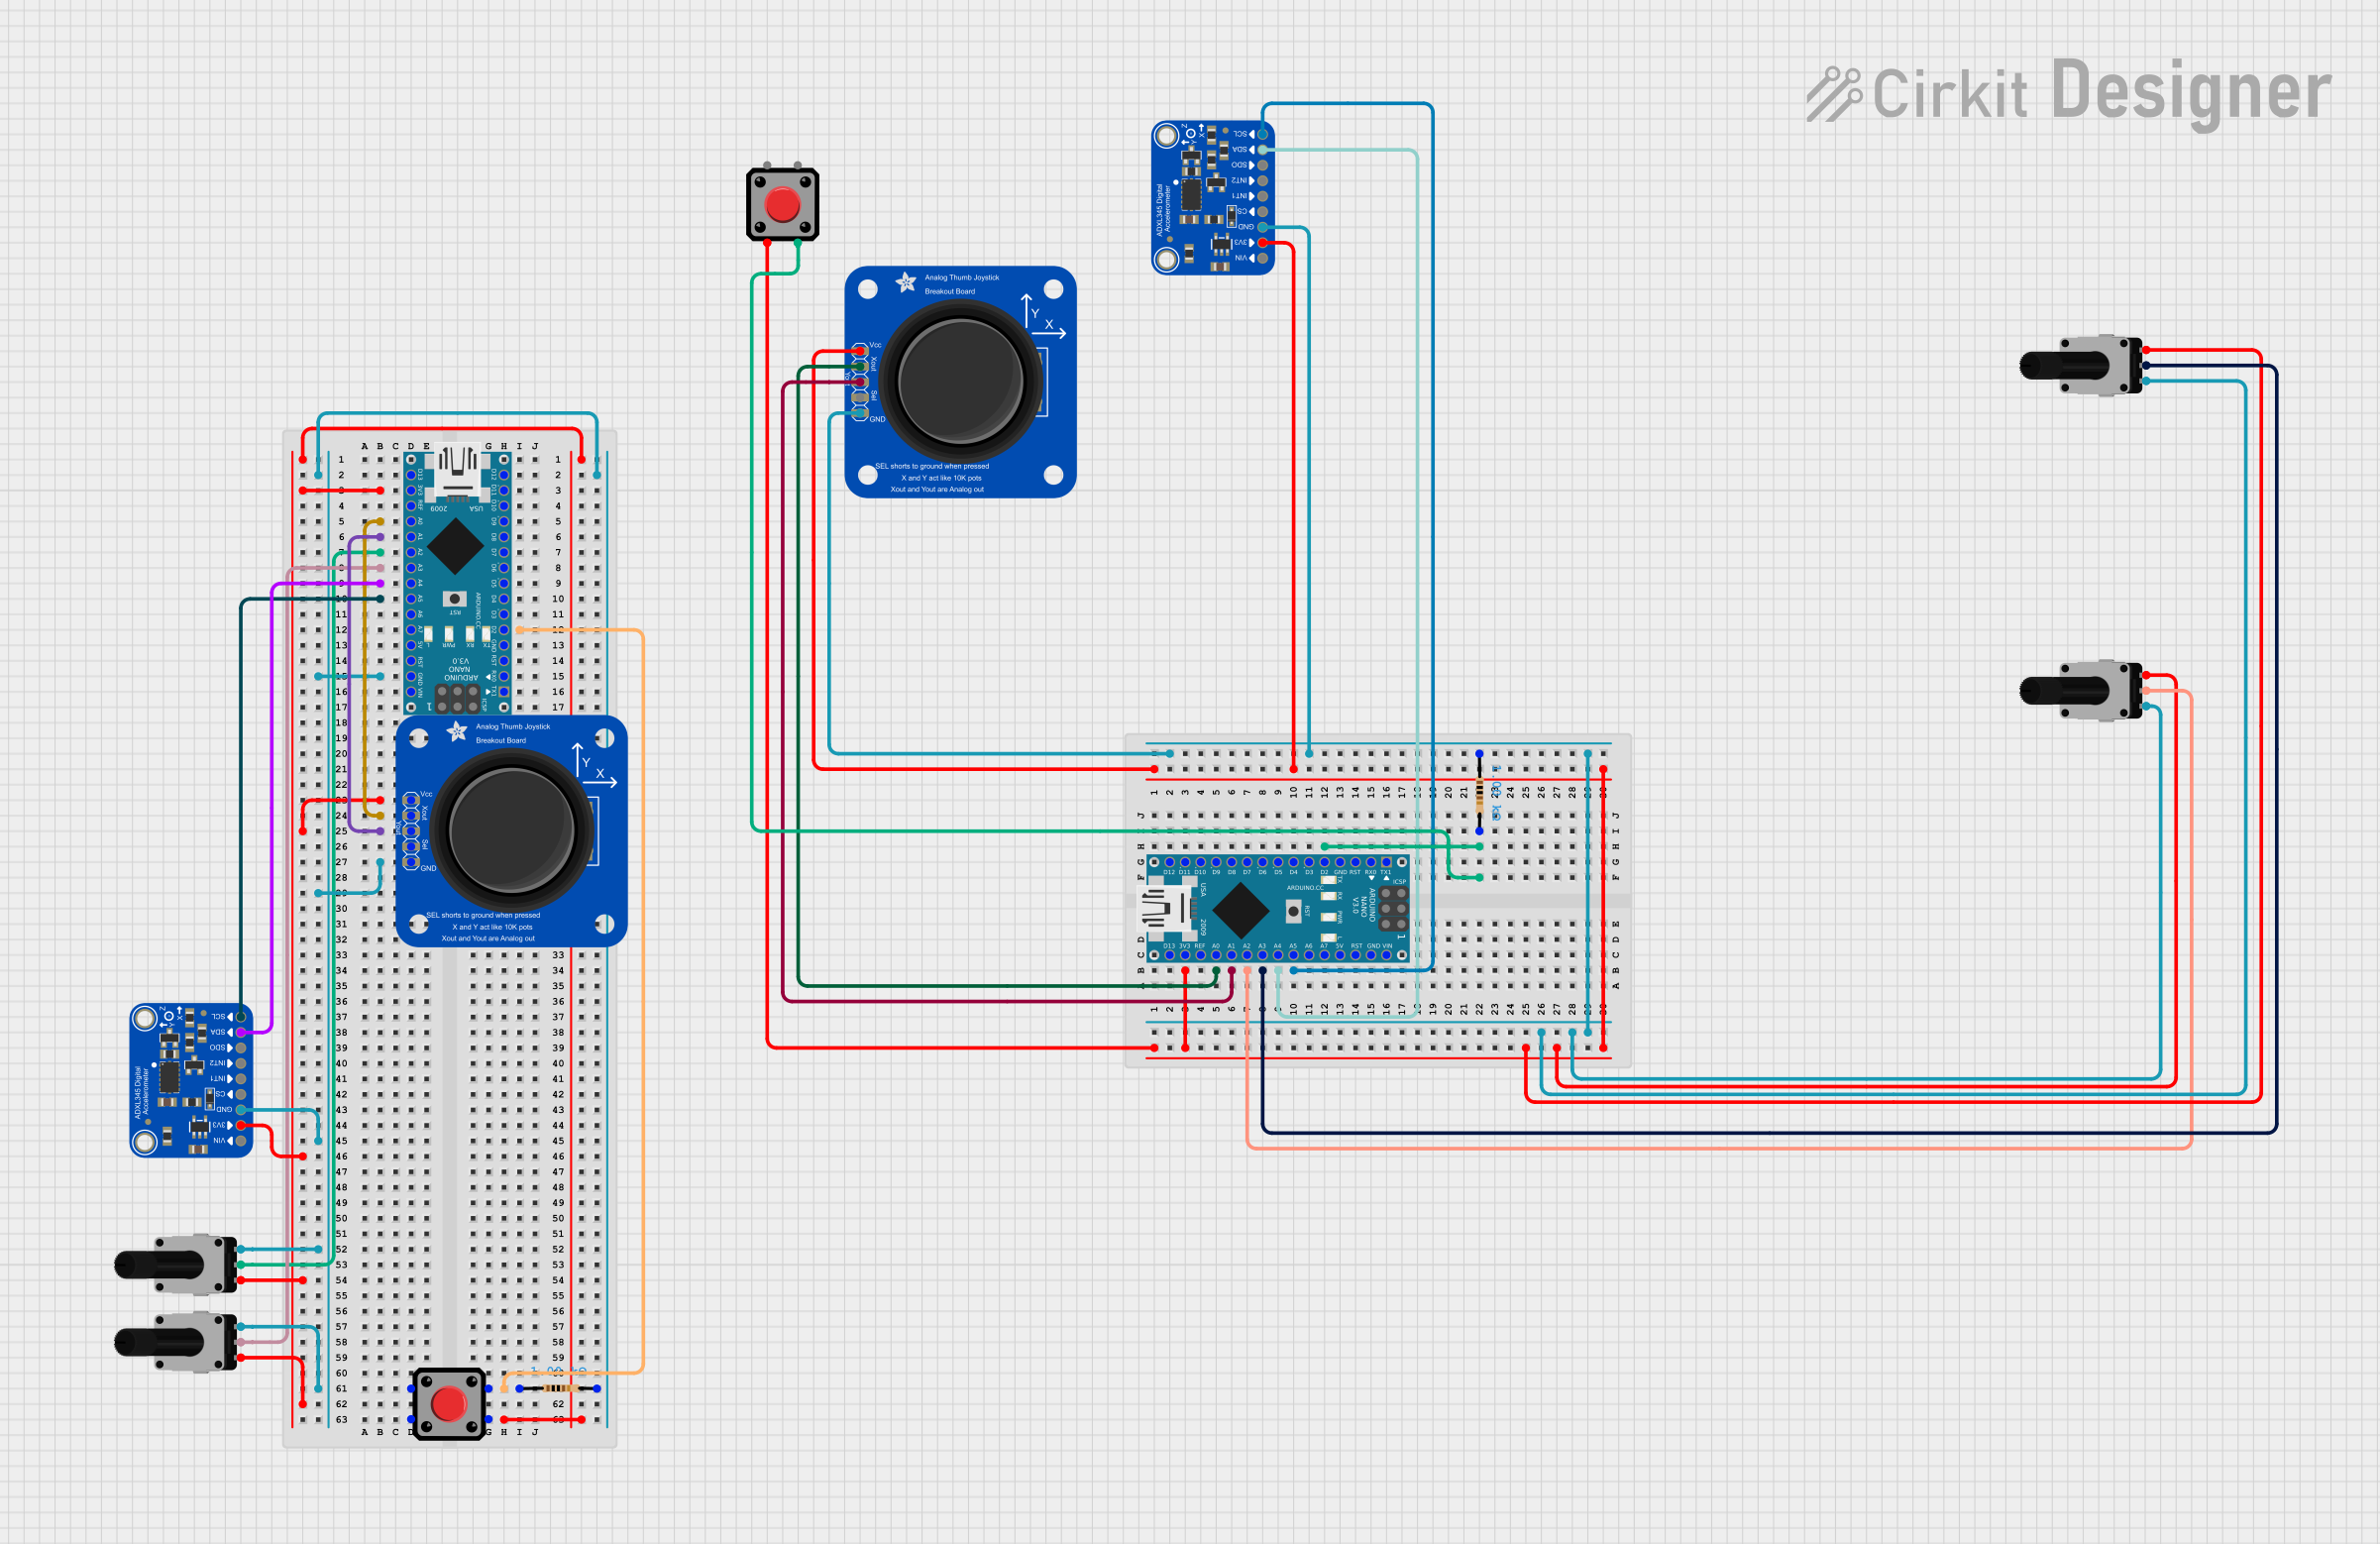
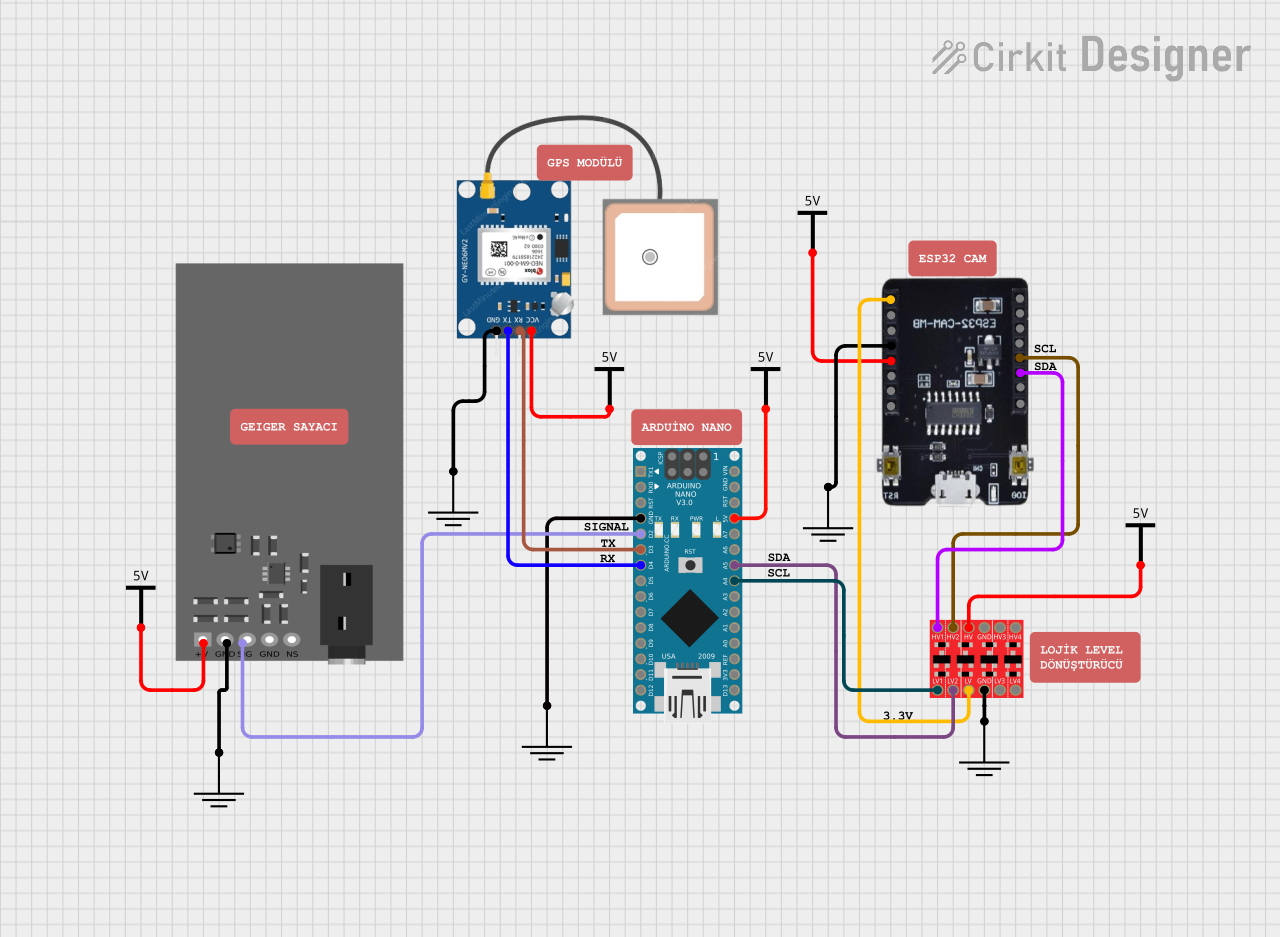
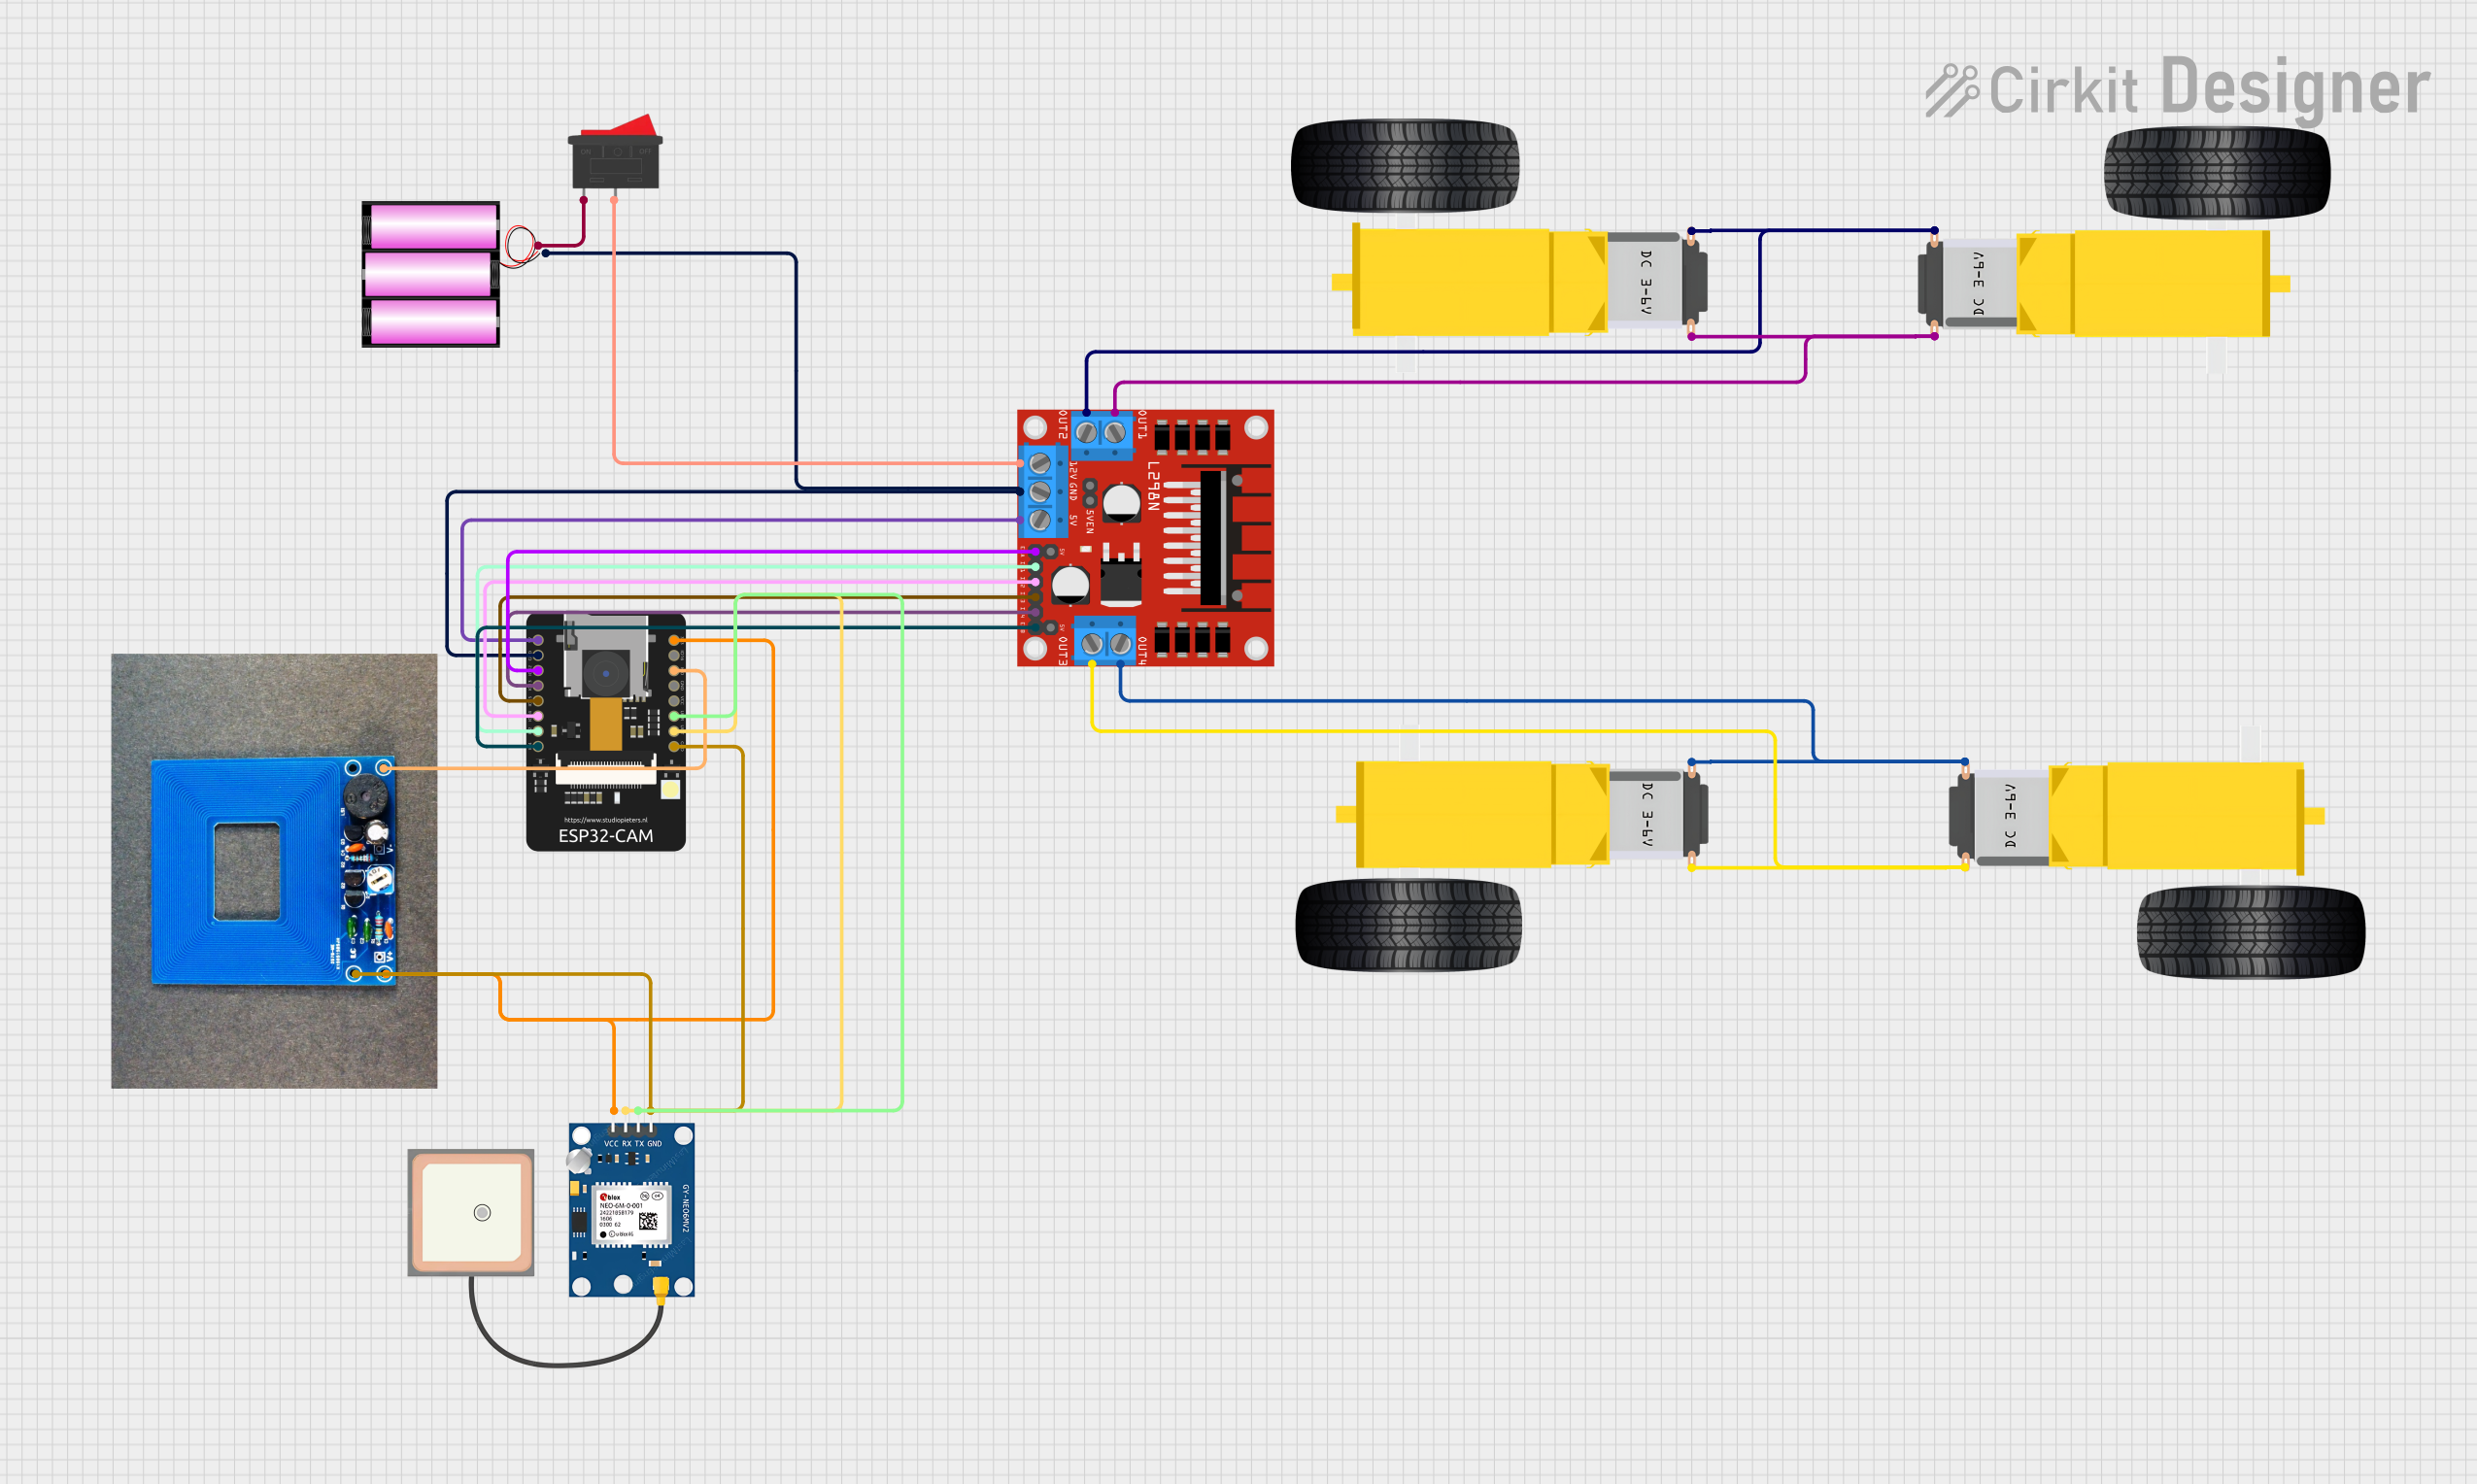

Explore Projects Built with Analog Cam CADDX RATEL 2
Technical Specifications
The CADDX RATEL 2 offers a range of technical features that ensure high-quality imaging and reliable performance. Below are the key specifications and pin configuration details:
Key Technical Details
| Parameter | Specification |
|---|---|
| Image Sensor | 1/1.8" Starlight HDR Sensor |
| Resolution | 1200TVL |
| Lens | 2.1mm (M12) |
| Field of View (FOV) | 165° (Diagonal) |
| Signal System | PAL/NTSC (Switchable) |
| Minimum Illumination | 0.0001 Lux |
| Input Voltage | 5V - 40V |
| Power Consumption | ≤200mA @ 12V |
| Dimensions | 19mm x 19mm x 19mm |
| Weight | 5.5g |
| Operating Temperature | -20°C to 60°C |
Pin Configuration and Descriptions
The CADDX RATEL 2 has a standard pinout for connecting to power, video output, and control systems. Below is the pin configuration:
| Pin Number | Label | Description |
|---|---|---|
| 1 | GND | Ground connection |
| 2 | VCC | Power input (5V - 40V) |
| 3 | VIDEO | Analog video output |
| 4 | OSD | On-Screen Display control input |
| 5 | MENU | Menu control for camera settings |
Usage Instructions
The CADDX RATEL 2 is straightforward to use in a variety of circuits and systems. Follow the steps below to integrate it into your project:
Connecting the Camera
- Power Supply: Connect the
VCCpin to a power source within the range of 5V to 40V. Ensure the power supply is stable to avoid damage to the camera. - Ground Connection: Connect the
GNDpin to the ground of your circuit. - Video Output: Connect the
VIDEOpin to the video input of your display or video transmitter. - OSD Control: If using an On-Screen Display (OSD) system, connect the
OSDpin to the OSD controller. - Menu Control: Use the
MENUpin to access and adjust camera settings via the provided control board or joystick.
Important Considerations
- Signal System: Ensure the camera is set to the correct signal system (PAL or NTSC) to match your display or video receiver.
- Lens Adjustment: The 2.1mm lens provides a wide field of view. Adjust the focus as needed for your application.
- Heat Management: While the camera operates efficiently, ensure proper ventilation if used in high-temperature environments.
Example: Connecting to an Arduino UNO
The CADDX RATEL 2 can be used with an Arduino UNO for basic control and integration. Below is an example of how to read the video signal and control the OSD menu:
Circuit Diagram
- Connect the
VCCpin to the Arduino's 5V output. - Connect the
GNDpin to the Arduino's GND. - Connect the
VIDEOpin to an external video receiver or display. - Connect the
OSDpin to a digital pin on the Arduino (e.g., D2).
Sample Code
// Example code to control the OSD menu of the CADDX RATEL 2 using Arduino UNO

const int osdPin = 2; // OSD control pin connected to Arduino digital pin 2

void setup() {
  pinMode(osdPin, OUTPUT); // Set the OSD pin as an output
  digitalWrite(osdPin, LOW); // Initialize the OSD pin to LOW
}

void loop() {
  // Example: Toggle the OSD menu on and off
  digitalWrite(osdPin, HIGH); // Send a HIGH signal to activate OSD
  delay(500); // Wait for 500ms
  digitalWrite(osdPin, LOW); // Send a LOW signal to deactivate OSD
  delay(500); // Wait for 500ms
}
Note: The Arduino cannot process the analog video signal directly. Use an external video receiver or display for video output.
Troubleshooting and FAQs
Common Issues and Solutions
No Video Output
- Cause: Incorrect wiring or power supply issues.
- Solution: Verify all connections and ensure the power supply is within the specified range (5V - 40V).
Blurry Image
- Cause: Lens is out of focus.
- Solution: Adjust the lens focus by rotating it gently until the image is sharp.
OSD Menu Not Responding
- Cause: Faulty connection to the
OSDpin or incorrect control signals. - Solution: Check the connection to the
OSDpin and ensure the control signals are being sent correctly.
- Cause: Faulty connection to the
Overheating
- Cause: Prolonged use in high-temperature environments or insufficient ventilation.
- Solution: Improve ventilation or use a heat sink to dissipate heat.
FAQs
Q: Can the CADDX RATEL 2 be used in low-light conditions?
- A: Yes, the camera is designed for excellent performance in low-light environments, with a minimum illumination of 0.0001 Lux.
Q: How do I switch between PAL and NTSC modes?
- A: Use the provided control board or joystick to access the camera menu and change the signal system setting.
Q: Is the camera compatible with digital video systems?
- A: No, the CADDX RATEL 2 is an analog camera and requires an analog video receiver or display.
Q: Can I use a 3.3V power supply?
- A: No, the minimum input voltage is 5V. Using a lower voltage may damage the camera or cause it to malfunction.