
How to Use ph4502c: Examples, Pinouts, and Specs
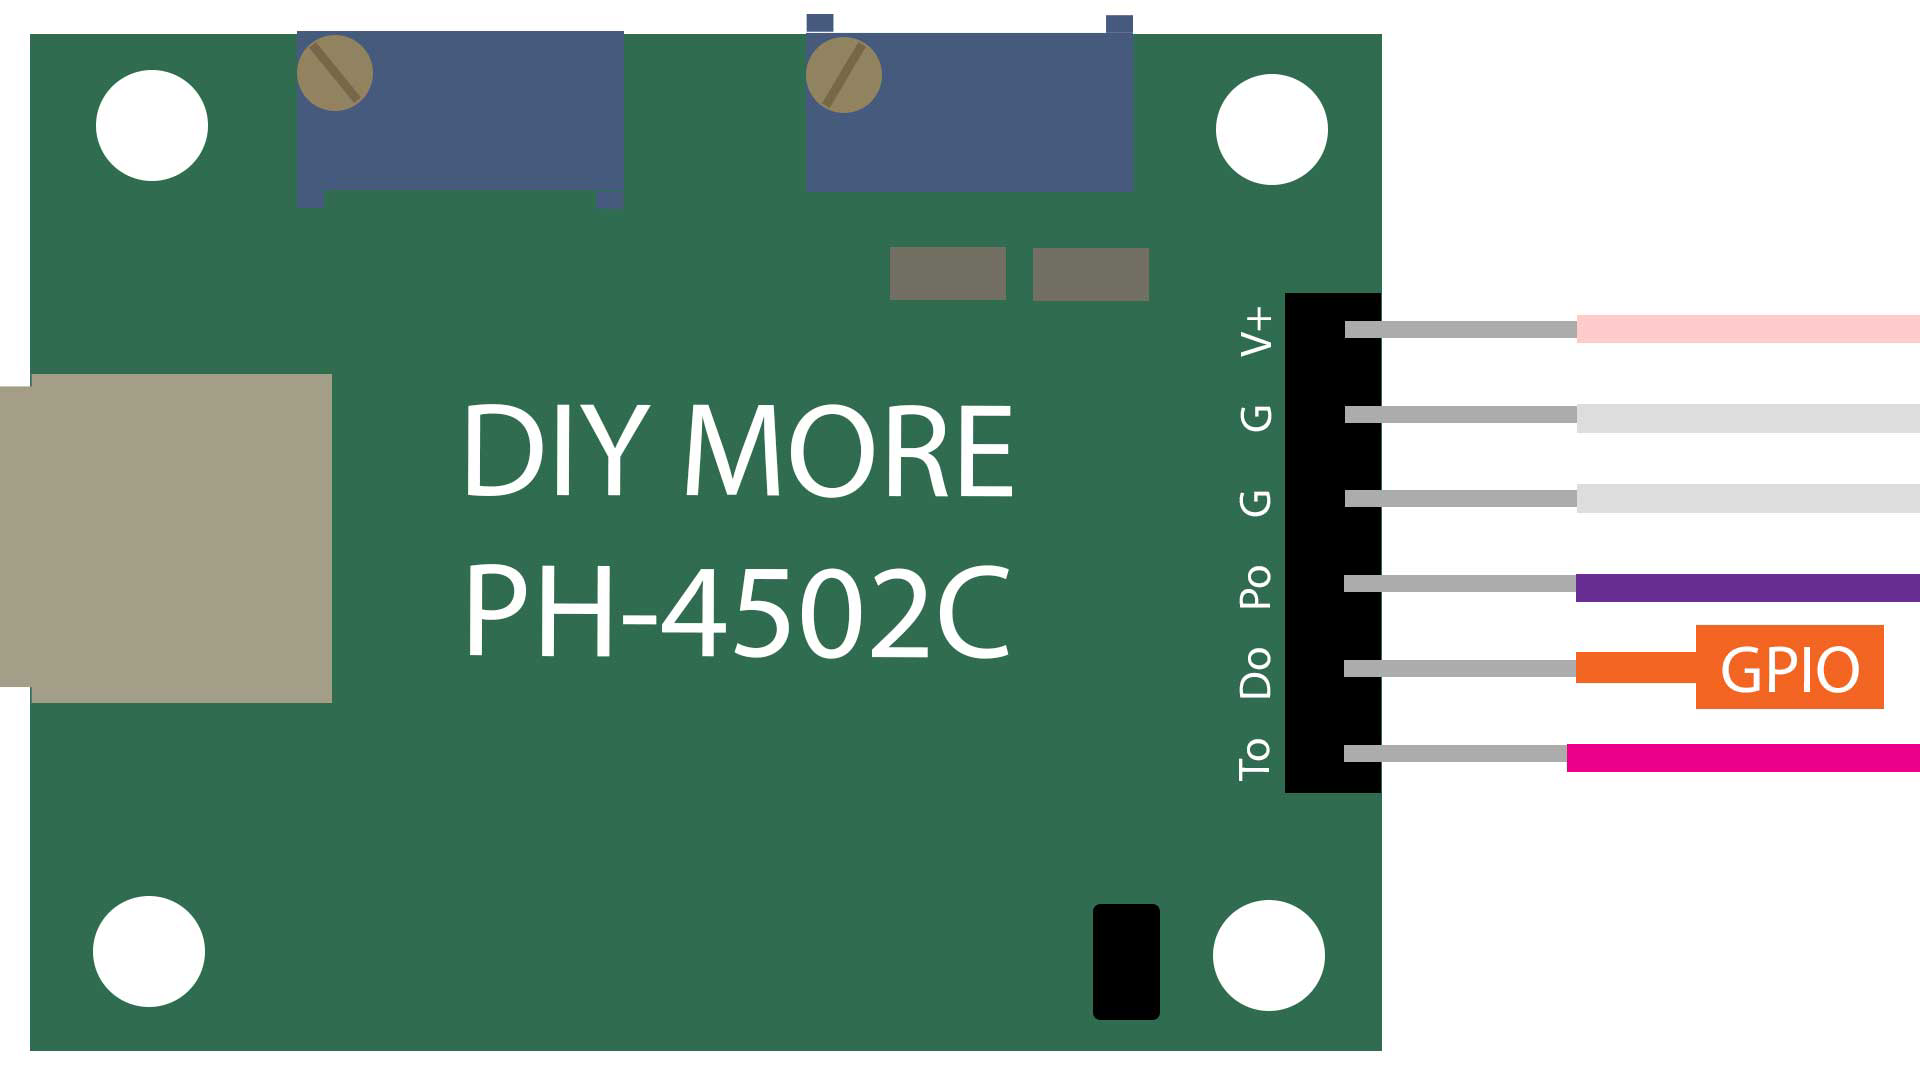
 Design with ph4502c in Cirkit Designer
Introduction
The PH4502C, manufactured by DIY MORE (Part ID: PH Board), is a high-performance, low-power operational amplifier designed for precision analog signal processing applications. With its wide bandwidth, low noise, and high slew rate, the PH4502C is ideal for applications requiring accurate and reliable signal amplification.
Explore Projects Built with ph4502c
 Open Project in Cirkit Designer
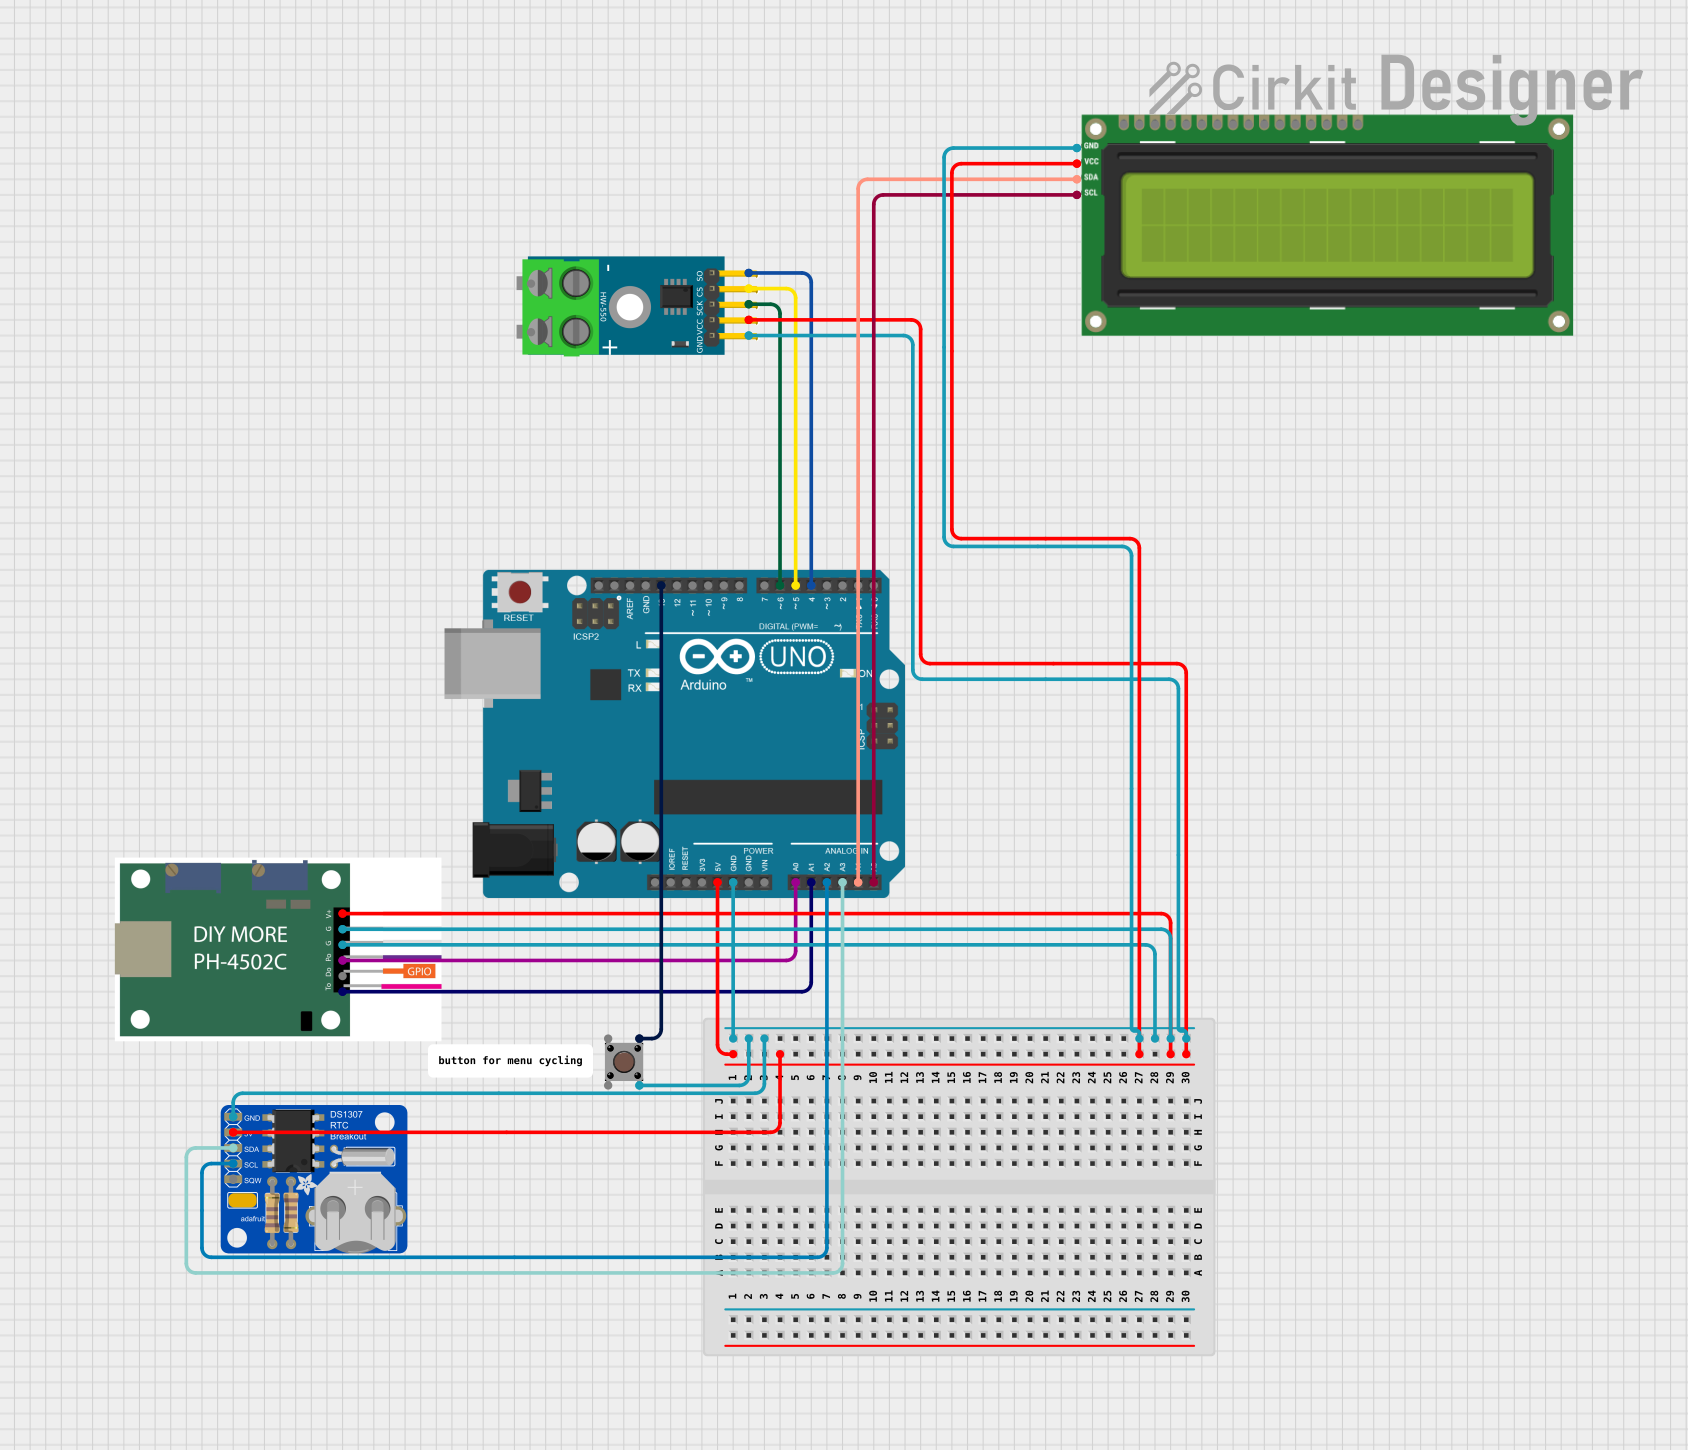 Open Project in Cirkit Designer
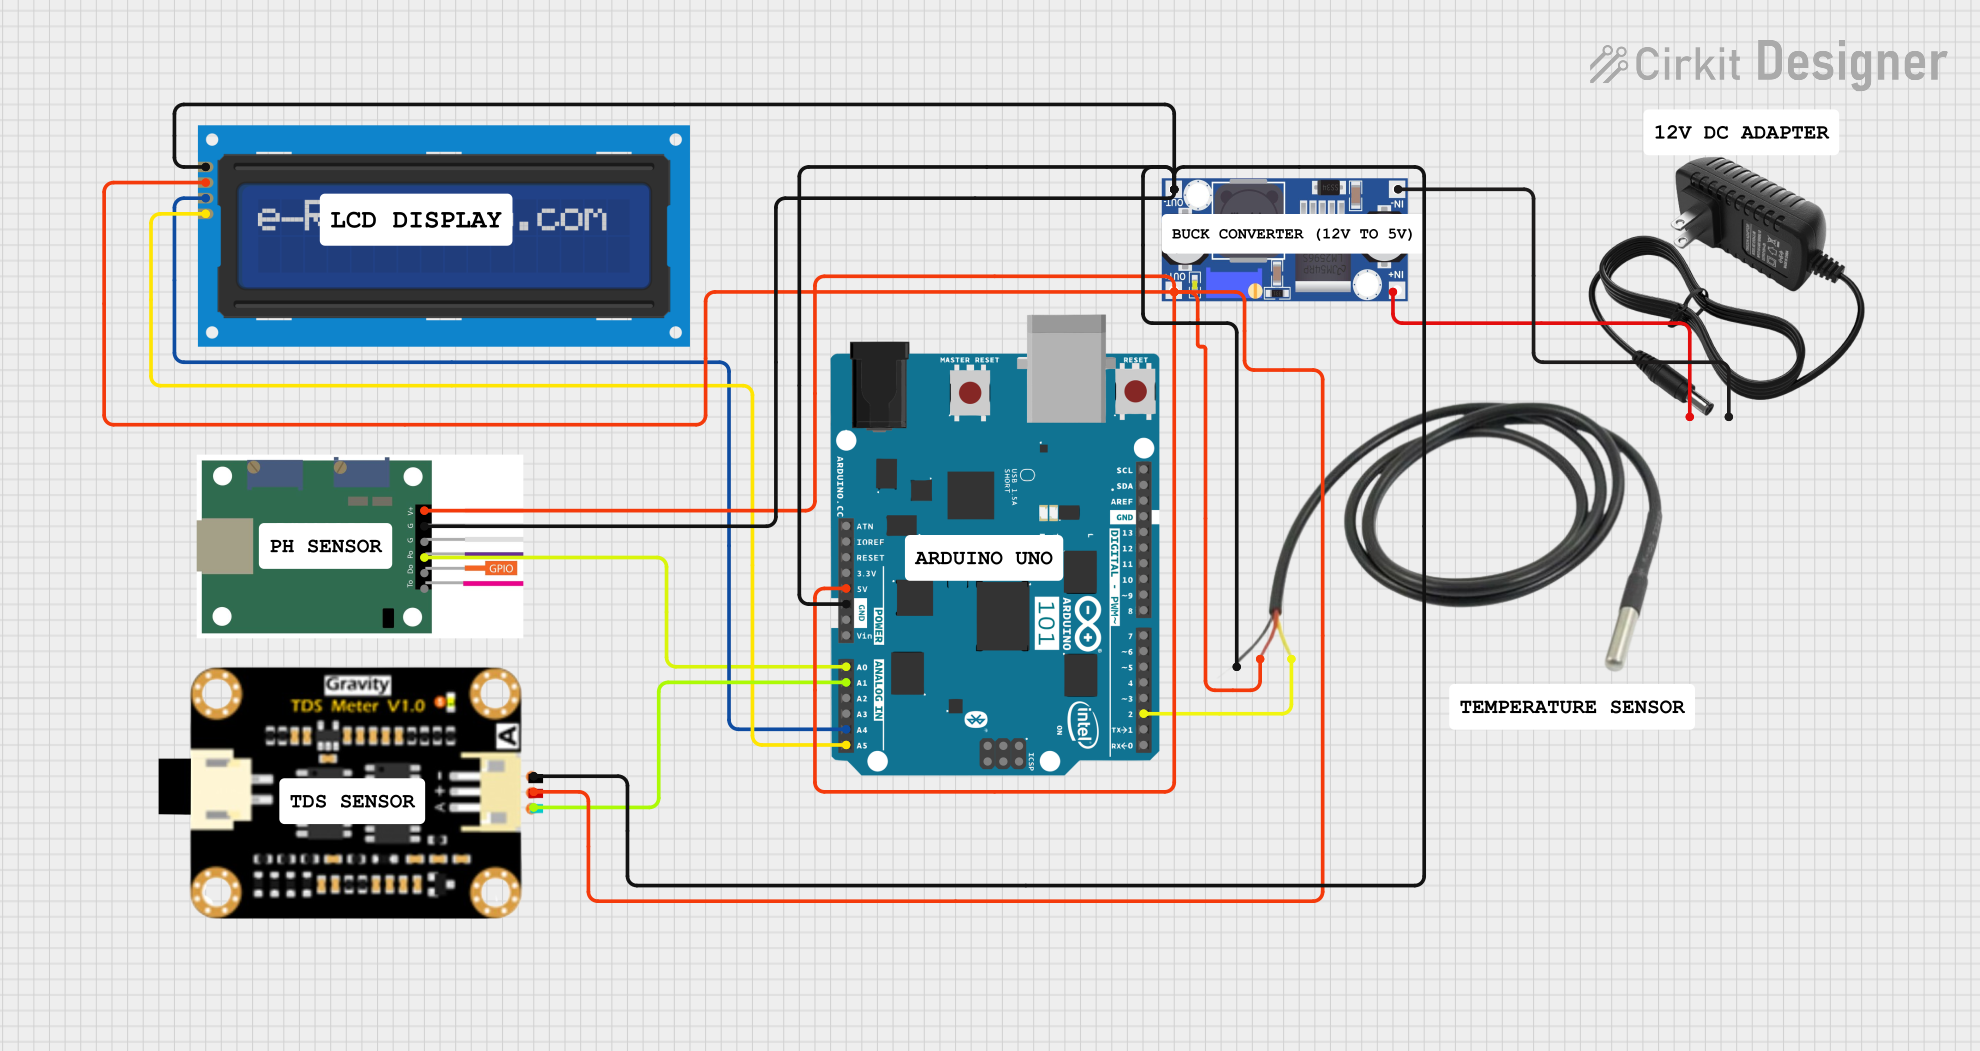 Open Project in Cirkit Designer
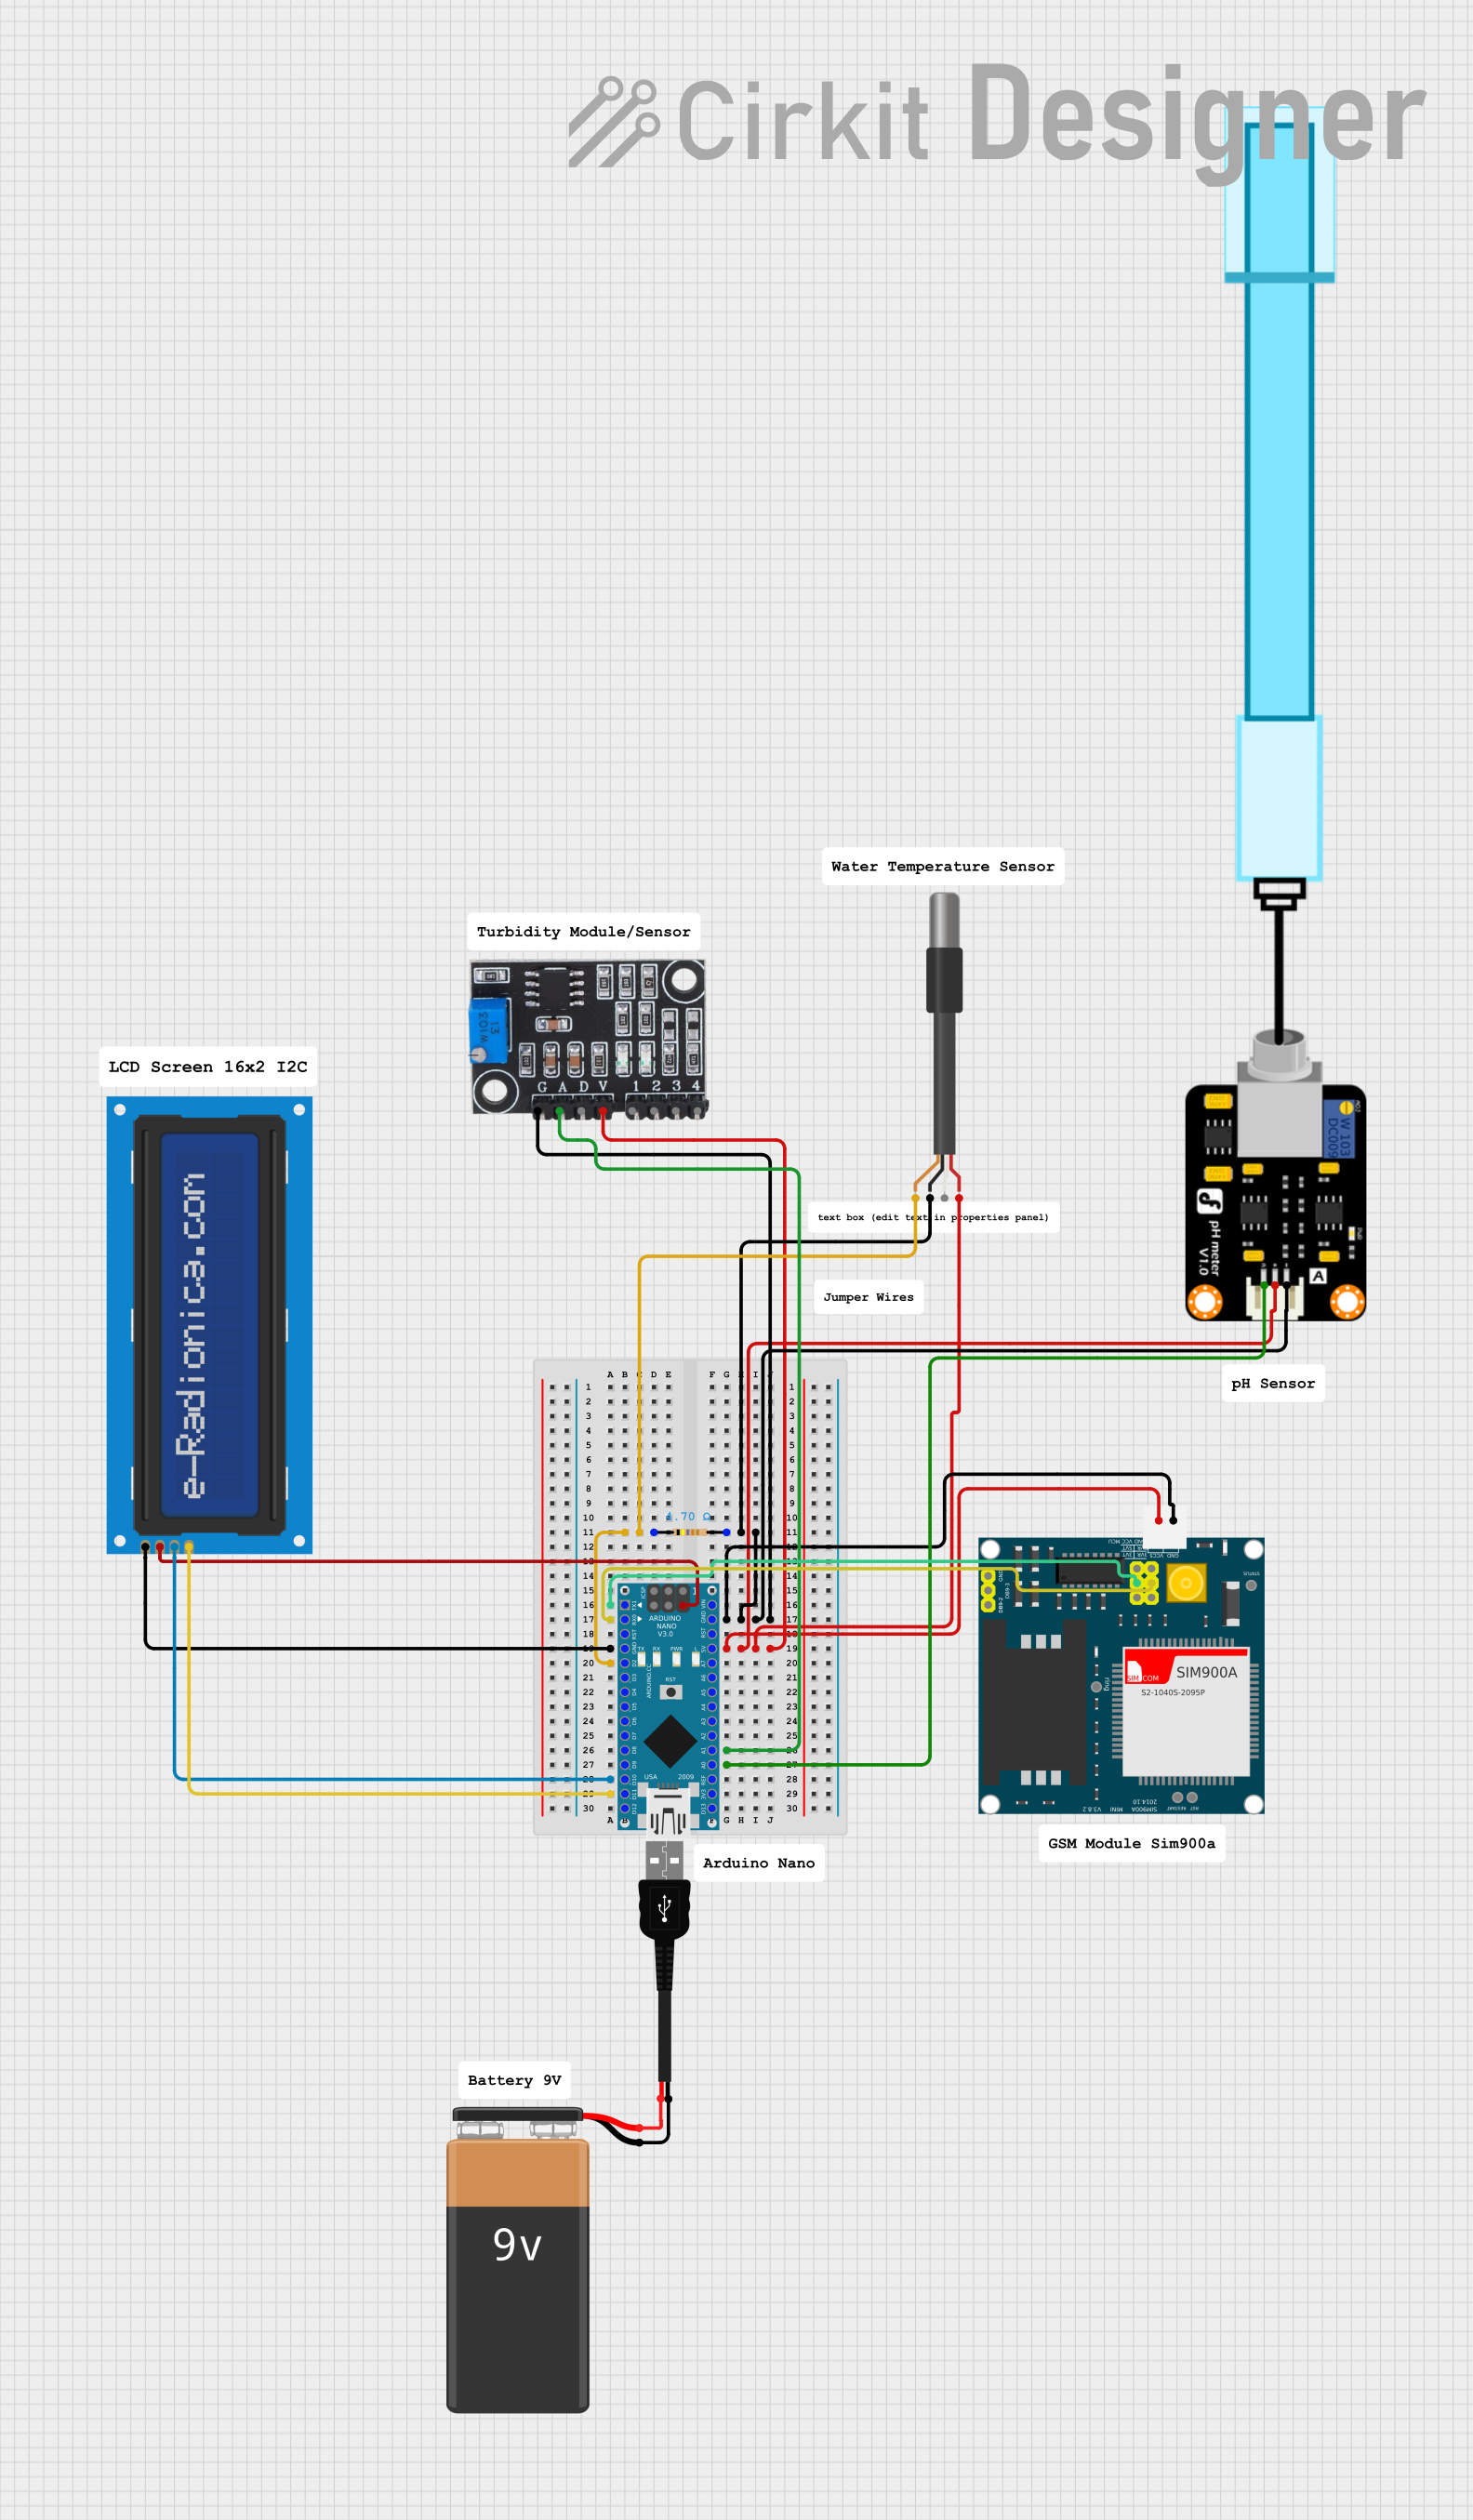 Open Project in Cirkit Designer
Explore Projects Built with ph4502c
Open Project in Cirkit DesignerOpen Project in Cirkit DesignerOpen Project in Cirkit DesignerOpen Project in Cirkit DesignerCommon Applications and Use Cases
- pH sensor signal conditioning
- Analog signal amplification in measurement systems
- Data acquisition systems
- Industrial process control
- Laboratory instrumentation
Technical Specifications
The PH4502C is designed to deliver optimal performance in a variety of analog signal processing applications. Below are its key technical specifications:
Key Technical Details
| Parameter | Value |
|---|---|
| Supply Voltage Range | 3.3V to 5.0V |
| Input Voltage Range | 0V to Vcc |
| Output Voltage Range | 0V to Vcc |
| Bandwidth | 0-60 Hz (optimized for pH sensors) |
| Input Impedance | ≥ 100 MΩ |
| Operating Temperature | -10°C to 50°C |
| Power Consumption | Low power |
Pin Configuration and Descriptions
The PH4502C module typically comes with a 4-pin interface for easy integration into circuits. Below is the pinout description:
| Pin Name | Pin Number | Description |
|---|---|---|
| VCC | 1 | Power supply input (3.3V to 5.0V) |
| GND | 2 | Ground connection |
| OUT | 3 | Analog output signal (amplified pH sensor data) |
| BNC | 4 | BNC connector for pH probe input |
Usage Instructions
The PH4502C is commonly used in circuits for pH measurement and other analog signal processing tasks. Below are the steps and best practices for using the component:
How to Use the PH4502C in a Circuit
- Power the Module: Connect the VCC pin to a 3.3V or 5.0V power source and the GND pin to the ground of your circuit.
- Connect the pH Probe: Attach the pH probe to the BNC connector on the module.
- Read the Output Signal: The OUT pin provides an analog voltage corresponding to the pH value. This signal can be read using an ADC (Analog-to-Digital Converter) on a microcontroller, such as an Arduino UNO.
- Calibrate the System: Use standard pH buffer solutions (e.g., pH 4.0, 7.0, and 10.0) to calibrate the module for accurate readings.
Important Considerations and Best Practices
- Ensure the pH probe is clean and properly maintained for accurate measurements.
- Avoid exposing the module to temperatures outside the specified operating range (-10°C to 50°C).
- Use shielded cables for the pH probe to minimize noise interference.
- Perform regular calibration to maintain accuracy over time.
Example: Connecting the PH4502C to an Arduino UNO
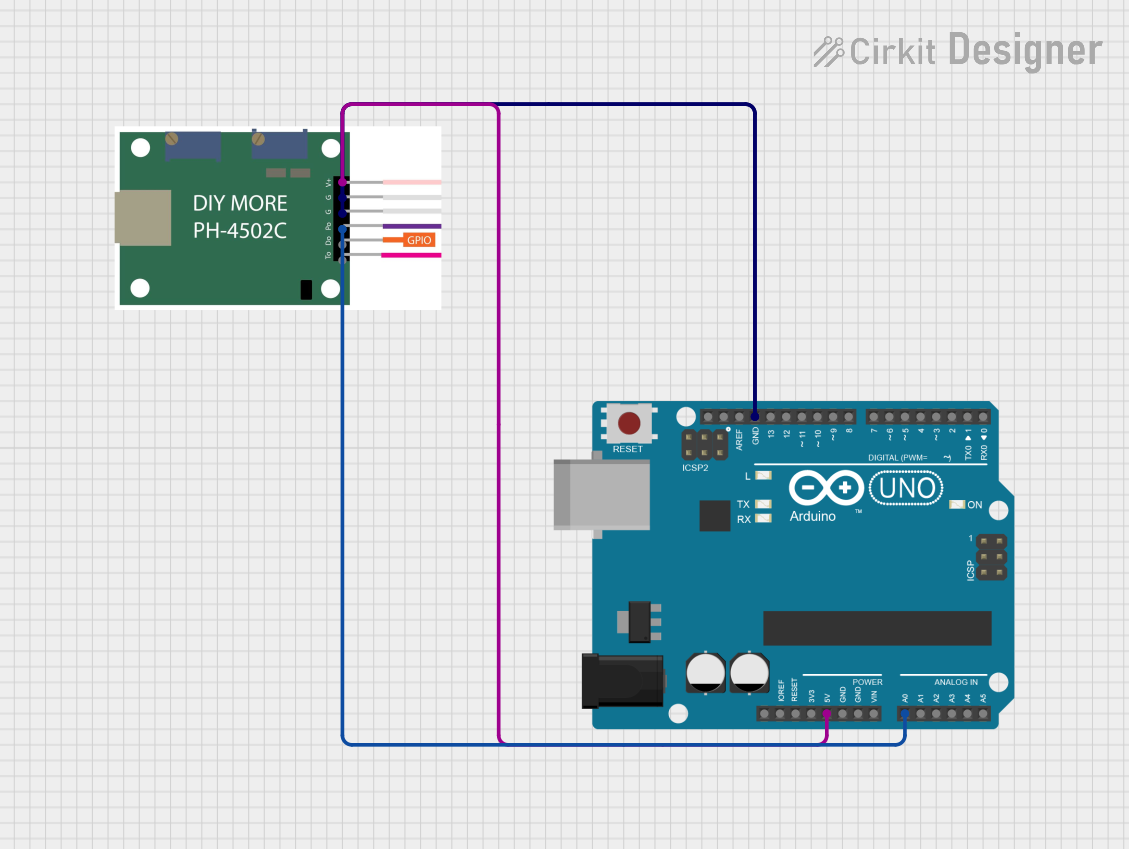
Below is an example of how to connect the PH4502C to an Arduino UNO and read the pH value:
Circuit Connections
- Connect the VCC pin of the PH4502C to the 5V pin on the Arduino.
- Connect the GND pin of the PH4502C to the GND pin on the Arduino.
- Connect the OUT pin of the PH4502C to an analog input pin (e.g., A0) on the Arduino.
Arduino Code
// PH4502C pH Sensor Example Code
// Reads the analog output from the PH4502C and converts it to a pH value

const int phPin = A0; // Analog pin connected to the OUT pin of PH4502C
float voltage;        // Variable to store the sensor voltage
float pH;             // Variable to store the calculated pH value

void setup() {
  Serial.begin(9600); // Initialize serial communication at 9600 baud
}

void loop() {
  // Read the analog value from the sensor
  int sensorValue = analogRead(phPin);

  // Convert the analog value to voltage (assuming 5V reference)
  voltage = sensorValue * (5.0 / 1023.0);

  // Convert the voltage to pH value (example calibration formula)
  // Note: Replace the coefficients with values from your calibration
  pH = 3.5 * voltage + 0.5;

  // Print the pH value to the Serial Monitor
  Serial.print("pH Value: ");
  Serial.println(pH);

  delay(1000); // Wait for 1 second before the next reading
}
Troubleshooting and FAQs
Common Issues and Solutions
No Output Signal:
- Ensure the module is powered correctly (check VCC and GND connections).
- Verify that the pH probe is securely connected to the BNC connector.
Inaccurate pH Readings:
- Perform a calibration using standard pH buffer solutions.
- Check for contamination or damage to the pH probe.
High Noise in Output Signal:
- Use shielded cables for the pH probe to reduce interference.
- Ensure the module is not placed near high-frequency noise sources.
Output Voltage Stuck at Maximum or Minimum:
- Verify that the input voltage range of the pH probe matches the module's specifications.
- Check for proper grounding in the circuit.
FAQs
Q: Can the PH4502C be used with a 3.3V microcontroller?
A: Yes, the PH4502C operates within a supply voltage range of 3.3V to 5.0V, making it compatible with 3.3V microcontrollers.
Q: How often should I calibrate the module?
A: Calibration frequency depends on the application, but it is recommended to calibrate before each use or at least once a week for consistent accuracy.
Q: Can I use the PH4502C for other sensors besides pH probes?
A: While the PH4502C is optimized for pH sensors, it can be used for other high-impedance analog sensors, provided their output voltage range matches the module's input specifications.
Q: What is the lifespan of the pH probe?
A: The lifespan of a pH probe depends on usage and maintenance but typically ranges from 6 months to 2 years. Regular cleaning and proper storage can extend its life.
This concludes the documentation for the PH4502C. For further assistance, refer to the manufacturer's datasheet or contact technical support.