How to Use Pushbutton: Examples, Pinouts, and Specs
Introduction
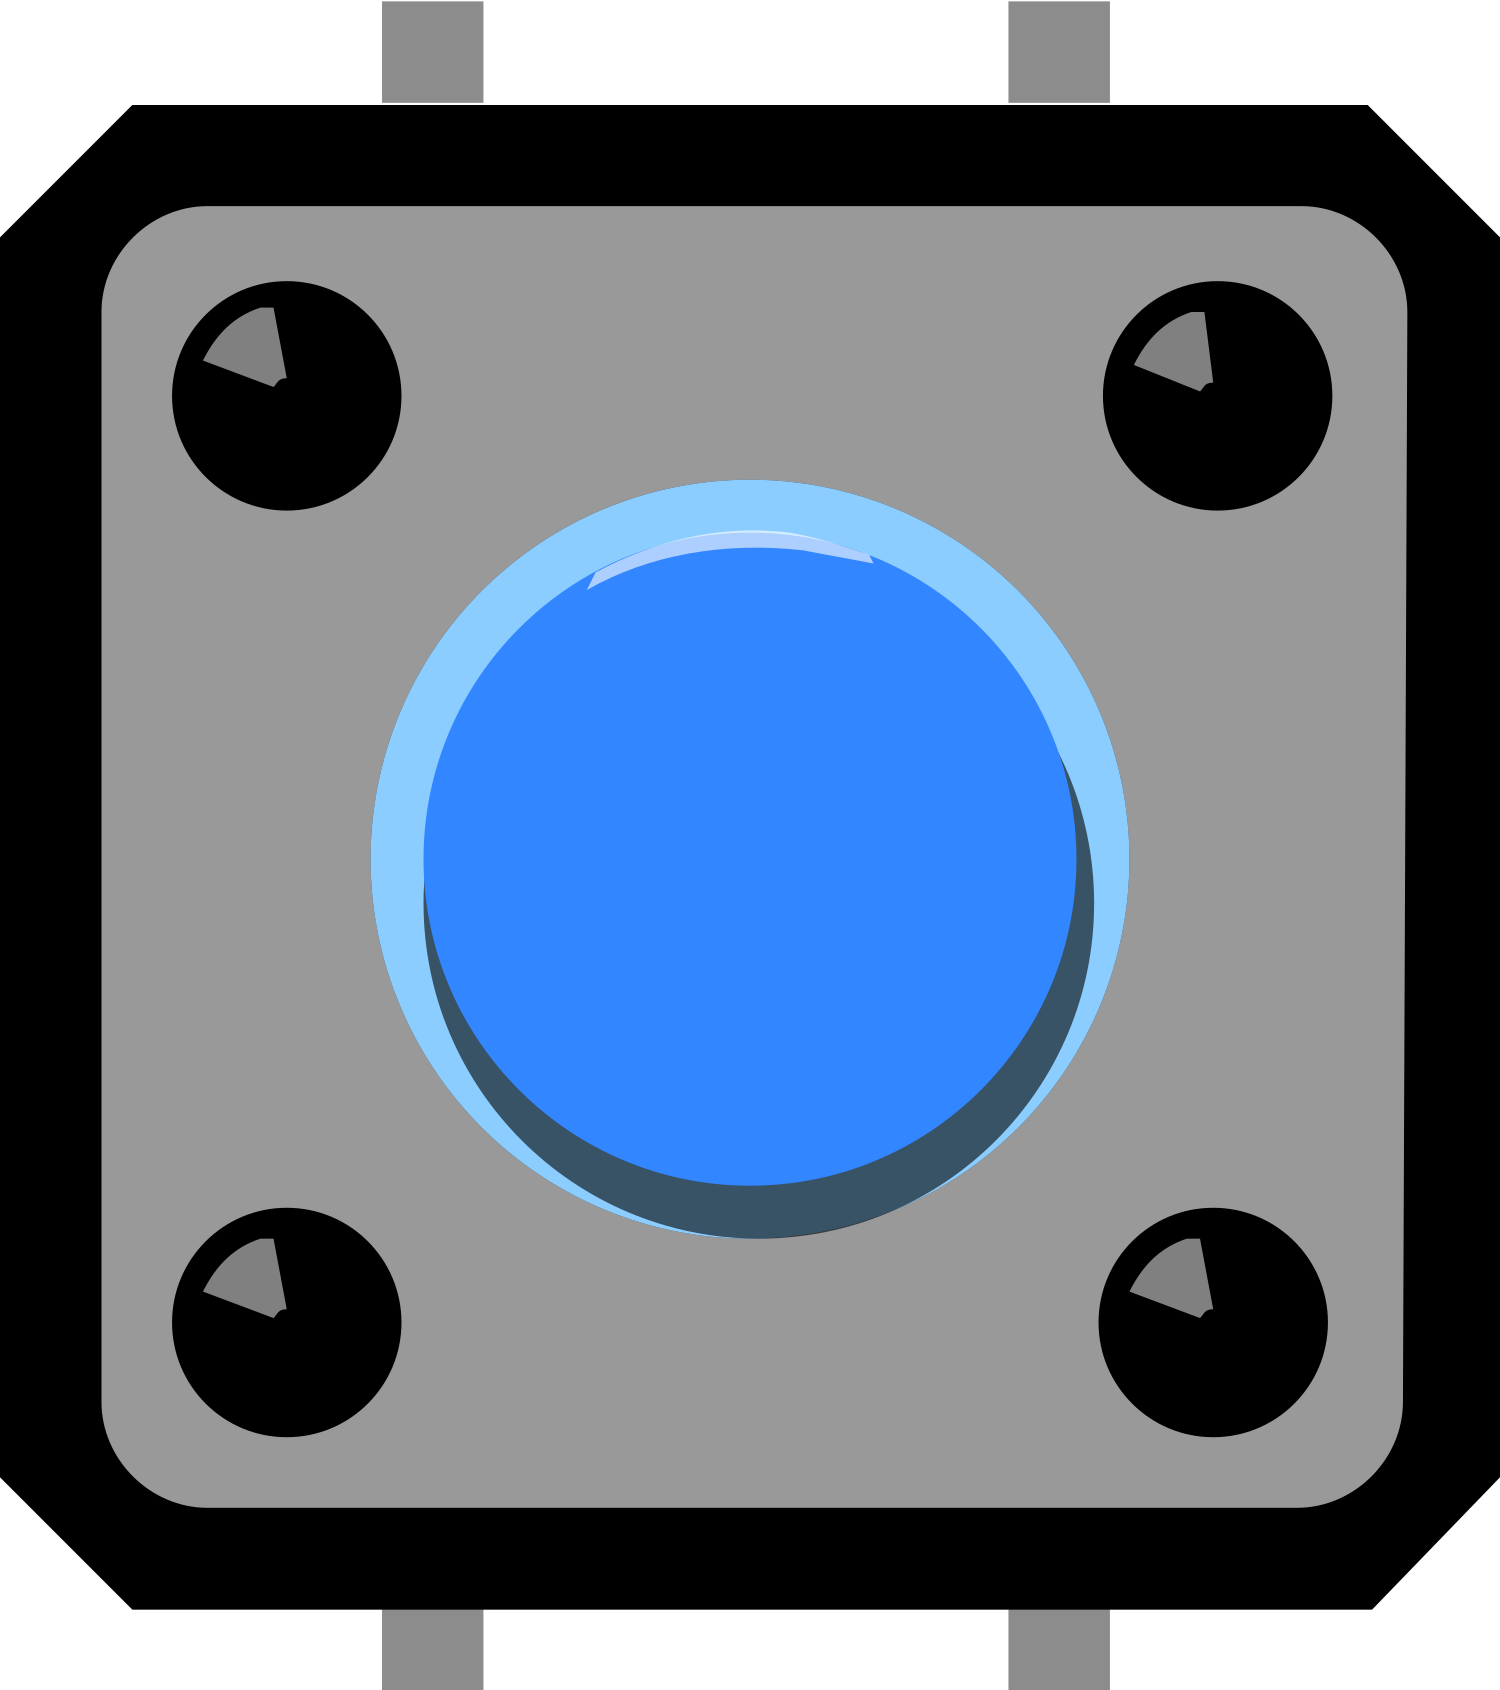
A pushbutton is a fundamental electronic component widely used as an input device. It operates as a momentary switch that closes an electrical circuit when pressed, allowing current to flow through. Upon release, the circuit opens, and the current stops. This binary behavior makes pushbuttons ideal for triggering events, toggling states, or initiating commands in a variety of applications, from consumer electronics to industrial control systems.
Explore Projects Built with Pushbutton


Explore Projects Built with Pushbutton
Common Applications and Use Cases
- User interfaces (e.g., start/stop buttons on machinery)
- Interactive projects (e.g., game controllers, keyboards)
- Signal control (e.g., doorbells, power switches)
- Prototyping and educational projects (e.g., Arduino-based experiments)
Technical Specifications
Key Technical Details
- Voltage Rating: Typically 3.3V to 5V for logic-level circuits
- Current Rating: Varies, often around 10mA to 50mA for signal-level circuits
- Contact Resistance: Usually between 10mΩ to 100mΩ when closed
- Mechanical Life: Often rated for hundreds of thousands to millions of cycles
Pin Configuration and Descriptions
| Pin Number | Description |
|---|---|
| 1 | Terminal 1 (Contact) |
| 2 | Terminal 2 (Contact) |
Note: Some pushbuttons may have more than two pins for stability on a board or to provide Normally Closed (NC) functionality.
Usage Instructions
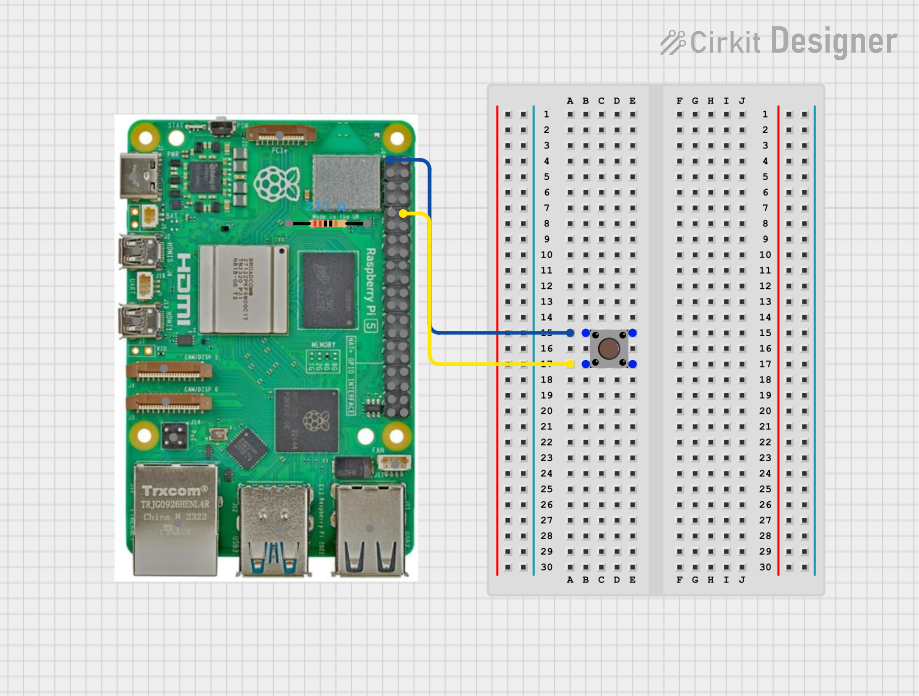
How to Use the Pushbutton in a Circuit
Identify the Pins: Determine which pins are the active contacts. Some pushbuttons have four pins, with two sets of pins connected internally. Use a multimeter to check continuity if unsure.
Connect to Power Source: One terminal should be connected to the input voltage (e.g., 5V from an Arduino).
Add a Pull-down Resistor: Connect a resistor (typically 10kΩ) from the other terminal to ground. This ensures the input reads LOW when the button is not pressed.
Wire to Input Pin: Connect the same terminal used in step 3 to a digital input pin on your microcontroller.
Configure the Microcontroller: Set the corresponding pin to INPUT mode in your code.
Important Considerations and Best Practices
Debounce the Button: Mechanical buttons tend to "bounce" when pressed, causing multiple rapid on/off signals. Implement software debouncing or use a hardware debounce circuit to mitigate this.
Use External Pull-up/Pull-down Resistors: While many microcontrollers have internal pull-up resistors, using an external resistor can provide more reliable performance, especially in noisy environments.
Avoid Exceeding Voltage/Current Ratings: Ensure that the voltage and current applied to the pushbutton do not exceed its ratings to prevent damage.
Example Code for Arduino UNO
// Define the pushbutton pin
const int buttonPin = 2;

// Variable for storing the pushbutton status
int buttonState = 0;

void setup() {
  // Initialize the pushbutton pin as an input
  pinMode(buttonPin, INPUT);
}

void loop() {
  // Read the state of the pushbutton value
  buttonState = digitalRead(buttonPin);

  // Check if the pushbutton is pressed
  // If it is, the buttonState is HIGH
  if (buttonState == HIGH) {
    // Do something when the button is pressed
  } else {
    // Do something else when not pressed
  }
}
Note: The above code assumes the use of a pull-down resistor. If using an internal pull-up resistor, the logic will be inverted.
Troubleshooting and FAQs
Common Issues Users Might Face
Button Presses Not Detected: Ensure the button is correctly wired and the pull-down resistor is in place. Check for any loose connections.
Multiple Signals from a Single Press: This is likely due to button bounce. Implement a debounce algorithm in your code.
Button Always Reads as Pressed: This could be due to a short circuit or an incorrectly placed pull-up resistor.
Solutions and Tips for Troubleshooting
Check Continuity: Use a multimeter to ensure the pushbutton is functioning correctly and that there are no broken connections.
Debounce the Button: Implement a simple software debounce by adding a delay and rechecking the button state after a short period.
Inspect for Damage: If the button has been used extensively, it may be worn out. Check for any physical damage and replace if necessary.
FAQs
Q: Can I use a pushbutton without a resistor? A: It's not recommended as it can cause undefined states or even damage your microcontroller due to floating inputs.
Q: How do I know if my pushbutton is normally open or normally closed? A: A normally open (NO) pushbutton does not conduct when at rest; it only conducts when pressed. A normally closed (NC) button conducts at rest and breaks the circuit when pressed. Use a multimeter to check the default state.
Q: What is the purpose of debouncing a pushbutton? A: Debouncing ensures that only one signal is registered each time the button is pressed, eliminating false triggers due to the mechanical nature of the switch.
Q: Can I connect a pushbutton directly to an LED? A: Yes, but you must ensure that the current through the LED does not exceed the button's rating, and you should use a current-limiting resistor to protect the LED.