
How to Use Arduino MP3 Player Shield: Examples, Pinouts, and Specs
 Design with Arduino MP3 Player Shield in Cirkit Designer
Introduction
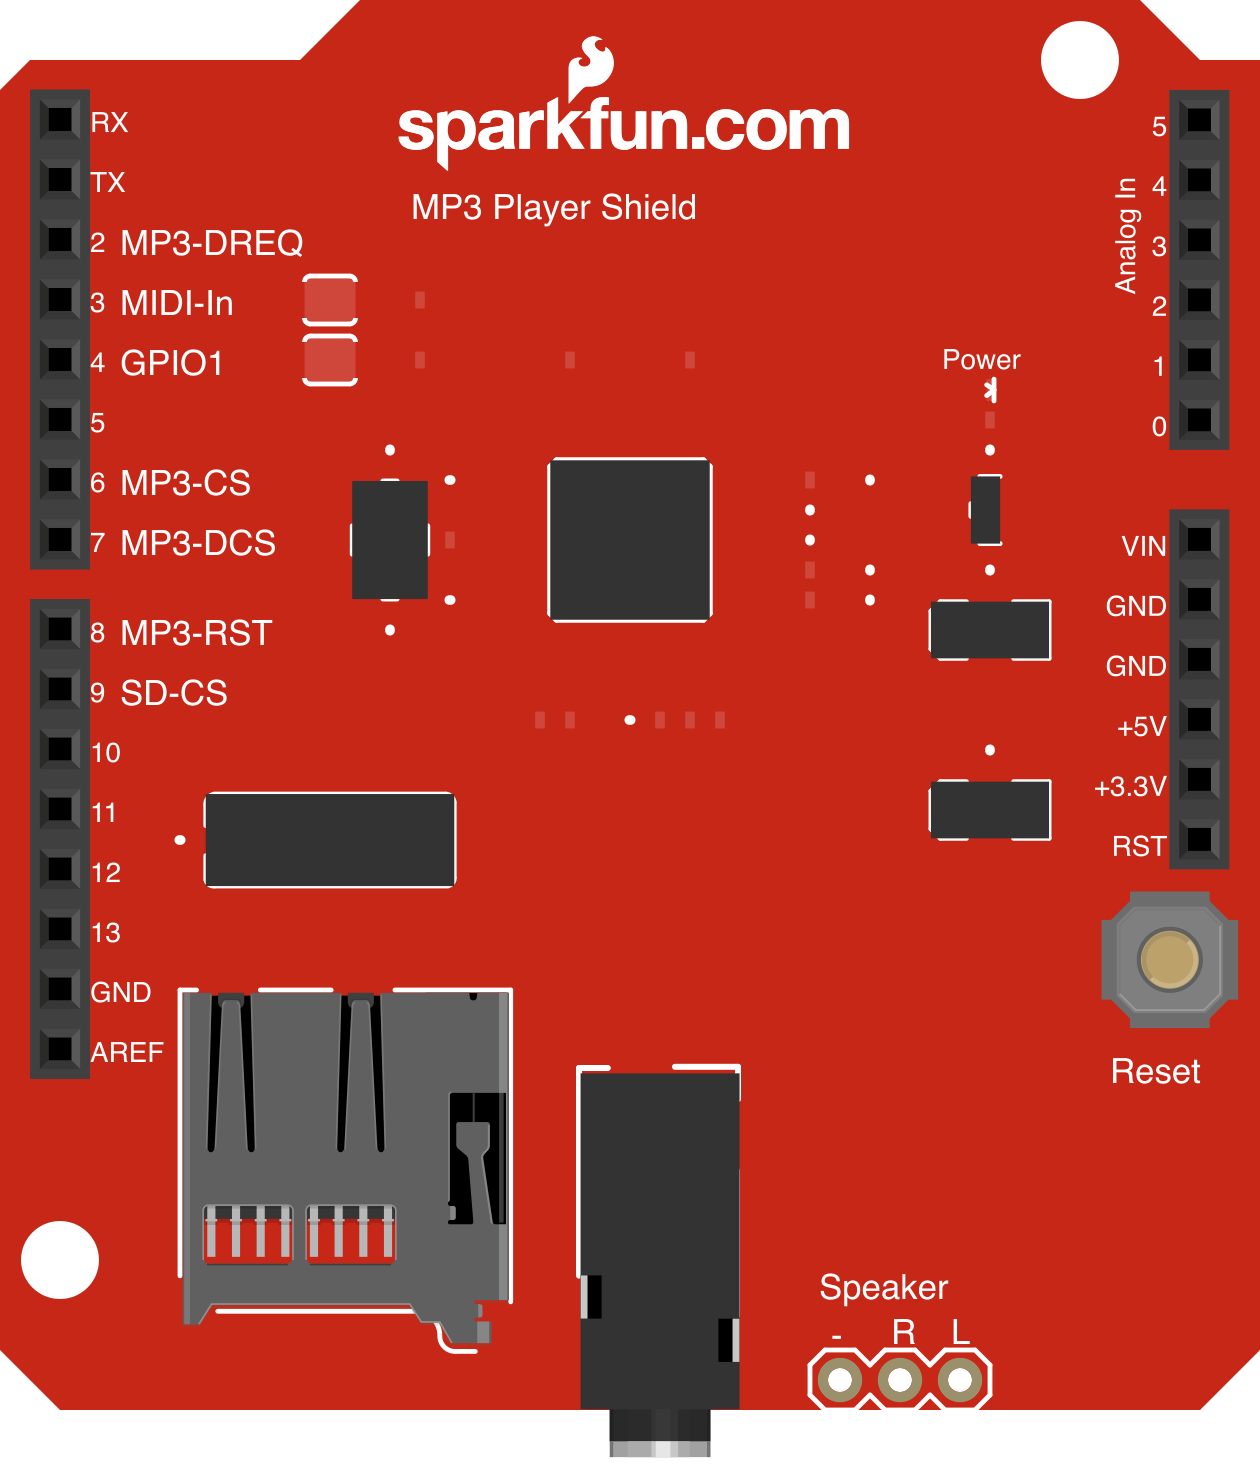
The SparkFun MP3 Player Shield (Part ID: 10628) is an add-on board designed to enable Arduino boards to play audio files in MP3 format. This shield integrates seamlessly with Arduino platforms, allowing users to add audio playback functionality to their projects. It features an onboard VS1053 audio codec chip, which supports MP3 decoding, and an SD card slot for storing audio files. The shield also includes a 3.5mm headphone jack and breakout pins for connecting external speakers.
Explore Projects Built with Arduino MP3 Player Shield
 Open Project in Cirkit Designer
 Open Project in Cirkit Designer
 Open Project in Cirkit Designer
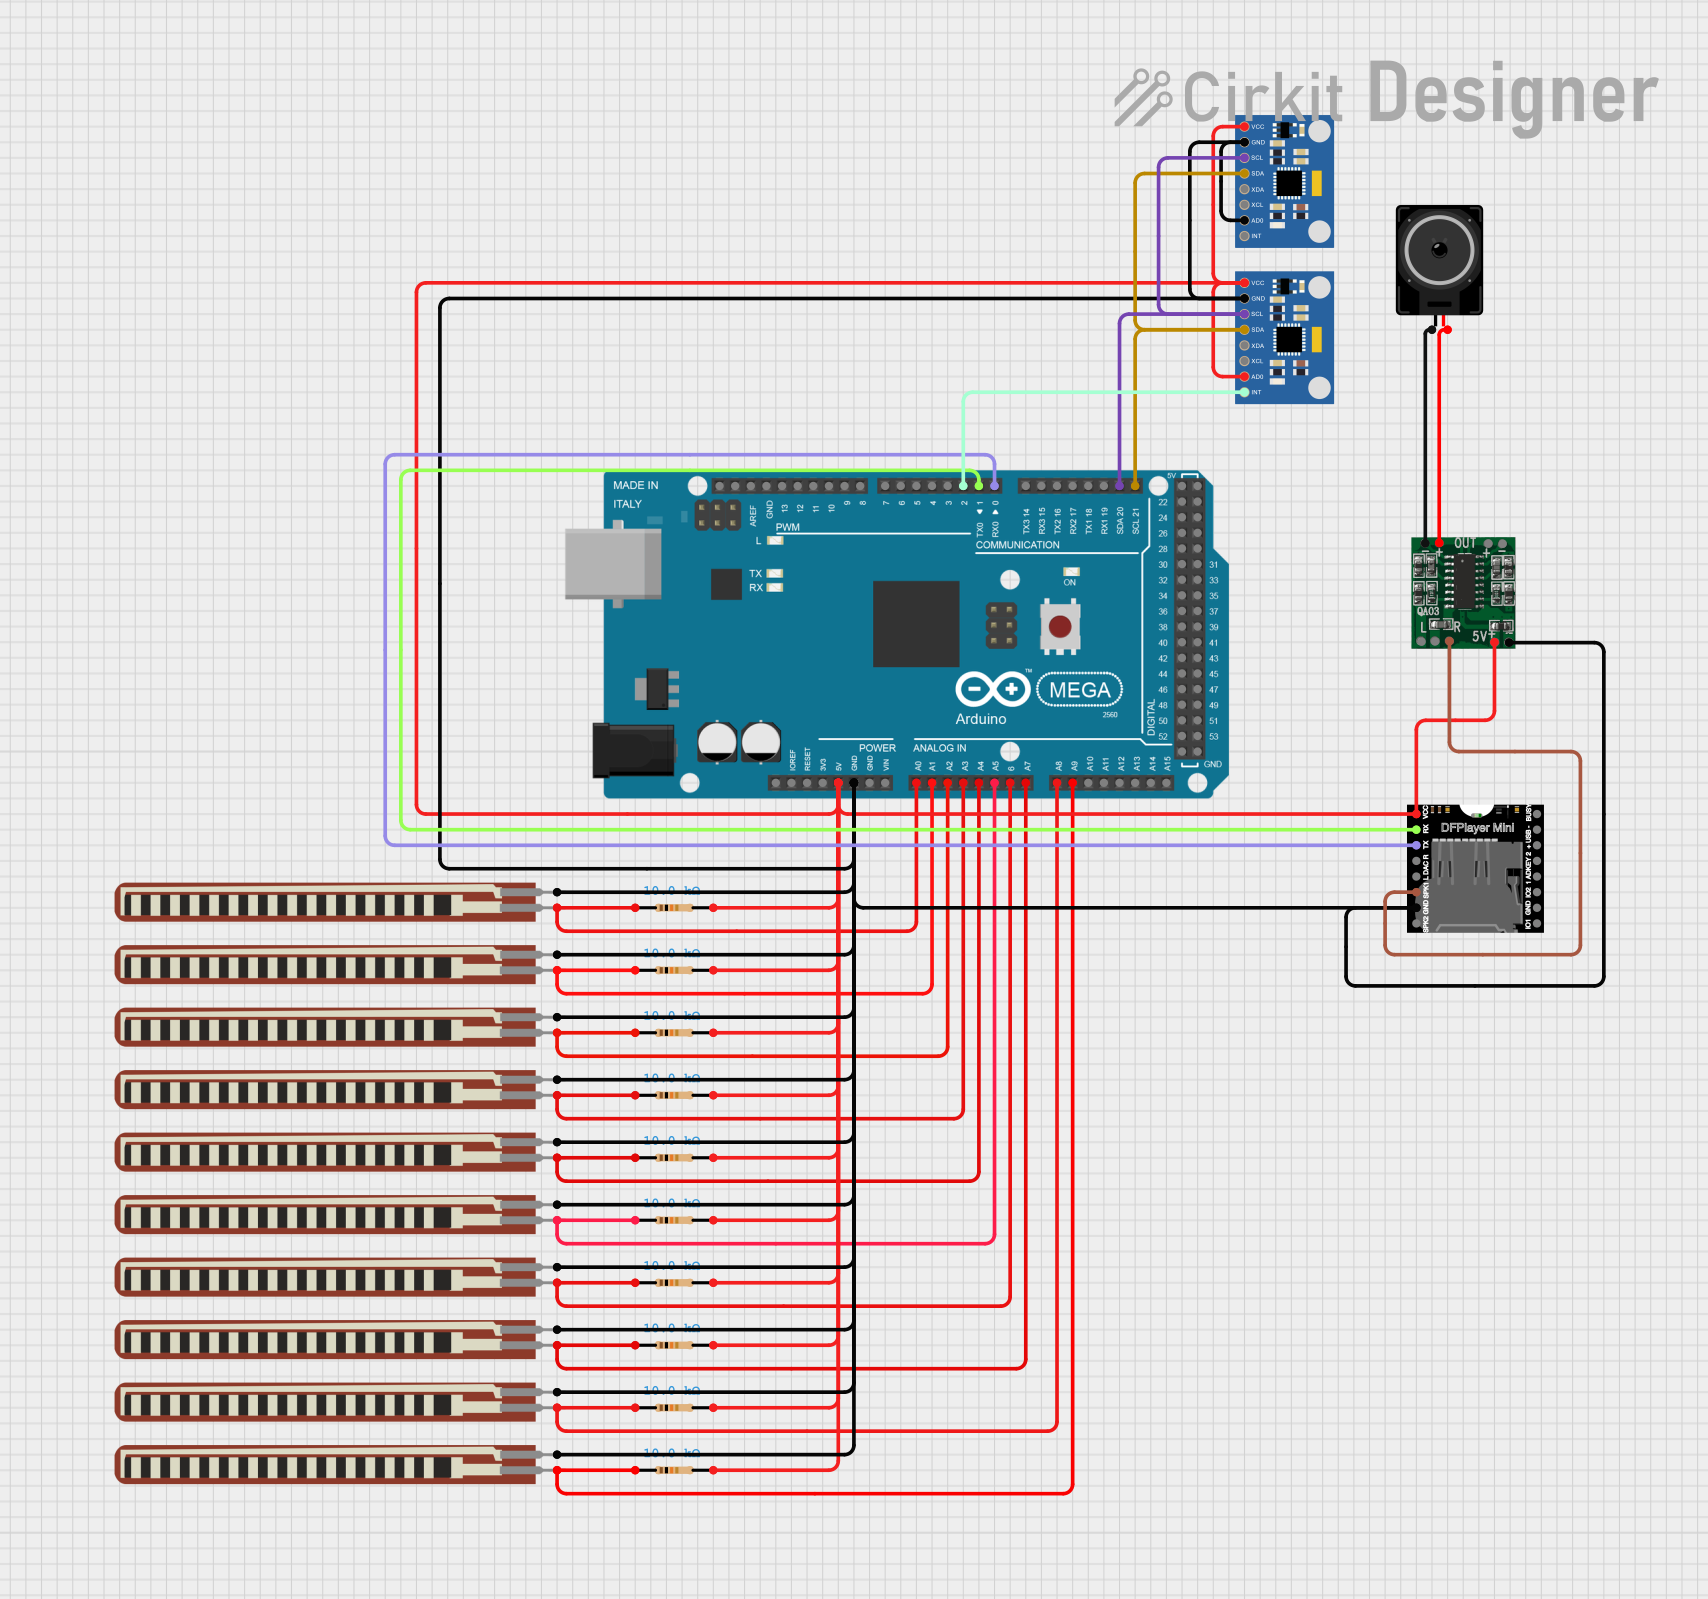 Open Project in Cirkit Designer
Explore Projects Built with Arduino MP3 Player Shield
Open Project in Cirkit DesignerOpen Project in Cirkit DesignerOpen Project in Cirkit DesignerOpen Project in Cirkit DesignerCommon Applications and Use Cases
- Audio playback for interactive projects
- Voice prompts or sound effects in robotics
- DIY music players
- Audio guides for exhibits or installations
- Alarm systems with custom sound notifications
Technical Specifications
The following table outlines the key technical details of the SparkFun MP3 Player Shield:
| Specification | Details |
|---|---|
| Manufacturer | SparkFun |
| Part ID | 10628 |
| Audio Codec Chip | VS1053 (supports MP3, AAC, WMA, MIDI, and more) |
| Power Supply Voltage | 3.3V or 5V (compatible with Arduino boards) |
| Audio Output | 3.5mm headphone jack or external speaker pins |
| Storage | MicroSD card slot (supports FAT16/FAT32 file systems) |
| Communication Interface | SPI (Serial Peripheral Interface) |
| Dimensions | 68.6mm x 53.3mm (standard Arduino shield size) |
Pin Configuration and Descriptions
The MP3 Player Shield uses the following pins on an Arduino board:
| Pin | Function | Description |
|---|---|---|
| D2 | DREQ (Data Request) | Indicates when the VS1053 is ready for more data. |
| D3 | XDCS (Data Chip Select) | Used for controlling data transfers to the VS1053. |
| D4 | SD Card Chip Select | Selects the SD card for SPI communication. |
| D5 | Reset | Resets the VS1053 chip. |
| D6 | GPIO1 | General-purpose I/O pin (optional use). |
| D7 | GPIO2 | General-purpose I/O pin (optional use). |
| D10 | SPI Chip Select (CS) | Selects the VS1053 chip for SPI communication. |
| D11 | SPI MOSI | Master Out Slave In (data sent from Arduino to the shield). |
| D12 | SPI MISO | Master In Slave Out (data sent from the shield to Arduino). |
| D13 | SPI Clock (SCK) | Clock signal for SPI communication. |
Usage Instructions
How to Use the MP3 Player Shield in a Circuit
- Attach the Shield: Plug the MP3 Player Shield onto your Arduino board, ensuring the pins align correctly.
- Prepare the SD Card:
- Format the microSD card to FAT16 or FAT32.
- Copy MP3 files to the root directory of the SD card.
- Connect Audio Output:
- Use the 3.5mm headphone jack for headphones or external speakers.
- Alternatively, connect speakers to the breakout pins for amplified output.
- Power the Circuit: Supply power to the Arduino board via USB or an external power source.
- Upload Code: Use the Arduino IDE to upload a sketch that initializes the shield and plays audio files.
Important Considerations and Best Practices
- Ensure the SD card is properly formatted and contains supported audio files.
- Use a regulated power supply to avoid noise or distortion in audio output.
- Avoid touching the shield's components while powered to prevent static damage.
- Use the SparkFun MP3 Player Shield Library for simplified control of the shield.
Example Code for Arduino UNO
Below is an example sketch to play an MP3 file using the SparkFun MP3 Player Shield:
#include <SPI.h>
#include <SdFat.h>
#include <SFEMP3Shield.h>

// Create instances for SD card and MP3 shield
SdFat sd;
SFEMP3Shield MP3player;

void setup() {
  Serial.begin(9600); // Initialize serial communication for debugging

  // Initialize the SD card
  if (!sd.begin(SD_SEL, SPI_HALF_SPEED)) {
    Serial.println("SD card initialization failed!");
    return;
  }
  Serial.println("SD card initialized.");

  // Initialize the MP3 player shield
  if (MP3player.begin() != 0) {
    Serial.println("MP3 player initialization failed!");
    return;
  }
  Serial.println("MP3 player initialized.");

  // Set volume (range: 0 to 255, lower is louder)
  MP3player.setVolume(20, 20);

  // Start playing an MP3 file
  if (MP3player.playMP3("track001.mp3") != 0) {
    Serial.println("Error playing MP3 file!");
  } else {
    Serial.println("Playing MP3 file...");
  }
}

void loop() {
  // Continuously check if the MP3 file is still playing
  if (!MP3player.isPlaying()) {
    Serial.println("Playback finished.");
    while (1); // Stop the program
  }
}
Notes:
- Replace
"track001.mp3"with the name of your MP3 file. - Ensure the file name matches exactly, including case sensitivity.
Troubleshooting and FAQs
Common Issues and Solutions
SD Card Not Detected:
- Ensure the SD card is formatted to FAT16 or FAT32.
- Check that the SD card is properly inserted into the slot.
- Verify the SD card chip select pin (D4) is correctly configured in your code.
No Audio Output:
- Confirm the audio file format is supported (e.g., MP3).
- Check the volume settings in your code.
- Ensure the headphones or speakers are properly connected.
Playback Stutters or Stops:
- Use a high-quality SD card with a fast read speed.
- Avoid running other intensive tasks on the Arduino during playback.
MP3 Player Shield Not Recognized:
- Verify the shield is securely connected to the Arduino board.
- Check for conflicts with other shields or components using the same SPI pins.
FAQs
Q: Can I use this shield with an Arduino Mega?
A: Yes, the shield is compatible with the Arduino Mega. However, you may need to adjust the SPI pin definitions in your code.
Q: What is the maximum SD card size supported?
A: The shield supports microSD cards up to 32GB formatted in FAT16 or FAT32.
Q: Can I play audio formats other than MP3?
A: Yes, the VS1053 chip supports additional formats such as AAC, WMA, and MIDI. Refer to the VS1053 datasheet for details.
Q: How do I amplify the audio output?
A: Use the breakout pins to connect an external amplifier or powered speakers for louder output.
By following this documentation, you can effectively integrate the SparkFun MP3 Player Shield into your Arduino projects and enjoy high-quality audio playback.