
How to Use quick-wled: Examples, Pinouts, and Specs
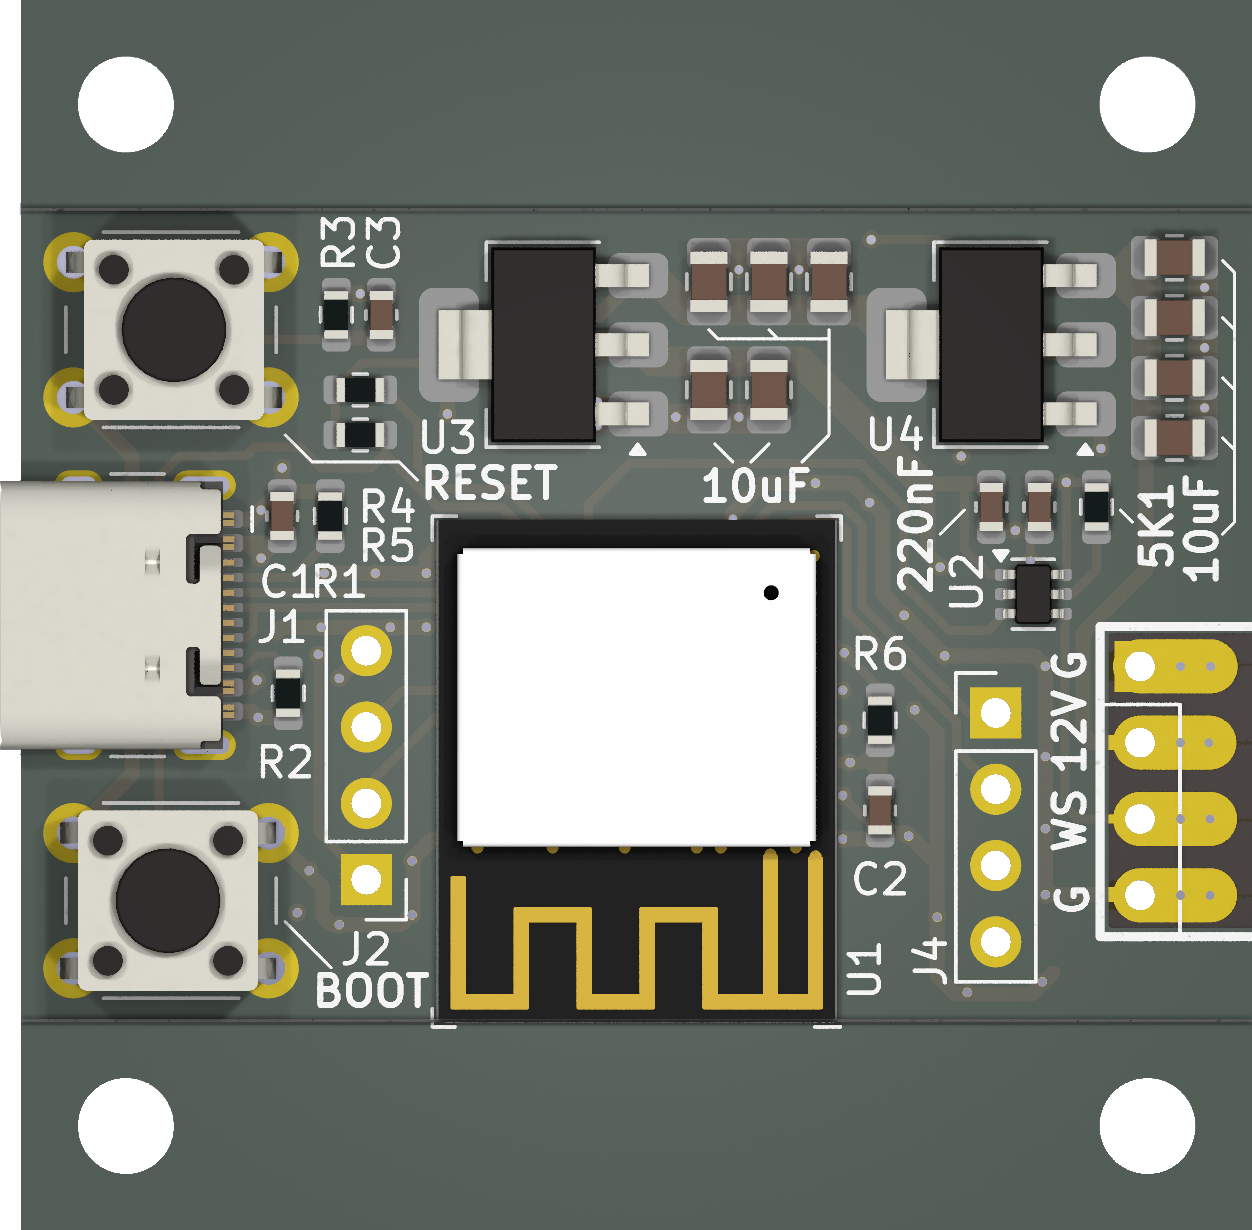
 Design with quick-wled in Cirkit Designer
Introduction
Quick-WLED, developed by Napkin to Billboard, is a versatile library designed for controlling addressable LED strips and arrays using a variety of microcontrollers. It simplifies the process of creating dynamic lighting effects and animations, enabling users to manage color, brightness, and patterns with ease. Whether you're building a decorative lighting project, an interactive display, or a custom lighting system, Quick-WLED provides the tools to bring your ideas to life.
Explore Projects Built with quick-wled
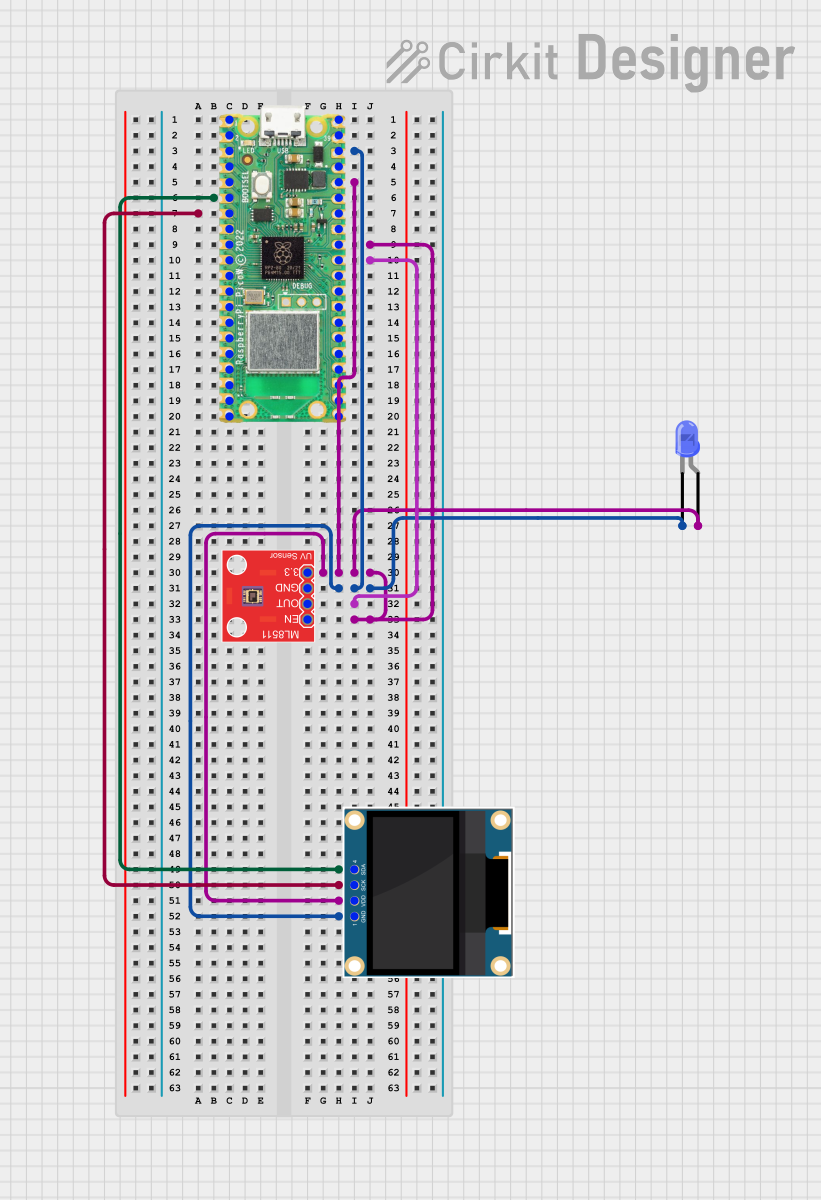
 Open Project in Cirkit Designer
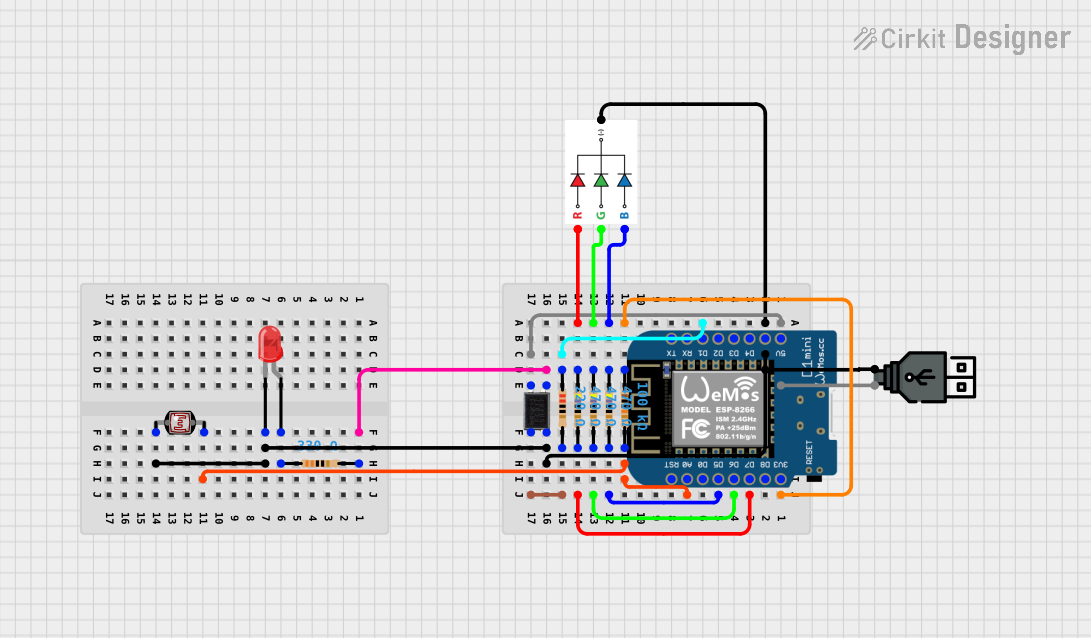
 Open Project in Cirkit Designer
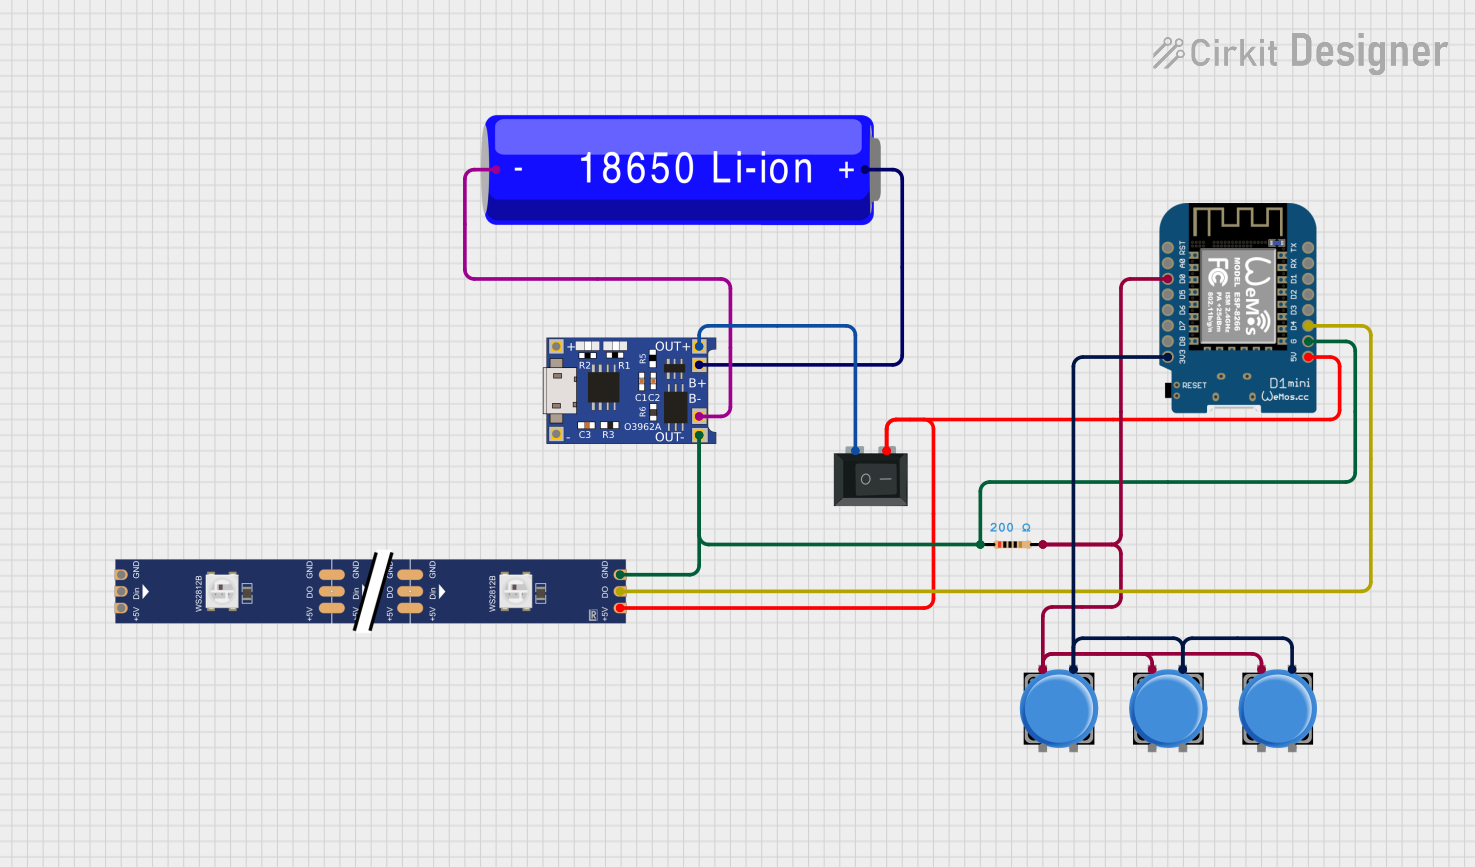
 Open Project in Cirkit Designer
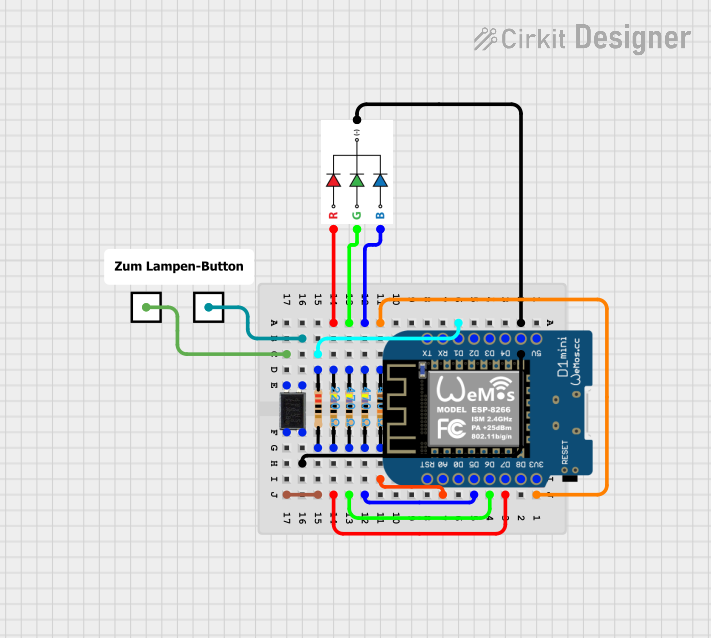
 Open Project in Cirkit Designer
Explore Projects Built with quick-wled

 Open Project in Cirkit Designer
 Open Project in Cirkit Designer
 Open Project in Cirkit Designer
 Open Project in Cirkit Designer
Common Applications and Use Cases
- Decorative lighting for homes, events, and holidays
- Interactive displays and signage
- Custom lighting systems for gaming setups
- Wearable LED projects
- Prototyping and educational projects
Technical Specifications
Quick-WLED is a software library, but it is designed to work with specific hardware components. Below are the key technical details and pin configurations for typical setups:
Supported Microcontrollers
- ESP8266
- ESP32
- Arduino-compatible boards (e.g., Arduino UNO, Nano, Mega)
Supported LED Types
- WS2812B (NeoPixel)
- SK6812
- APA102 (DotStar)
- Other addressable LEDs with similar protocols
Power Requirements
- LED strips typically require 5V DC power.
- Ensure the power supply can handle the current draw of the LED strip (e.g., 60mA per LED at full brightness for WS2812B).
Pin Configuration
The following table outlines the typical pin connections for using Quick-WLED with an ESP32 or Arduino UNO:
| Pin Name | Description | Example Pin (ESP32) | Example Pin (Arduino UNO) |
|---|---|---|---|
| Data Pin | Sends data to the LED strip | GPIO 5 | Digital Pin 6 |
| Ground (GND) | Common ground for the circuit | GND | GND |
| Power (VCC) | Supplies power to the LED strip | 5V | 5V |
Note: Always check the datasheet of your specific LED strip for exact wiring requirements.
Usage Instructions
How to Use Quick-WLED in a Circuit
Connect the LED Strip:
- Connect the
Data Pinof the LED strip to the designated GPIO pin on your microcontroller. - Connect the
GNDpin of the LED strip to the microcontroller's ground. - Connect the
VCCpin of the LED strip to a 5V power source.
- Connect the
Install the Quick-WLED Library:
- Open the Arduino IDE.
- Go to
Sketch > Include Library > Manage Libraries. - Search for "Quick-WLED" and install the library.
Write Your Code:
- Use the Quick-WLED library to define the number of LEDs, data pin, and desired effects.
Example Code for Arduino UNO
#include <QuickWLED.h> // Include the Quick-WLED library

#define DATA_PIN 6      // Define the data pin connected to the LED strip
#define NUM_LEDS 30     // Define the number of LEDs in the strip

QuickWLED strip(NUM_LEDS, DATA_PIN); // Initialize the Quick-WLED object

void setup() {
  strip.begin();       // Initialize the LED strip
  strip.show();        // Ensure all LEDs are off at the start
}

void loop() {
  // Set the entire strip to red
  strip.fill(strip.Color(255, 0, 0)); // RGB: Red, Green, Blue
  strip.show();        // Update the LEDs with the new color
  delay(1000);         // Wait for 1 second

  // Set the entire strip to green
  strip.fill(strip.Color(0, 255, 0)); // RGB: Red, Green, Blue
  strip.show();        // Update the LEDs with the new color
  delay(1000);         // Wait for 1 second

  // Set the entire strip to blue
  strip.fill(strip.Color(0, 0, 255)); // RGB: Red, Green, Blue
  strip.show();        // Update the LEDs with the new color
  delay(1000);         // Wait for 1 second
}
Important Considerations and Best Practices
- Power Supply: Ensure your power supply can handle the total current draw of the LED strip. For example, a 30-LED WS2812B strip at full brightness may require up to 1.8A.
- Level Shifting: If using a 3.3V microcontroller (e.g., ESP32), use a level shifter to convert the data signal to 5V for compatibility with the LED strip.
- Heat Management: High-brightness settings can generate heat. Ensure proper ventilation or heat dissipation for large LED arrays.
- Capacitor and Resistor: Add a 1000µF capacitor across the power supply and a 330Ω resistor in series with the data line to protect the LEDs.
Troubleshooting and FAQs
Common Issues and Solutions
LEDs Not Lighting Up:
- Check all connections, especially the data pin and ground.
- Ensure the power supply is connected and providing sufficient voltage/current.
- Verify the correct data pin is defined in the code.
Flickering or Unstable Colors:
- Add a 330Ω resistor in series with the data line to reduce noise.
- Use a level shifter if the microcontroller operates at 3.3V.
Incorrect Colors Displayed:
- Ensure the LED type (e.g., WS2812B) is correctly defined in the library settings.
- Verify the wiring and connections.
Library Not Found:
- Ensure the Quick-WLED library is installed in the Arduino IDE.
- Restart the IDE after installation.
FAQs
Q: Can I use Quick-WLED with non-addressable LEDs?
A: No, Quick-WLED is specifically designed for addressable LED strips and arrays.
Q: How many LEDs can I control with Quick-WLED?
A: The number of LEDs depends on the microcontroller's memory and processing power. For example, an ESP32 can handle thousands of LEDs, while an Arduino UNO is limited to a few hundred.
Q: Can I create custom animations with Quick-WLED?
A: Yes, Quick-WLED provides functions for creating custom animations and effects. Refer to the library documentation for advanced features.
Q: Is Quick-WLED compatible with other libraries like FastLED?
A: Quick-WLED is a standalone library, but it can coexist with other libraries in your project if there are no conflicts.
By following this documentation, you can easily integrate Quick-WLED into your projects and create stunning lighting effects!