How to Use 2.1" HDMI Round Screen 480x480: Examples, Pinouts, and Specs
Introduction
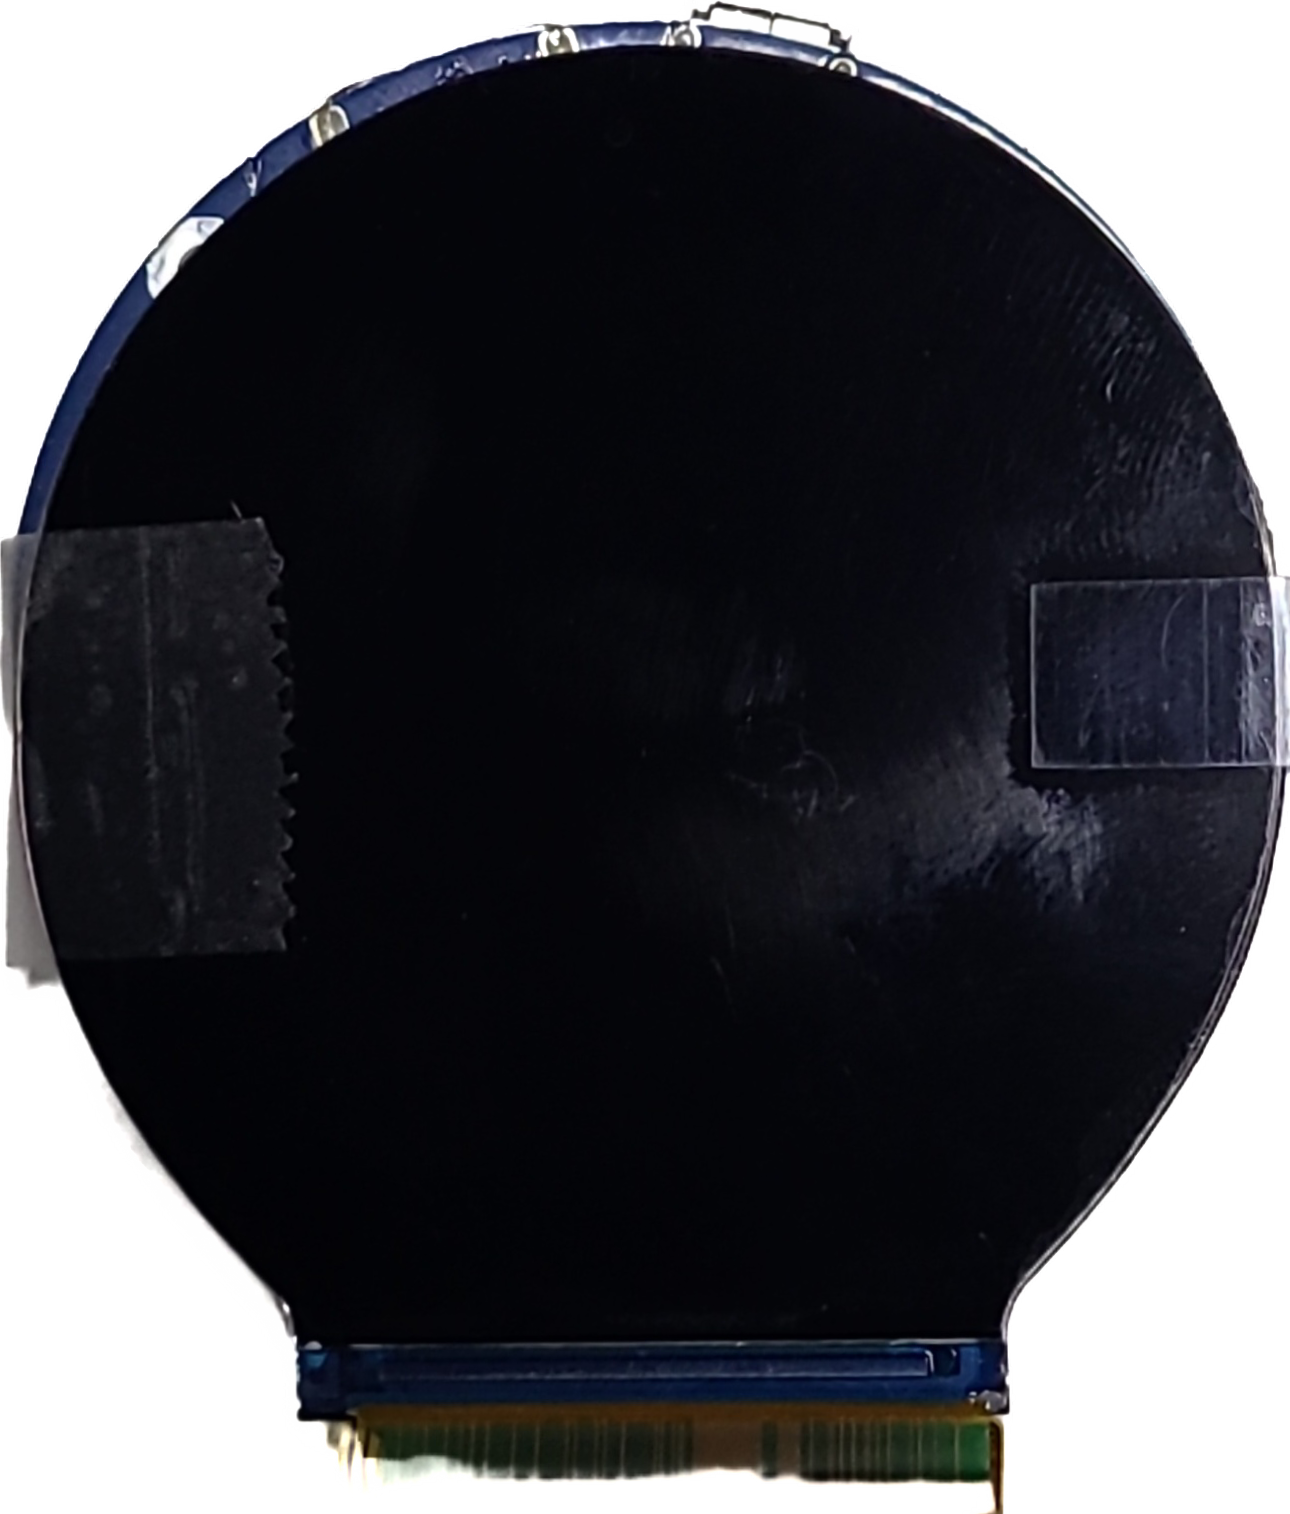
The 2.1" HDMI Round Screen 480x480 is a compact, circular display module with a resolution of 480x480 pixels. It is designed to interface with devices via an HDMI connection, making it suitable for a wide range of applications. Its unique round form factor and high-resolution display make it ideal for projects requiring a modern and aesthetic visual interface.
Explore Projects Built with 2.1" HDMI Round Screen 480x480


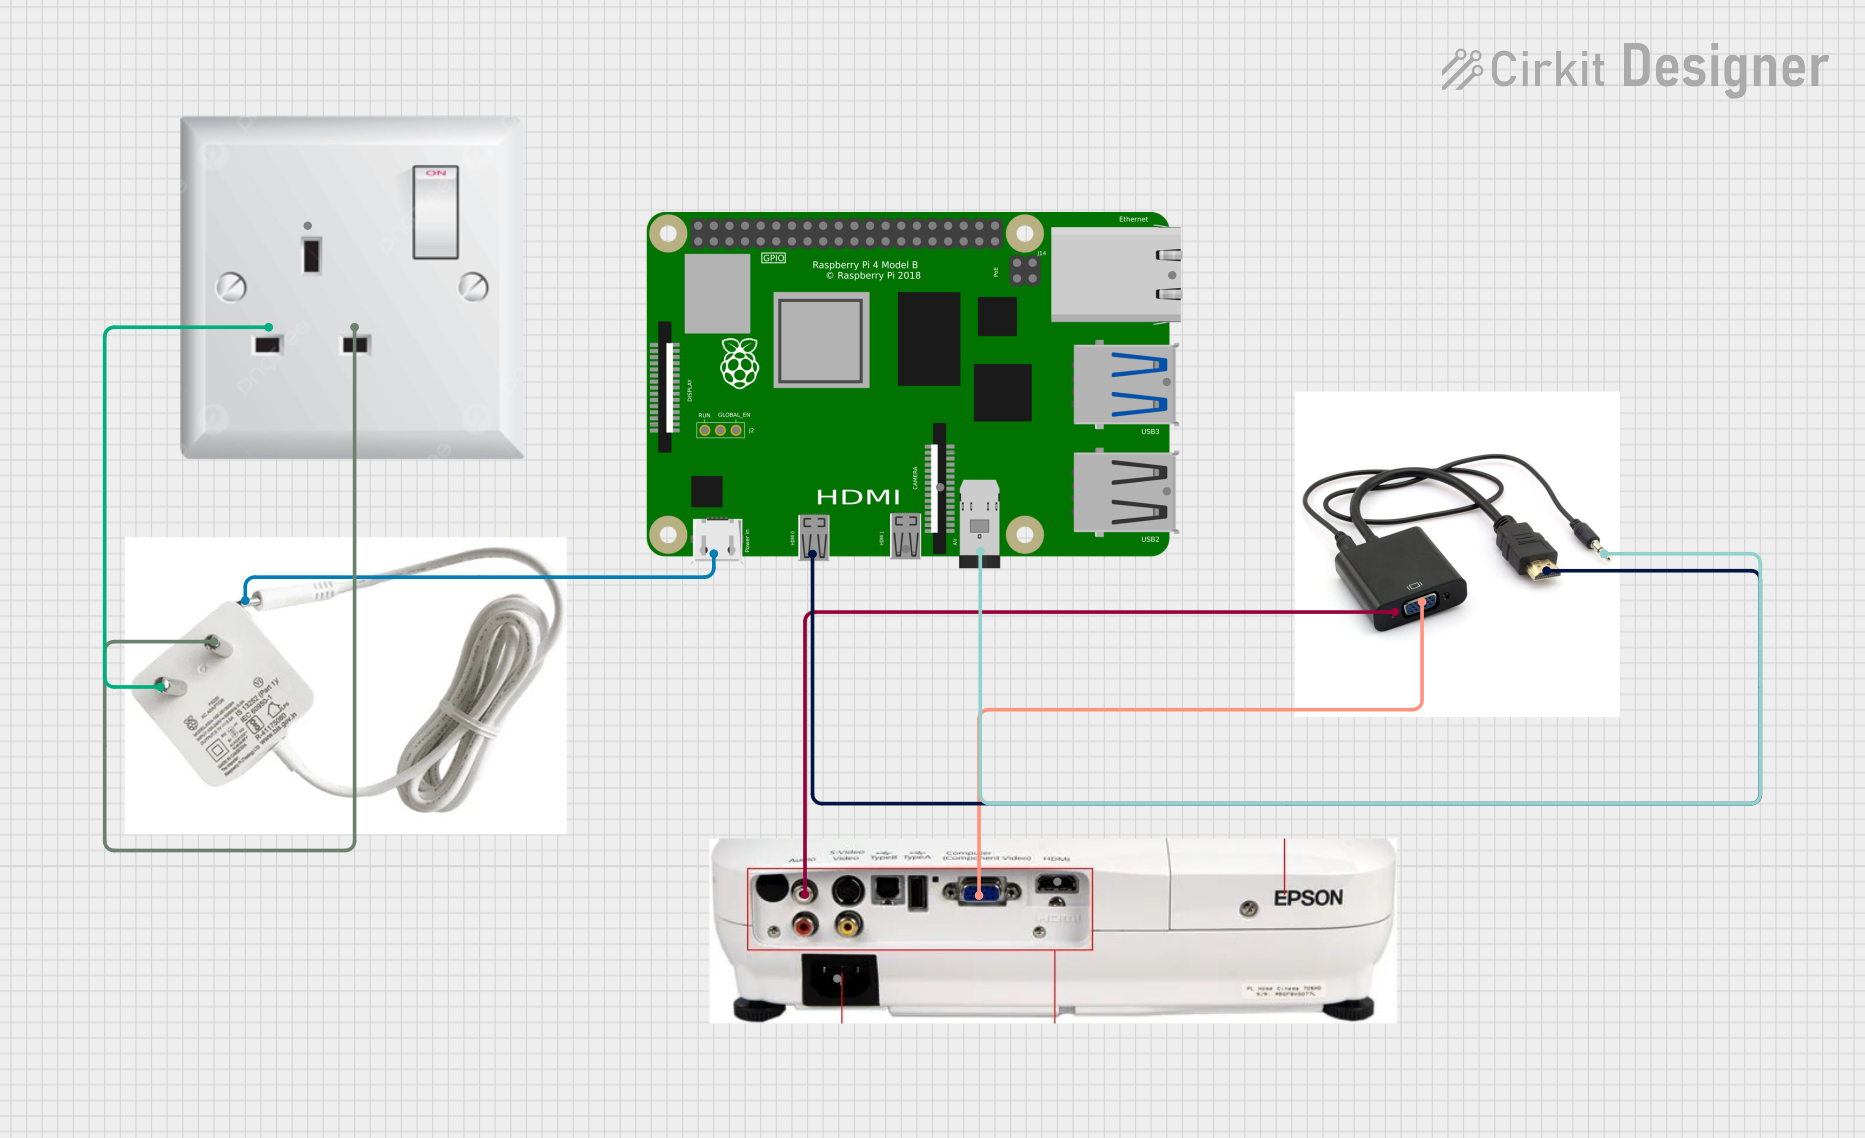
Explore Projects Built with 2.1" HDMI Round Screen 480x480
Common Applications and Use Cases
- Smart home devices (e.g., thermostats, control panels)
- Wearable technology
- Portable gaming consoles
- Industrial equipment displays
- Custom dashboards for vehicles
- Prototyping and DIY electronics projects
Technical Specifications
Below are the key technical details for the 2.1" HDMI Round Screen 480x480:
| Specification | Details |
|---|---|
| Display Type | TFT LCD |
| Resolution | 480x480 pixels |
| Aspect Ratio | 1:1 (Circular) |
| Interface | HDMI |
| Power Supply Voltage | 5V (via HDMI or external source) |
| Current Consumption | ~200mA (typical) |
| Screen Diameter | 2.1 inches |
| Viewing Angle | 160° |
| Backlight | LED |
| Operating Temperature | -20°C to 70°C |
| Storage Temperature | -30°C to 80°C |
Pin Configuration and Descriptions
The 2.1" HDMI Round Screen 480x480 typically uses an HDMI connector for data and power. However, some models may include additional pins for optional features. Below is a general description of the HDMI pinout:
| Pin Number | Signal Name | Description |
|---|---|---|
| 1 | TMDS Data2+ | Differential pair for video data |
| 2 | TMDS Data2- | Differential pair for video data |
| 3 | TMDS Data1+ | Differential pair for video data |
| 4 | TMDS Data1- | Differential pair for video data |
| 5 | TMDS Data0+ | Differential pair for video data |
| 6 | TMDS Data0- | Differential pair for video data |
| 7 | TMDS Clock+ | Differential pair for clock signal |
| 8 | TMDS Clock- | Differential pair for clock signal |
| 9 | CEC | Consumer Electronics Control |
| 10 | DDC Data | Display Data Channel (I2C data line) |
| 11 | DDC Clock | Display Data Channel (I2C clock line) |
| 12 | +5V Power | Power supply for the display |
| 13 | Hot Plug Detect | Signal to detect HDMI connection |
| 14-19 | Ground | Common ground for all signals |
Usage Instructions
How to Use the Component in a Circuit
- Connect the HDMI Cable: Plug the HDMI cable into the display and the source device (e.g., Raspberry Pi, Arduino with HDMI shield, or PC).
- Power the Display: Ensure the display is powered via the HDMI connection or an external 5V power source if required.
- Configure the Source Device: Set the output resolution of the source device to 480x480 pixels for optimal performance.
- Mount the Display: Secure the display in your project using a suitable enclosure or mounting mechanism.
Important Considerations and Best Practices
- Resolution Settings: Ensure the source device supports a 480x480 resolution. If not, the display may not function correctly.
- Power Supply: Verify that the power supply provides a stable 5V output to avoid damage to the display.
- HDMI Cable Quality: Use a high-quality HDMI cable to ensure reliable signal transmission.
- Ventilation: Avoid overheating by ensuring proper ventilation around the display, especially in enclosed spaces.
- Static Precautions: Handle the display carefully to avoid damage from electrostatic discharge (ESD).
Example: Using with Arduino UNO (via HDMI Shield)
To use the 2.1" HDMI Round Screen 480x480 with an Arduino UNO, you will need an HDMI shield. Below is an example of how to display a simple image using the Arduino IDE:
#include <SPI.h>
#include <Adafruit_GFX.h>
#include <Adafruit_ImageReader.h>

// Initialize the HDMI shield and display
// Note: Replace "HDMI_Shield" with the actual library for your shield
HDMI_Shield display;

void setup() {
  // Start serial communication for debugging
  Serial.begin(9600);

  // Initialize the display
  if (!display.begin()) {
    Serial.println("Display initialization failed!");
    while (1); // Halt if initialization fails
  }

  // Set the display resolution
  display.setResolution(480, 480);

  // Clear the screen with a black background
  display.fillScreen(0x0000);

  // Draw a simple circle in the center of the screen
  display.drawCircle(240, 240, 100, 0xFFFF); // White circle
}

void loop() {
  // Add your code here to update the display
}
Note: Ensure you have the correct libraries installed for your HDMI shield. The above code is a general example and may require modifications based on your specific hardware.
Troubleshooting and FAQs
Common Issues Users Might Face
No Display Output:
- Cause: Incorrect resolution settings on the source device.
- Solution: Set the resolution to 480x480 pixels in the source device's settings.
Flickering or Distorted Image:
- Cause: Poor-quality HDMI cable or unstable power supply.
- Solution: Use a high-quality HDMI cable and ensure a stable 5V power source.
Display Not Powering On:
- Cause: Insufficient power supply or loose connections.
- Solution: Check the power source and ensure all connections are secure.
Image Cut Off or Misaligned:
- Cause: Incorrect aspect ratio or overscan settings.
- Solution: Adjust the aspect ratio and disable overscan in the source device's settings.
Solutions and Tips for Troubleshooting
- Check Connections: Ensure all cables are securely connected and free from damage.
- Test with Another Device: Verify the display works with a different HDMI source to rule out issues with the source device.
- Update Firmware: If applicable, update the firmware of the source device or HDMI shield.
- Consult Documentation: Refer to the source device's documentation for additional configuration options.
By following this documentation, you can effectively integrate the 2.1" HDMI Round Screen 480x480 into your projects and troubleshoot common issues.