
How to Use Pimoroni OnOffShim: Examples, Pinouts, and Specs
 Design with Pimoroni OnOffShim in Cirkit Designer
Introduction
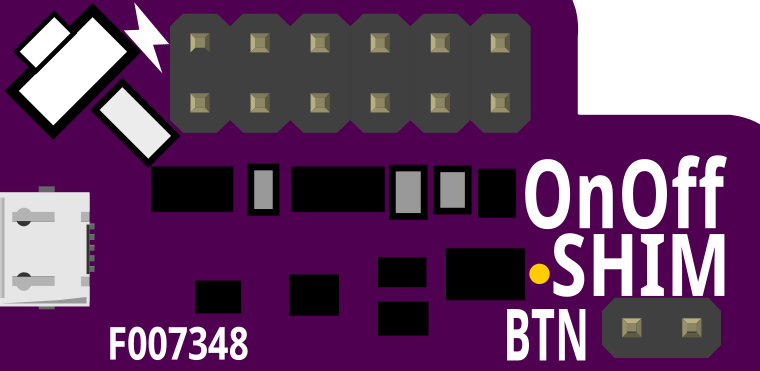
The Pimoroni OnOffShim is a compact add-on board designed for Raspberry Pi devices. It provides a convenient and safe way to manage power by enabling users to turn their Raspberry Pi on and off using a physical button. The OnOffShim ensures a clean shutdown process, preventing potential data corruption or damage to the Raspberry Pi's operating system.
This component is ideal for projects where easy power management is essential, such as portable Raspberry Pi setups, embedded systems, or any application requiring a user-friendly power control mechanism.
Explore Projects Built with Pimoroni OnOffShim
 Open Project in Cirkit Designer
 Open Project in Cirkit Designer
 Open Project in Cirkit Designer
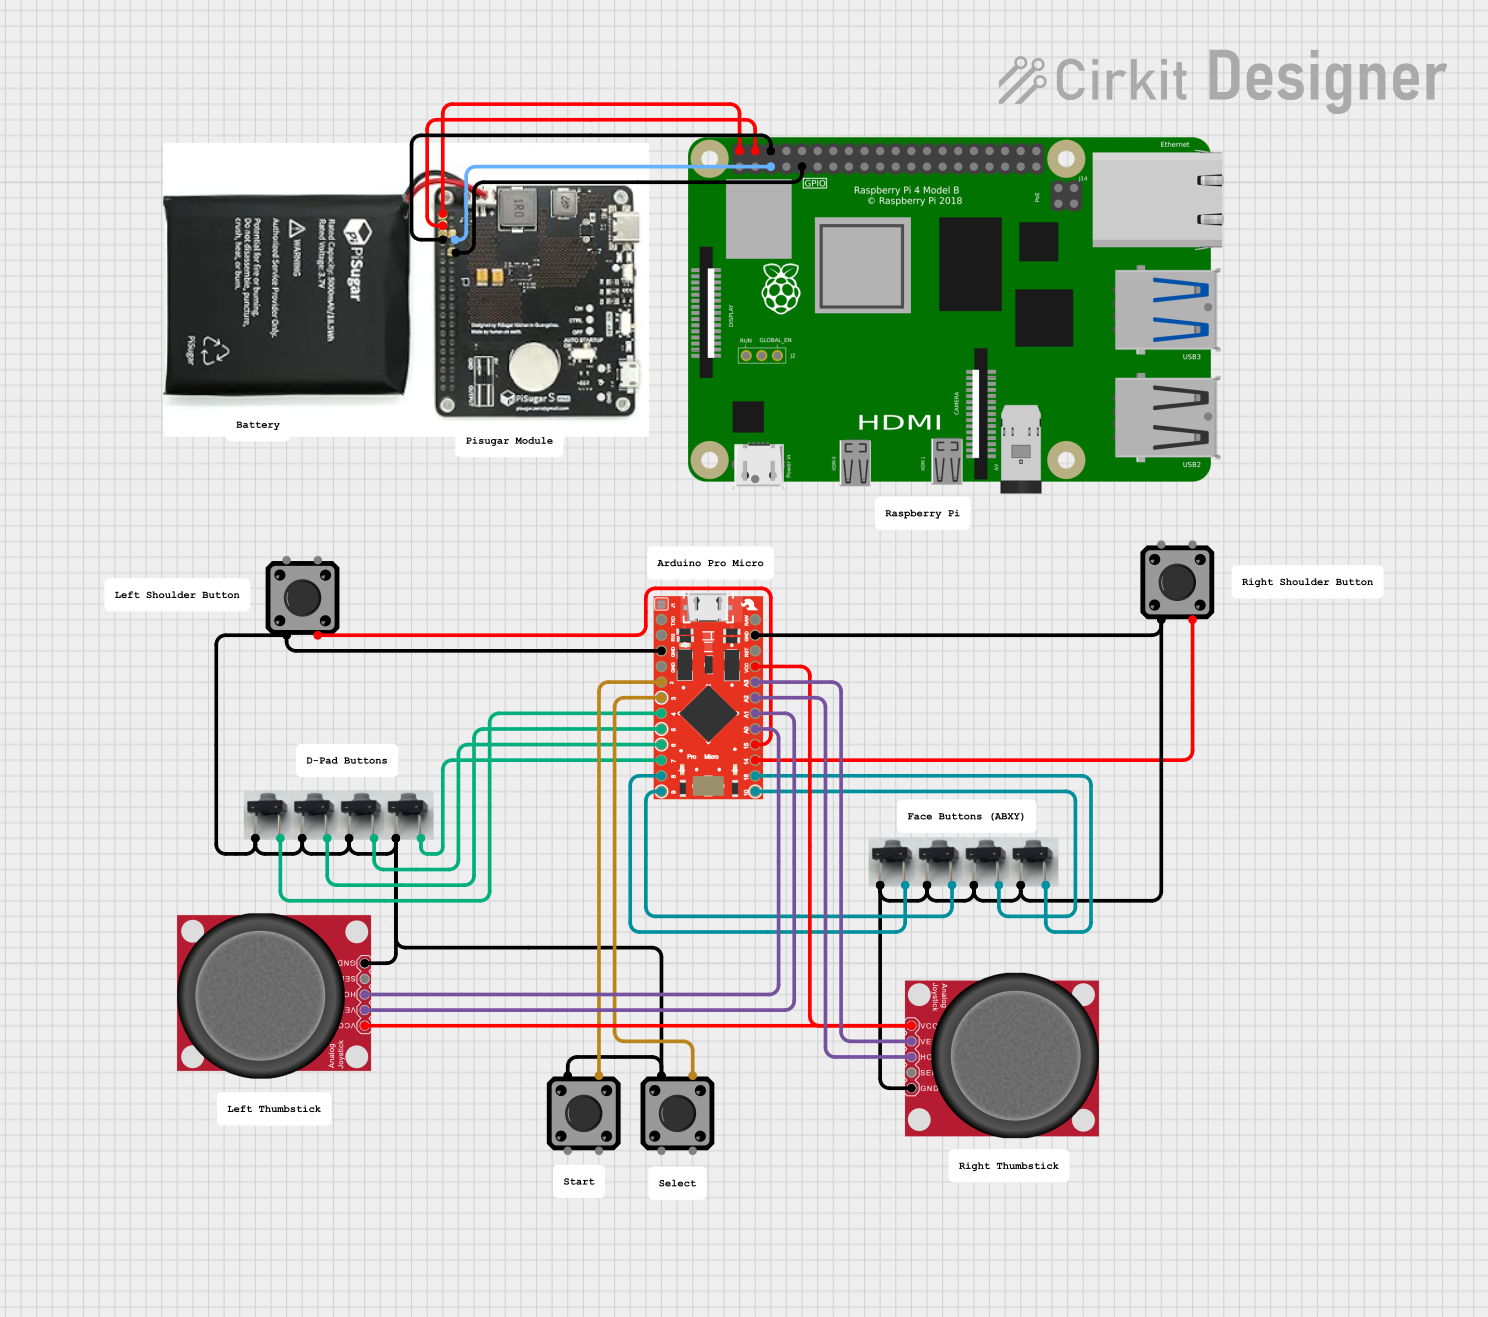 Open Project in Cirkit Designer
Explore Projects Built with Pimoroni OnOffShim
Open Project in Cirkit DesignerOpen Project in Cirkit DesignerOpen Project in Cirkit DesignerOpen Project in Cirkit DesignerCommon Applications
- Portable Raspberry Pi projects
- Media centers and home automation systems
- Embedded systems requiring safe shutdown
- Projects with limited access to power switches
Technical Specifications
The Pimoroni OnOffShim is designed to work seamlessly with Raspberry Pi boards. Below are its key technical details:
Key Specifications
| Parameter | Value |
|---|---|
| Input Voltage Range | 2.8V to 5.5V |
| Maximum Current | 2.5A |
| Dimensions | 19.5mm x 18mm x 2.75mm |
| Button Type | Momentary push-button |
| Compatibility | All 40-pin Raspberry Pi models |
| Shutdown Signal Pin | GPIO 17 (BCM numbering) |
Pin Configuration
The OnOffShim connects directly to the Raspberry Pi's GPIO header. Below is the pin configuration:
| Pin on OnOffShim | Corresponding GPIO Pin | Description |
|---|---|---|
| 5V | Pin 2 or Pin 4 | Power input (5V) |
| GND | Pin 6 or Pin 9 | Ground |
| GPIO 17 | Pin 11 | Shutdown signal (BCM GPIO 17) |
Usage Instructions
Installation
- Attach the OnOffShim: Align the OnOffShim with the Raspberry Pi's GPIO header and gently press it into place.
- Connect Power: Plug the power supply into the OnOffShim's micro-USB port.
- Install Software: To enable the safe shutdown functionality, install the required software on your Raspberry Pi:
- Open a terminal on your Raspberry Pi.
- Run the following commands:
This script will install the necessary software and configure the GPIO pin for shutdown.curl https://get.pimoroni.com/onoffshim | bash
Using the OnOffShim
- Power On: Press the button on the OnOffShim to power on the Raspberry Pi.
- Safe Shutdown: Press and hold the button for 3 seconds to initiate a safe shutdown. The Raspberry Pi will power off automatically after the shutdown process is complete.
Important Considerations
- Ensure the OnOffShim is securely connected to the GPIO header before powering on the Raspberry Pi.
- Use a power supply that meets the Raspberry Pi's voltage and current requirements.
- Avoid disconnecting the power supply while the Raspberry Pi is running to prevent data corruption.
Example Code for Custom Shutdown Behavior
If you want to customize the behavior of the OnOffShim, you can use the following Python script. This script listens for a button press on GPIO 17 and initiates a shutdown:
import RPi.GPIO as GPIO
import os
import time
Set up GPIO 17 (BCM numbering) as an input pin
BUTTON_PIN = 17 GPIO.setmode(GPIO.BCM) GPIO.setup(BUTTON_PIN, GPIO.IN, pull_up_down=GPIO.PUD_UP)
def shutdown(channel): # Function to safely shut down the Raspberry Pi print("Shutdown button pressed. Shutting down...") os.system("sudo shutdown -h now")
Add an event listener for the button press
GPIO.add_event_detect(BUTTON_PIN, GPIO.FALLING, callback=shutdown, bouncetime=200)
print("OnOffShim is ready. Press the button to shut down.")
try: # Keep the script running while True: time.sleep(1) except KeyboardInterrupt: # Clean up GPIO settings on exit GPIO.cleanup()
Notes:
- Save the script as
onoffshim_shutdown.pyand run it withsudo python3 onoffshim_shutdown.py. - Ensure the
RPi.GPIOlibrary is installed (sudo apt install python3-rpi.gpio).
Troubleshooting and FAQs
Common Issues
The Raspberry Pi does not power on:
- Ensure the OnOffShim is properly seated on the GPIO header.
- Verify that the power supply is connected to the OnOffShim and is functioning correctly.
The safe shutdown does not work:
- Confirm that the required software is installed using the installation script.
- Check that GPIO 17 is not being used by another component or script.
The Raspberry Pi shuts down unexpectedly:
- Ensure the power supply meets the Raspberry Pi's voltage and current requirements.
- Check for loose connections between the OnOffShim and the GPIO header.
FAQs
Q: Can I use the OnOffShim with other GPIO-based components?
A: Yes, but ensure that GPIO 17 is not used by other components, as it is reserved for the OnOffShim's shutdown signal.
Q: Does the OnOffShim work with Raspberry Pi Zero models?
A: Yes, the OnOffShim is compatible with all 40-pin Raspberry Pi models, including the Raspberry Pi Zero and Zero W.
Q: Can I use the OnOffShim with a USB-C power supply?
A: The OnOffShim uses a micro-USB port for power input. You can use a USB-C to micro-USB adapter if needed.
Q: Is soldering required to use the OnOffShim?
A: No, the OnOffShim is designed to be a solderless solution. It connects directly to the GPIO header.
By following this documentation, you can effectively integrate the Pimoroni OnOffShim into your Raspberry Pi projects for safe and convenient power management.