How to Use Adafruit NeoKey Trinkey: Examples, Pinouts, and Specs

 Design with Adafruit NeoKey Trinkey in Cirkit Designer
Introduction
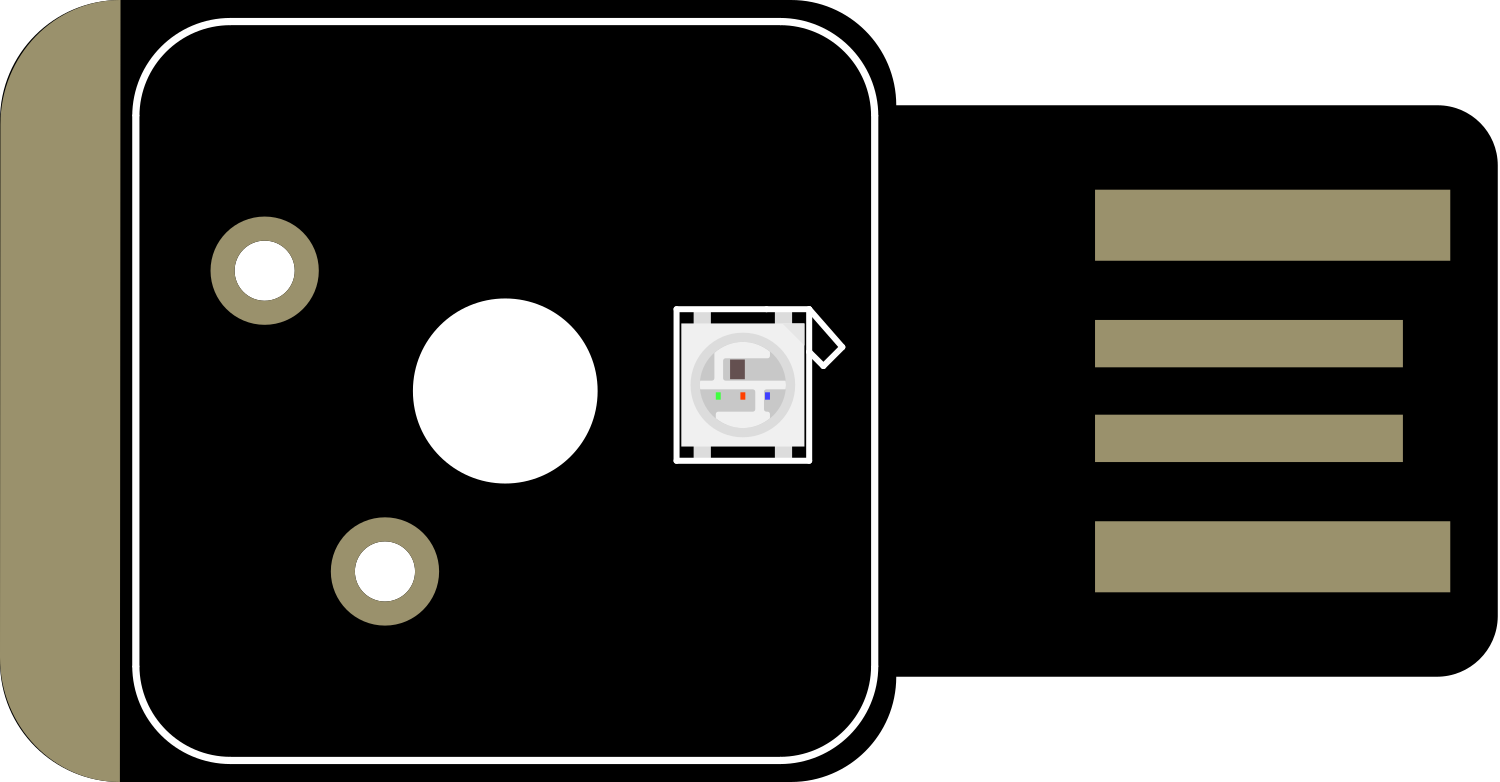
The Adafruit NeoKey Trinkey is a compact, programmable mechanical keyboard module that offers a unique combination of user input and colorful feedback. It features a 12-key layout with individually addressable NeoPixel RGB LEDs under each key, making it an ideal choice for DIY enthusiasts who want to create custom keyboards, macro pads, or interactive input devices for their projects. The NeoKey Trinkey can be used in various applications, including gaming, music production, and custom control interfaces for software or hardware.
Explore Projects Built with Adafruit NeoKey Trinkey

 Open Project in Cirkit Designer
 Open Project in Cirkit Designer
 Open Project in Cirkit Designer
 Open Project in Cirkit Designer
Explore Projects Built with Adafruit NeoKey Trinkey

 Open Project in Cirkit Designer
 Open Project in Cirkit Designer
 Open Project in Cirkit Designer
 Open Project in Cirkit Designer
Technical Specifications
Key Technical Details
- Voltage: 5V (USB powered)
- Current: Depends on LED usage (up to 500 mA for all LEDs on full white)
- Microcontroller: ATSAMD21E18 32-bit Cortex M0+
- Connectivity: USB Type-C
- LEDs: 12 x NeoPixel RGB LEDs
- Keys: 12 x mechanical key switches
- Dimensions: 40.6mm x 17.8mm x 4.6mm
Pin Configuration and Descriptions
| Pin Number | Description |
|---|---|
| 1 | NeoPixel Data Input |
| 2 | Key 1 Input |
| 3 | Key 2 Input |
| 4 | Key 3 Input |
| 5 | Key 4 Input |
| 6 | Key 5 Input |
| 7 | Key 6 Input |
| 8 | Key 7 Input |
| 9 | Key 8 Input |
| 10 | Key 9 Input |
| 11 | Key 10 Input |
| 12 | Key 11 Input |
| 13 | Key 12 Input |
| GND | Ground |
| VBUS | USB Power (5V) |
| RESET | Reset Pin (active low) |
Usage Instructions
Integrating with a Circuit
To use the Adafruit NeoKey Trinkey in a circuit:
- Connect the USB Type-C cable to the NeoKey Trinkey and your computer.
- Ensure that the correct drivers and libraries are installed for the ATSAMD21E18 microcontroller.
- Program the microcontroller using the Arduino IDE or other compatible software to respond to key presses and control the NeoPixel LEDs.
Important Considerations and Best Practices
- Power: Do not exceed the recommended voltage and current specifications. Power the module through the USB connection.
- LED Brightness: To prevent excessive power draw, limit the brightness of the NeoPixel LEDs.
- Key Debouncing: Implement software debouncing to ensure accurate key press detection.
- Static Discharge: Handle the module with care to avoid damage from electrostatic discharge (ESD).
Example Code for Arduino UNO
Here is a simple example code snippet for the Arduino UNO that initializes the NeoPixel LEDs and sets them to a color when a key is pressed:
#include <Adafruit_NeoPixel.h>

#define PIN_NEOPIXEL 6 // NeoPixel data input pin
#define NUMPIXELS    12 // Number of NeoPixels

Adafruit_NeoPixel pixels(NUMPIXELS, PIN_NEOPIXEL, NEO_GRB + NEO_KHZ800);

void setup() {
  pixels.begin(); // Initialize the NeoPixel strip
}

void loop() {
  for (int i = 0; i < NUMPIXELS; i++) {
    // Check if key i is pressed
    if (digitalRead(i + 2) == LOW) { // Key pins start at pin 2
      pixels.setPixelColor(i, pixels.Color(0, 150, 0)); // Set color to green
    } else {
      pixels.setPixelColor(i, pixels.Color(0, 0, 0)); // Turn off pixel
    }
  }
  pixels.show(); // Update the strip with new colors
}
Remember to install the Adafruit_NeoPixel library before uploading this code to your Arduino UNO.
Troubleshooting and FAQs
Common Issues
- LEDs not lighting up: Ensure that the NeoPixel data input pin is correctly connected and that the power supply is adequate.
- Keys not responding: Verify that the key pins are correctly read in the code and that there is no obstruction preventing the keys from actuating.
- Unexpected behavior after uploading code: Double-check the code for errors and ensure that the correct board and port are selected in the Arduino IDE.
Solutions and Tips for Troubleshooting
- Power Issues: If the LEDs are dim or flickering, check the USB cable and power source for stability and adequacy.
- Software Debouncing: Implement a debounce algorithm in your code to filter out spurious keypress signals.
- Firmware Update: Ensure that the microcontroller's firmware is up to date with the latest version from Adafruit.
FAQs
Q: Can I use the NeoKey Trinkey with a battery? A: Yes, as long as the battery can provide a stable 5V output.
Q: How do I change the color of the NeoPixels?
A: Use the pixels.setPixelColor(index, pixels.Color(red, green, blue)); function in your code, where index is the pixel number and red, green, blue are the color values.
Q: What is the maximum number of NeoKey Trinkeys I can chain together? A: Theoretically, you can chain multiple modules as long as the total current draw does not exceed the USB port's limit. However, you will need to manage the data lines and modify the code accordingly.
For further assistance, consult the Adafruit NeoKey Trinkey forums and support channels.