
How to Use Thing : Examples, Pinouts, and Specs
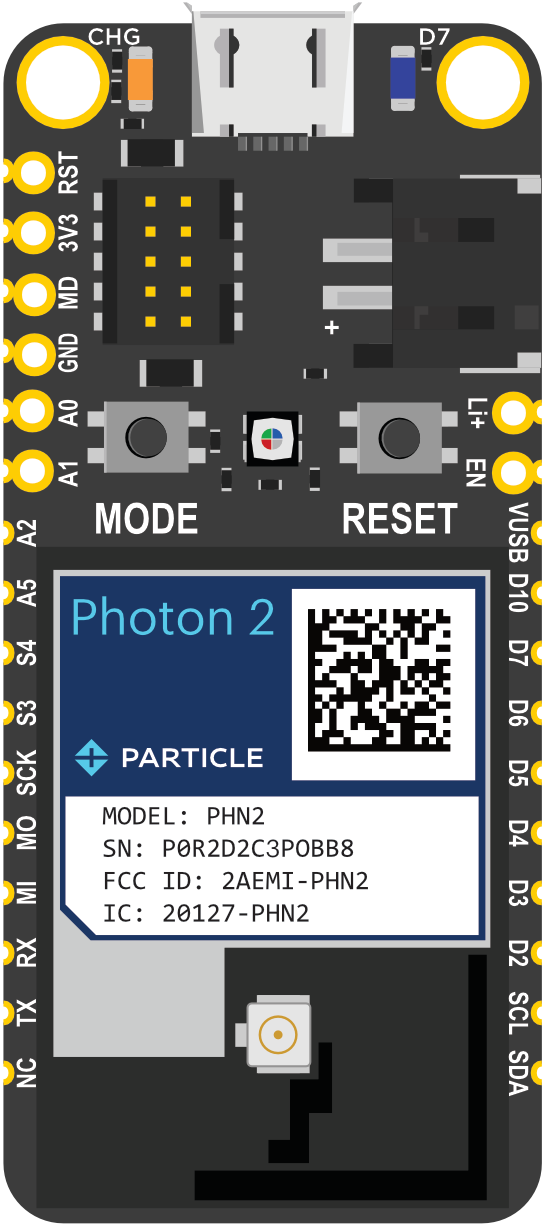
 Design with Thing in Cirkit Designer
Introduction
The "Thing" component is a placeholder name for an unspecified or generic object, often used in examples or when the specific name is not known. Despite its generic nature, the "Thing" component can be a versatile and essential part of various electronic projects. It is commonly used in educational settings, prototyping, and hobbyist projects to demonstrate fundamental concepts in electronics and programming.
Explore Projects Built with Thing
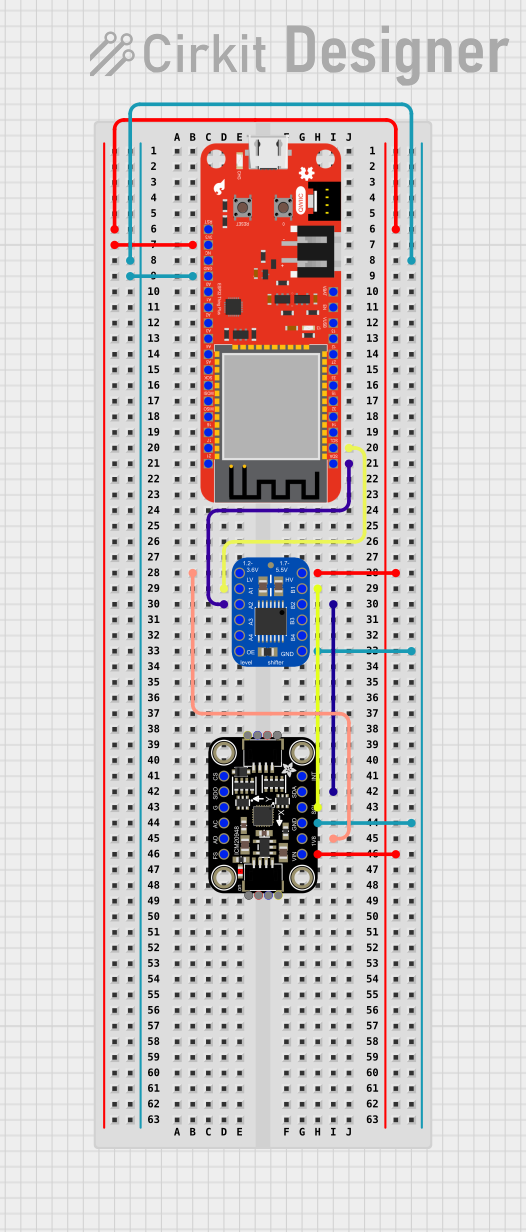
 Open Project in Cirkit Designer
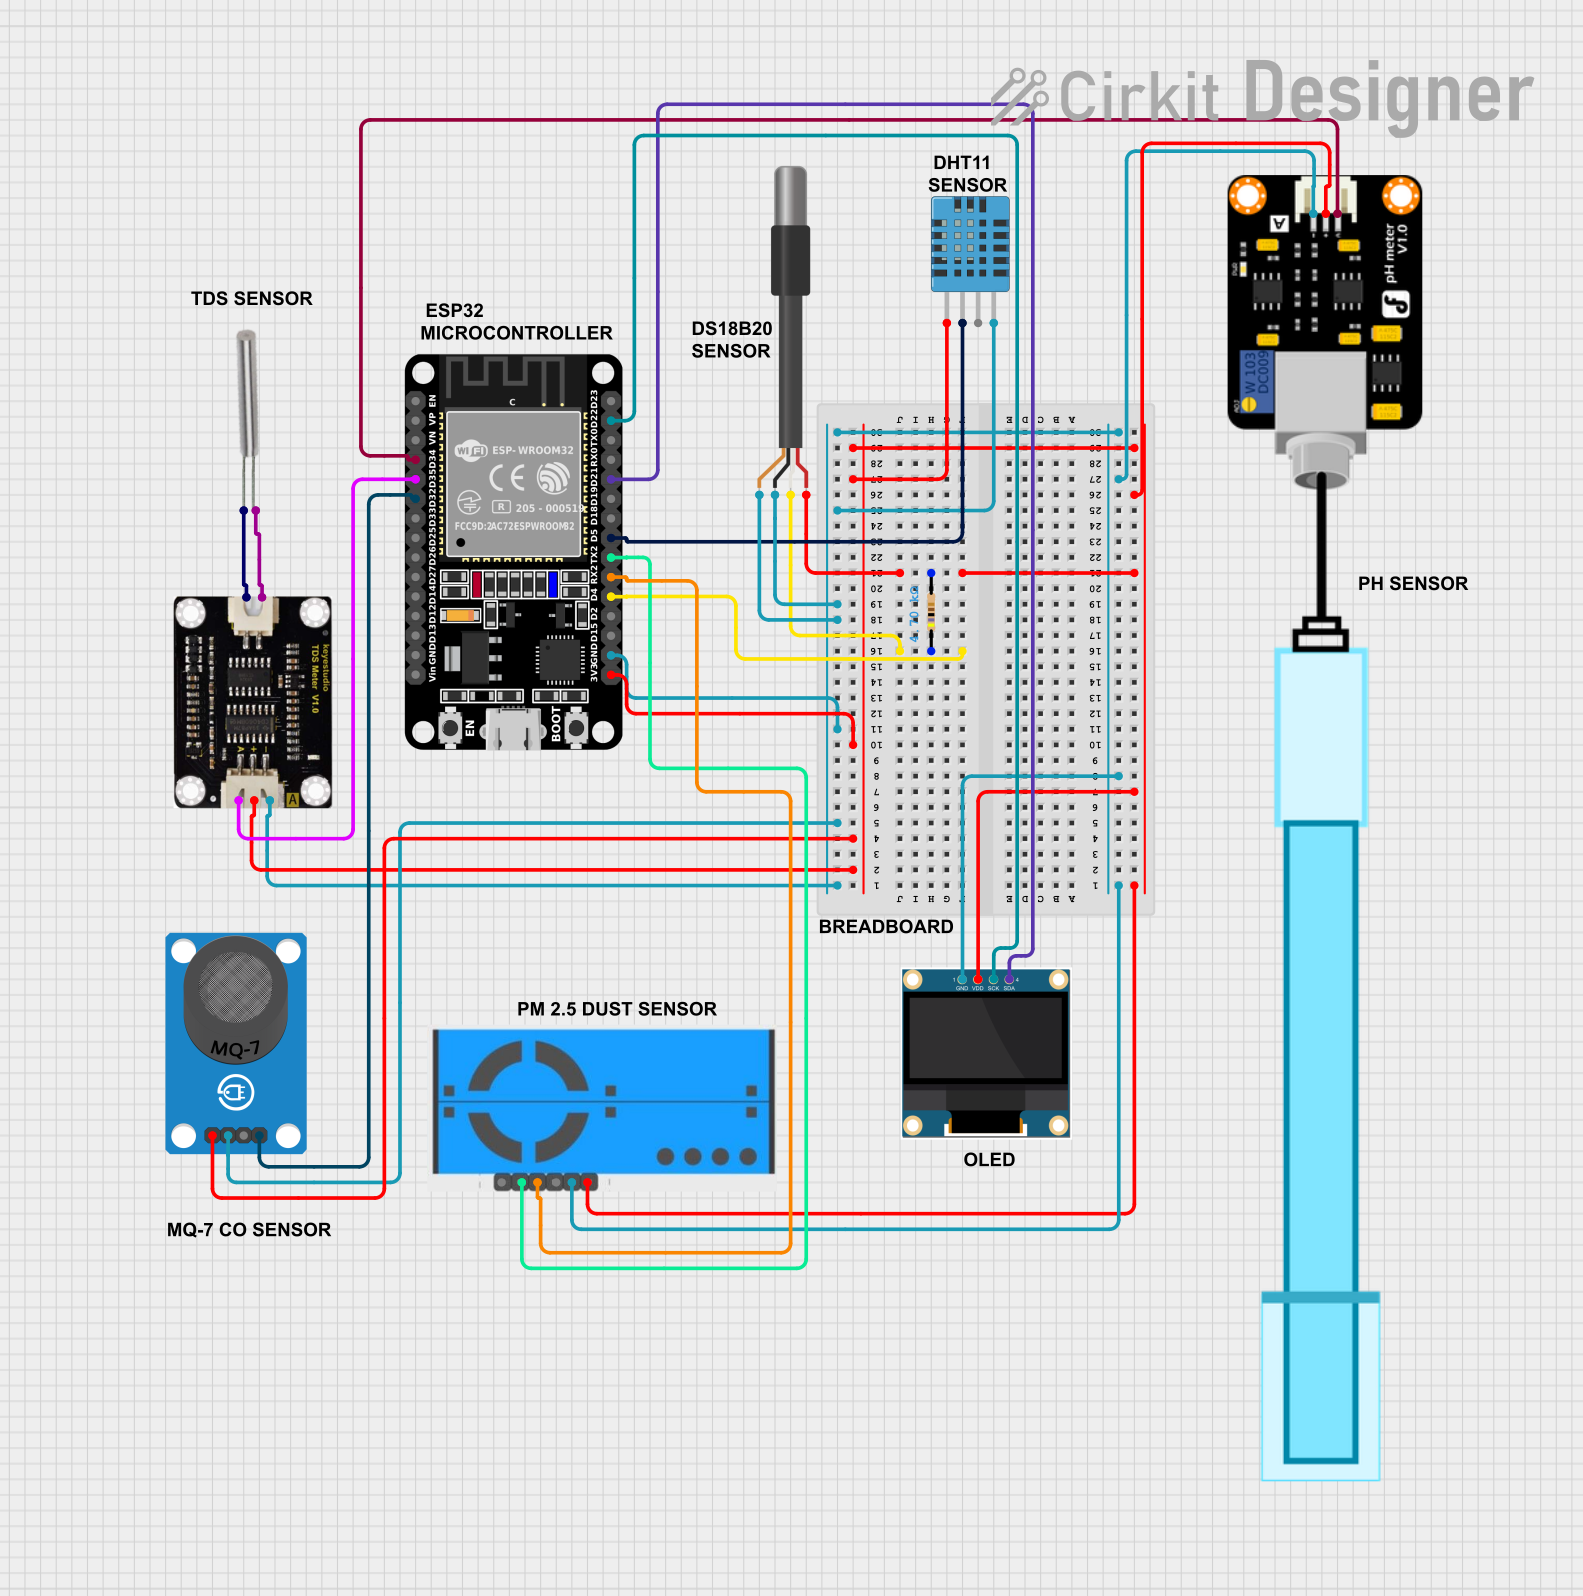
 Open Project in Cirkit Designer
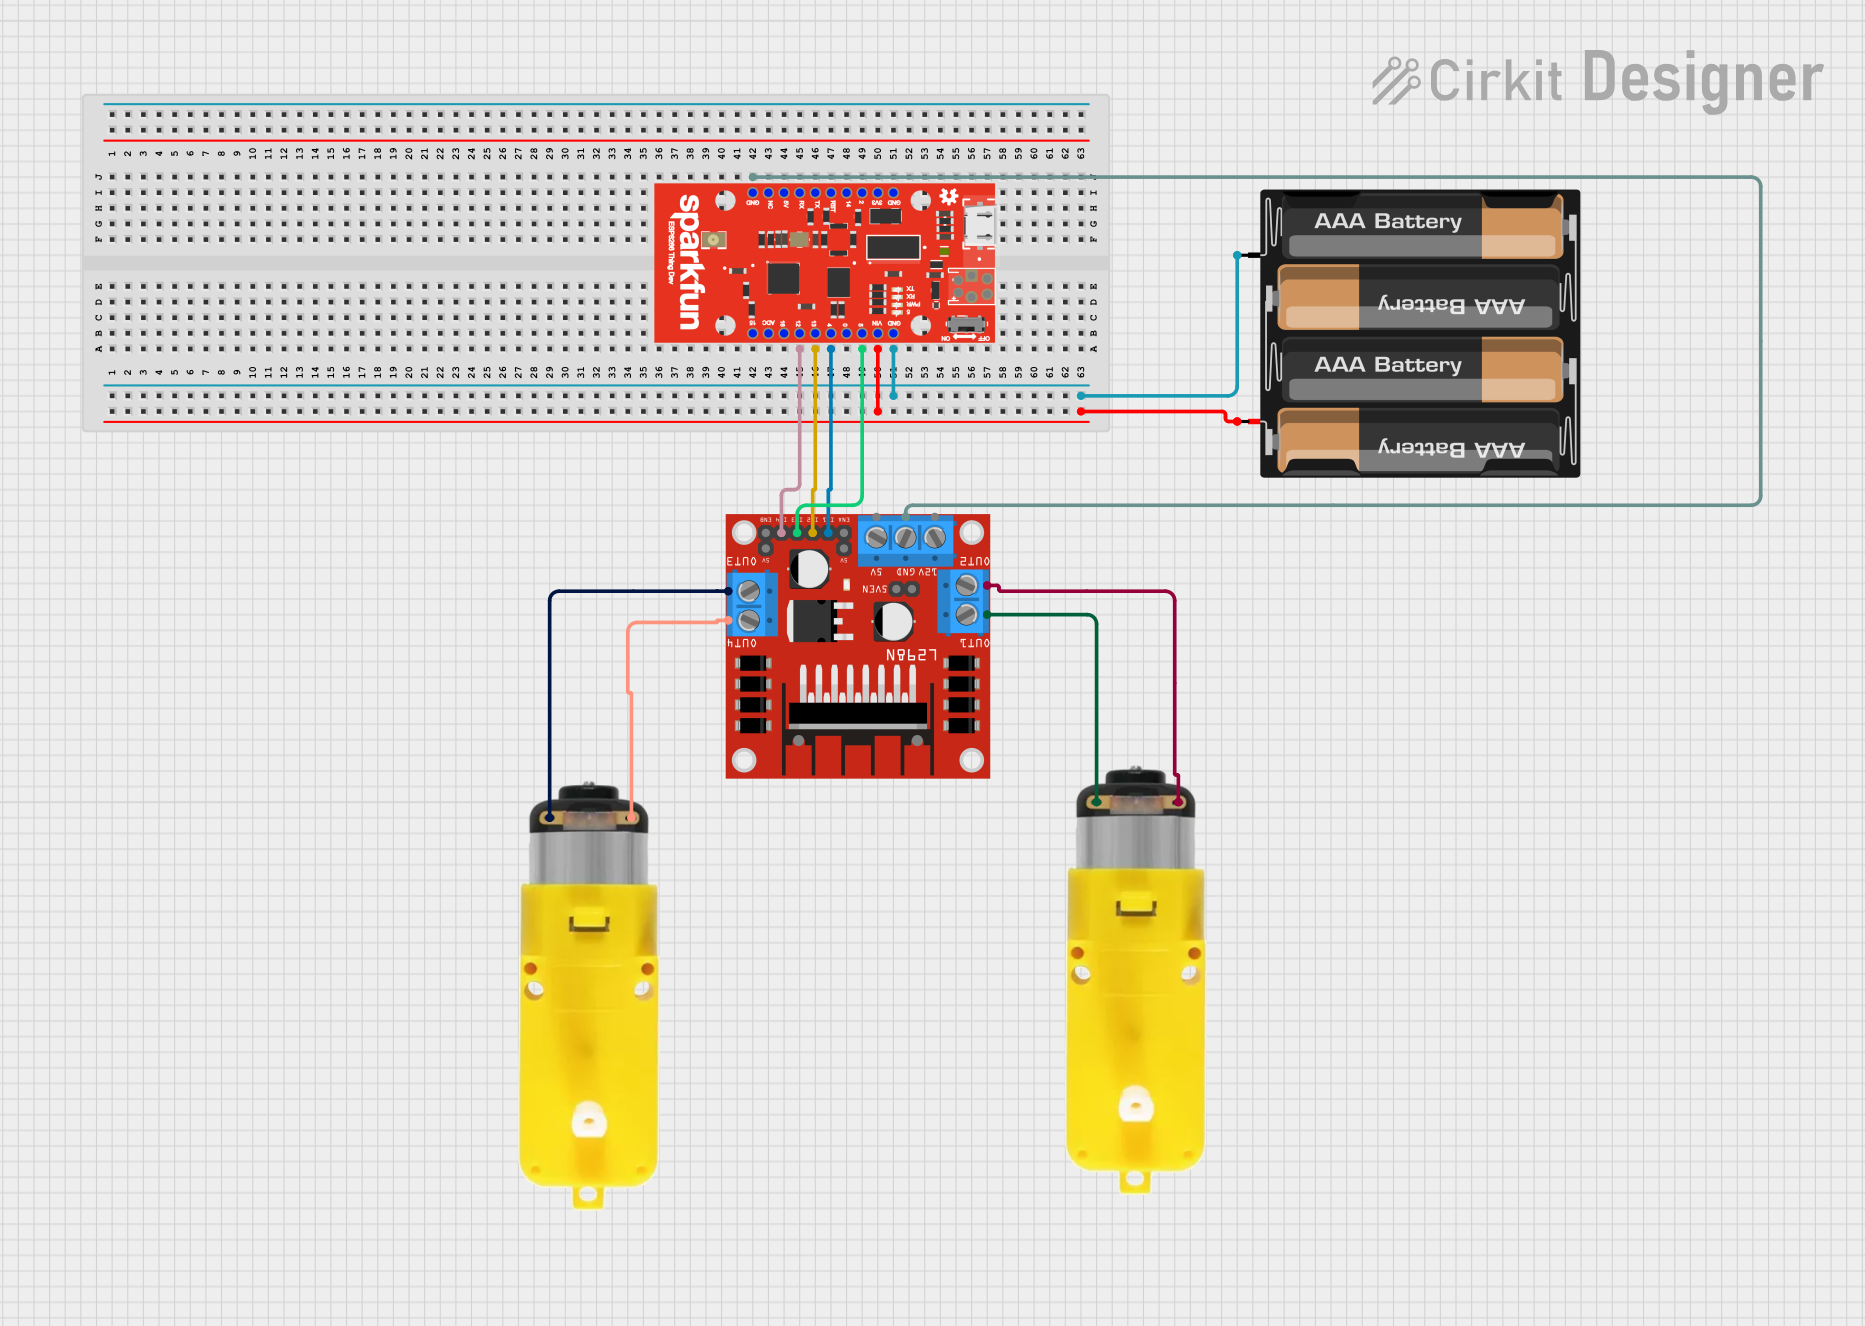
 Open Project in Cirkit Designer
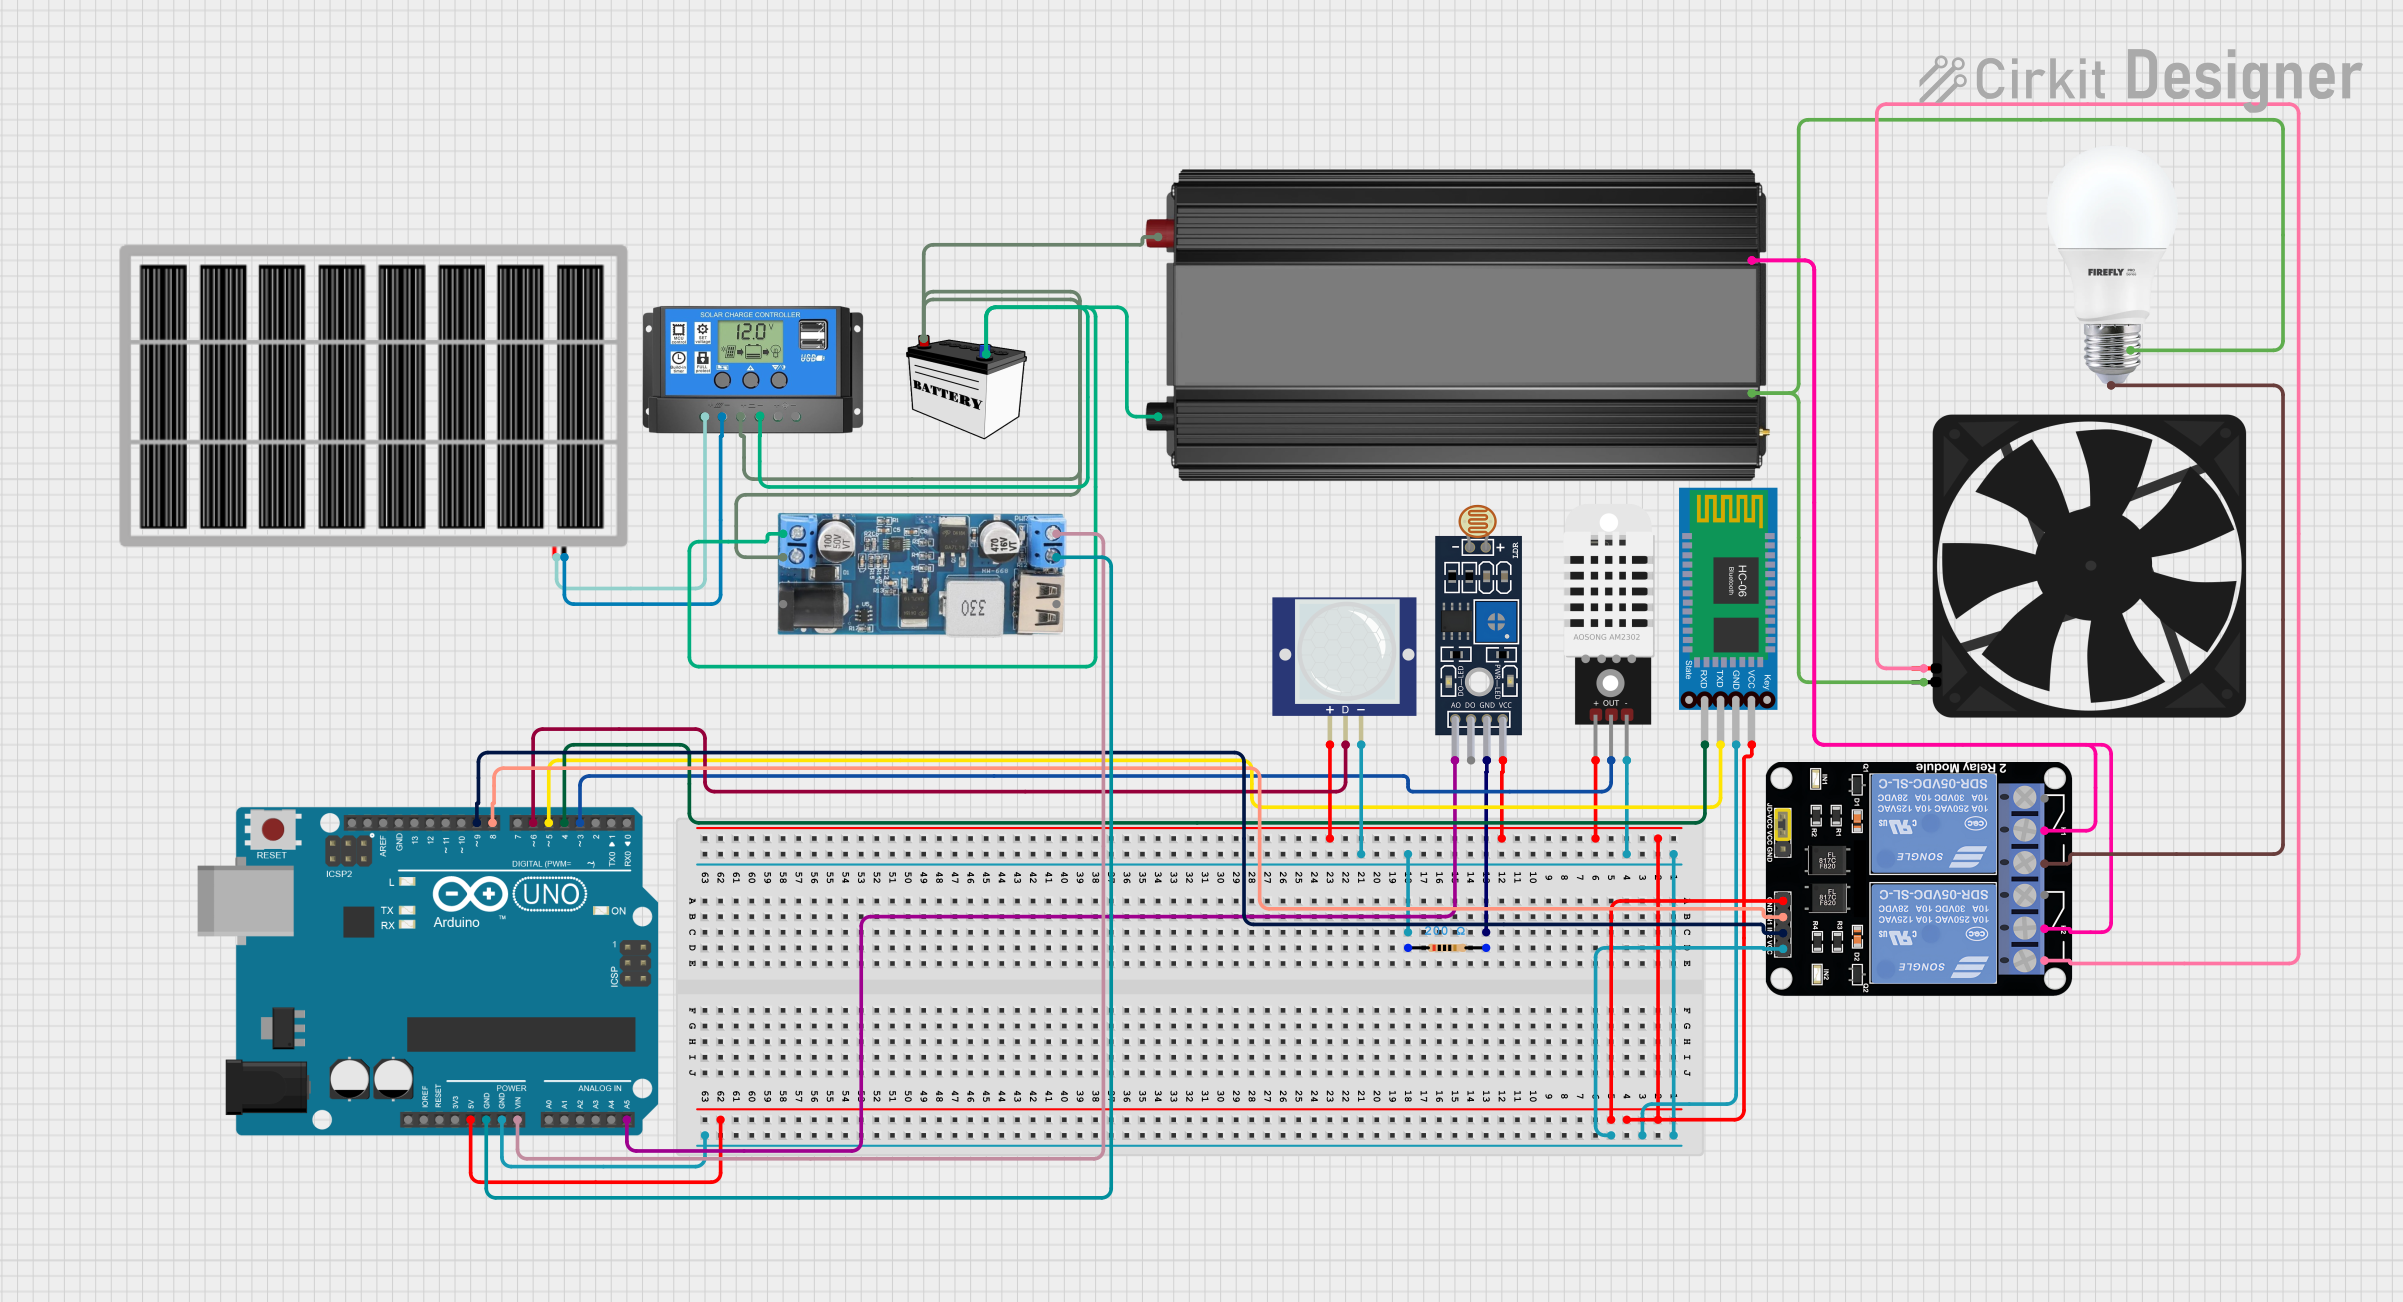
 Open Project in Cirkit Designer
Explore Projects Built with Thing

 Open Project in Cirkit Designer
 Open Project in Cirkit Designer
 Open Project in Cirkit Designer
 Open Project in Cirkit Designer
Common Applications and Use Cases
- Educational demonstrations
- Prototyping and testing circuits
- Hobbyist electronics projects
- Placeholder in documentation and examples
Technical Specifications
The "Thing" component's technical specifications can vary depending on its intended use. Below is a general representation of its key technical details and pin configuration.
Key Technical Details
| Parameter | Value |
|---|---|
| Voltage Range | 3.3V to 5V |
| Current Rating | 10mA to 500mA |
| Power Rating | 0.1W to 2.5W |
| Operating Temp | -40°C to 85°C |
| Dimensions | 10mm x 10mm x 5mm |
Pin Configuration and Descriptions
| Pin Number | Pin Name | Description |
|---|---|---|
| 1 | VCC | Power supply (3.3V to 5V) |
| 2 | GND | Ground |
| 3 | IN | Input signal |
| 4 | OUT | Output signal |
| 5 | NC | Not connected (reserved for future use) |
Usage Instructions
How to Use the Component in a Circuit
- Power Supply Connection: Connect the VCC pin to a 3.3V or 5V power supply and the GND pin to the ground of your circuit.
- Input Signal: Connect the IN pin to the signal source you want to process or monitor.
- Output Signal: The OUT pin will provide the processed or monitored signal output.
Important Considerations and Best Practices
- Voltage Compatibility: Ensure that the voltage supplied to the VCC pin is within the specified range (3.3V to 5V).
- Current Limitation: Do not exceed the current rating of the component to avoid damage.
- Proper Grounding: Ensure a solid ground connection to prevent noise and ensure stable operation.
- Unused Pins: If the NC pin is present, leave it unconnected or follow the manufacturer's guidelines for future use.
Example Circuit with Arduino UNO
Below is an example of how to connect the "Thing" component to an Arduino UNO.
// Example code to demonstrate the use of the "Thing" component with Arduino UNO

const int inputPin = 2;  // Pin connected to the IN pin of the "Thing" component
const int outputPin = 3; // Pin connected to the OUT pin of the "Thing" component

void setup() {
  pinMode(inputPin, INPUT);  // Set the input pin as INPUT
  pinMode(outputPin, OUTPUT); // Set the output pin as OUTPUT
  Serial.begin(9600);         // Initialize serial communication at 9600 baud
}

void loop() {
  int inputValue = digitalRead(inputPin); // Read the input value
  digitalWrite(outputPin, inputValue);    // Write the input value to the output pin
  Serial.println(inputValue);             // Print the input value to the serial monitor
  delay(1000);                            // Wait for 1 second
}
Troubleshooting and FAQs
Common Issues Users Might Face
- No Output Signal: Ensure that the power supply is connected correctly and that the input signal is within the specified range.
- Component Overheating: Check if the current rating is exceeded and ensure proper ventilation.
- Noise in Output Signal: Verify the grounding and use decoupling capacitors if necessary.
Solutions and Tips for Troubleshooting
- Check Connections: Double-check all connections to ensure they are secure and correct.
- Measure Voltages: Use a multimeter to measure the voltage at the VCC and GND pins to ensure proper power supply.
- Use Pull-up/Pull-down Resistors: If the input signal is floating, use pull-up or pull-down resistors to stabilize the signal.
FAQs
Q1: Can I use the "Thing" component with a 12V power supply? A1: No, the "Thing" component is designed to operate within a 3.3V to 5V range. Using a 12V power supply may damage the component.
Q2: What should I do if the component is not working as expected? A2: Check the connections, ensure the power supply is within the specified range, and verify that the input signal is correct.
Q3: Can I leave the NC pin connected to something? A3: It is recommended to leave the NC pin unconnected unless specified otherwise by the manufacturer.
By following this documentation, users can effectively utilize the "Thing" component in their electronic projects, ensuring proper operation and troubleshooting common issues.