How to Use Incubator: Examples, Pinouts, and Specs
Introduction
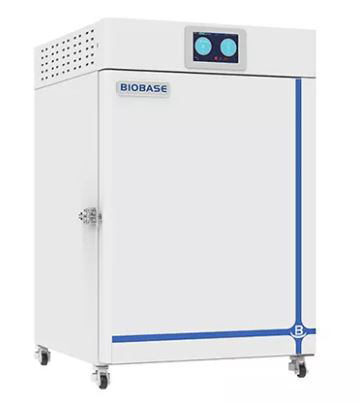
The Incubator (Manufacturer: Glory, Part ID: uno) is a specialized device designed to grow and maintain microbiological cultures or cell cultures. It achieves this by maintaining optimal temperature, humidity, and other environmental conditions. This component is essential in laboratories for research, clinical diagnostics, and various biotechnological applications.
Explore Projects Built with Incubator

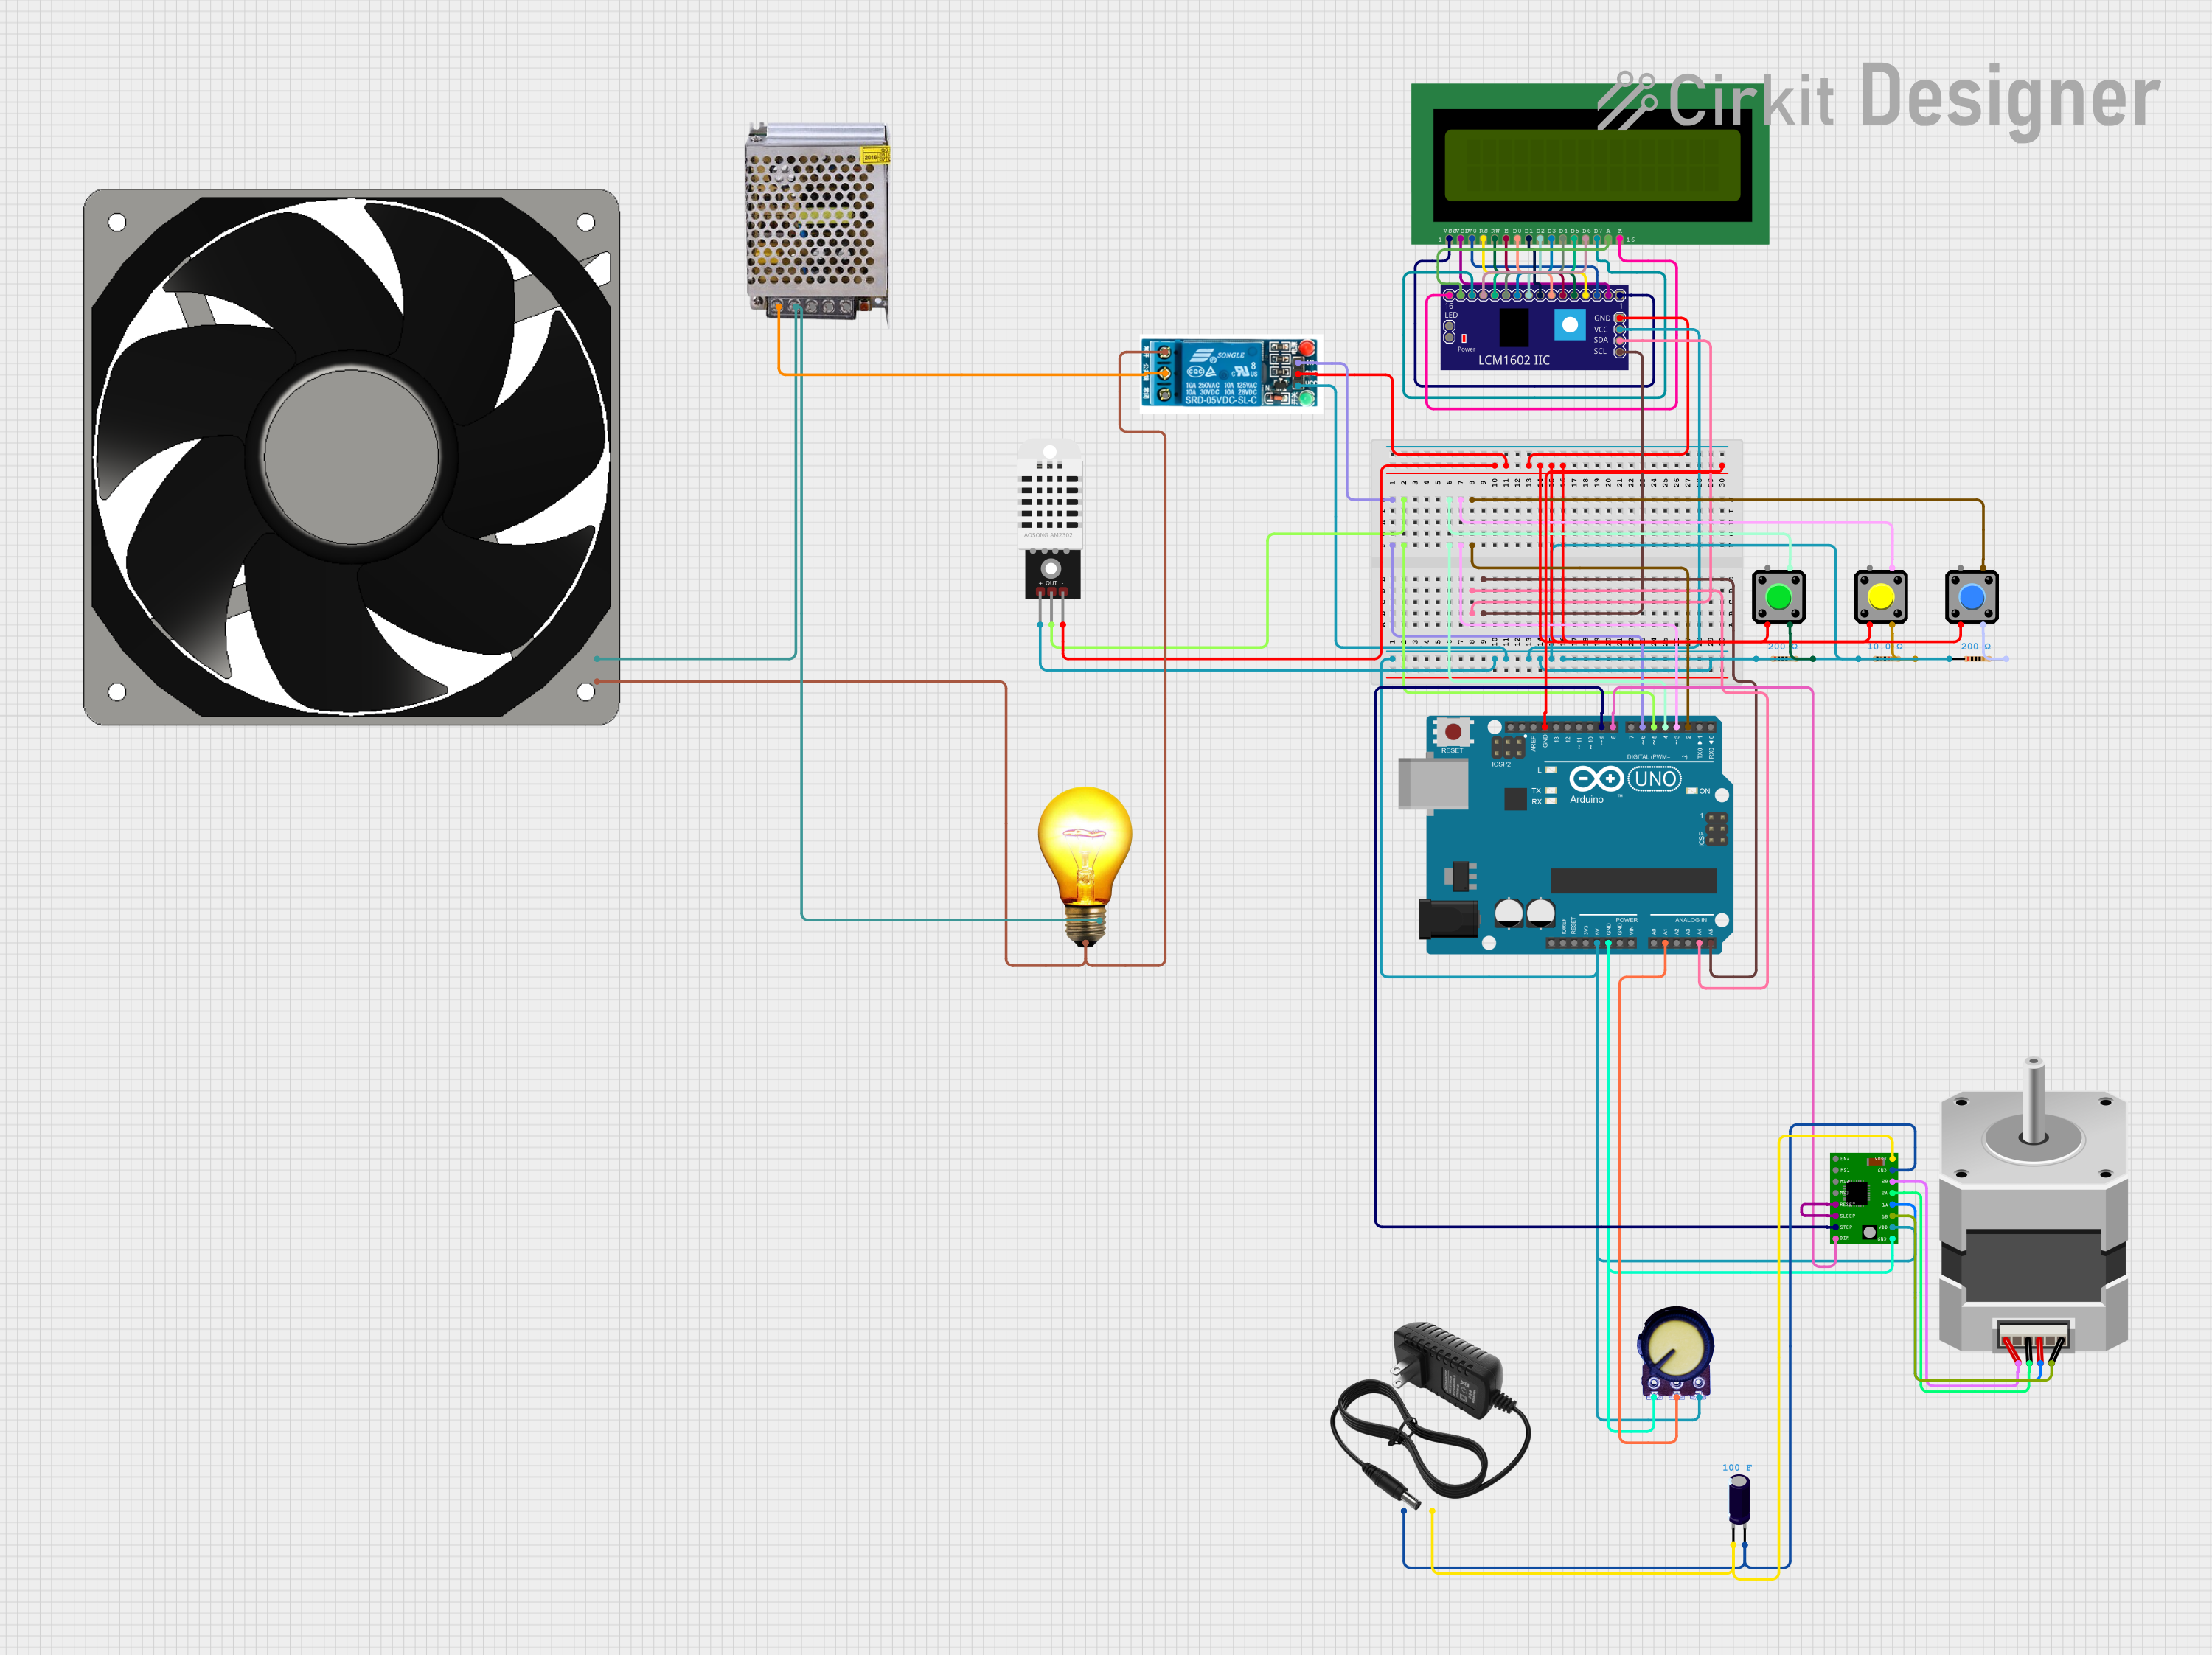
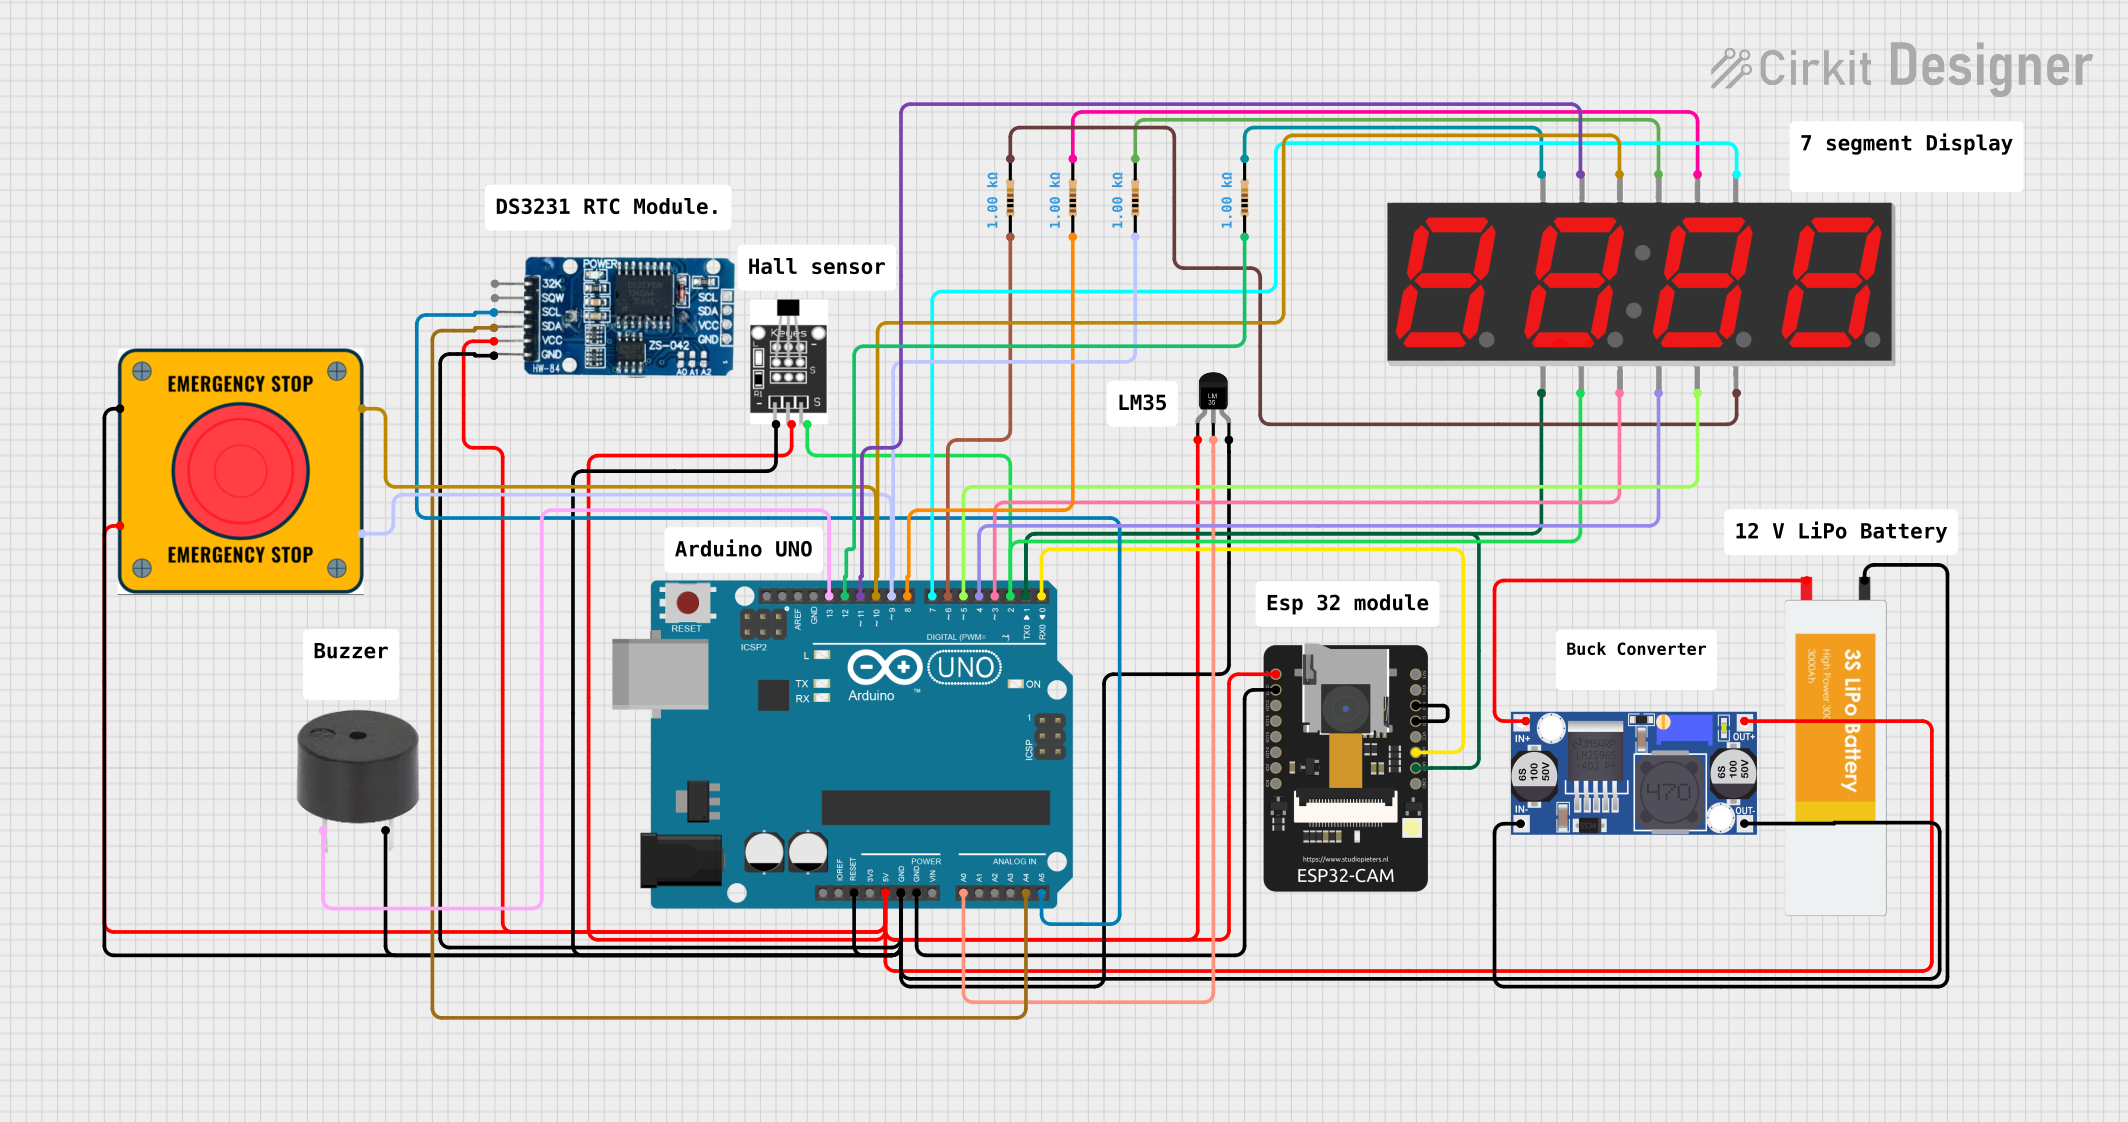
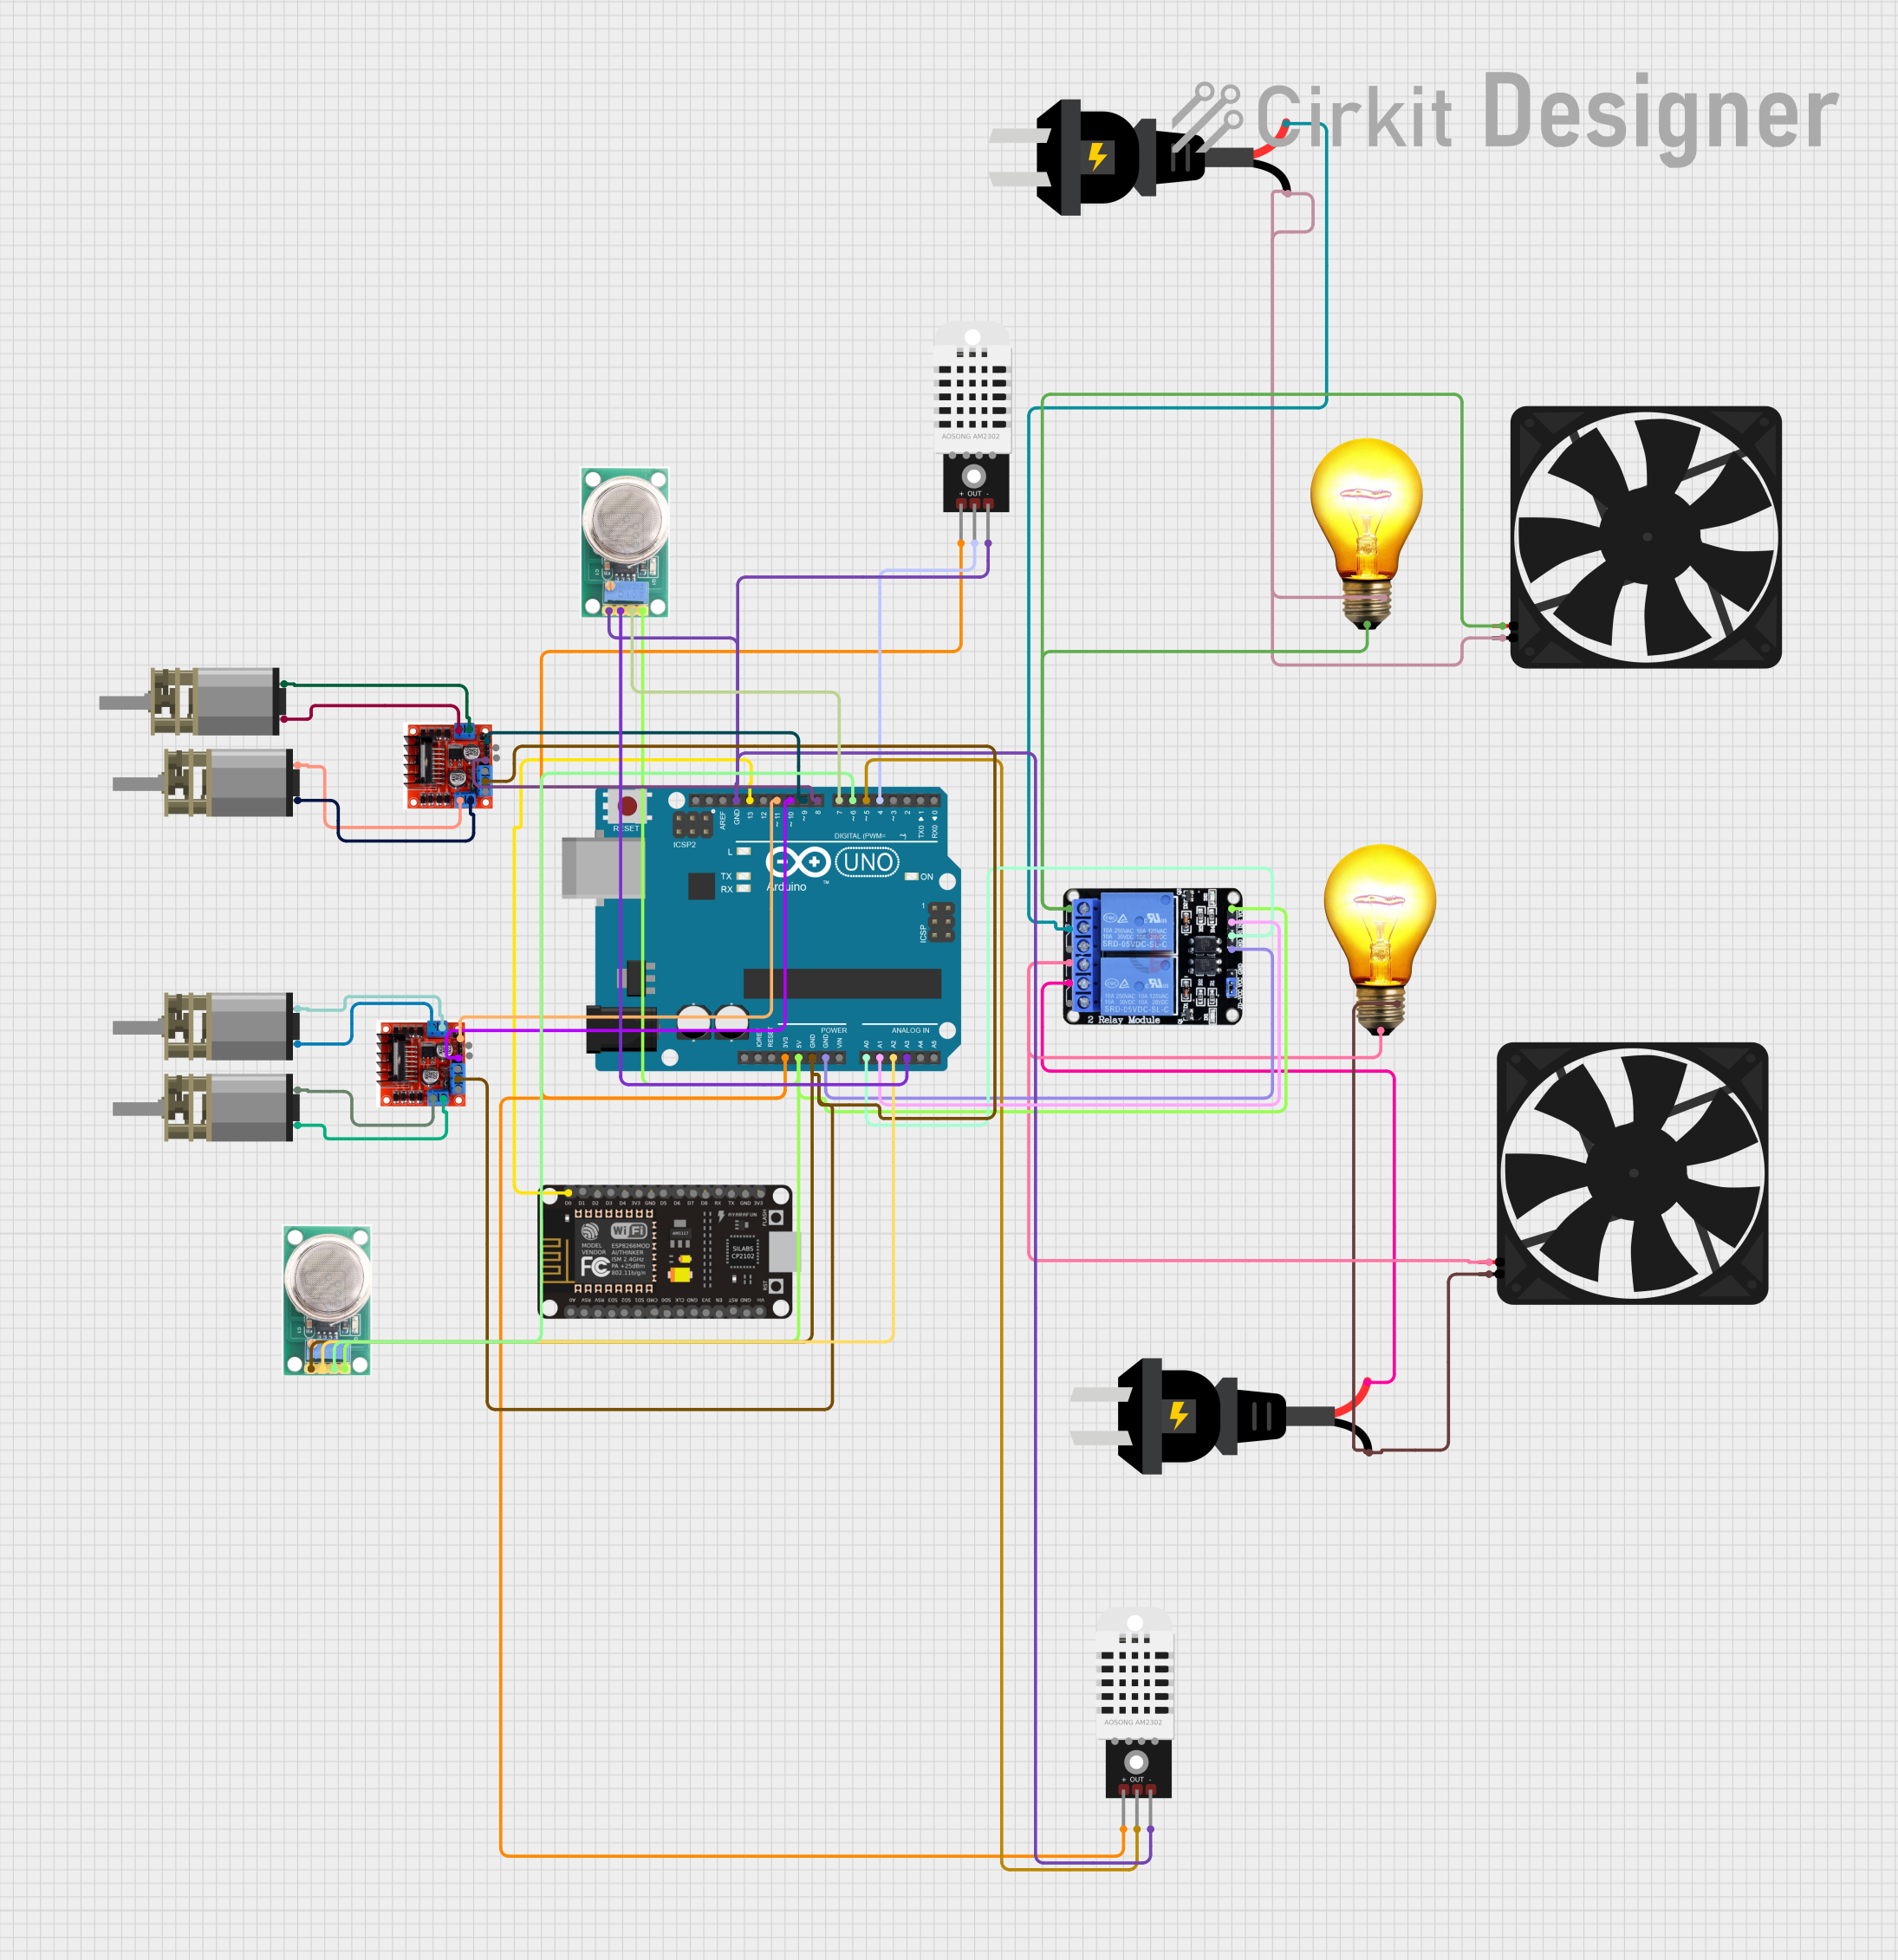
Explore Projects Built with Incubator
Common Applications and Use Cases
- Microbiological Research: Cultivating bacteria, fungi, and other microorganisms.
- Cell Culture: Growing and maintaining mammalian, plant, or insect cells.
- Clinical Diagnostics: Incubating samples for diagnostic tests.
- Biotechnology: Producing recombinant proteins, vaccines, and other bioproducts.
- Pharmaceutical Testing: Stability testing of drugs and other pharmaceutical products.
Technical Specifications
Key Technical Details
| Parameter | Value |
|---|---|
| Voltage | 220V AC |
| Current | 2A |
| Power Rating | 440W |
| Temperature Range | 5°C above ambient to 60°C |
| Humidity Range | 50% to 95% RH |
| Internal Volume | 50 liters |
| Control Interface | Digital with LCD Display |
| Connectivity | USB, RS232 |
Pin Configuration and Descriptions
| Pin Number | Pin Name | Description |
|---|---|---|
| 1 | VCC | Power Supply (220V AC) |
| 2 | GND | Ground |
| 3 | TEMP | Temperature Sensor Input |
| 4 | HUM | Humidity Sensor Input |
| 5 | CTRL | Control Signal Input (Digital) |
| 6 | DATA | Data Output (USB/RS232) |
Usage Instructions
How to Use the Incubator in a Circuit
Power Connection:
- Connect the VCC pin to a 220V AC power source.
- Connect the GND pin to the ground.
Sensor Connections:
- Connect the temperature sensor to the TEMP pin.
- Connect the humidity sensor to the HUM pin.
Control Signal:
- Use a digital control signal to the CTRL pin to set the desired temperature and humidity.
Data Interface:
- Connect the DATA pin to a USB or RS232 interface for data logging and monitoring.
Important Considerations and Best Practices
- Calibration: Regularly calibrate the temperature and humidity sensors to ensure accurate readings.
- Maintenance: Clean the incubator chamber periodically to prevent contamination.
- Safety: Ensure proper grounding and avoid overloading the power supply.
- Environment: Place the incubator in a stable environment to avoid external temperature and humidity fluctuations.
Troubleshooting and FAQs
Common Issues and Solutions
Temperature Fluctuations:
- Solution: Check the calibration of the temperature sensor and ensure the incubator is placed in a stable environment.
Humidity Not Reaching Set Point:
- Solution: Verify the humidity sensor's calibration and check for any leaks or obstructions in the incubator chamber.
Control Signal Not Responding:
- Solution: Ensure the control signal is within the specified range and check the connections to the CTRL pin.
Data Interface Not Working:
- Solution: Verify the USB or RS232 connection and ensure the correct drivers are installed on the monitoring device.
FAQs
Q1: Can I use the incubator for anaerobic cultures?
- A1: Yes, but you will need to create an anaerobic environment inside the incubator, such as using gas packs or an anaerobic chamber.
Q2: How often should I calibrate the sensors?
- A2: It is recommended to calibrate the sensors every 3-6 months, depending on usage and accuracy requirements.
Q3: Can I connect the incubator to an Arduino UNO for control?
- A3: Yes, you can use the Arduino UNO to send control signals to the CTRL pin and monitor data via the DATA pin.
Sample Arduino Code
#include <SoftwareSerial.h>

#define TEMP_PIN A0  // Analog pin for temperature sensor
#define HUM_PIN A1   // Analog pin for humidity sensor
#define CTRL_PIN 7   // Digital pin for control signal

SoftwareSerial incubatorSerial(10, 11); // RX, TX for RS232

void setup() {
  pinMode(CTRL_PIN, OUTPUT);
  incubatorSerial.begin(9600);
  Serial.begin(9600);
}

void loop() {
  int tempValue = analogRead(TEMP_PIN);
  int humValue = analogRead(HUM_PIN);

  // Convert analog values to temperature and humidity
  float temperature = (tempValue / 1023.0) * 100; // Example conversion
  float humidity = (humValue / 1023.0) * 100;    // Example conversion

  // Send control signal to maintain temperature and humidity
  if (temperature < 37.0) {
    digitalWrite(CTRL_PIN, HIGH); // Turn on heating element
  } else {
    digitalWrite(CTRL_PIN, LOW);  // Turn off heating element
  }

  // Send data to serial monitor
  Serial.print("Temperature: ");
  Serial.print(temperature);
  Serial.print(" C, Humidity: ");
  Serial.print(humidity);
  Serial.println(" %");

  // Send data to incubator via RS232
  incubatorSerial.print("TEMP:");
  incubatorSerial.print(temperature);
  incubatorSerial.print(",HUM:");
  incubatorSerial.println(humidity);

  delay(1000); // Wait for 1 second before next reading
}
This code demonstrates how to use an Arduino UNO to monitor and control the incubator's temperature and humidity. Adjust the conversion formulas and control logic as needed for your specific application.