
How to Use Arduino Pro Mini: Examples, Pinouts, and Specs
 Design with Arduino Pro Mini in Cirkit Designer
Introduction
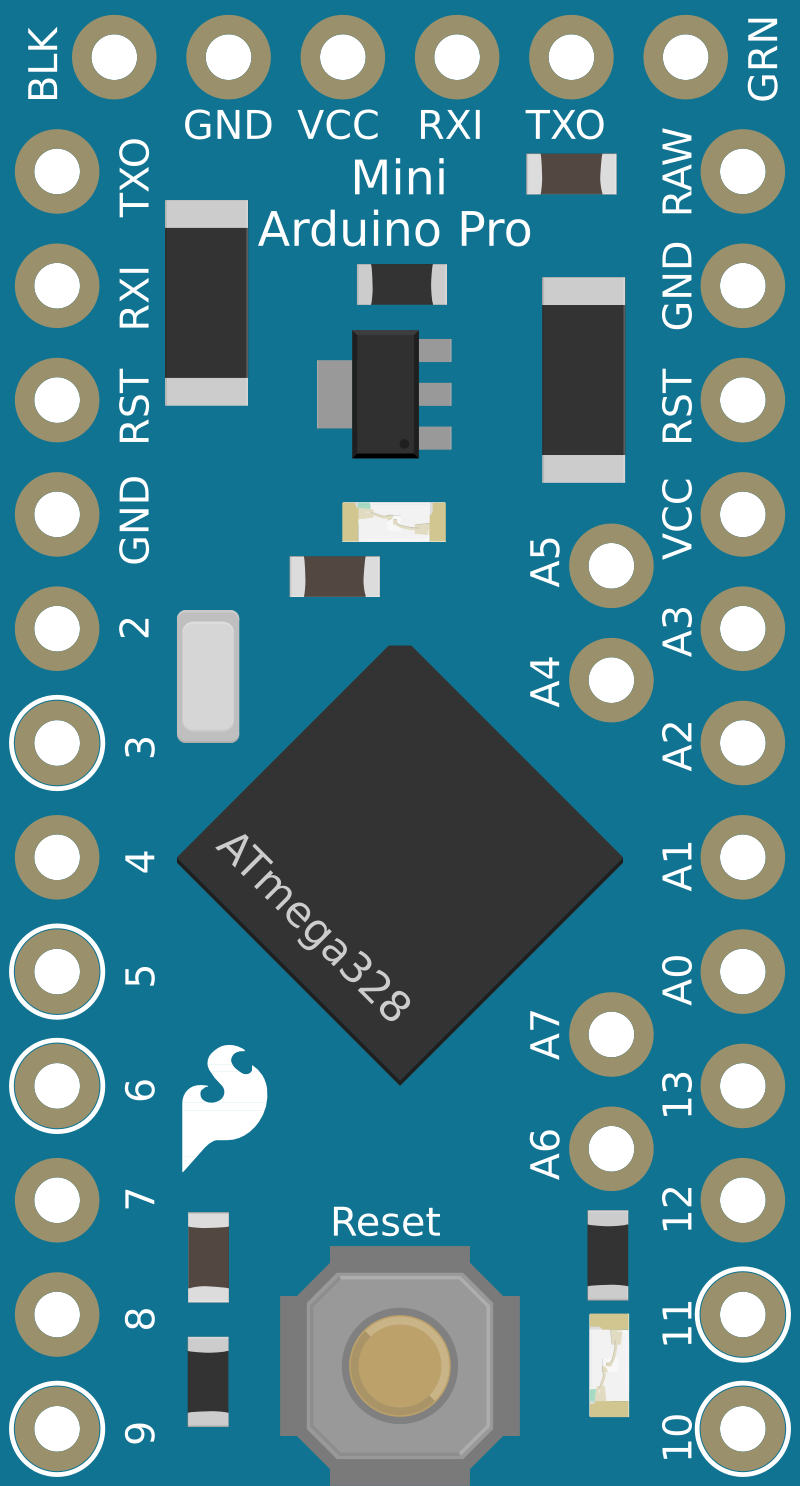
The Arduino Pro Mini is a compact microcontroller board based on the ATmega328, designed for embedded applications with limited space. It features 14 digital input/output pins, 6 analog inputs, and operates at either 5V or 3.3V. This board is ideal for projects where space is a constraint and a full-sized Arduino board is not feasible.
Explore Projects Built with Arduino Pro Mini
 Open Project in Cirkit Designer
 Open Project in Cirkit Designer
 Open Project in Cirkit Designer
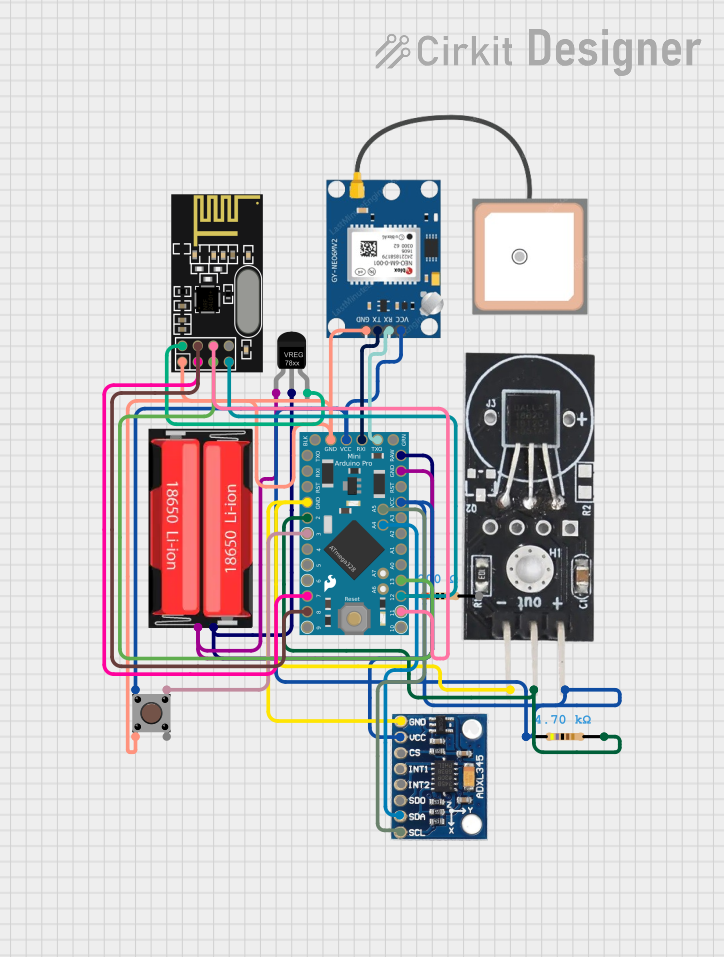
 Open Project in Cirkit Designer
Explore Projects Built with Arduino Pro Mini

 Open Project in Cirkit Designer
 Open Project in Cirkit Designer
 Open Project in Cirkit Designer
 Open Project in Cirkit Designer
Common Applications and Use Cases
- Wearable Electronics: Due to its small size, the Pro Mini is perfect for wearable projects.
- IoT Devices: Ideal for Internet of Things applications where space and power efficiency are crucial.
- Prototyping: Useful for quick prototyping of small-scale projects.
- Embedded Systems: Suitable for embedding into custom electronics projects.
Technical Specifications
Key Technical Details
| Specification | Details |
|---|---|
| Microcontroller | ATmega328 |
| Operating Voltage | 3.3V or 5V |
| Input Voltage | 3.35 - 12V (3.3V model) |
| 5 - 12V (5V model) | |
| Digital I/O Pins | 14 (of which 6 provide PWM output) |
| Analog Input Pins | 6 |
| DC Current per I/O Pin | 40 mA |
| Flash Memory | 32 KB (ATmega328) of which 2 KB used by bootloader |
| SRAM | 2 KB (ATmega328) |
| EEPROM | 1 KB (ATmega328) |
| Clock Speed | 8 MHz (3.3V model) or 16 MHz (5V model) |
Pin Configuration and Descriptions
| Pin Number | Pin Name | Description |
|---|---|---|
| 1 | RAW | Unregulated input voltage |
| 2 | GND | Ground |
| 3 | VCC | Regulated 3.3V or 5V supply voltage |
| 4 | RST | Reset |
| 5 | RXI | UART Receive |
| 6 | TXO | UART Transmit |
| 7 | D2 | Digital I/O Pin 2 |
| 8 | D3 | Digital I/O Pin 3 (PWM) |
| 9 | D4 | Digital I/O Pin 4 |
| 10 | D5 | Digital I/O Pin 5 (PWM) |
| 11 | D6 | Digital I/O Pin 6 (PWM) |
| 12 | D7 | Digital I/O Pin 7 |
| 13 | D8 | Digital I/O Pin 8 |
| 14 | D9 | Digital I/O Pin 9 (PWM) |
| 15 | D10 | Digital I/O Pin 10 (PWM) |
| 16 | D11 | Digital I/O Pin 11 (PWM) |
| 17 | D12 | Digital I/O Pin 12 |
| 18 | D13 | Digital I/O Pin 13 |
| 19 | A0 | Analog Input Pin 0 |
| 20 | A1 | Analog Input Pin 1 |
| 21 | A2 | Analog Input Pin 2 |
| 22 | A3 | Analog Input Pin 3 |
| 23 | A4 | Analog Input Pin 4 |
| 24 | A5 | Analog Input Pin 5 |
Usage Instructions
How to Use the Component in a Circuit
Powering the Board:
- Connect the RAW pin to an unregulated power source (3.35-12V for 3.3V model, 5-12V for 5V model).
- Alternatively, connect the VCC pin to a regulated 3.3V or 5V power source.
Connecting to a Computer:
- Use an FTDI cable or FTDI breakout board to connect the Pro Mini to your computer via the RXI and TXO pins.
Programming the Board:
- Open the Arduino IDE.
- Select "Arduino Pro or Pro Mini" from the Tools > Board menu.
- Choose the appropriate processor (ATmega328P (3.3V, 8 MHz) or ATmega328P (5V, 16 MHz)).
- Upload your sketch.
Important Considerations and Best Practices
- Voltage Levels: Ensure you are using the correct voltage level (3.3V or 5V) for your Pro Mini model to avoid damaging the board.
- Pin Limitations: Be mindful of the current limitations per I/O pin (40 mA) to prevent overloading.
- Reset Button: Use the reset button to manually reset the board if needed.
- FTDI Connection: Ensure the FTDI cable or breakout board is correctly oriented to avoid communication issues.
Example Code
Here is a simple example to blink an LED connected to pin 13:
// Pin 13 has an LED connected on most Arduino boards.
// give it a name:
int led = 13;

// the setup routine runs once when you press reset:
void setup() {
  // initialize the digital pin as an output.
  pinMode(led, OUTPUT);
}

// the loop routine runs over and over again forever:
void loop() {
  digitalWrite(led, HIGH);   // turn the LED on (HIGH is the voltage level)
  delay(1000);               // wait for a second
  digitalWrite(led, LOW);    // turn the LED off by making the voltage LOW
  delay(1000);               // wait for a second
}
Troubleshooting and FAQs
Common Issues Users Might Face
Board Not Recognized by Computer:
- Ensure the FTDI cable or breakout board is properly connected.
- Check if the correct drivers are installed.
Upload Errors:
- Verify the correct board and processor are selected in the Arduino IDE.
- Ensure the correct COM port is selected.
Power Issues:
- Confirm the power source is within the specified voltage range.
- Check for loose connections.
Solutions and Tips for Troubleshooting
- Check Connections: Double-check all connections to ensure they are secure and correctly oriented.
- Reset the Board: Use the reset button to reset the board if it becomes unresponsive.
- Reinstall Drivers: If the board is not recognized, try reinstalling the FTDI drivers.
- Use a Different USB Port: Sometimes, switching to a different USB port can resolve connectivity issues.
By following this documentation, users should be able to effectively utilize the Arduino Pro Mini in their projects, troubleshoot common issues, and understand the key technical details and best practices for this versatile microcontroller board.