How to Use 80mm x 80mm Solar Panel: Examples, Pinouts, and Specs
Introduction
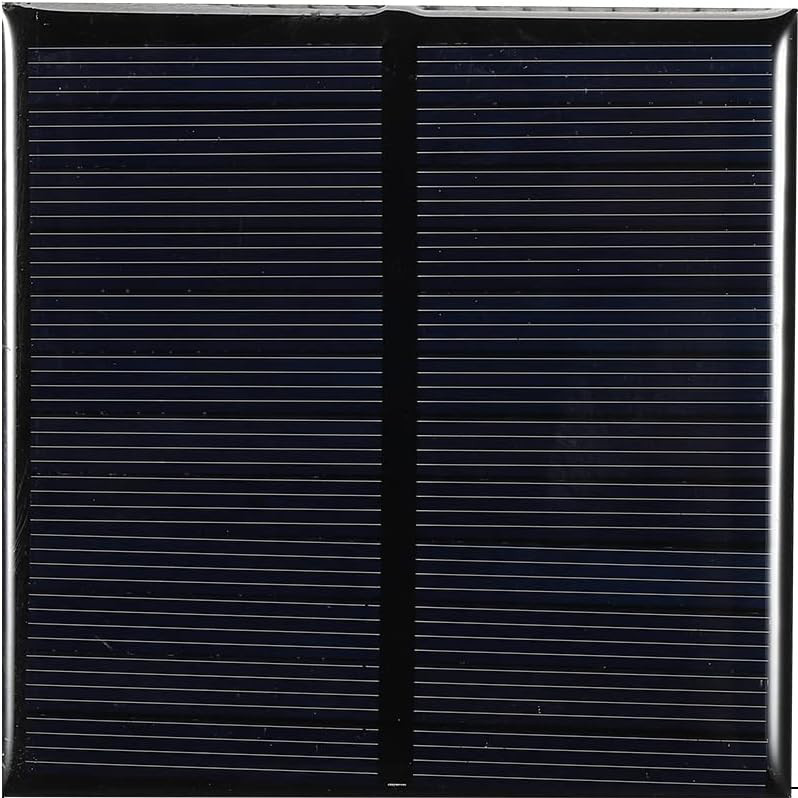
The 80mm x 80mm Solar Panel is a compact and efficient photovoltaic module designed to convert sunlight into electrical energy. Its small size makes it ideal for low-power applications, such as powering small electronic devices, charging batteries, or serving as a renewable energy source in DIY projects. This solar panel is lightweight, durable, and easy to integrate into various systems, making it a popular choice for hobbyists and professionals alike.
Explore Projects Built with 80mm x 80mm Solar Panel


Explore Projects Built with 80mm x 80mm Solar Panel
Common Applications and Use Cases
- Charging small rechargeable batteries (e.g., AA, AAA, or Li-ion cells)
- Powering low-power devices such as sensors, LED lights, or small fans
- Educational and DIY solar energy projects
- Portable solar-powered gadgets
- Supplementary power source for IoT devices
Technical Specifications
The following table outlines the key technical details of the 80mm x 80mm Solar Panel:
| Parameter | Specification |
|---|---|
| Dimensions | 80mm x 80mm |
| Maximum Power Output | 1.5W |
| Voltage at Maximum Power (Vmp) | 6V |
| Current at Maximum Power (Imp) | 250mA |
| Open Circuit Voltage (Voc) | 7.2V |
| Short Circuit Current (Isc) | 300mA |
| Material | Monocrystalline Silicon |
| Operating Temperature | -20°C to 60°C |
| Weight | ~50g |
Pin Configuration and Descriptions
The solar panel typically has two output terminals for electrical connections:
| Pin Name | Description |
|---|---|
| Positive (+) | The positive terminal for output voltage. Connect this to the positive input of your circuit or battery. |
| Negative (-) | The negative terminal for output voltage. Connect this to the ground or negative input of your circuit or battery. |
Usage Instructions
How to Use the Component in a Circuit
- Positioning the Solar Panel: Place the solar panel in direct sunlight for optimal performance. Ensure there are no obstructions (e.g., shadows or dirt) on the panel surface.
- Connecting to a Load:
- Connect the positive terminal of the solar panel to the positive input of your load or battery.
- Connect the negative terminal to the ground or negative input of your load or battery.
- Using a Voltage Regulator (Optional): If your load requires a specific voltage, use a voltage regulator (e.g., LM7805 for 5V output) to step down or stabilize the voltage.
- Charging a Battery: When charging a battery, use a charge controller to prevent overcharging and ensure safe operation.
Important Considerations and Best Practices
- Sunlight Intensity: The power output depends on the intensity of sunlight. For maximum efficiency, position the panel perpendicular to the sun's rays.
- Avoid Overloading: Ensure the connected load does not exceed the panel's maximum power output (1.5W).
- Use a Blocking Diode: To prevent reverse current flow (e.g., from a battery to the panel at night), connect a blocking diode (e.g., 1N5819) in series with the positive terminal.
- Weather Protection: While the panel is durable, avoid prolonged exposure to extreme weather conditions (e.g., heavy rain or snow) unless it is explicitly rated as waterproof.
Example: Connecting to an Arduino UNO
The 80mm x 80mm Solar Panel can be used to power an Arduino UNO via a rechargeable battery. Below is an example circuit and code:
Circuit Setup
- Connect the solar panel to a 6V rechargeable battery through a charge controller.
- Use the battery's output to power the Arduino UNO via its VIN pin (5V-12V input range).
Arduino Code Example
// Example code to read a sensor powered by the solar panel and display data
// Ensure the solar panel charges a battery to provide stable power to the Arduino

const int sensorPin = A0; // Analog pin connected to the sensor
int sensorValue = 0;      // Variable to store the sensor reading

void setup() {
  Serial.begin(9600); // Initialize serial communication at 9600 baud
  pinMode(sensorPin, INPUT); // Set the sensor pin as input
}

void loop() {
  sensorValue = analogRead(sensorPin); // Read the sensor value
  Serial.print("Sensor Value: ");
  Serial.println(sensorValue); // Print the sensor value to the Serial Monitor
  delay(1000); // Wait for 1 second before the next reading
}
Troubleshooting and FAQs
Common Issues and Solutions
Low Power Output:
- Cause: Insufficient sunlight or dirty panel surface.
- Solution: Ensure the panel is in direct sunlight and clean the surface with a soft, damp cloth.
No Output Voltage:
- Cause: Loose or incorrect connections.
- Solution: Check the wiring and ensure the positive and negative terminals are correctly connected.
Overheating:
- Cause: Excessive current draw or exposure to extreme heat.
- Solution: Reduce the load or move the panel to a cooler location.
Battery Not Charging:
- Cause: Faulty charge controller or incorrect wiring.
- Solution: Verify the charge controller connections and ensure it is compatible with the battery.
FAQs
Q1: Can this solar panel power a device directly?
A1: Yes, but only if the device's power requirements are within the panel's output range (6V, 250mA). For devices requiring stable voltage, use a voltage regulator.
Q2: Is the panel waterproof?
A2: The panel is weather-resistant but not fully waterproof. Use additional protection for prolonged outdoor use in harsh conditions.
Q3: Can I connect multiple panels together?
A3: Yes, you can connect panels in series to increase voltage or in parallel to increase current. Ensure the combined output matches your load requirements.
Q4: How do I store the panel when not in use?
A4: Store the panel in a cool, dry place away from direct sunlight to prevent degradation.