Introduction
The 18650 Li-ion battery is a cylindrical rechargeable lithium-ion battery cell, widely recognized for its high energy density, long cycle life, and compact size. With a nominal voltage of 3.6V or 3.7V and a typical capacity ranging from 2000mAh to 3500mAh, it is a popular choice for portable electronics, power tools, flashlights, and electric vehicles. Its reliability and efficiency make it a cornerstone in modern energy storage solutions.
Common Applications and Use Cases
- Powering portable electronic devices (e.g., laptops, cameras, flashlights)
- Battery packs for electric vehicles (EVs) and e-bikes
- DIY projects and robotics
- Uninterruptible power supplies (UPS) and backup systems
- Solar energy storage systems
Technical Specifications
The following table outlines the key technical details of a standard 18650 Li-ion battery. Note that specifications may vary slightly depending on the manufacturer and model.
Pin Configuration and Descriptions
The 18650 battery has two terminals:
Note: Some 18650 batteries come with built-in protection circuits, which may slightly increase their length and add additional safety features like overcharge, over-discharge, and short-circuit protection.
Usage Instructions
How to Use the 18650 Li-ion Battery in a Circuit
- Determine the Voltage and Current Requirements: Ensure the battery's voltage and current ratings match the requirements of your circuit or device.
- Use a Battery Holder: For safety and convenience, use a dedicated 18650 battery holder to secure the battery and connect it to your circuit.
- Connect the Terminals Correctly: Always connect the positive terminal of the battery to the positive input of your circuit and the negative terminal to the ground.
- Charging the Battery: Use a dedicated Li-ion battery charger with constant current (CC) and constant voltage (CV) charging modes. Ensure the charger is set to 4.2V and does not exceed the recommended charging current (typically 0.5C to 1C).
- Avoid Over-Discharge: Use a battery management system (BMS) or a low-voltage cutoff circuit to prevent the battery from discharging below 2.5V, which can damage the cell.
Important Considerations and Best Practices
- Safety First: Never short-circuit the battery terminals, puncture the cell, or expose it to high temperatures.
- Storage: Store the battery in a cool, dry place at a charge level of around 40-60% for long-term storage.
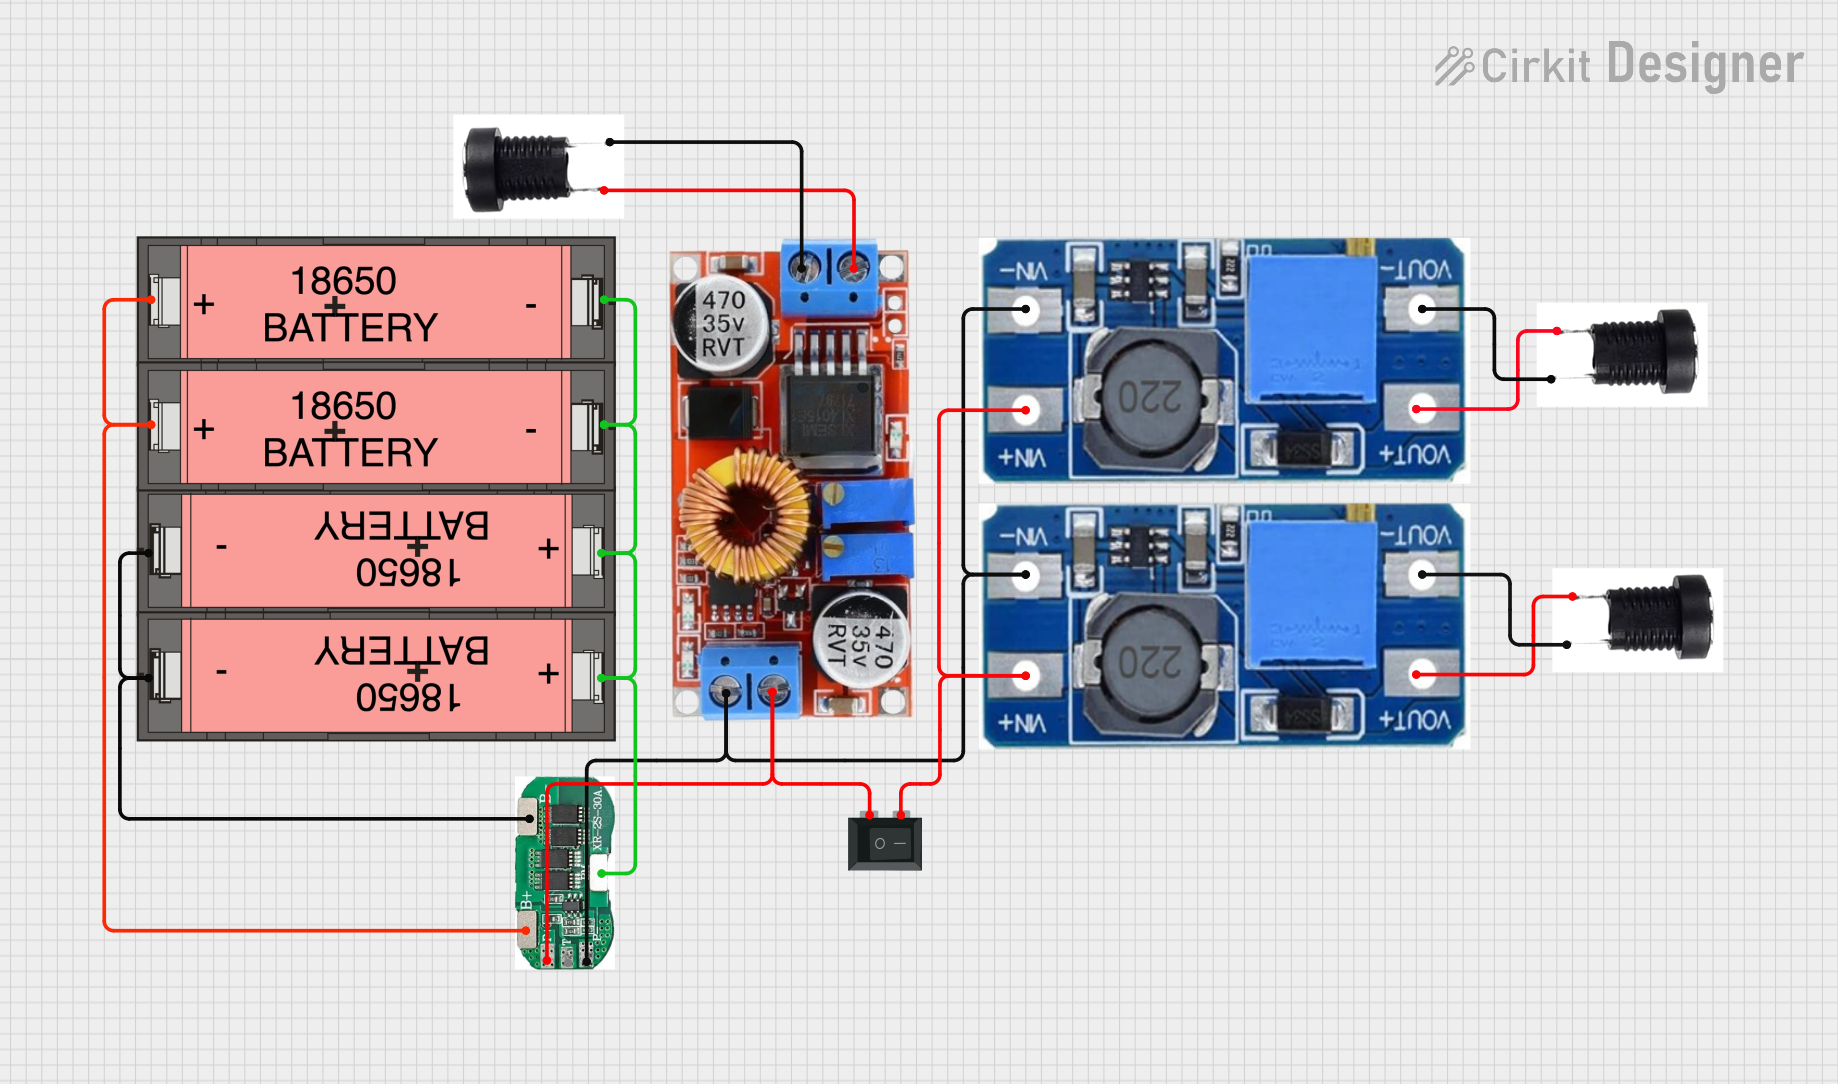
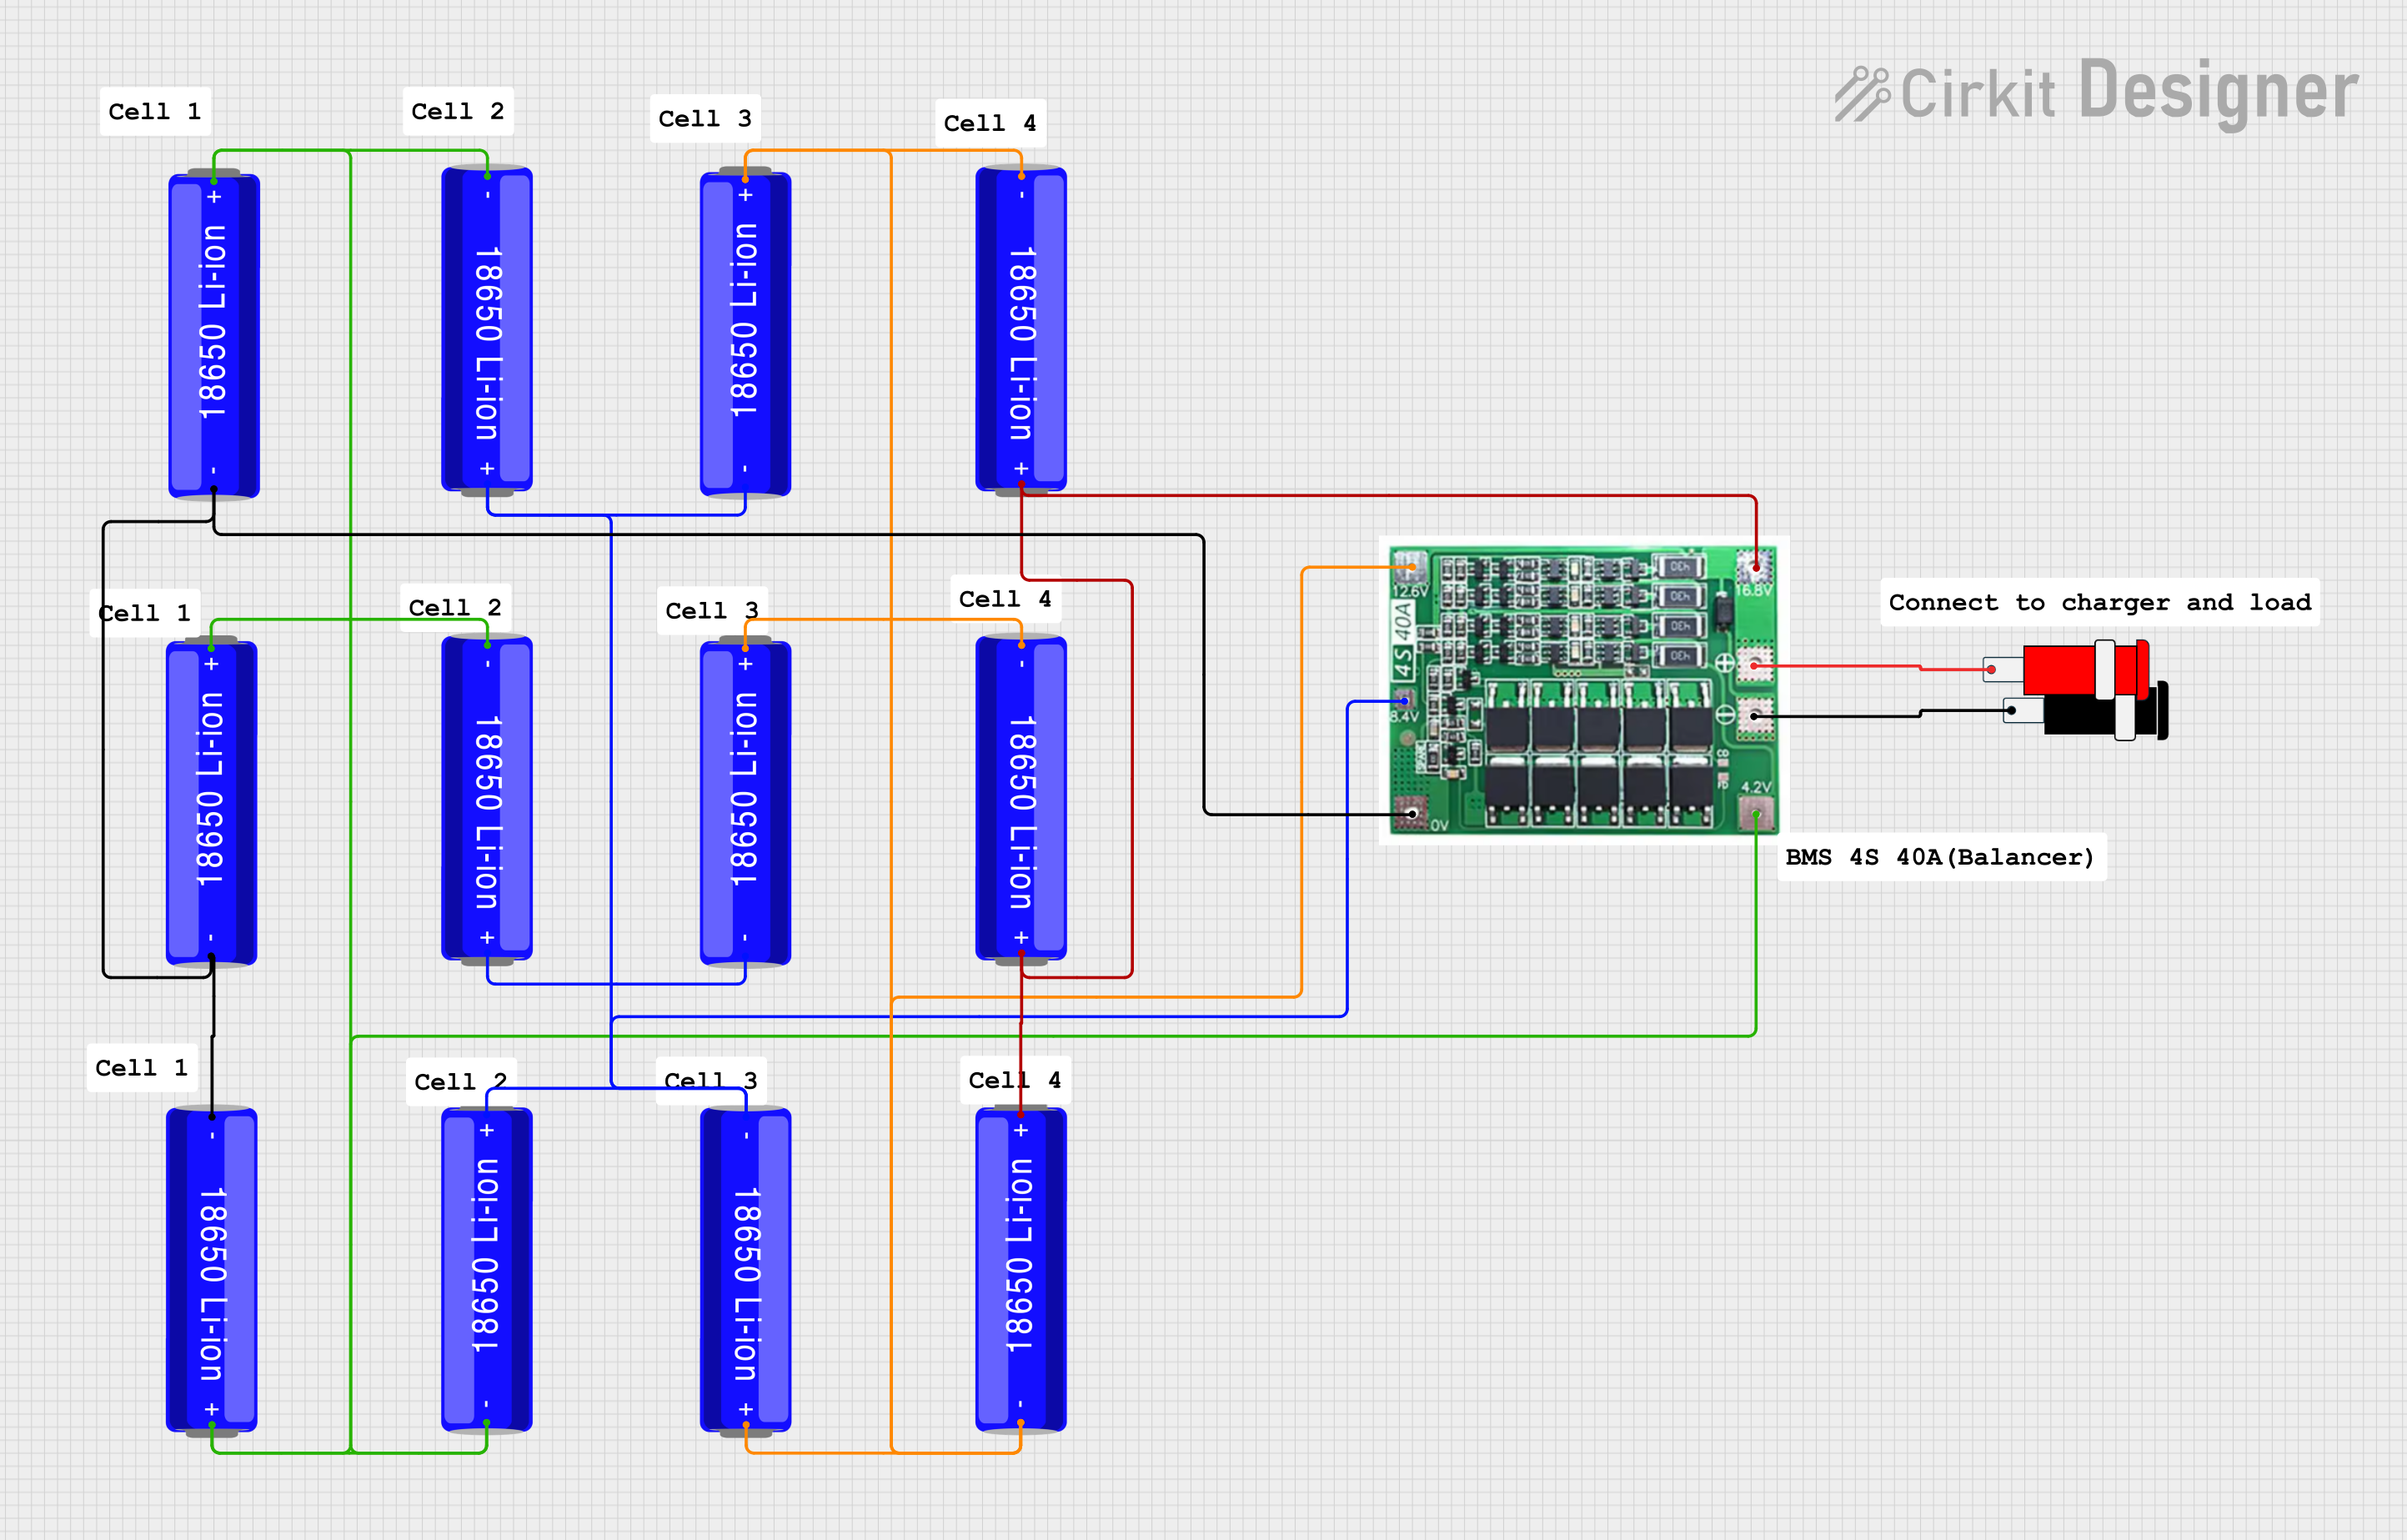
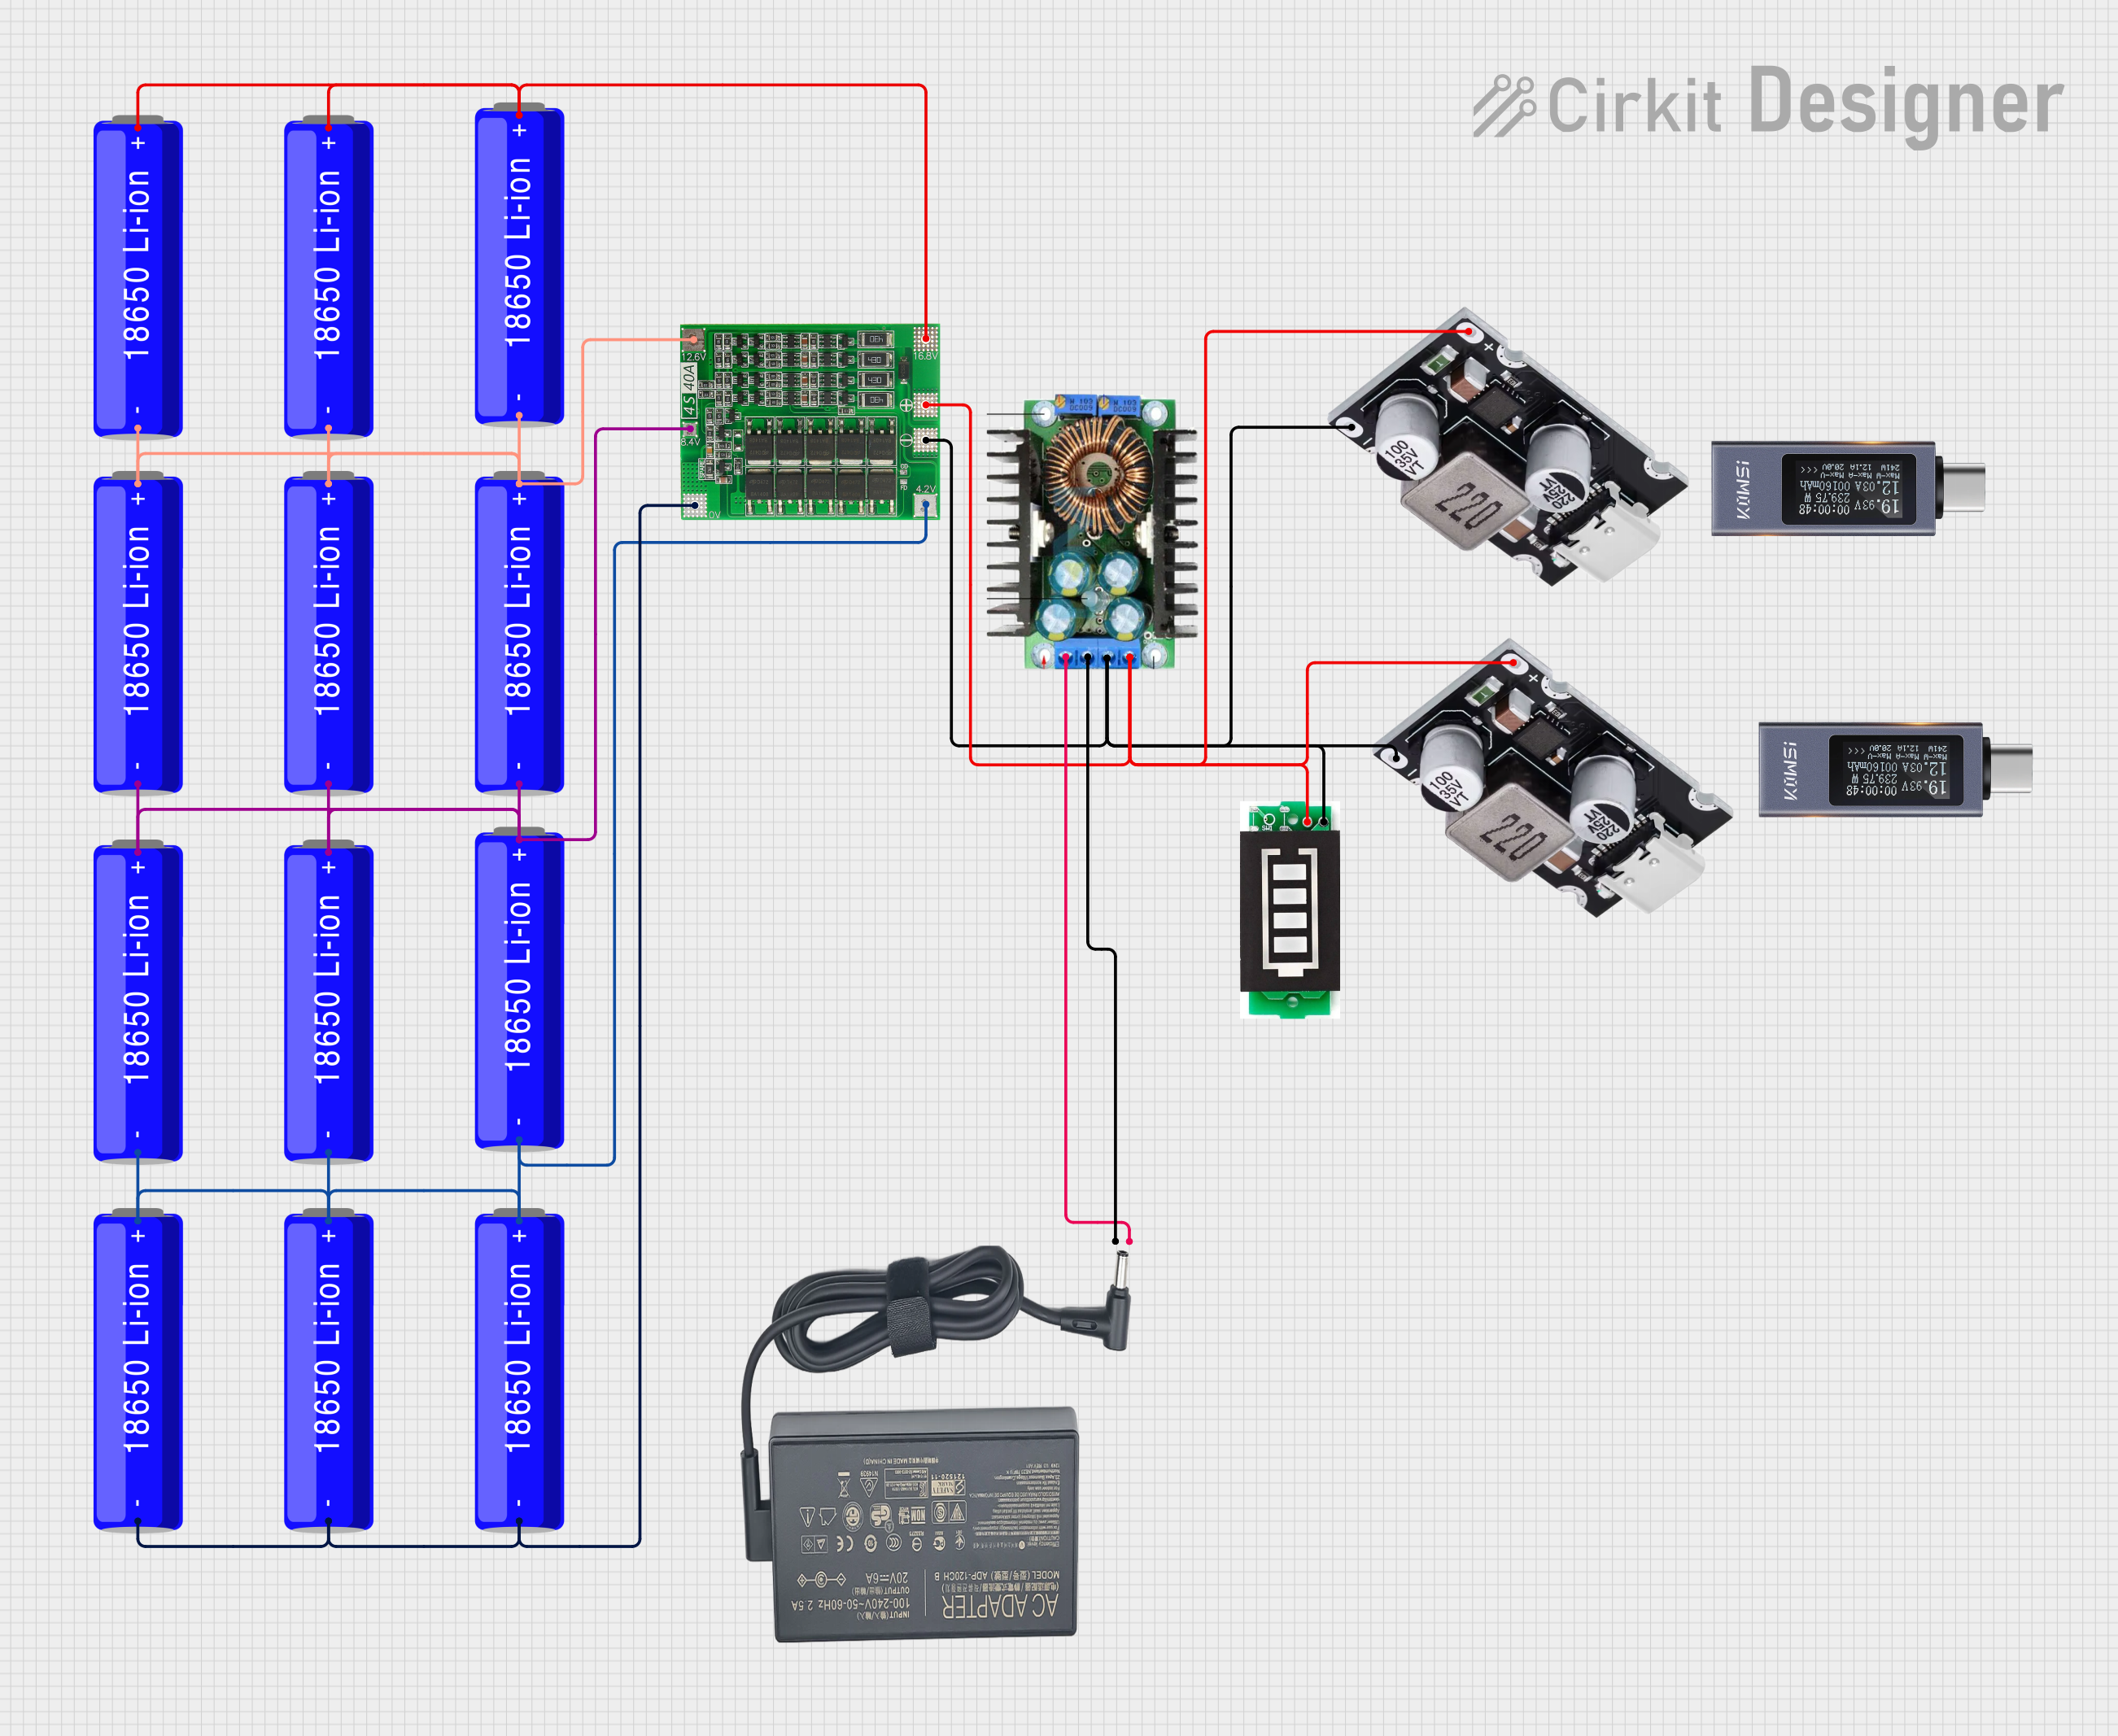
- Parallel and Series Connections: When connecting multiple 18650 cells in series or parallel, ensure they are of the same capacity, voltage, and charge level to avoid imbalances.
- Arduino Integration: When using the 18650 battery with an Arduino UNO, use a voltage regulator or step-down converter to ensure the voltage does not exceed the Arduino's input voltage limit (7-12V recommended).
Example: Using an 18650 Battery with an Arduino UNO
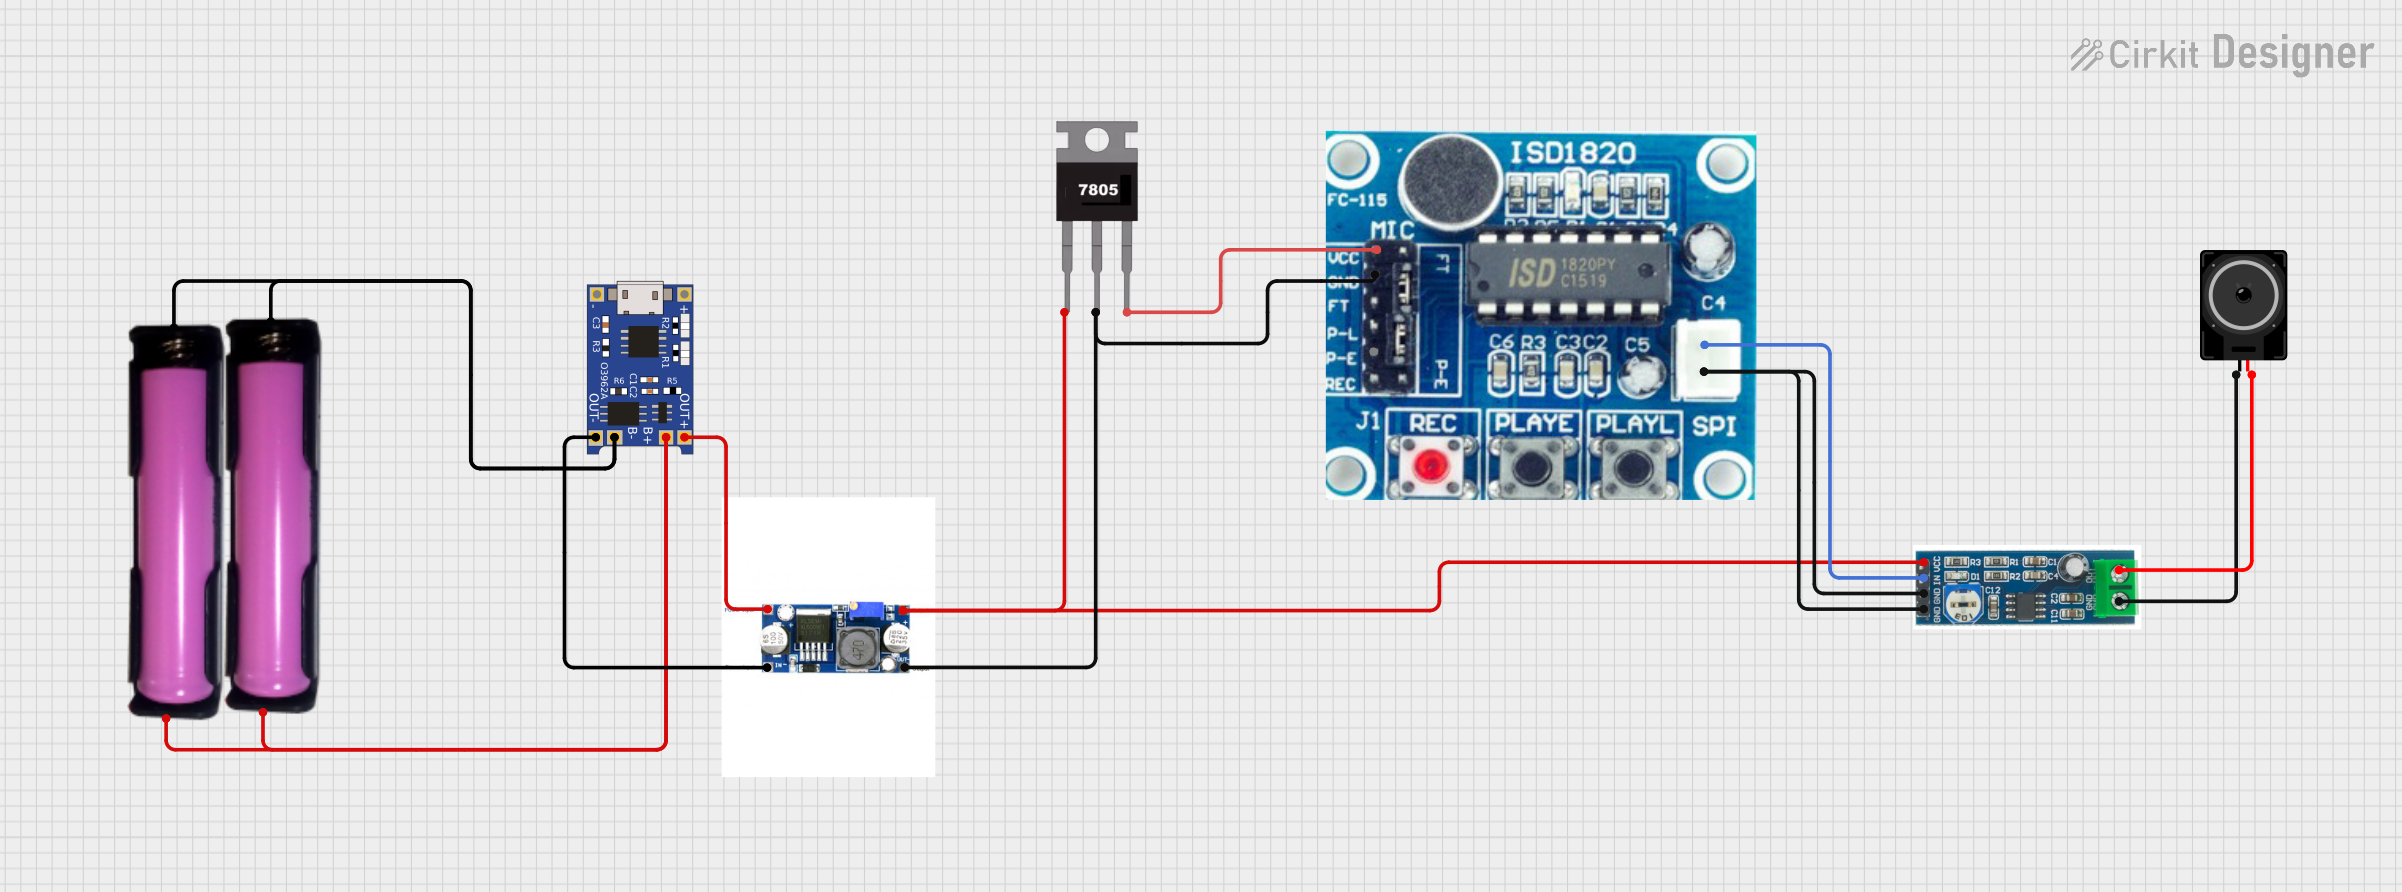
Below is an example of connecting an 18650 battery to an Arduino UNO using a step-down converter (e.g., LM2596) to regulate the voltage to 5V.
// Example code to blink an LED using an Arduino UNO powered by an 18650 battery
// Ensure the 18650 battery is connected to a step-down converter set to 5V output.

int ledPin = 13; // Pin connected to the onboard LED

void setup() {
  pinMode(ledPin, OUTPUT); // Set the LED pin as an output
}

void loop() {
  digitalWrite(ledPin, HIGH); // Turn the LED on
  delay(1000);                // Wait for 1 second
  digitalWrite(ledPin, LOW);  // Turn the LED off
  delay(1000);                // Wait for 1 second
}
Note: Always monitor the battery voltage during operation to avoid over-discharge.
Troubleshooting and FAQs
Common Issues and Solutions
Battery Not Charging
- Cause: Faulty charger or damaged battery.
- Solution: Check the charger output voltage and current. Replace the battery if it is swollen or damaged.
Battery Drains Quickly
- Cause: Over-discharge, aging, or high self-discharge rate.
- Solution: Avoid discharging below 2.5V. Replace the battery if it has reached the end of its cycle life.
Battery Overheats During Use
- Cause: Excessive current draw or short circuit.
- Solution: Ensure the load does not exceed the battery's maximum discharge current. Check for short circuits in the circuit.
Battery Voltage Drops Rapidly
- Cause: Internal damage or imbalance in series/parallel connections.
- Solution: Test the battery with a multimeter. Replace damaged cells in a battery pack.
FAQs
Q: Can I use a regular power supply to charge an 18650 battery?
A: No, always use a dedicated Li-ion battery charger with CC/CV modes to ensure safe charging.
Q: How do I know if my 18650 battery is protected?
A: Protected batteries are slightly longer (usually ~67mm) and often labeled as "protected." They include a built-in protection circuit.
Q: Can I solder directly to the battery terminals?
A: It is not recommended, as excessive heat can damage the battery. Use battery holders or spot welding for connections.
Q: How do I dispose of a dead 18650 battery?
A: Take it to a certified e-waste recycling facility. Do not throw it in regular trash.
By following these guidelines, you can safely and effectively use the 18650 Li-ion battery in your projects and devices.


 Open Project in Cirkit Designer