
How to Use batre bor: Examples, Pinouts, and Specs
 Design with batre bor in Cirkit Designer
Introduction
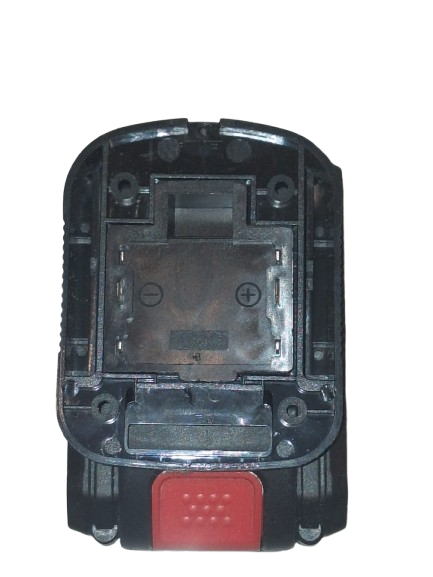
The Batre Bor is a battery holder designed to securely hold batteries in place while providing reliable electrical connections for powering electronic circuits. It is an essential component in portable and battery-powered devices, ensuring stable power delivery and ease of battery replacement. The Batre Bor is compatible with various battery sizes, such as AA, AAA, or 18650, depending on the specific model.
Explore Projects Built with batre bor
 Open Project in Cirkit Designer
 Open Project in Cirkit Designer
 Open Project in Cirkit Designer
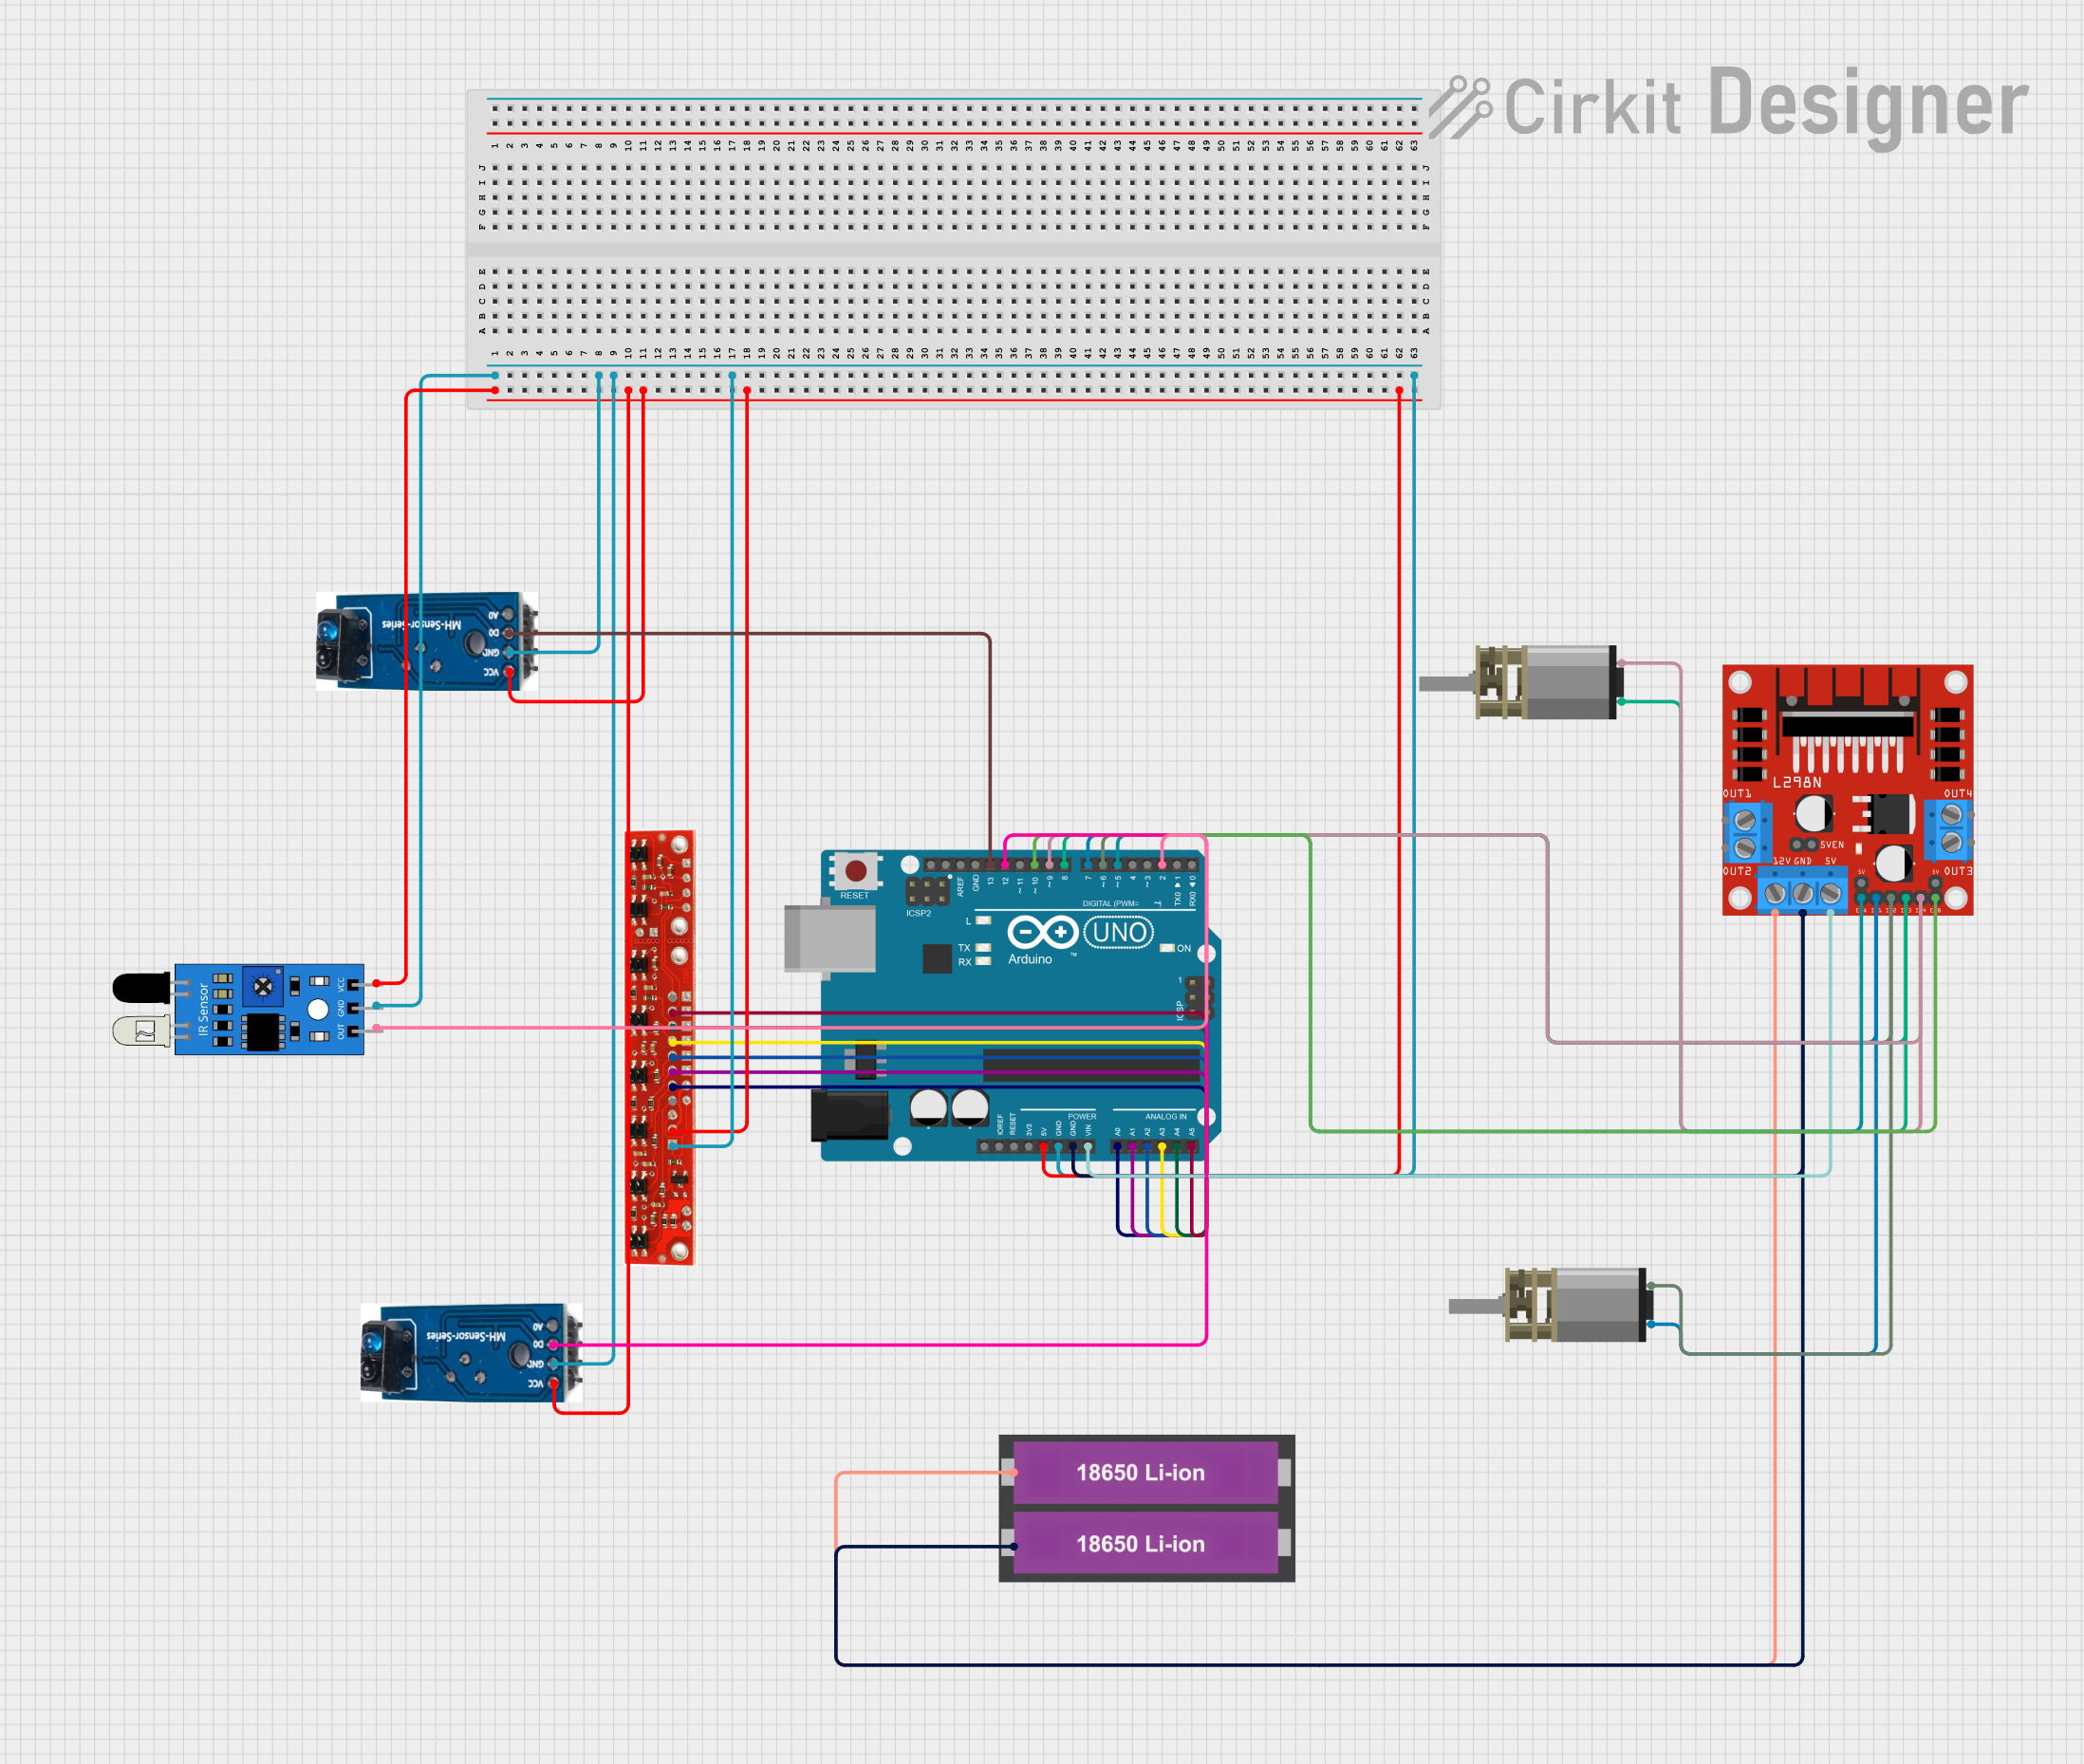 Open Project in Cirkit Designer
Explore Projects Built with batre bor
Open Project in Cirkit DesignerOpen Project in Cirkit DesignerOpen Project in Cirkit DesignerOpen Project in Cirkit DesignerCommon Applications and Use Cases
- Powering portable electronic devices
- DIY electronics projects
- Robotics and embedded systems
- Backup power supplies
- Educational kits and prototyping
Technical Specifications
The technical specifications of the Batre Bor vary depending on the model and battery type it supports. Below are general specifications for a typical AA battery holder:
General Specifications
| Parameter | Value |
|---|---|
| Supported Battery Types | AA, AAA, or 18650 (model-specific) |
| Material | ABS plastic (body), metal (contacts) |
| Voltage Output | 1.5V per cell (nominal) |
| Current Rating | Up to 2A (depending on battery) |
| Dimensions | Varies by model |
| Mounting Options | Screw holes, adhesive backing, or PCB mount |
Pin Configuration and Descriptions
The Batre Bor typically has two terminals for electrical connections:
| Pin Name | Description |
|---|---|
| Positive (+) | Connects to the positive terminal of the battery |
| Negative (-) | Connects to the negative terminal of the battery |
For multi-cell holders, the output voltage is the sum of the individual cell voltages, depending on whether the batteries are connected in series or parallel.
Usage Instructions
How to Use the Batre Bor in a Circuit
- Insert Batteries: Place the batteries into the holder, ensuring correct polarity. The positive terminal of the battery should align with the "+" marking on the holder, and the negative terminal should align with the "-" marking.
- Connect to Circuit: Use wires or solder to connect the positive and negative terminals of the Batre Bor to your circuit. Ensure secure and reliable connections to avoid power interruptions.
- Verify Voltage: Measure the output voltage using a multimeter to confirm proper operation before powering your circuit.
Important Considerations and Best Practices
- Polarity: Always check the polarity of the batteries before inserting them into the holder to prevent damage to your circuit.
- Battery Type: Use only the battery type specified for your Batre Bor model (e.g., AA, AAA, or 18650).
- Current Rating: Ensure the batteries and holder can handle the current requirements of your circuit.
- Secure Mounting: If the holder is mounted on a PCB or enclosure, ensure it is securely fastened to prevent movement or disconnection.
- Avoid Overheating: Do not exceed the current rating of the holder, as this may cause overheating or damage.
Example: Connecting to an Arduino UNO
The Batre Bor can be used to power an Arduino UNO via its VIN pin. Below is an example of how to connect a 4-cell AA battery holder (6V output) to an Arduino UNO:
- Connect the positive terminal of the Batre Bor to the VIN pin of the Arduino UNO.
- Connect the negative terminal of the Batre Bor to the GND pin of the Arduino UNO.
Sample Code
// Example code to blink an LED using an Arduino UNO powered by a Batre Bor

const int ledPin = 13; // Pin connected to the onboard LED

void setup() {
  pinMode(ledPin, OUTPUT); // Set the LED pin as an output
}

void loop() {
  digitalWrite(ledPin, HIGH); // Turn the LED on
  delay(1000);               // Wait for 1 second
  digitalWrite(ledPin, LOW);  // Turn the LED off
  delay(1000);               // Wait for 1 second
}
Troubleshooting and FAQs
Common Issues and Solutions
No Power Output
- Cause: Batteries inserted incorrectly or depleted.
- Solution: Check the polarity of the batteries and replace them if necessary.
Intermittent Power
- Cause: Loose connections or poor contact between the batteries and holder terminals.
- Solution: Ensure the batteries are securely seated and the terminals are clean and free of corrosion.
Overheating
- Cause: Excessive current draw or short circuit.
- Solution: Verify the current requirements of your circuit and ensure there are no short circuits.
Voltage Drop
- Cause: High resistance in the holder contacts or wires.
- Solution: Use thicker wires and clean the contacts to reduce resistance.
FAQs
Q: Can I use rechargeable batteries with the Batre Bor?
A: Yes, the Batre Bor is compatible with rechargeable batteries, such as NiMH or Li-ion, as long as the voltage and size match the holder's specifications.
Q: How do I calculate the total output voltage of a multi-cell holder?
A: Multiply the nominal voltage of a single battery by the number of cells in series. For example, four AA batteries (1.5V each) in series will provide 6V.
Q: Can I connect multiple Batre Bor holders together?
A: Yes, you can connect multiple holders in series or parallel to achieve the desired voltage or capacity. Ensure proper wiring and polarity when doing so.
Q: Is the Batre Bor waterproof?
A: Most standard Batre Bor models are not waterproof. If water resistance is required, consider using a waterproof enclosure.