Cirkit Designer Logo
Cirkit Designer
Your all-in-one circuit design IDE
Home / 
Component Documentation

How to Use clavier mécanique 16t: Examples, Pinouts, and Specs

Image of clavier mécanique 16t
Cirkit Designer LogoDesign with clavier mécanique 16t in Cirkit Designer

Introduction

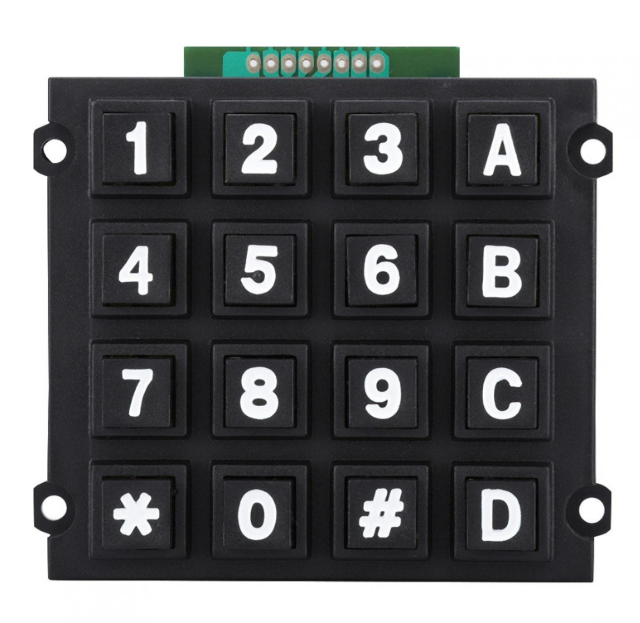
The Clavier Mécanique 16T is a 16-key mechanical keyboard designed to provide tactile feedback and exceptional durability. Each key is equipped with a mechanical switch, ensuring a satisfying typing or gaming experience. This component is ideal for applications requiring precise input, such as gaming setups, custom control panels, and DIY electronics projects. Its robust design and long lifespan make it a reliable choice for both hobbyists and professionals.

Explore Projects Built with clavier mécanique 16t

Use Cirkit Designer to design, explore, and prototype these projects online. Some projects support real-time simulation. Click "Open Project" to start designing instantly!
Arduino Leonardo-Based Gaming Steering Wheel with Pedals and Gear Shifter
Image of DIY Steering Wheel: A project utilizing clavier mécanique 16t in a practical application
This circuit is a gaming steering wheel system with 3 pedals and a gear shifter, interfaced with an Arduino Leonardo. It includes a 600 PPR optical rotary encoder for steering, three potentiometers for pedal input, and multiple push buttons connected via an IO expander for gear shifting and additional controls. The Arduino processes inputs from these components and communicates the data for further processing or display.
Cirkit Designer LogoOpen Project in Cirkit Designer
Teensy 4.1 Controlled Precision Stepper Motor System with OLED Display and Logic Level Conversion
Image of Teensy ELS V2.2: A project utilizing clavier mécanique 16t in a practical application
This circuit features a Teensy 4.1 microcontroller interfaced with a keypad for user input, an OLED display for visual feedback, and an optical rotary encoder for position sensing. It controls a closed-loop stepper motor via a Stepperonline CL57T driver, with a bi-directional logic level converter to ensure compatible voltage levels between the microcontroller and the stepper driver. The circuit is likely designed for precise motion control applications, such as CNC machines or robotic systems, where user input is used to adjust parameters like pitch or position.
Cirkit Designer LogoOpen Project in Cirkit Designer
Solar-Powered STM32-Based Automation System with Matrix Keypad and RTC
Image of soloar cleaner : A project utilizing clavier mécanique 16t in a practical application
This circuit features an STM32F103C8T6 microcontroller interfaced with a membrane matrix keypad for input, an RTC DS3231 for real-time clock functionality, and a 16x2 I2C LCD for display. It controls four 12V geared motors through two MD20 CYTRON motor drivers, with the motor power supplied by a 12V battery regulated by a buck converter. The battery is charged via a solar panel connected through a solar charge controller, ensuring a renewable energy source for the system.
Cirkit Designer LogoOpen Project in Cirkit Designer
Arduino Mega 2560 Stepper Motor Controller with LCD Display and Keypad
Image of Stepper-encoder-LCD-keyboard: A project utilizing clavier mécanique 16t in a practical application
This circuit controls a stepper motor using an Arduino Mega 2560, a DM542T driver, an LCD display, a membrane keypad, and a rotary encoder. The user can set and fine-tune the rotation angle and speed of the stepper motor via the keypad and rotary encoder, with the current settings displayed on the LCD.
Cirkit Designer LogoOpen Project in Cirkit Designer

Explore Projects Built with clavier mécanique 16t

Use Cirkit Designer to design, explore, and prototype these projects online. Some projects support real-time simulation. Click "Open Project" to start designing instantly!
Image of DIY Steering Wheel: A project utilizing clavier mécanique 16t in a practical application
Arduino Leonardo-Based Gaming Steering Wheel with Pedals and Gear Shifter
This circuit is a gaming steering wheel system with 3 pedals and a gear shifter, interfaced with an Arduino Leonardo. It includes a 600 PPR optical rotary encoder for steering, three potentiometers for pedal input, and multiple push buttons connected via an IO expander for gear shifting and additional controls. The Arduino processes inputs from these components and communicates the data for further processing or display.
Cirkit Designer LogoOpen Project in Cirkit Designer
Image of Teensy ELS V2.2: A project utilizing clavier mécanique 16t in a practical application
Teensy 4.1 Controlled Precision Stepper Motor System with OLED Display and Logic Level Conversion
This circuit features a Teensy 4.1 microcontroller interfaced with a keypad for user input, an OLED display for visual feedback, and an optical rotary encoder for position sensing. It controls a closed-loop stepper motor via a Stepperonline CL57T driver, with a bi-directional logic level converter to ensure compatible voltage levels between the microcontroller and the stepper driver. The circuit is likely designed for precise motion control applications, such as CNC machines or robotic systems, where user input is used to adjust parameters like pitch or position.
Cirkit Designer LogoOpen Project in Cirkit Designer
Image of soloar cleaner : A project utilizing clavier mécanique 16t in a practical application
Solar-Powered STM32-Based Automation System with Matrix Keypad and RTC
This circuit features an STM32F103C8T6 microcontroller interfaced with a membrane matrix keypad for input, an RTC DS3231 for real-time clock functionality, and a 16x2 I2C LCD for display. It controls four 12V geared motors through two MD20 CYTRON motor drivers, with the motor power supplied by a 12V battery regulated by a buck converter. The battery is charged via a solar panel connected through a solar charge controller, ensuring a renewable energy source for the system.
Cirkit Designer LogoOpen Project in Cirkit Designer
Image of Stepper-encoder-LCD-keyboard: A project utilizing clavier mécanique 16t in a practical application
Arduino Mega 2560 Stepper Motor Controller with LCD Display and Keypad
This circuit controls a stepper motor using an Arduino Mega 2560, a DM542T driver, an LCD display, a membrane keypad, and a rotary encoder. The user can set and fine-tune the rotation angle and speed of the stepper motor via the keypad and rotary encoder, with the current settings displayed on the LCD.
Cirkit Designer LogoOpen Project in Cirkit Designer

Common Applications:

  • Gaming keyboards and custom gaming rigs
  • DIY control panels for robotics or industrial systems
  • Typing devices for enhanced tactile feedback
  • Prototyping input systems for microcontrollers (e.g., Arduino)

Technical Specifications

Below are the key technical details of the Clavier Mécanique 16T:

Parameter Value
Number of Keys 16
Switch Type Mechanical (Tactile Feedback)
Operating Voltage 3.3V - 5V
Maximum Current 50mA per key
Key Lifespan 50 million presses per key
Dimensions 4x4 grid, 60mm x 60mm
Interface Matrix (4 rows x 4 columns)
Mounting Type PCB Mount or Panel Mount

Pin Configuration

The Clavier Mécanique 16T uses a 4x4 matrix configuration, requiring 8 pins for operation. Below is the pinout:

Pin Description
R1 Row 1
R2 Row 2
R3 Row 3
R4 Row 4
C1 Column 1
C2 Column 2
C3 Column 3
C4 Column 4

Usage Instructions

How to Use the Clavier Mécanique 16T in a Circuit

  1. Connect the Matrix Pins:
    • Connect the 4 row pins (R1-R4) and 4 column pins (C1-C4) to the GPIO pins of your microcontroller.
    • Use pull-up or pull-down resistors as required by your microcontroller's input configuration.
  2. Scan the Matrix:
    • Implement a scanning algorithm to detect key presses. This involves activating one row at a time and checking which column(s) register a connection.
  3. Debounce the Keys:
    • Mechanical switches may produce noise or "bouncing" when pressed. Use software debouncing techniques to ensure accurate key detection.
  4. Power Requirements:
    • Ensure the keyboard is powered within its operating voltage range (3.3V - 5V). Exceeding this range may damage the switches.

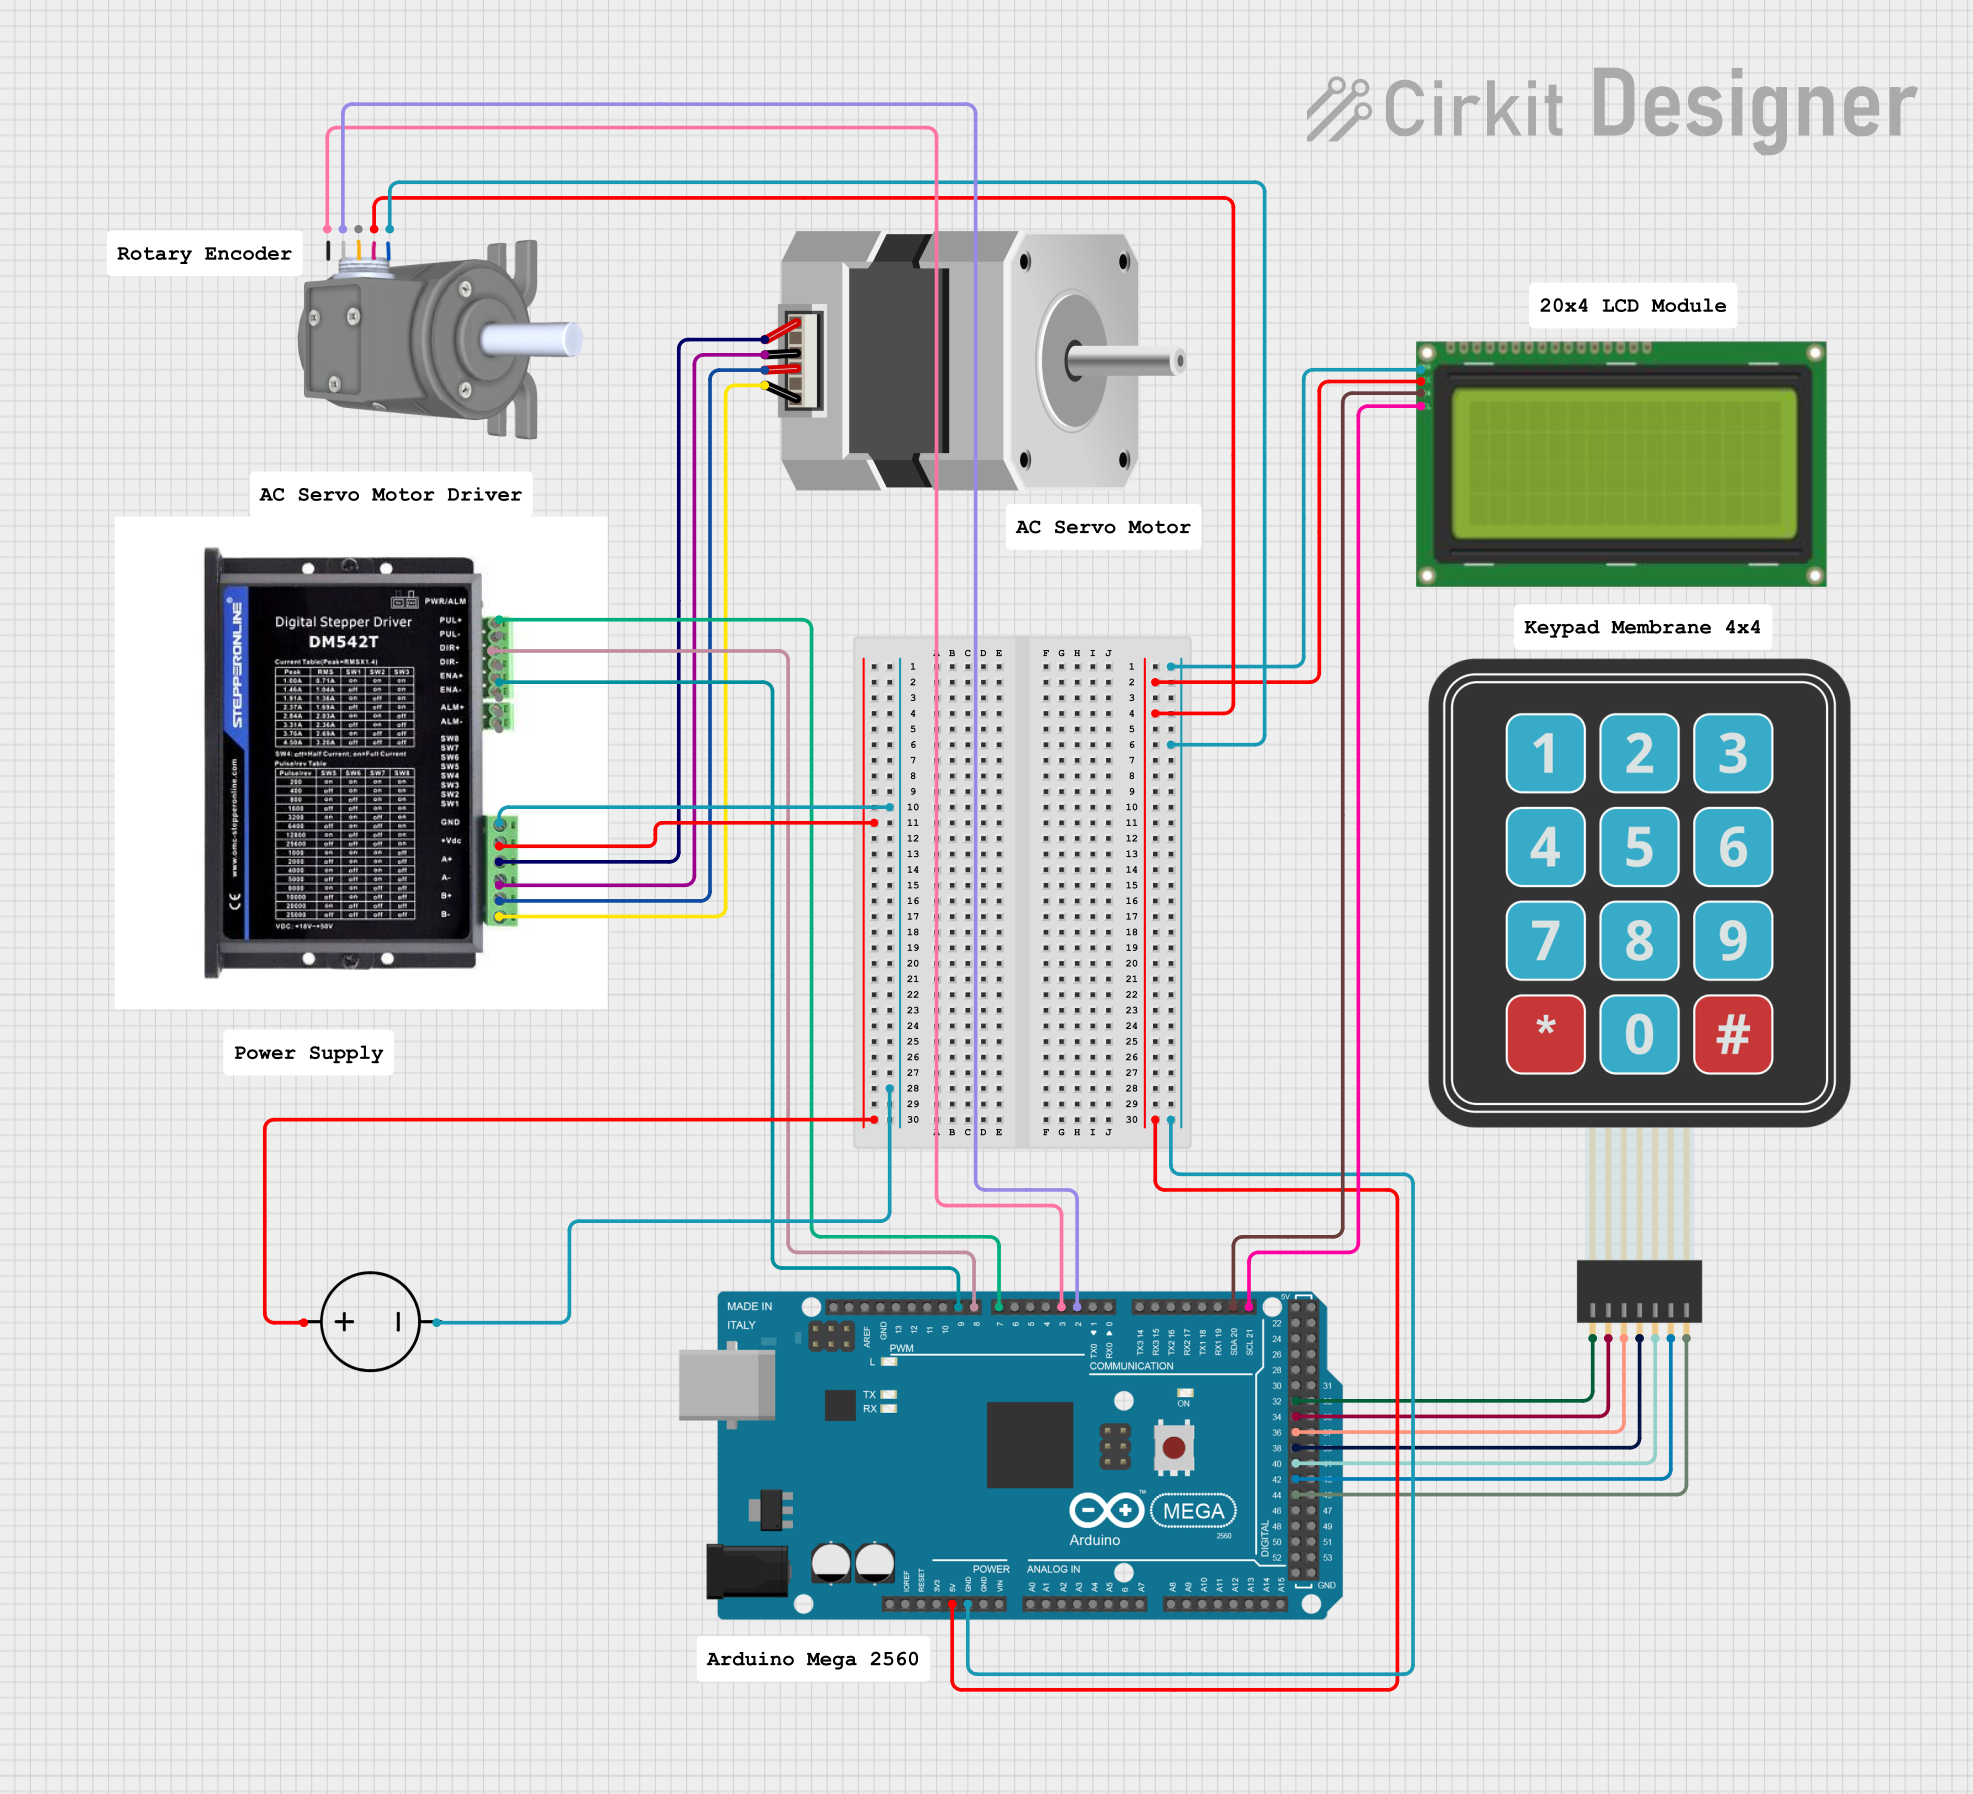
Example: Connecting to an Arduino UNO

Below is an example of how to connect and program the Clavier Mécanique 16T with an Arduino UNO:

Circuit Connections:

  • Connect R1-R4 to Arduino digital pins 2, 3, 4, and 5.
  • Connect C1-C4 to Arduino digital pins 6, 7, 8, and 9.
  • Use 10kΩ pull-down resistors on the column pins (C1-C4).

Arduino Code:

// Arduino code to read a 4x4 mechanical keyboard matrix
// Ensure proper debouncing and matrix scanning

const int rows[4] = {2, 3, 4, 5}; // Row pins
const int cols[4] = {6, 7, 8, 9}; // Column pins

void setup() {
  // Initialize row pins as outputs
  for (int i = 0; i < 4; i++) {
    pinMode(rows[i], OUTPUT);
    digitalWrite(rows[i], HIGH); // Set rows to HIGH initially
  }

  // Initialize column pins as inputs with pull-up resistors
  for (int i = 0; i < 4; i++) {
    pinMode(cols[i], INPUT_PULLUP);
  }

  Serial.begin(9600); // Start serial communication for debugging
}

void loop() {
  for (int row = 0; row < 4; row++) {
    // Activate the current row
    digitalWrite(rows[row], LOW);

    // Check each column for a key press
    for (int col = 0; col < 4; col++) {
      if (digitalRead(cols[col]) == LOW) {
        // Key press detected
        Serial.print("Key Pressed: Row ");
        Serial.print(row + 1);
        Serial.print(", Column ");
        Serial.println(col + 1);

        delay(200); // Debounce delay
      }
    }

    // Deactivate the current row
    digitalWrite(rows[row], HIGH);
  }
}

Best Practices:

  • Use a stable power supply to avoid voltage fluctuations.
  • Avoid pressing multiple keys simultaneously unless your software supports "n-key rollover."
  • Regularly clean the keyboard to prevent dust or debris from affecting performance.

Troubleshooting and FAQs

Common Issues and Solutions:

  1. Keys Not Responding:

    • Check the wiring connections between the keyboard and the microcontroller.
    • Ensure the microcontroller pins are correctly configured as inputs/outputs.
    • Verify the power supply voltage is within the specified range (3.3V - 5V).
  2. Multiple Keys Detected Simultaneously:

    • This may be caused by "ghosting." Implement anti-ghosting techniques in your software.
    • Use diodes in the matrix to prevent unintended key activations.
  3. Debouncing Issues:

    • If key presses are detected multiple times, increase the debounce delay in your code.
  4. No Serial Output:

    • Ensure the Arduino is properly connected to your computer.
    • Verify the correct COM port and baud rate (9600) in the Arduino IDE.

FAQs:

Q: Can I use the Clavier Mécanique 16T with a Raspberry Pi?
A: Yes, the keyboard can be used with a Raspberry Pi. Use GPIO pins and implement a matrix scanning algorithm in Python.

Q: How do I clean the keyboard?
A: Use compressed air to remove dust. For deeper cleaning, carefully disassemble the keyboard and clean the switches with isopropyl alcohol.

Q: Can I replace the mechanical switches?
A: Yes, the switches are replaceable. Ensure the replacement switches are compatible with the PCB and mounting type.

Q: Does it support RGB lighting?
A: The Clavier Mécanique 16T does not include built-in RGB lighting. However, you can add external LEDs for custom lighting effects.