How to Use TFT-DISPLAY: Examples, Pinouts, and Specs
Introduction
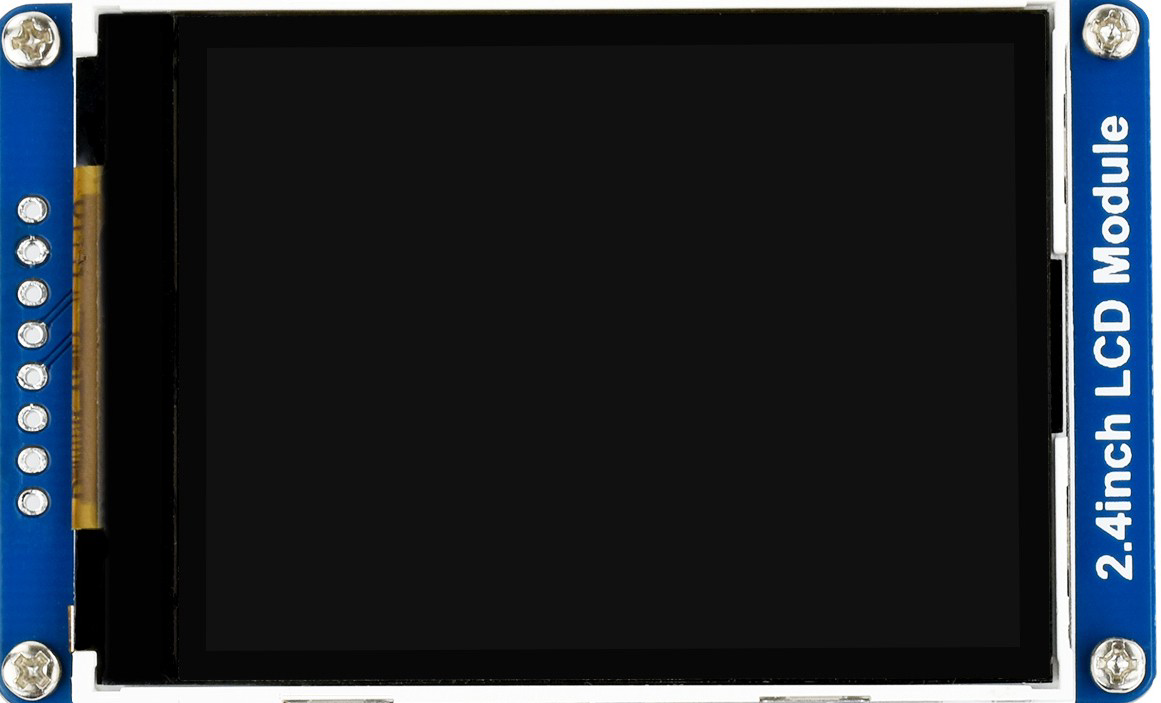
A Thin-Film Transistor (TFT) display is a type of LCD screen that leverages thin-film transistor technology to enhance image quality and response time. TFT displays are known for their ability to deliver vibrant colors, sharp images, and wide viewing angles, making them ideal for applications requiring high-quality visual output.
Explore Projects Built with TFT-DISPLAY


Explore Projects Built with TFT-DISPLAY
Common Applications and Use Cases
- Smartphones and tablets
- Portable gaming consoles
- Industrial control panels
- Embedded systems and IoT devices
- Automotive dashboards
- DIY electronics projects (e.g., Arduino-based projects)
Technical Specifications
Below are the general technical specifications for a typical TFT display. Note that specific models may vary slightly in their parameters.
Key Technical Details
- Display Type: TFT LCD
- Resolution: Common resolutions include 320x240 (QVGA), 480x320, or higher
- Screen Size: Typically ranges from 1.8 inches to 7 inches
- Interface: SPI, I2C, or parallel (depending on the model)
- Operating Voltage: 3.3V or 5V (check your specific model)
- Backlight: LED backlight with adjustable brightness
- Viewing Angle: Up to 160° (depending on the model)
- Touchscreen: Optional (resistive or capacitive touch)
Pin Configuration and Descriptions
The pin configuration for a common SPI-based TFT display module is as follows:
| Pin Name | Description | Notes |
|---|---|---|
| VCC | Power supply (3.3V or 5V) | Check your module's voltage tolerance. |
| GND | Ground | Connect to the ground of your circuit. |
| CS | Chip Select | Active low; selects the display module. |
| RESET | Reset | Resets the display; active low. |
| DC (or RS) | Data/Command | High for data, low for commands. |
| MOSI | Master Out Slave In (SPI data input) | Connect to the microcontroller's MOSI. |
| SCK | Serial Clock (SPI clock input) | Connect to the microcontroller's SCK. |
| LED | Backlight control | Connect to 3.3V/5V or PWM for dimming. |
| MISO (optional) | Master In Slave Out (SPI data output) | Used in some models for data feedback. |
For parallel or I2C-based TFT displays, refer to the specific datasheet for pin details.
Usage Instructions
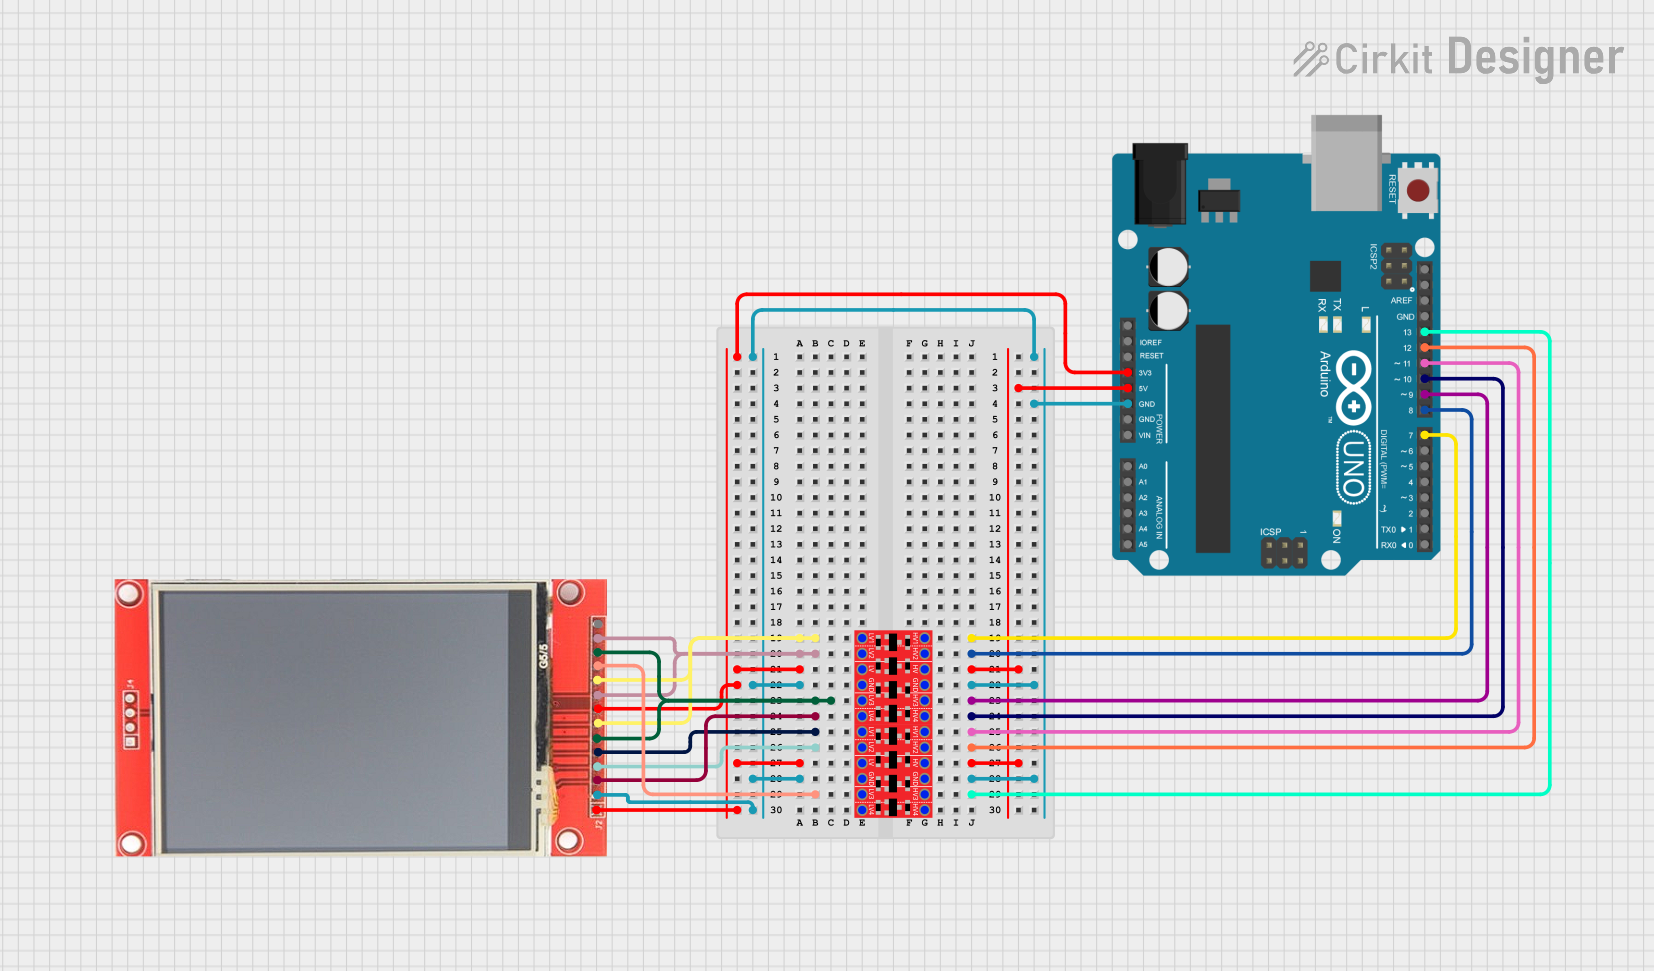
How to Use the Component in a Circuit
- Power Supply: Connect the VCC pin to a 3.3V or 5V power source (depending on your module) and GND to the ground.
- SPI Communication: Connect the SPI pins (CS, MOSI, SCK, and optionally MISO) to the corresponding pins on your microcontroller.
- Backlight Control: Connect the LED pin to a power source or a PWM pin on your microcontroller for brightness control.
- Reset and Data/Command Pins: Connect the RESET and DC pins to GPIO pins on your microcontroller for proper operation.
- Load a Library: For Arduino, use libraries like
Adafruit_GFXandAdafruit_TFTLCDto simplify communication with the display.
Example Code for Arduino UNO
Below is an example of how to use a 1.8-inch SPI TFT display with an Arduino UNO:
#include <Adafruit_GFX.h>      // Core graphics library
#include <Adafruit_ST7735.h>   // Library for ST7735-based TFT displays
#include <SPI.h>               // SPI library

// Define TFT display pins
#define TFT_CS     10  // Chip Select pin
#define TFT_RST    9   // Reset pin
#define TFT_DC     8   // Data/Command pin

// Initialize the TFT display object
Adafruit_ST7735 tft = Adafruit_ST7735(TFT_CS, TFT_DC, TFT_RST);

void setup() {
  // Initialize the serial monitor
  Serial.begin(9600);
  Serial.println("TFT Display Test");

  // Initialize the TFT display
  tft.initR(INITR_BLACKTAB);  // Initialize with a specific tab color
  tft.fillScreen(ST77XX_BLACK);  // Clear the screen with black color

  // Display a message
  tft.setTextColor(ST77XX_WHITE);  // Set text color to white
  tft.setTextSize(2);              // Set text size
  tft.setCursor(10, 10);           // Set cursor position
  tft.println("Hello, TFT!");      // Print text to the display
}

void loop() {
  // Add your code here for dynamic updates
}
Important Considerations and Best Practices
- Voltage Compatibility: Ensure the display module is compatible with your microcontroller's voltage levels (3.3V or 5V).
- Library Support: Use well-documented libraries like
Adafruit_GFXfor easier implementation. - Wiring: Double-check all connections to avoid damage to the display or microcontroller.
- Backlight Control: Use a PWM pin to adjust the backlight brightness dynamically.
- Touchscreen Models: If your TFT display includes a touchscreen, you may need additional libraries (e.g.,
Adafruit_TouchScreen).
Troubleshooting and FAQs
Common Issues and Solutions
Blank Screen:
- Cause: Incorrect wiring or power supply.
- Solution: Verify all connections and ensure the display is receiving the correct voltage.
Flickering or Distorted Display:
- Cause: Poor SPI communication or loose connections.
- Solution: Check the SPI wiring and ensure secure connections.
No Response to Commands:
- Cause: Incorrect library initialization or pin configuration.
- Solution: Double-check the pin definitions in your code and ensure the correct library is used.
Touchscreen Not Working (if applicable):
- Cause: Missing or incorrect touchscreen library.
- Solution: Install and configure the appropriate touchscreen library.
FAQs
Q: Can I use a TFT display with a 5V microcontroller?
- A: Yes, but ensure the display module supports 5V logic levels or use a level shifter.
Q: How do I control the backlight brightness?
- A: Connect the LED pin to a PWM-capable pin on your microcontroller and use analogWrite() to adjust brightness.
Q: Can I use multiple TFT displays with one microcontroller?
- A: Yes, but you will need separate CS pins for each display and sufficient GPIO pins.
Q: What is the maximum resolution supported by a TFT display?
- A: The resolution depends on the specific model. Common resolutions include 320x240 and 480x320.
By following this documentation, you can successfully integrate and use a TFT display in your projects!