
How to Use Arch Pro V1.0: Examples, Pinouts, and Specs
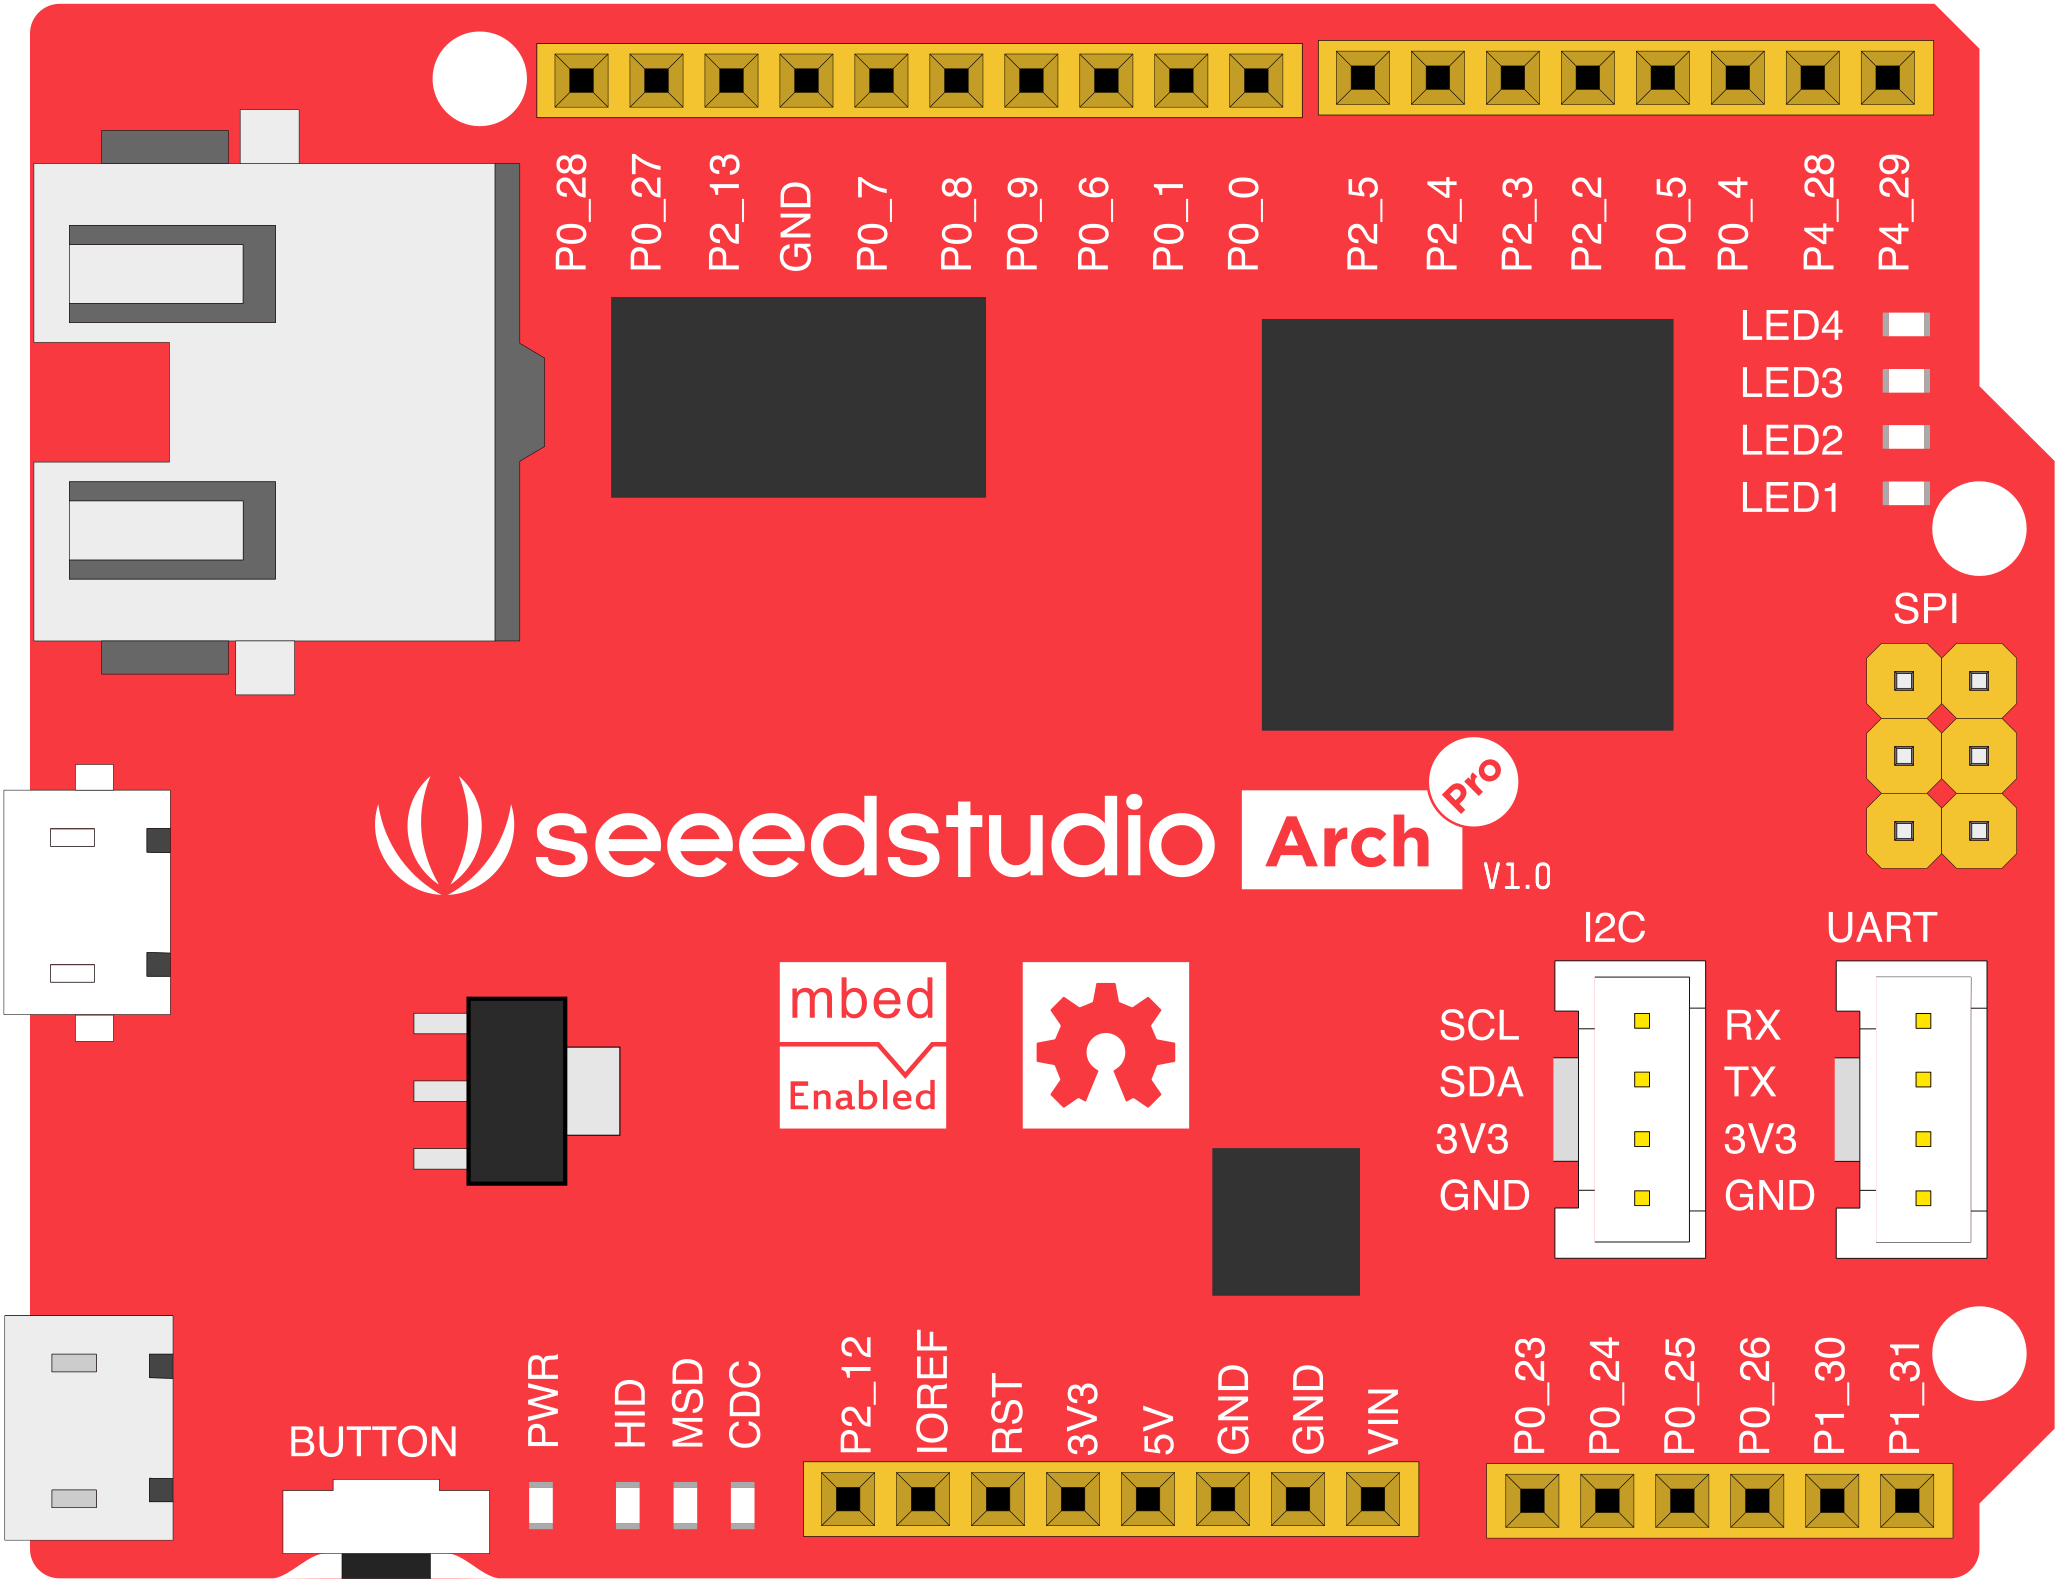
 Design with Arch Pro V1.0 in Cirkit Designer
Introduction
The Arch Pro V1.0, manufactured by Seeed Studio (Part ID: Arch Pro), is a versatile and high-performance development board designed for advanced electronic projects. It is based on the NXP LPC1768 microcontroller, which features a 32-bit ARM Cortex-M3 core. The board is compatible with mbed, an online development platform, making it an excellent choice for both beginners and experienced developers.
Explore Projects Built with Arch Pro V1.0
 Open Project in Cirkit Designer
 Open Project in Cirkit Designer
 Open Project in Cirkit Designer
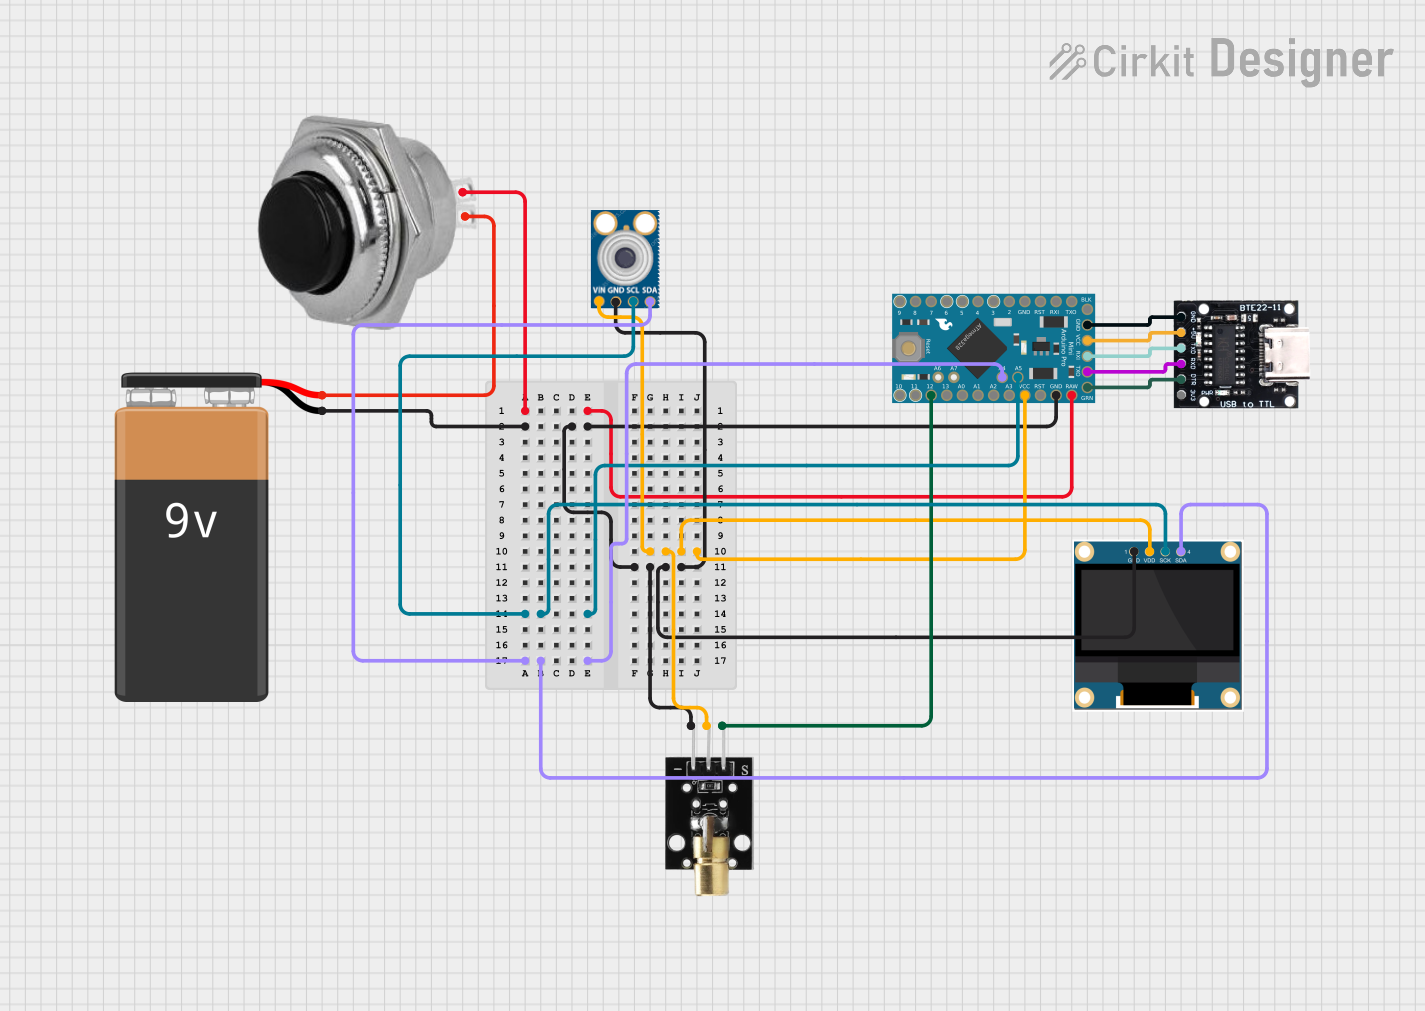 Open Project in Cirkit Designer
Explore Projects Built with Arch Pro V1.0
Open Project in Cirkit DesignerOpen Project in Cirkit DesignerOpen Project in Cirkit DesignerOpen Project in Cirkit DesignerCommon Applications and Use Cases
- Prototyping IoT (Internet of Things) devices
- Robotics and automation projects
- Sensor data acquisition and processing
- Educational purposes for learning ARM Cortex-M3 programming
- Integration with various modules such as Wi-Fi, Bluetooth, and GPS
Technical Specifications
The Arch Pro V1.0 offers a wide range of features and capabilities. Below are the key technical details:
General Specifications
| Feature | Specification |
|---|---|
| Microcontroller | NXP LPC1768 (ARM Cortex-M3, 32-bit) |
| Operating Voltage | 3.3V |
| Input Voltage Range | 4.5V to 12V |
| Clock Speed | 96 MHz |
| Flash Memory | 512 KB |
| RAM | 32 KB |
| Digital I/O Pins | 40 |
| Analog Input Pins | 6 |
| PWM Output Pins | 6 |
| Communication Interfaces | UART, SPI, I2C, CAN, USB |
| Debugging Interface | SWD (Serial Wire Debug) |
| Dimensions | 84 mm x 53 mm |
Pin Configuration and Descriptions
The Arch Pro V1.0 features a 40-pin interface. Below is the pinout description:
Digital and Analog Pins
| Pin Number | Pin Name | Functionality |
|---|---|---|
| 1 | P0.0 | Digital I/O, UART TXD0 |
| 2 | P0.1 | Digital I/O, UART RXD0 |
| 3 | P0.2 | Digital I/O, PWM1.1 |
| 4 | P0.3 | Digital I/O, PWM1.2 |
| 5 | P0.4 | Analog Input (ADC0.6) |
| 6 | P0.5 | Analog Input (ADC0.7) |
| ... | ... | ... |
| 40 | GND | Ground |
Power Pins
| Pin Number | Pin Name | Description |
|---|---|---|
| 3V3 | 3.3V | Regulated 3.3V output |
| VIN | VIN | Input voltage (4.5V to 12V) |
| GND | GND | Ground connection |
Usage Instructions
The Arch Pro V1.0 is designed to be user-friendly and compatible with the mbed development platform. Follow the steps below to get started:
Step 1: Setting Up the Development Environment
- Visit the mbed website and create an account.
- Connect the Arch Pro V1.0 to your computer using a micro-USB cable.
- The board will appear as a USB mass storage device. Drag and drop the compiled
.binfile onto the board to program it.
Step 2: Writing and Uploading Code
The Arch Pro V1.0 supports programming in C/C++ using the mbed online compiler. Below is an example code snippet to blink an LED connected to pin P0.2:
#include "mbed.h"

// Define an LED object connected to pin P0.2
DigitalOut led(P0_2);

int main() {
    while (true) {
        led = 1;  // Turn the LED on
        wait(0.5);  // Wait for 500 milliseconds
        led = 0;  // Turn the LED off
        wait(0.5);  // Wait for 500 milliseconds
    }
}
Step 3: Connecting Sensors and Modules
- Use the I2C, SPI, or UART interfaces to connect external sensors or modules.
- Ensure proper voltage levels (3.3V) to avoid damaging the board.
Best Practices
- Always check the pinout diagram before connecting peripherals.
- Use a regulated power supply within the specified voltage range.
- Avoid short circuits by carefully wiring components.
Troubleshooting and FAQs
Common Issues and Solutions
The board is not recognized by the computer.
- Ensure the USB cable is functional and supports data transfer.
- Check if the board is powered on (LED indicator should light up).
- Try connecting to a different USB port or computer.
Code does not execute after uploading.
- Verify that the
.binfile is correctly compiled for the Arch Pro V1.0. - Ensure the file is properly dragged and dropped onto the board.
- Verify that the
Peripherals are not working as expected.
- Double-check the wiring and connections.
- Confirm that the correct pins are being used in the code.
FAQs
Q: Can I use the Arch Pro V1.0 with Arduino IDE?
A: No, the Arch Pro V1.0 is designed for use with the mbed platform and is not compatible with the Arduino IDE.
Q: What is the maximum current output of the 3.3V pin?
A: The 3.3V pin can supply a maximum current of 50 mA.
Q: Does the board support wireless communication?
A: The Arch Pro V1.0 does not have built-in wireless capabilities, but you can connect external Wi-Fi or Bluetooth modules via UART, SPI, or I2C.
By following this documentation, you can effectively utilize the Arch Pro V1.0 for your electronic projects.