
How to Use 7X9 PERFBOARD: Examples, Pinouts, and Specs
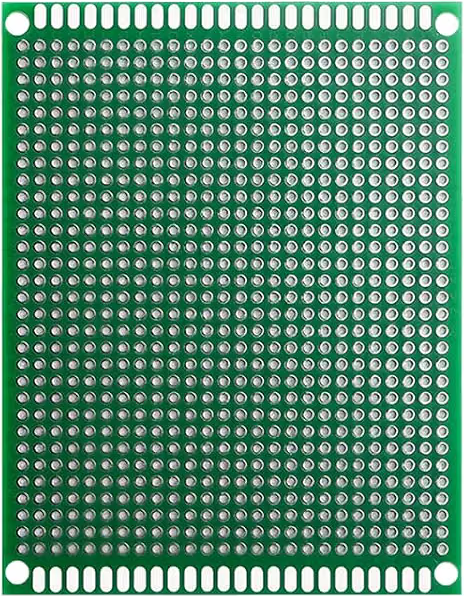
 Design with 7X9 PERFBOARD in Cirkit Designer
Introduction
The 7x9 perfboard, manufactured by ELEGOO, is a versatile prototyping tool designed for building and testing electronic circuits. It features a grid of perforated holes that allow users to mount components and solder connections with ease. This perfboard is ideal for DIY electronics enthusiasts, students, and professionals who need a reliable platform for circuit prototyping and experimentation.
Explore Projects Built with 7X9 PERFBOARD
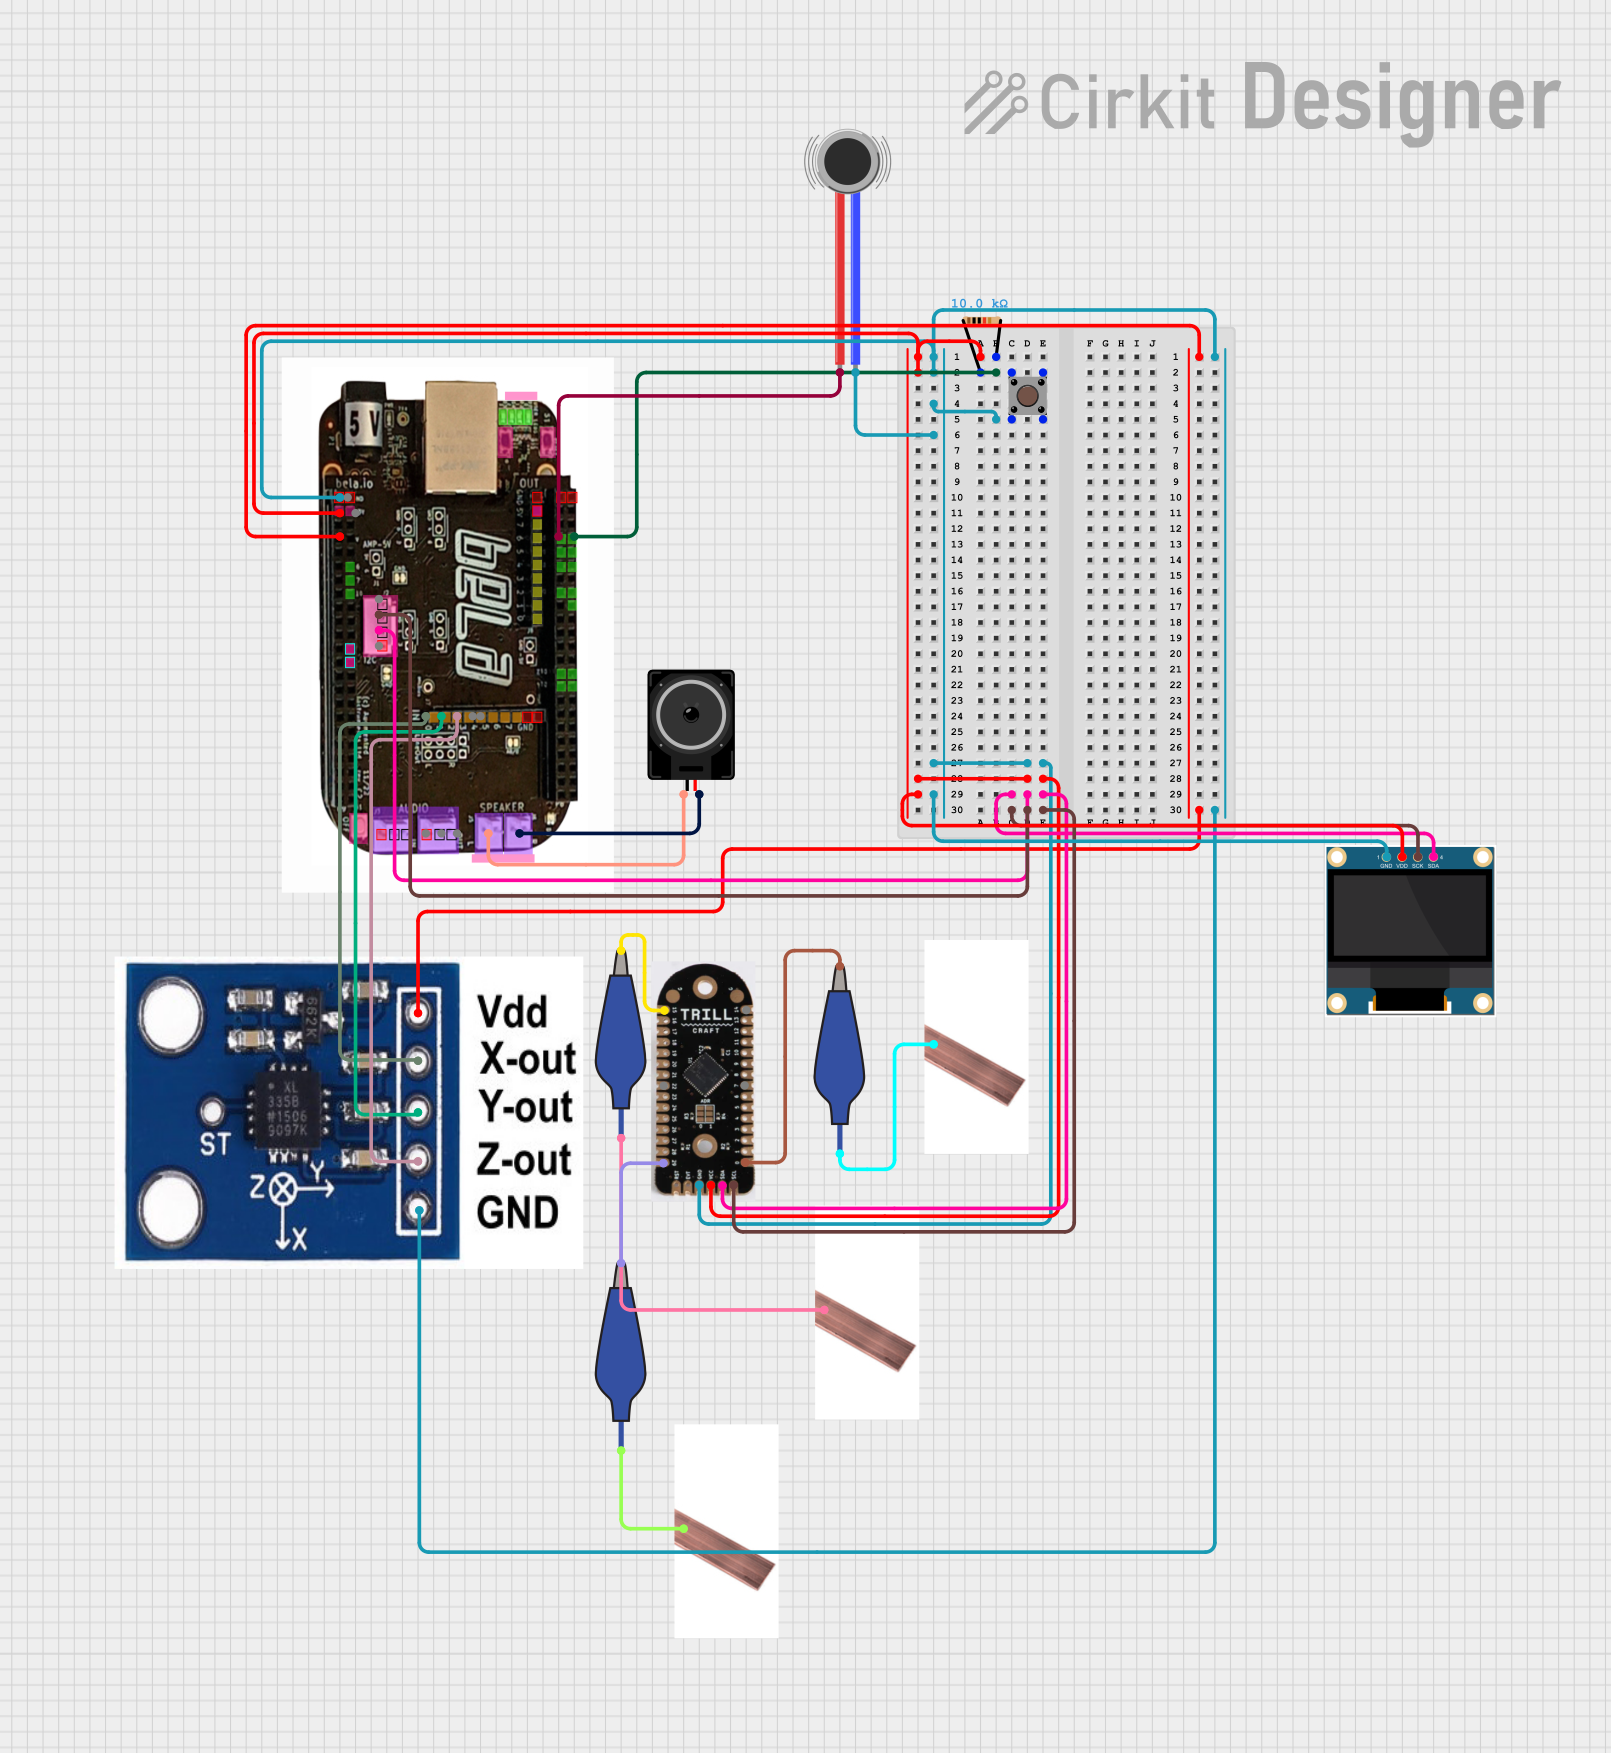 Open Project in Cirkit Designer
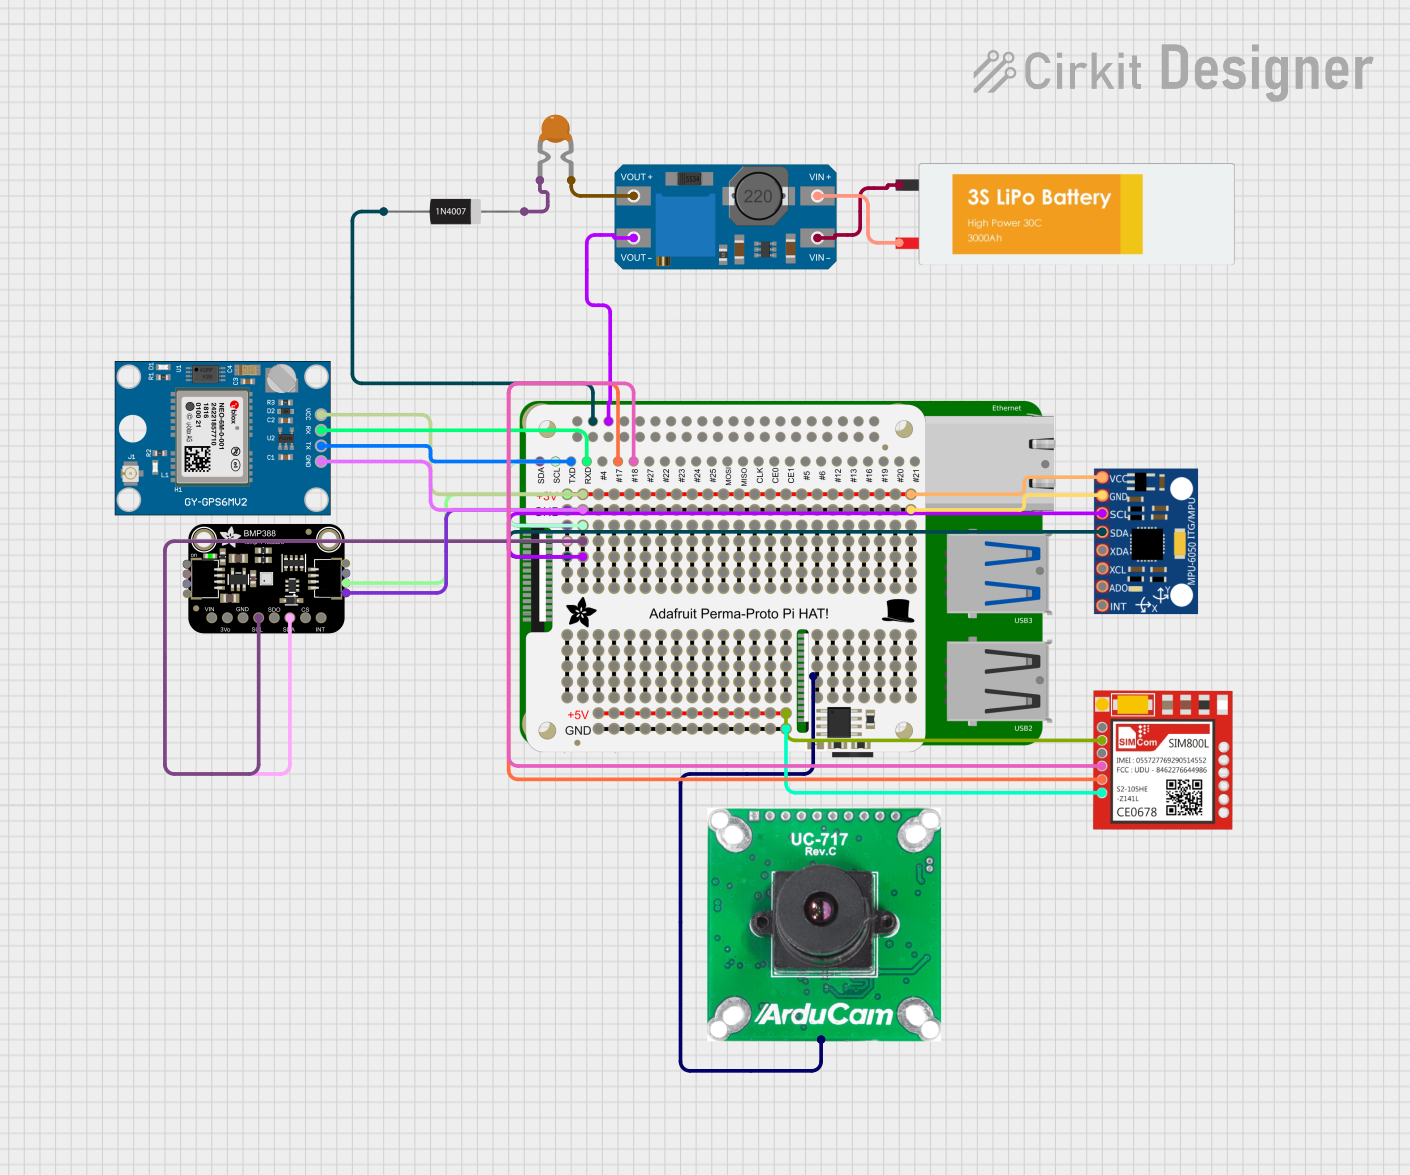 Open Project in Cirkit Designer
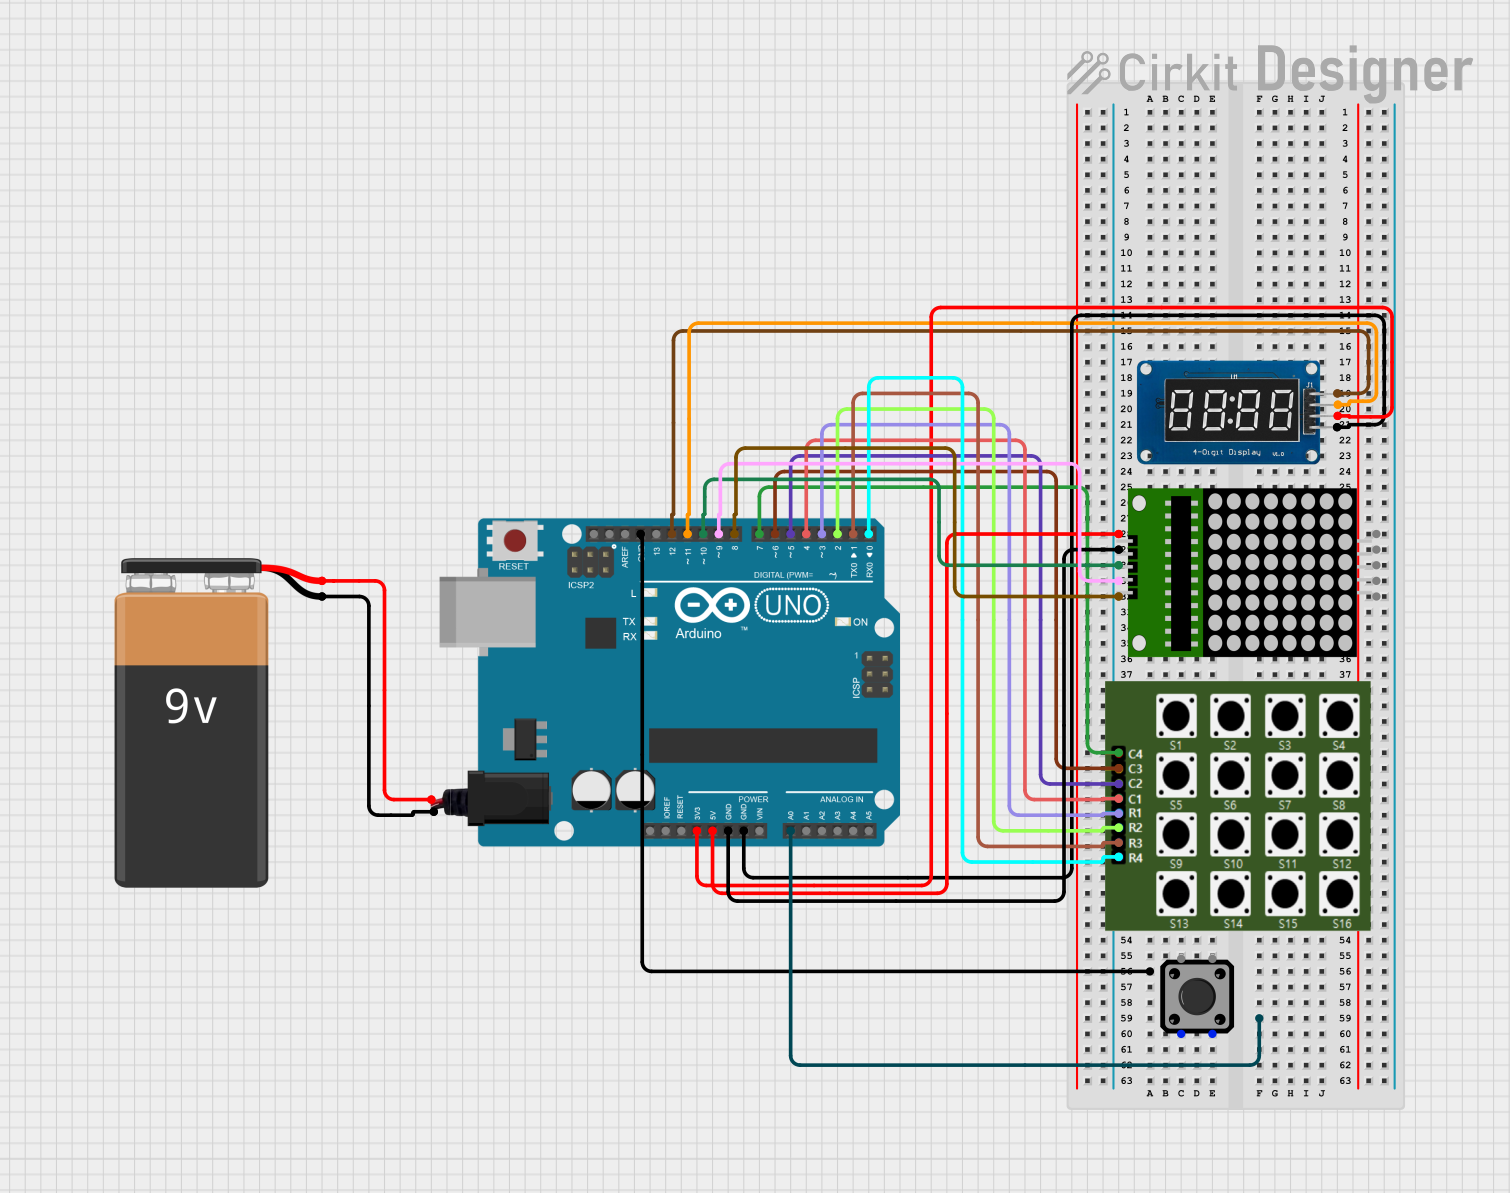 Open Project in Cirkit Designer
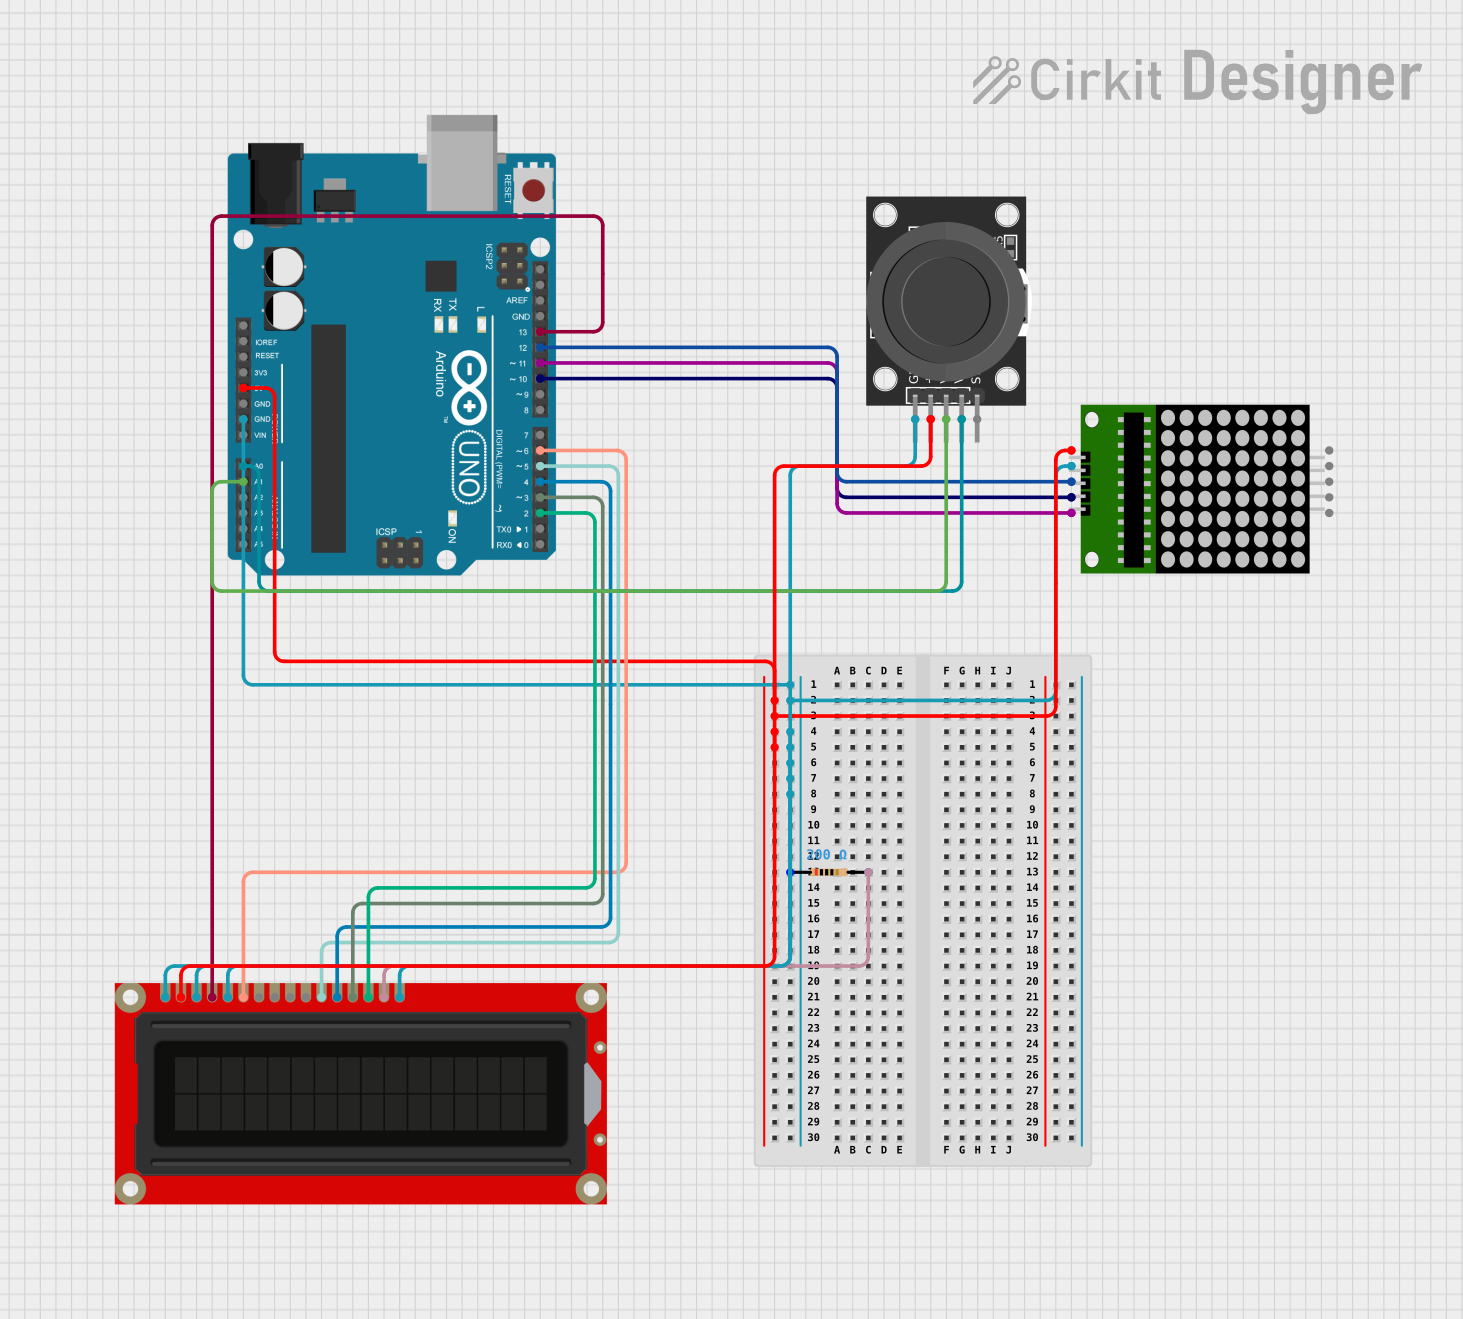 Open Project in Cirkit Designer
Explore Projects Built with 7X9 PERFBOARD
Open Project in Cirkit DesignerOpen Project in Cirkit DesignerOpen Project in Cirkit DesignerOpen Project in Cirkit DesignerCommon Applications and Use Cases
- Prototyping and testing electronic circuits
- DIY electronics projects
- Educational purposes for learning circuit design
- Small-scale production of custom circuits
- Repairing or modifying existing circuits
Technical Specifications
The ELEGOO 7x9 perfboard is designed to meet the needs of hobbyists and professionals alike. Below are its key technical details:
Key Specifications
| Parameter | Value |
|---|---|
| Dimensions | 7 cm x 9 cm |
| Hole Grid | 0.1-inch (2.54 mm) spacing |
| Material | FR4 (fiberglass-reinforced epoxy) |
| Hole Diameter | ~1 mm |
| Copper Layer Thickness | ~35 µm |
| Solder Mask | None |
| Compatibility | Through-hole components |
Pin Configuration and Descriptions
The 7x9 perfboard does not have predefined pins but features a grid of holes for mounting components. Below is a description of its layout:
| Section | Description |
|---|---|
| Grid Holes | 0.1-inch spaced holes for mounting components |
| Copper Pads | Individual pads around each hole for soldering |
| Board Edges | Smooth edges for safe handling |
Usage Instructions
How to Use the 7x9 Perfboard in a Circuit
- Plan Your Circuit Layout: Before soldering, sketch the circuit design on paper or use software to map out the placement of components.
- Insert Components: Place through-hole components (e.g., resistors, capacitors, ICs) into the perfboard holes according to your design.
- Solder Connections: Use a soldering iron to connect the component leads to the copper pads. Ensure clean and secure solder joints.
- Add Wires for Connections: Use insulated wires or jumper wires to connect components that are not directly adjacent.
- Test the Circuit: Once all components are soldered, test the circuit for functionality using a multimeter or power supply.
Important Considerations and Best Practices
- Avoid Overheating: Excessive heat during soldering can damage the copper pads or components.
- Use Flux: Apply flux to ensure clean and reliable solder joints.
- Trim Leads: After soldering, trim excess component leads to prevent short circuits.
- Label Connections: Use markers or labels to identify key connections for easier debugging.
- Secure the Board: Mount the perfboard on a non-conductive surface to prevent accidental shorts.
Example: Connecting to an Arduino UNO
The 7x9 perfboard can be used to create custom shields or circuits for an Arduino UNO. Below is an example of connecting an LED and resistor to an Arduino UNO using the perfboard:
Circuit Diagram
- Components: 1 LED, 1 resistor (220Ω), jumper wires
- Connections:
- LED anode to Arduino digital pin 13
- LED cathode to resistor, and resistor to Arduino GND
Arduino Code
// Simple LED Blink Example
// This code blinks an LED connected to pin 13 of the Arduino UNO.

void setup() {
  pinMode(13, OUTPUT); // Set pin 13 as an output pin
}

void loop() {
  digitalWrite(13, HIGH); // Turn the LED on
  delay(1000);            // Wait for 1 second
  digitalWrite(13, LOW);  // Turn the LED off
  delay(1000);            // Wait for 1 second
}
Troubleshooting and FAQs
Common Issues and Solutions
| Issue | Possible Cause | Solution |
|---|---|---|
| Components not working | Poor solder joints | Re-solder connections with clean joints |
| Short circuits | Excess solder bridging adjacent pads | Remove excess solder using a desoldering tool |
| Circuit not functioning as expected | Incorrect wiring or connections | Double-check the circuit layout and connections |
| Copper pads lifting off | Excessive heat during soldering | Use a lower soldering temperature and minimize heat exposure |
FAQs
Q: Can I reuse the 7x9 perfboard after soldering?
A: While it is possible to desolder components and reuse the perfboard, repeated soldering may damage the copper pads or weaken the board.
Q: Is the perfboard compatible with surface-mount components?
A: The 7x9 perfboard is primarily designed for through-hole components. However, with careful soldering, some surface-mount components can be adapted for use.
Q: How do I clean the perfboard after soldering?
A: Use isopropyl alcohol and a soft brush to remove flux residue and keep the board clean.
Q: Can I cut the perfboard to a smaller size?
A: Yes, the perfboard can be cut using a hacksaw or rotary tool. Be sure to smooth the edges after cutting.
This documentation provides a comprehensive guide to using the ELEGOO 7x9 perfboard effectively for your electronic projects.