
How to Use Beetle esp32-c6 : Examples, Pinouts, and Specs
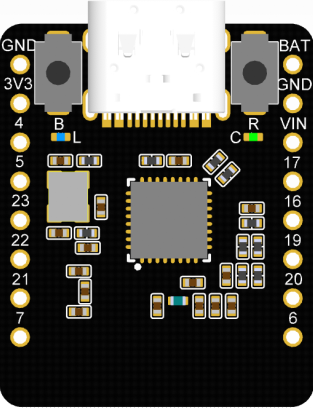
 Design with Beetle esp32-c6 in Cirkit Designer
Introduction
The Beetle ESP32-C6, manufactured by DFRobot, is a compact microcontroller board powered by the ESP32-C6 chip. This board integrates Wi-Fi 6, Bluetooth 5.0, and IEEE 802.15.4 (Zigbee/Thread) capabilities, making it a versatile choice for IoT applications. Its small form factor, low power consumption, and high performance make it ideal for embedded projects such as smart home devices, wearable electronics, and industrial IoT systems.
Explore Projects Built with Beetle esp32-c6
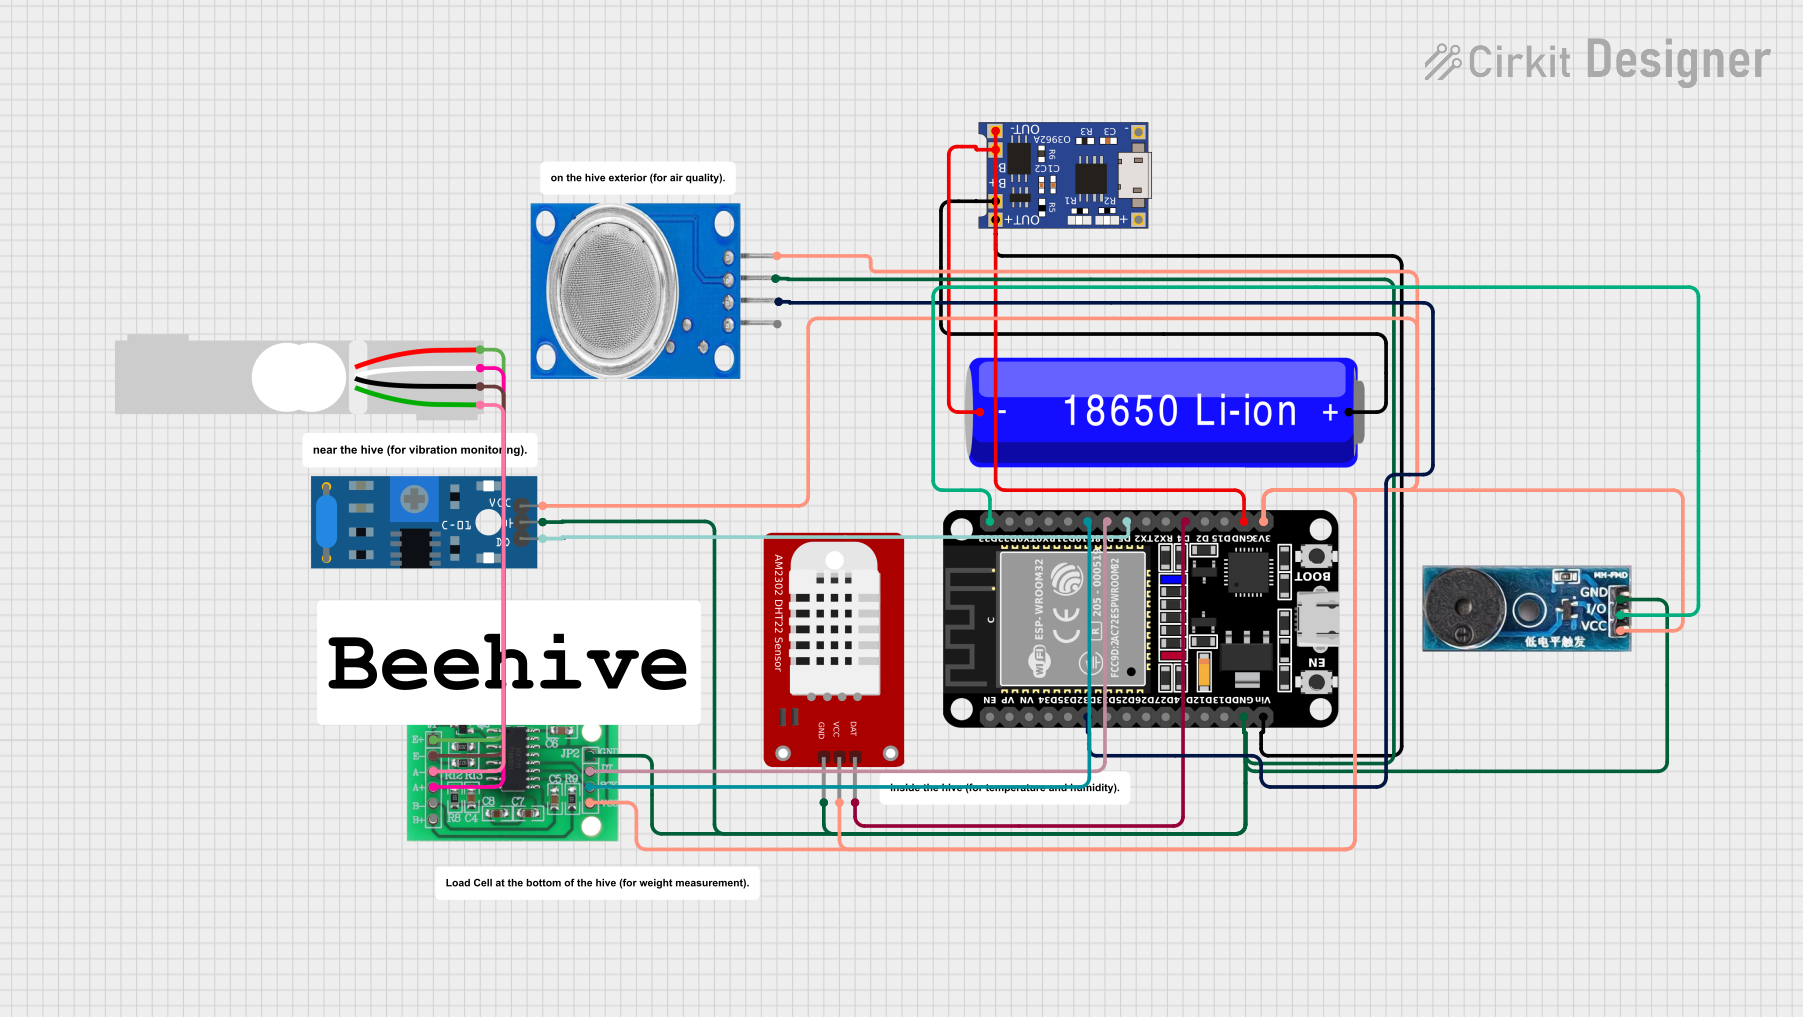
 Open Project in Cirkit Designer
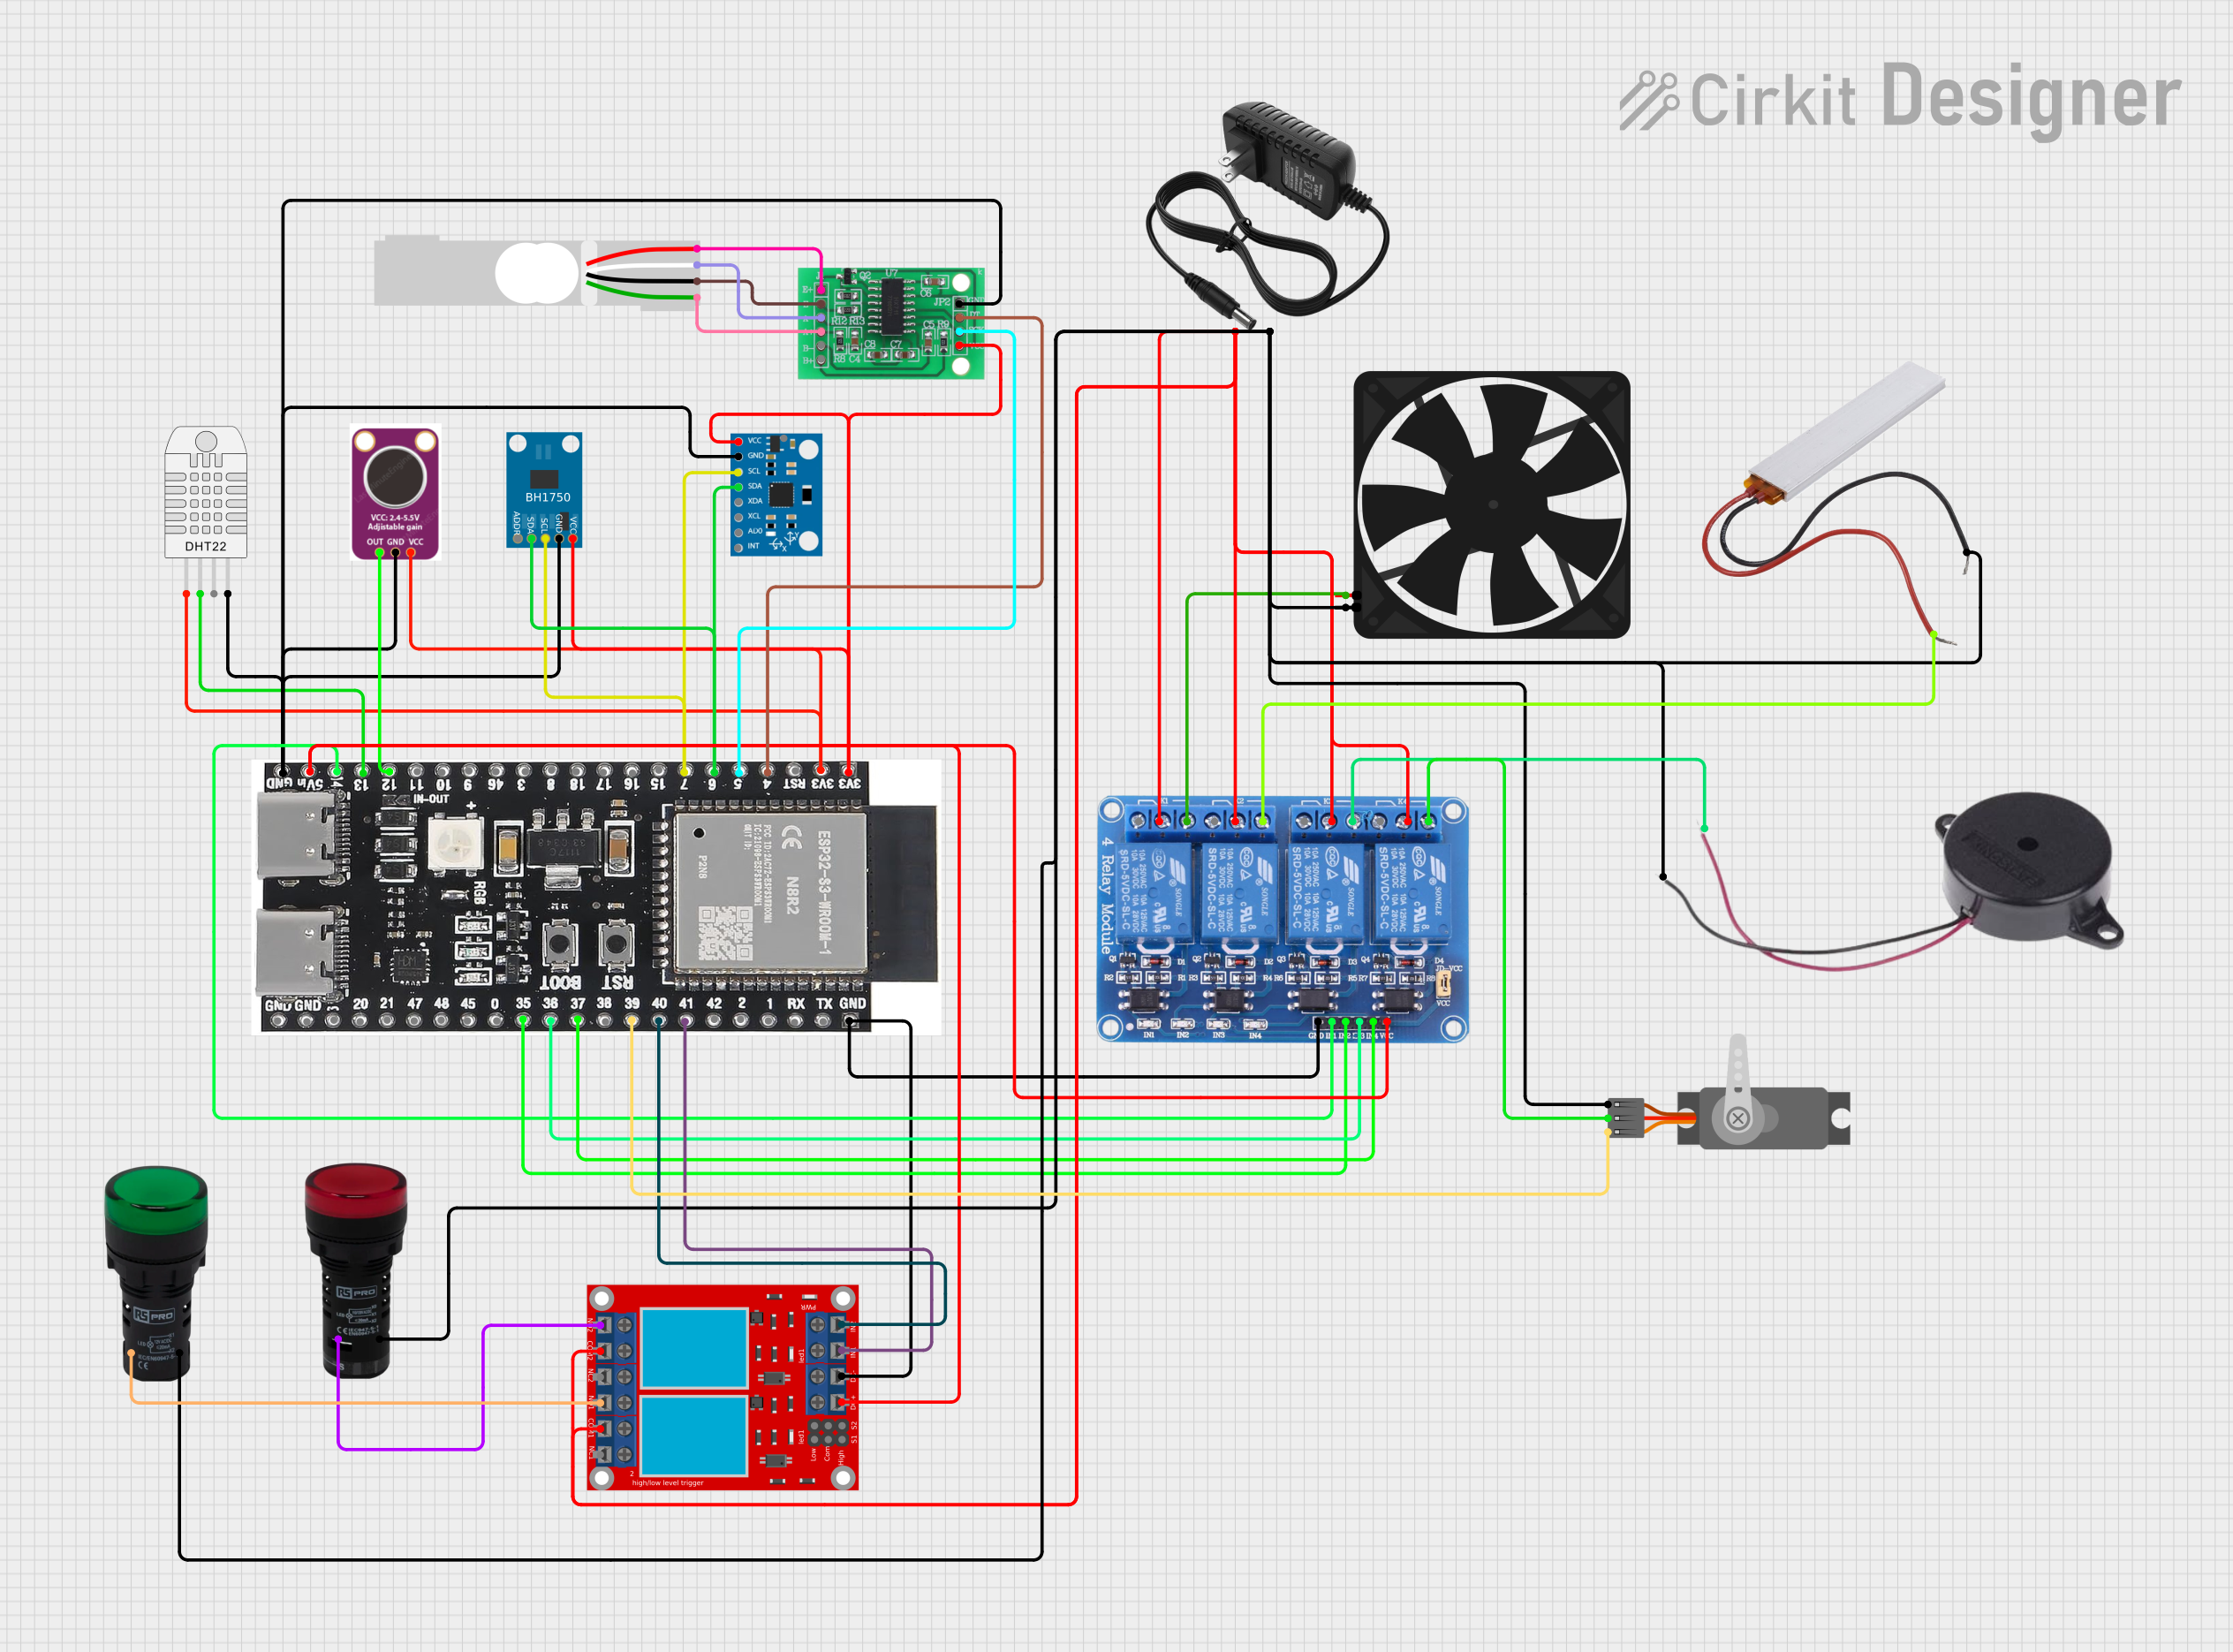
 Open Project in Cirkit Designer
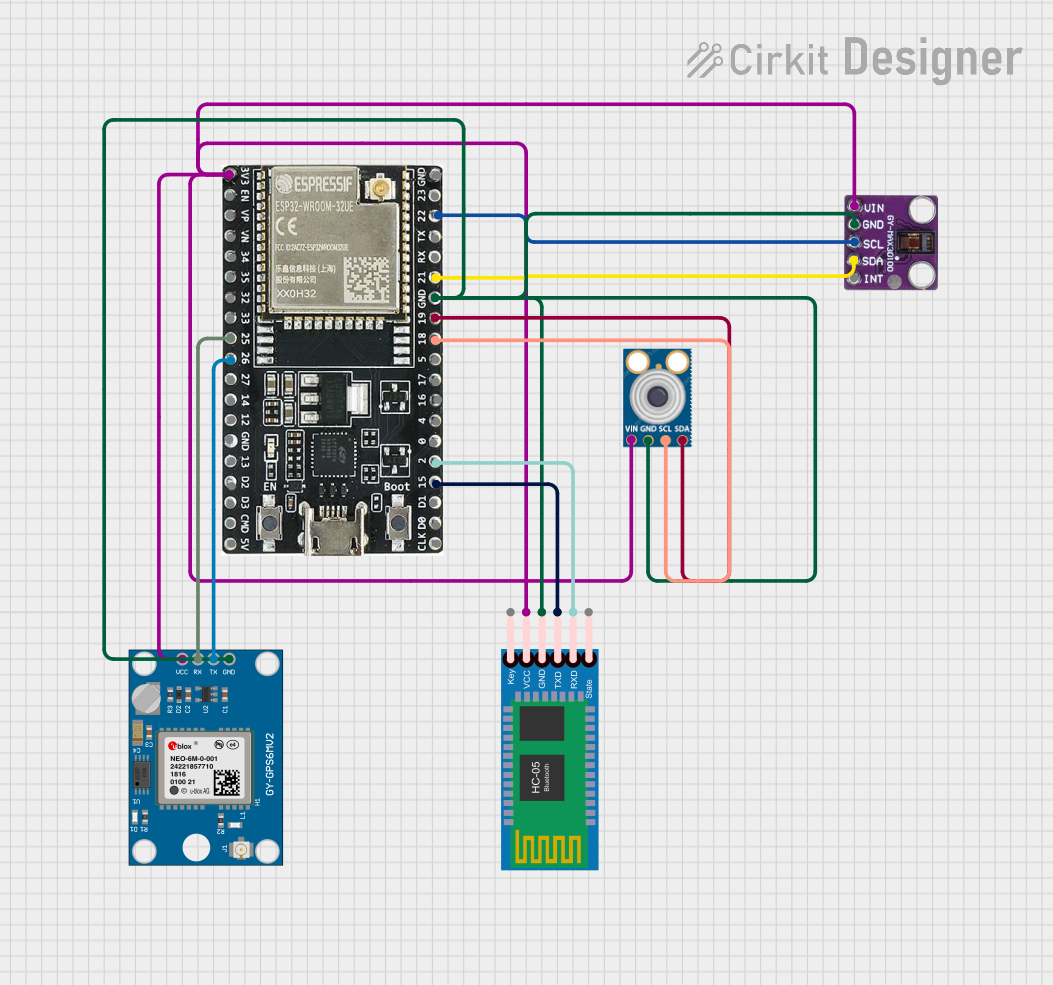
 Open Project in Cirkit Designer
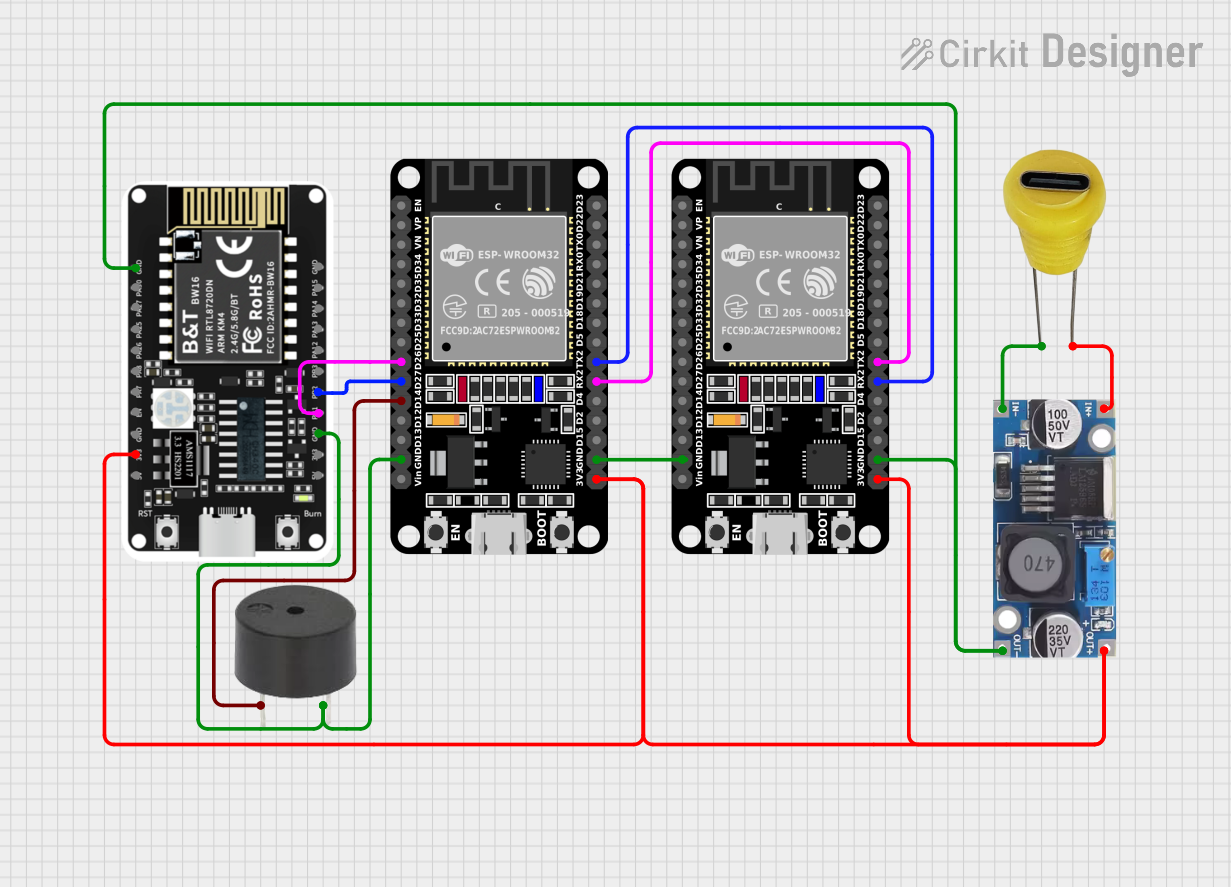
 Open Project in Cirkit Designer
Explore Projects Built with Beetle esp32-c6

 Open Project in Cirkit Designer
 Open Project in Cirkit Designer
 Open Project in Cirkit Designer
 Open Project in Cirkit Designer
Common Applications and Use Cases
- Smart home automation (e.g., lighting, HVAC control)
- Wearable devices and health monitoring systems
- Industrial IoT (e.g., sensor networks, machine monitoring)
- Wireless communication hubs (Wi-Fi, Bluetooth, Zigbee/Thread)
- Robotics and DIY electronics projects
Technical Specifications
The Beetle ESP32-C6 is built around the ESP32-C6 chip, which offers advanced wireless communication and processing capabilities. Below are the key technical details:
Key Specifications
| Parameter | Value |
|---|---|
| Microcontroller | ESP32-C6 |
| Wireless Connectivity | Wi-Fi 6, Bluetooth 5.0, IEEE 802.15.4 |
| Operating Voltage | 3.3V |
| Input Voltage Range | 5V (via USB-C) |
| Flash Memory | 4MB |
| SRAM | 512KB |
| GPIO Pins | 10 (including multifunctional pins) |
| Communication Interfaces | UART, I2C, SPI, PWM |
| Dimensions | 22mm x 20mm |
| Power Consumption | Ultra-low power modes supported |
Pin Configuration and Descriptions
The Beetle ESP32-C6 features a compact pinout with multifunctional GPIOs. Below is the pin configuration:
| Pin Number | Pin Name | Functionality |
|---|---|---|
| 1 | GND | Ground |
| 2 | 3V3 | 3.3V Power Output |
| 3 | GPIO0 | General Purpose I/O, Boot Mode Selection |
| 4 | GPIO1 | General Purpose I/O, UART TX |
| 5 | GPIO2 | General Purpose I/O, UART RX |
| 6 | GPIO3 | General Purpose I/O, I2C SDA |
| 7 | GPIO4 | General Purpose I/O, I2C SCL |
| 8 | GPIO5 | General Purpose I/O, SPI MOSI |
| 9 | GPIO6 | General Purpose I/O, SPI MISO |
| 10 | GPIO7 | General Purpose I/O, SPI SCK |
| 11 | RST | Reset Pin |
| 12 | USB-C | USB-C Port for Power and Programming |
Usage Instructions
The Beetle ESP32-C6 is designed for ease of use in IoT and embedded projects. Below are the steps and best practices for using the board:
How to Use the Component in a Circuit
Powering the Board:
- Connect the Beetle ESP32-C6 to a 5V power source using the USB-C port.
- Alternatively, supply 3.3V directly to the 3V3 pin for low-power applications.
Programming the Board:
- Use the Arduino IDE or ESP-IDF (Espressif IoT Development Framework) to program the board.
- Install the necessary ESP32-C6 board support package in the Arduino IDE.
- Connect the board to your computer via USB-C and select the appropriate COM port.
Connecting Peripherals:
- Use the GPIO pins to connect sensors, actuators, or other peripherals.
- Ensure that the voltage levels of connected devices are compatible with the 3.3V logic of the board.
Wireless Communication:
- Configure Wi-Fi, Bluetooth, or Zigbee/Thread communication using the ESP32-C6 libraries.
- Use the provided APIs to establish connections and exchange data.
Important Considerations and Best Practices
- Avoid supplying voltages higher than 3.3V to the GPIO pins to prevent damage to the board.
- Use pull-up or pull-down resistors as needed for stable GPIO operation.
- When using Wi-Fi or Bluetooth, ensure that the antenna area is not obstructed for optimal signal strength.
- For low-power applications, utilize the deep sleep modes provided by the ESP32-C6.
Example Code for Arduino UNO Integration
Below is an example of how to use the Beetle ESP32-C6 with the Arduino IDE to connect to a Wi-Fi network:
#include <WiFi.h> // Include the Wi-Fi library for ESP32

// Replace with your network credentials
const char* ssid = "Your_SSID";
const char* password = "Your_PASSWORD";

void setup() {
  Serial.begin(115200); // Initialize serial communication
  delay(1000); // Wait for serial monitor to initialize

  Serial.println("Connecting to Wi-Fi...");
  WiFi.begin(ssid, password); // Start Wi-Fi connection

  // Wait until the board connects to Wi-Fi
  while (WiFi.status() != WL_CONNECTED) {
    delay(500);
    Serial.print(".");
  }

  Serial.println("\nConnected to Wi-Fi!");
  Serial.print("IP Address: ");
  Serial.println(WiFi.localIP()); // Print the board's IP address
}

void loop() {
  // Add your main code here
}
Troubleshooting and FAQs
Common Issues and Solutions
The board is not detected by the computer:
- Ensure that the USB-C cable supports data transfer (not just charging).
- Check if the correct drivers for the ESP32-C6 are installed on your computer.
Wi-Fi connection fails:
- Verify that the SSID and password are correct.
- Ensure that the Wi-Fi network is within range and not using unsupported security protocols.
GPIO pins are not functioning as expected:
- Check for conflicting pin assignments in your code.
- Ensure that the connected peripherals are compatible with the 3.3V logic level.
The board overheats:
- Avoid overloading the GPIO pins with excessive current.
- Ensure proper ventilation and avoid placing the board in enclosed spaces.
FAQs
Q: Can the Beetle ESP32-C6 be powered by a battery?
A: Yes, you can power the board using a 3.7V LiPo battery connected to the 3V3 pin, but ensure proper voltage regulation.
Q: Does the board support OTA (Over-the-Air) updates?
A: Yes, the ESP32-C6 supports OTA updates, which can be implemented using the appropriate libraries.
Q: Can I use the Beetle ESP32-C6 with Zigbee devices?
A: Yes, the board supports Zigbee/Thread communication via the IEEE 802.15.4 protocol.
Q: What is the maximum range of the Wi-Fi and Bluetooth connections?
A: The range depends on environmental factors, but typically Wi-Fi can reach up to 50m indoors and Bluetooth up to 10m.
This concludes the documentation for the Beetle ESP32-C6. For further assistance, refer to the DFRobot official resources or community forums.