How to Use Thermal Printer: Examples, Pinouts, and Specs

Introduction
A thermal printer is a compact and efficient printing device that uses heat to transfer ink onto specially coated thermal paper. Unlike traditional printers, it does not require ink cartridges or ribbons, making it a low-maintenance and cost-effective solution. Thermal printers are widely used in applications such as receipt printing, label generation, ticketing, and portable printing solutions.
The ESP32 thermal printer module is a versatile and reliable component designed for seamless integration with microcontrollers, including the ESP32 and Arduino platforms. Its compact design and ease of use make it ideal for embedded systems and IoT applications.
Explore Projects Built with Thermal Printer

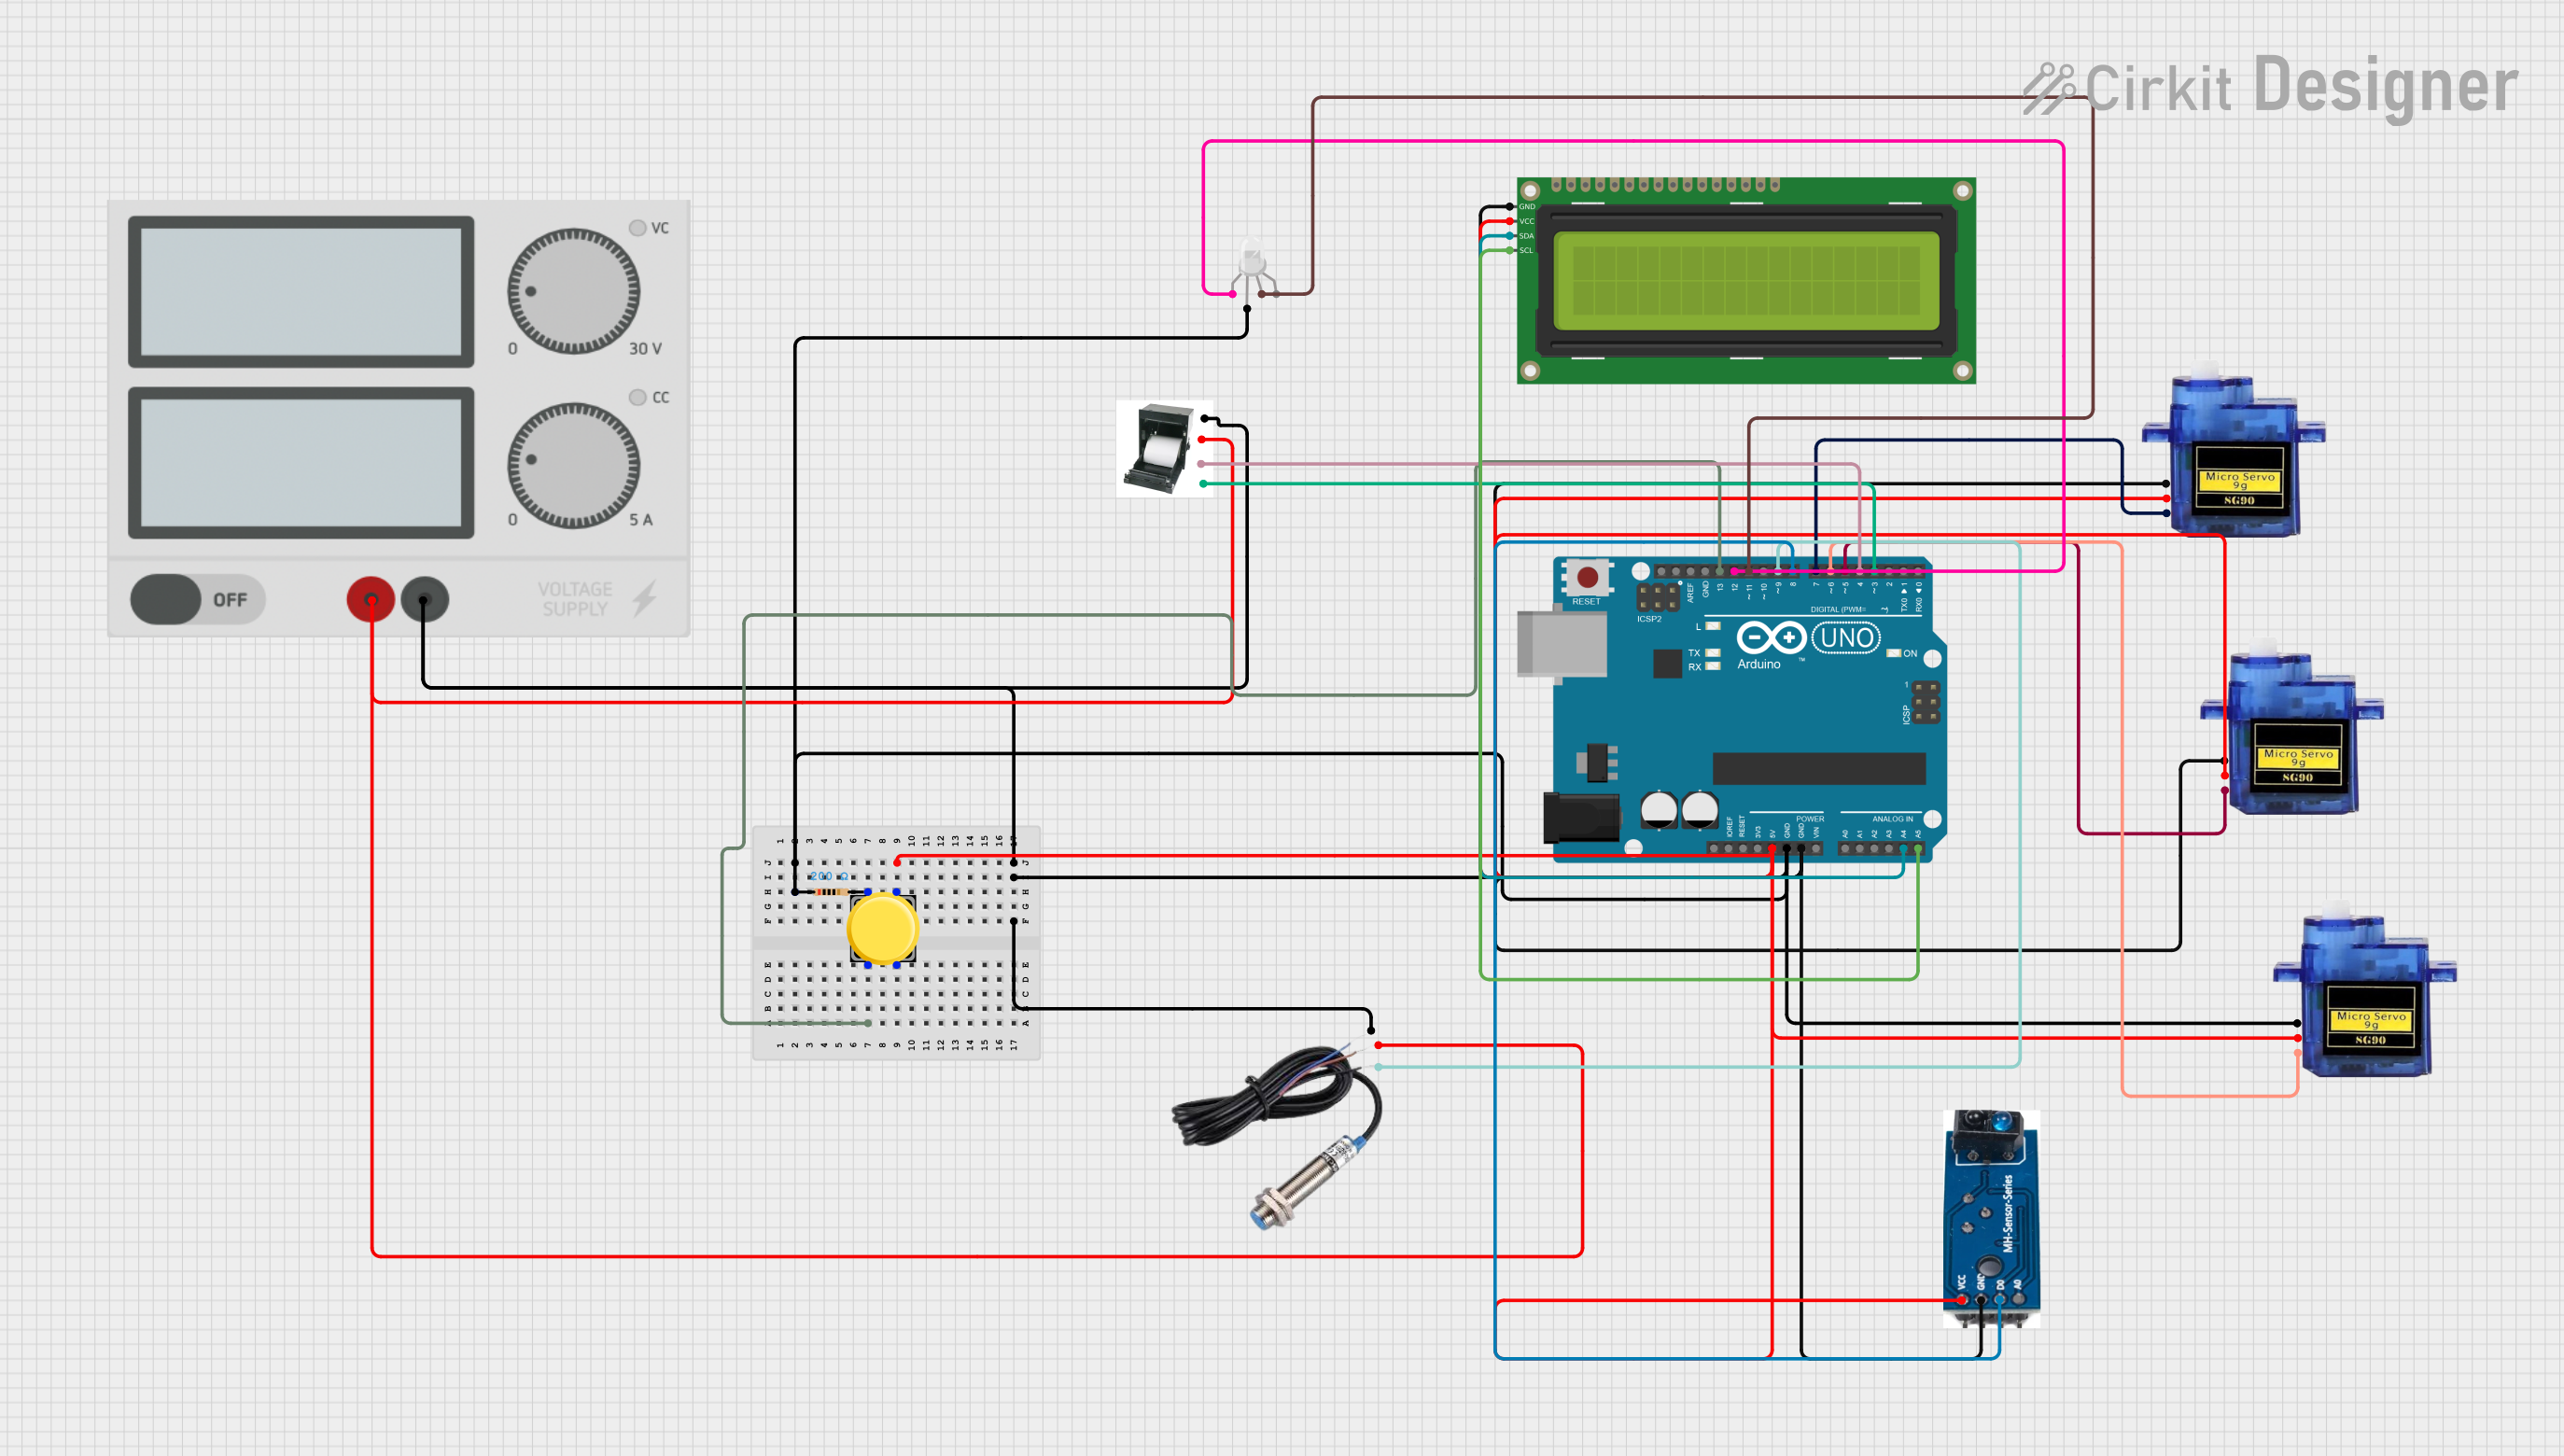

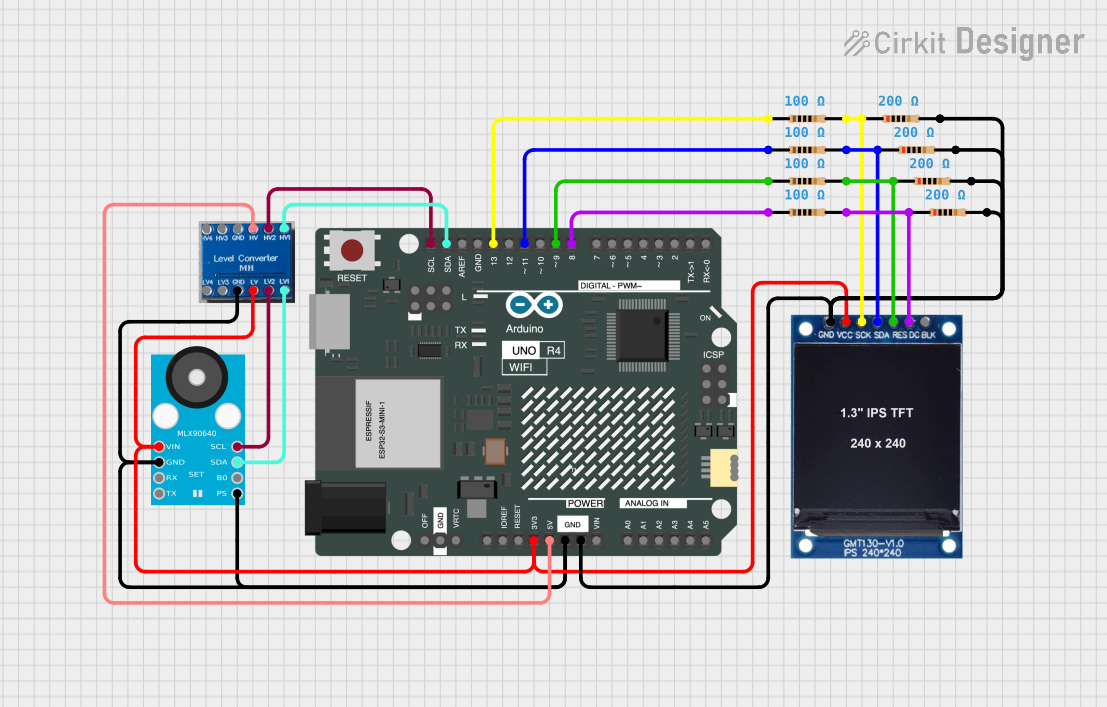
Explore Projects Built with Thermal Printer
Technical Specifications
Below are the key technical details and pin configuration for the ESP32 thermal printer module:
Key Technical Details
| Parameter | Value |
|---|---|
| Operating Voltage | 5V DC |
| Operating Current | 1.5A (peak), 0.5A (average) |
| Communication Interface | UART (TX, RX) |
| Printing Speed | 50-80mm/s |
| Paper Width | 58mm |
| Paper Type | Thermal paper |
| Resolution | 8 dots/mm (203 dpi) |
| Operating Temperature | 0°C to 50°C |
| Storage Temperature | -20°C to 60°C |
Pin Configuration and Descriptions
| Pin Name | Pin Number | Description |
|---|---|---|
| VCC | 1 | Power supply input (5V DC). |
| GND | 2 | Ground connection. |
| TX | 3 | UART transmit pin for data communication. |
| RX | 4 | UART receive pin for data communication. |
| NC | 5 | Not connected (reserved for future use). |
Usage Instructions
How to Use the Component in a Circuit
- Power Supply: Connect the VCC pin to a stable 5V DC power source and the GND pin to the ground of your circuit.
- Data Communication: Use the TX and RX pins to establish UART communication with your microcontroller (e.g., ESP32 or Arduino UNO).
- Thermal Paper: Load 58mm thermal paper into the printer. Ensure the paper is properly aligned to avoid jamming.
- Driver Library: Install the appropriate driver library for your microcontroller. For Arduino, you can use the
Adafruit_Thermallibrary.
Important Considerations and Best Practices
- Power Supply: Ensure the power supply can handle the peak current of 1.5A to avoid voltage drops during printing.
- Paper Quality: Use high-quality thermal paper to ensure clear and durable prints.
- Cooling Time: Allow the printer to cool down after extended use to prevent overheating.
- Baud Rate: Configure the UART baud rate to match the printer's default setting (usually 9600 bps).
Example Code for Arduino UNO
Below is an example code snippet to print text using the thermal printer with an Arduino UNO:
#include "Adafruit_Thermal.h"
#include "SoftwareSerial.h"

// Define RX and TX pins for SoftwareSerial
#define TX_PIN 6  // Connect to printer RX
#define RX_PIN 5  // Connect to printer TX

// Initialize SoftwareSerial and Thermal Printer
SoftwareSerial mySerial(RX_PIN, TX_PIN);
Adafruit_Thermal printer(&mySerial);

void setup() {
  // Start serial communication with the printer
  mySerial.begin(9600);  // Default baud rate for the printer
  printer.begin();       // Initialize the printer

  // Print a test message
  printer.println("Hello, World!");
  printer.println("Thermal Printer Test");
  printer.feed(2);  // Feed paper by 2 lines
}

void loop() {
  // No actions in the loop
}
Notes:
- Ensure the RX and TX pins are correctly connected between the Arduino and the printer.
- Use a separate power supply for the printer if the Arduino cannot provide sufficient current.
Troubleshooting and FAQs
Common Issues and Solutions
Printer Not Responding:
- Cause: Incorrect wiring or baud rate mismatch.
- Solution: Double-check the connections and ensure the UART baud rate matches the printer's default setting.
Faint or Incomplete Prints:
- Cause: Low-quality thermal paper or insufficient power supply.
- Solution: Use high-quality thermal paper and ensure the power supply can handle the peak current.
Paper Jams:
- Cause: Misaligned or improperly loaded paper.
- Solution: Reload the paper, ensuring it is properly aligned and free of creases.
Overheating:
- Cause: Continuous printing without cooling time.
- Solution: Allow the printer to cool down after extended use.
FAQs
Q: Can I use this printer with an ESP32?
- A: Yes, the printer is fully compatible with the ESP32. Use the UART pins for communication.
Q: What type of paper should I use?
- A: Use 58mm thermal paper with a thickness of 60-80µm for optimal results.
Q: How do I adjust the printing speed?
- A: The printing speed is fixed, but you can optimize the data sent to the printer to improve performance.
Q: Can I print images with this printer?
- A: Yes, you can print simple black-and-white images using the appropriate library functions.
By following this documentation, you can effectively integrate and use the ESP32 thermal printer in your projects.