How to Use METAL TOUCH : Examples, Pinouts, and Specs

Introduction
The Metal Touch Sensor (Manufacturer: E, Part ID: 01100101060406) is a versatile electronic component designed to detect the presence of a conductive object. This sensor is commonly used in touch-sensitive applications, such as touch lamps, touch screens, and interactive displays. Its ability to sense the presence of a human touch or any conductive material makes it an essential component in modern electronic designs.
Explore Projects Built with METAL TOUCH
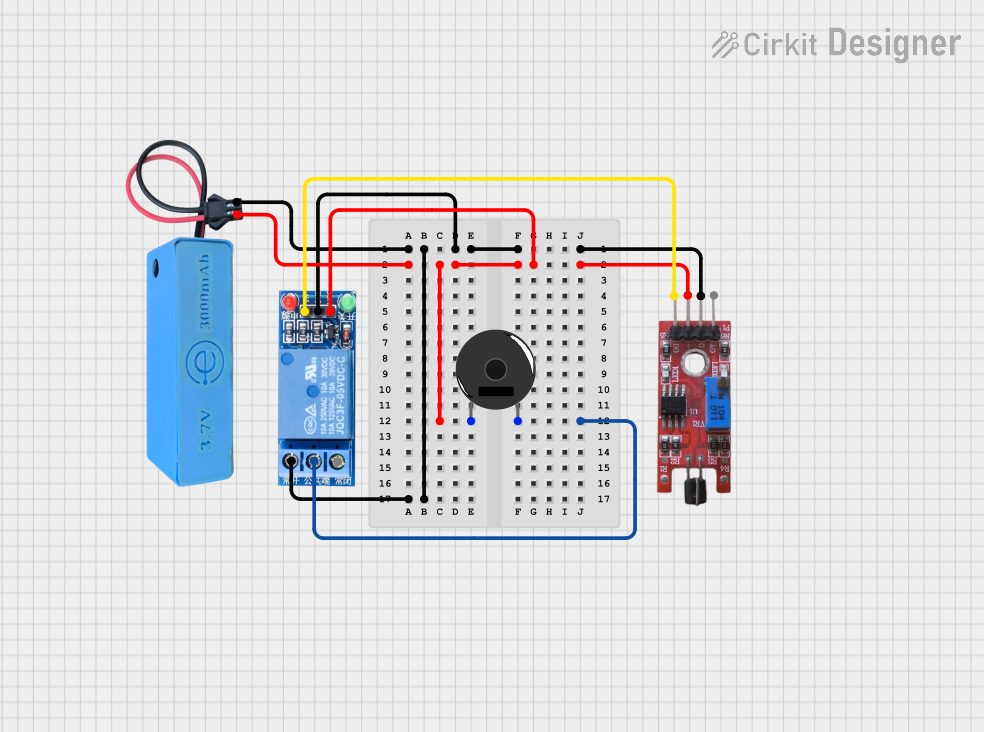
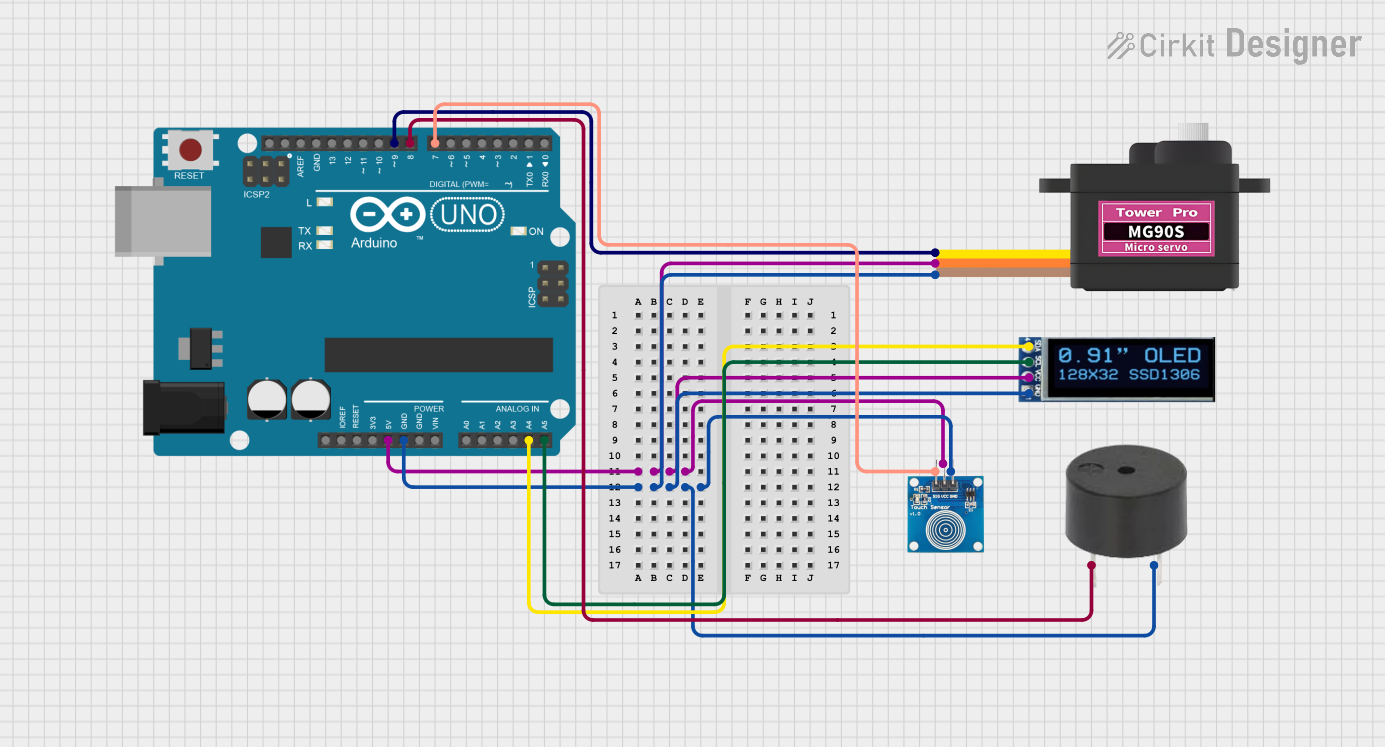
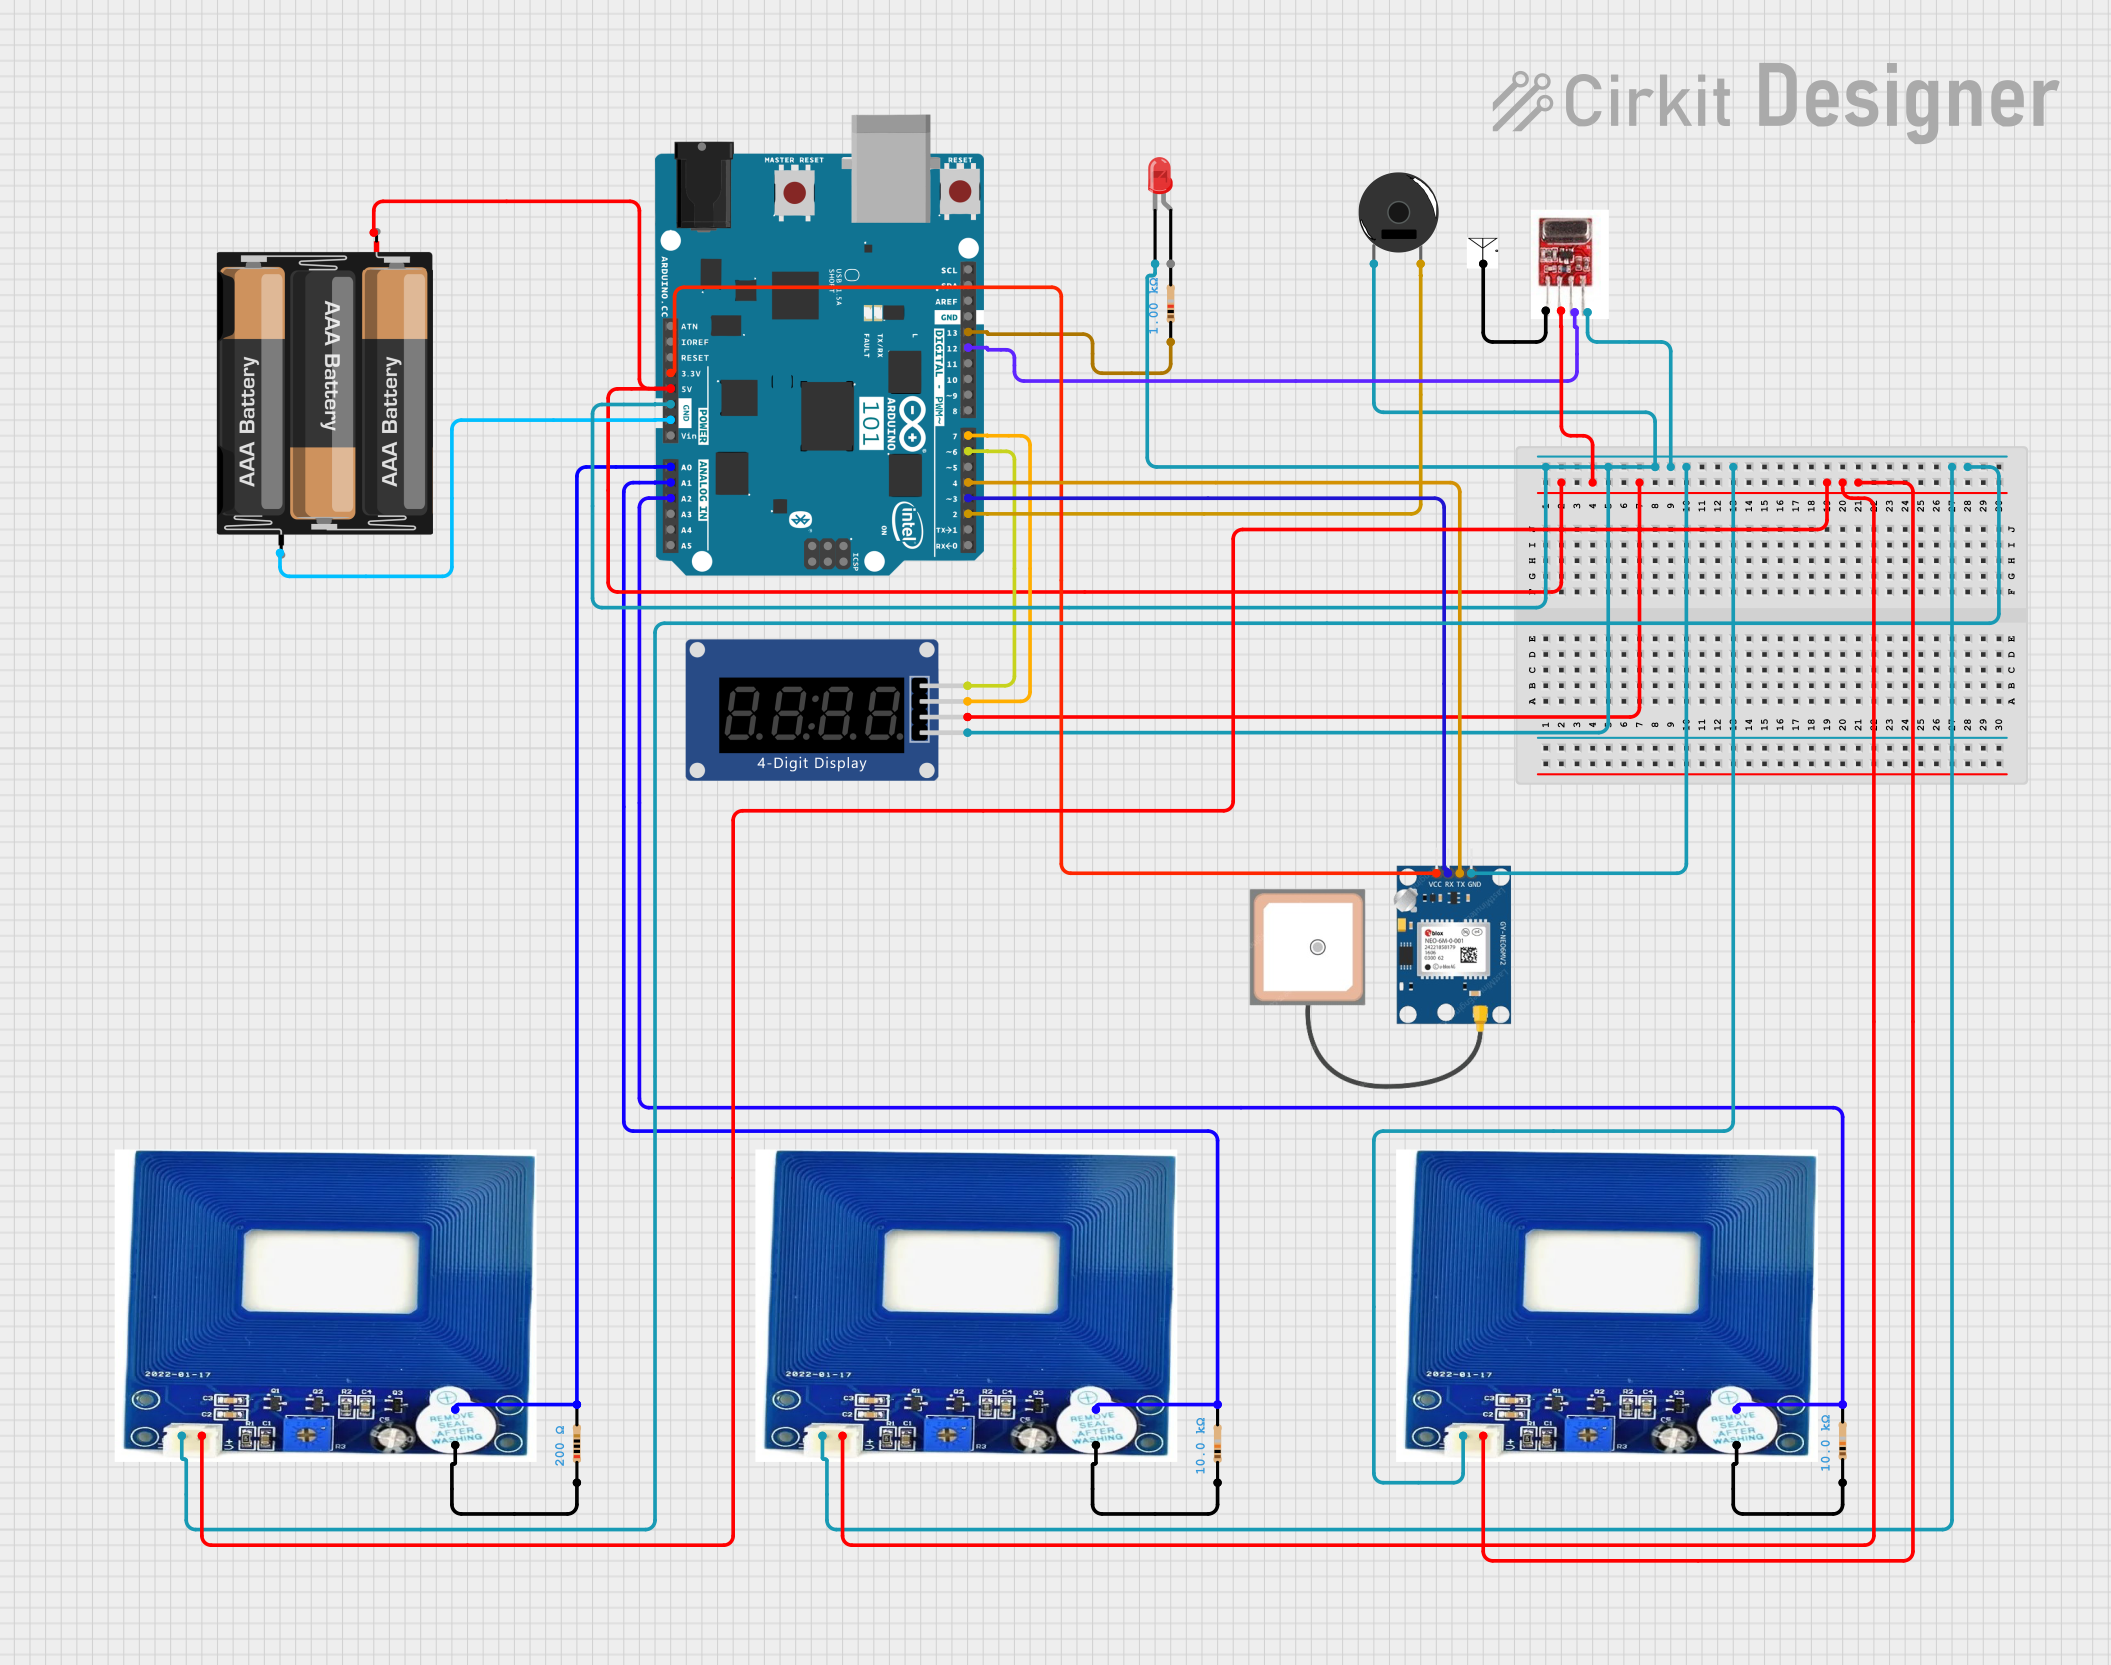
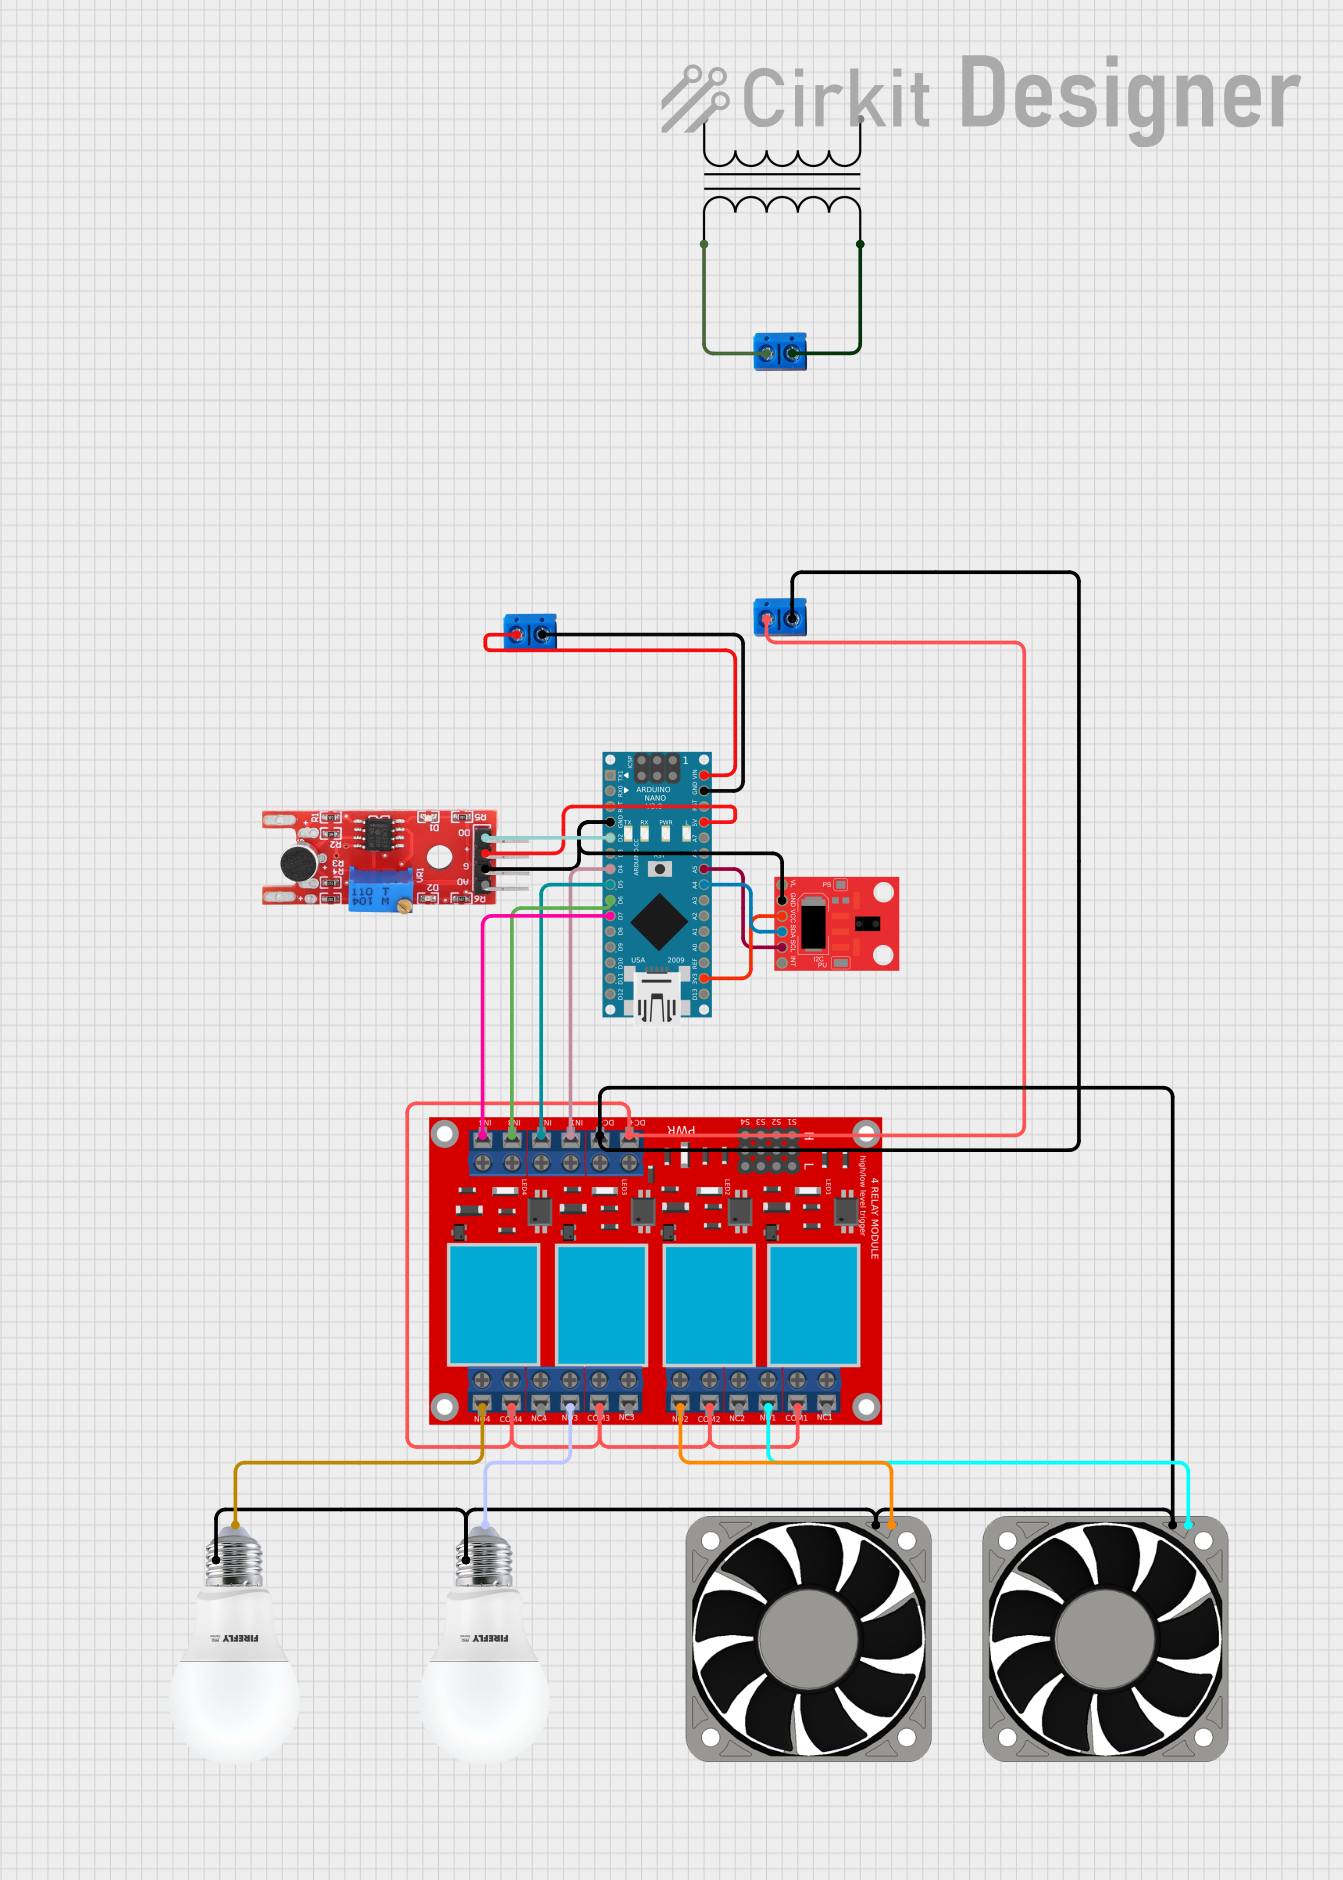
Explore Projects Built with METAL TOUCH
Technical Specifications
Key Technical Details
| Parameter | Value |
|---|---|
| Operating Voltage | 3.3V - 5V |
| Operating Current | < 10mA |
| Output Type | Digital (High/Low) |
| Response Time | < 60ms |
| Operating Temperature | -20°C to 70°C |
| Dimensions | 20mm x 15mm x 5mm |
Pin Configuration and Descriptions
| Pin No. | Pin Name | Description |
|---|---|---|
| 1 | VCC | Power supply (3.3V - 5V) |
| 2 | GND | Ground |
| 3 | OUT | Digital output (High when touch is detected) |
Usage Instructions
How to Use the Component in a Circuit
- Power Supply: Connect the VCC pin to a 3.3V or 5V power supply.
- Ground Connection: Connect the GND pin to the ground of the circuit.
- Output Signal: Connect the OUT pin to a digital input pin of a microcontroller (e.g., Arduino UNO).
Example Circuit Diagram
+5V (Arduino) ----> VCC (Metal Touch Sensor)
GND (Arduino) ----> GND (Metal Touch Sensor)
Digital Pin 2 (Arduino) ----> OUT (Metal Touch Sensor)
Important Considerations and Best Practices
- Ensure that the power supply voltage is within the specified range (3.3V - 5V).
- Avoid placing the sensor in environments with high humidity or extreme temperatures.
- Use proper debouncing techniques in your code to avoid false triggers.
Sample Arduino Code
// Metal Touch Sensor Example Code
// Connect the sensor's OUT pin to Arduino digital pin 2

const int touchPin = 2; // Pin connected to the sensor's OUT pin
const int ledPin = 13;  // Pin connected to the onboard LED

void setup() {
  pinMode(touchPin, INPUT); // Set touchPin as input
  pinMode(ledPin, OUTPUT);  // Set ledPin as output
  Serial.begin(9600);       // Initialize serial communication
}

void loop() {
  int touchState = digitalRead(touchPin); // Read the state of the sensor

  if (touchState == HIGH) {
    digitalWrite(ledPin, HIGH); // Turn on the LED if touch is detected
    Serial.println("Touch detected!");
  } else {
    digitalWrite(ledPin, LOW);  // Turn off the LED if no touch is detected
    Serial.println("No touch detected.");
  }

  delay(100); // Small delay to avoid serial flooding
}
Troubleshooting and FAQs
Common Issues Users Might Face
False Triggers: The sensor might detect a touch even when there is none.
- Solution: Implement software debouncing in your code to filter out noise.
No Detection: The sensor does not detect touch.
- Solution: Ensure that the power supply voltage is correct and all connections are secure.
Intermittent Detection: The sensor detects touch intermittently.
- Solution: Check for loose connections and ensure the sensor is not exposed to high humidity or extreme temperatures.
Solutions and Tips for Troubleshooting
- Check Connections: Ensure all connections are secure and correct.
- Power Supply: Verify that the power supply voltage is within the specified range.
- Environmental Factors: Avoid using the sensor in environments with high humidity or extreme temperatures.
- Code Debugging: Use serial print statements to debug and understand the sensor's behavior.
By following this documentation, users can effectively integrate the Metal Touch Sensor into their projects, ensuring reliable and accurate touch detection.