The SMPS PSU 12V 10A is a Switch Mode Power Supply designed to convert AC mains voltage into a stable 12V DC output with a maximum current capacity of 10A. This component is highly efficient and compact, making it ideal for powering a wide range of electronic devices, including LED strips, CCTV cameras, single-board computers, and other 12V DC-powered systems. Its robust design ensures reliable operation in both industrial and hobbyist applications.
Explore Projects Built with SMPS PSU 12V 10A
Use Cirkit Designer to design, explore, and prototype these projects online. Some projects support real-time simulation. Click "Open Project" to start designing instantly!
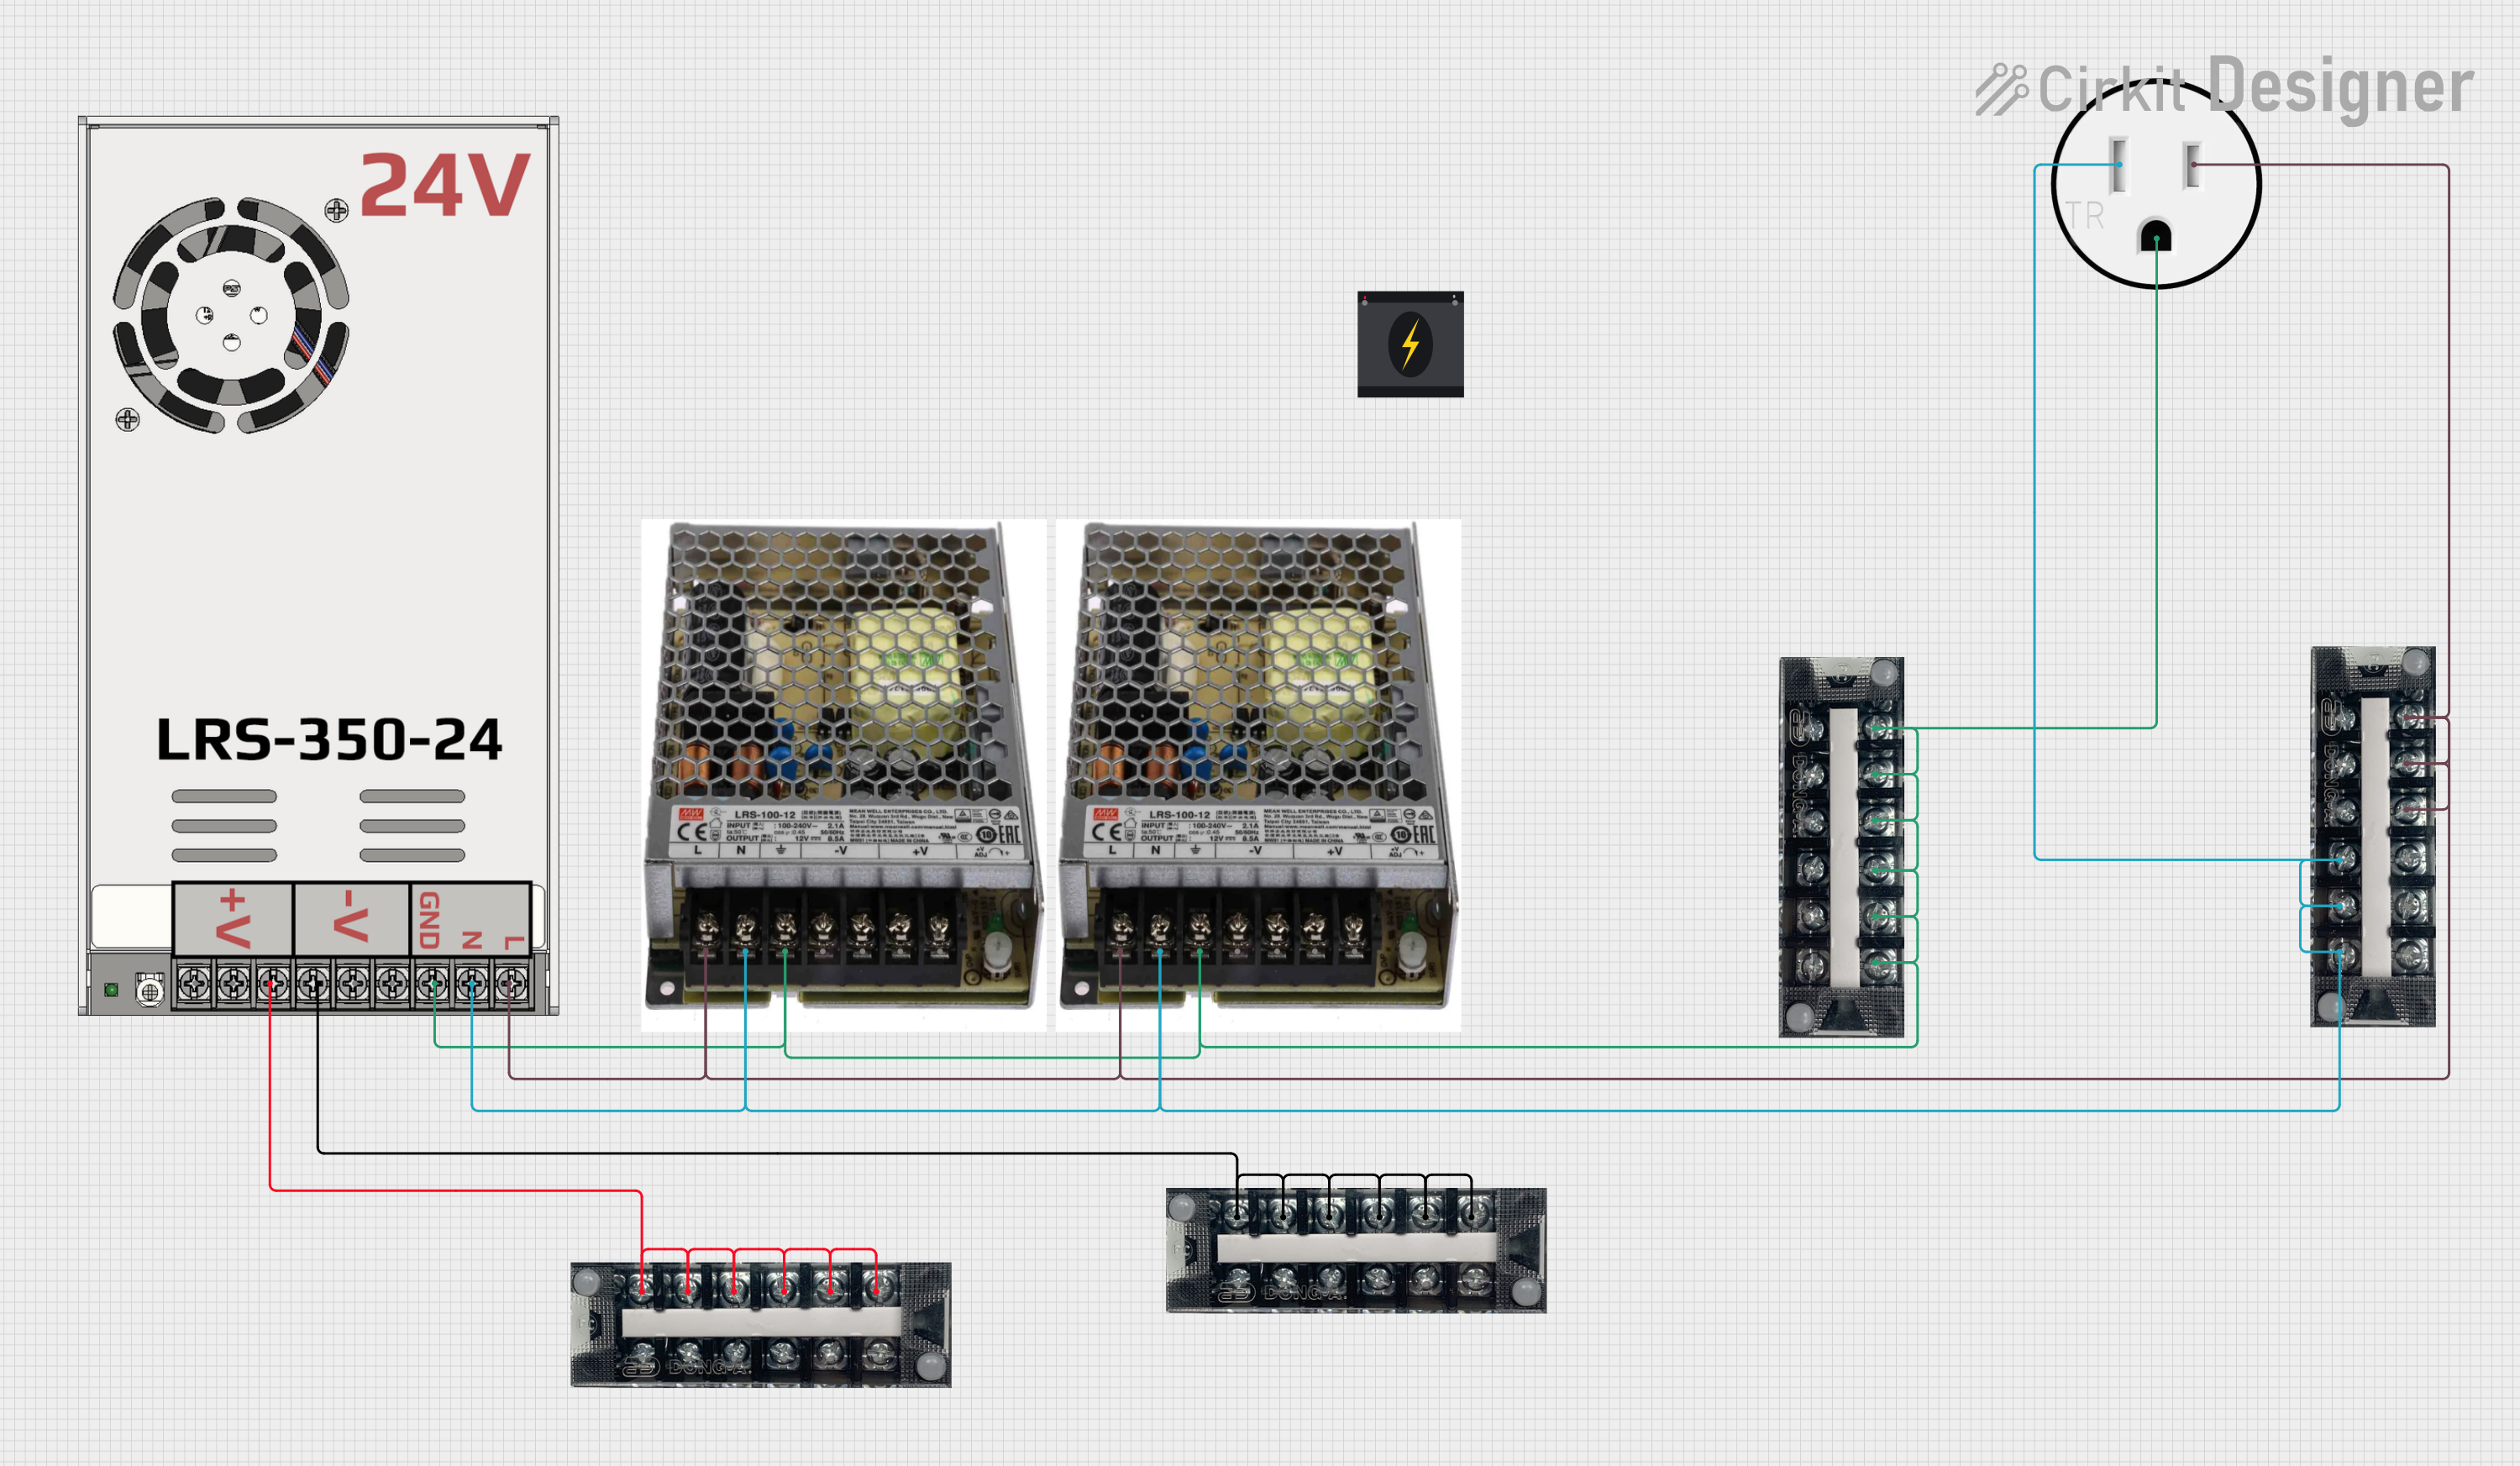
This circuit is designed to convert 240V AC power to both 12V and 24V DC outputs using multiple SMPS units. Terminal blocks are used to organize and distribute the power, while a 120V outlet provides additional AC power access. The circuit is likely used for powering various electronic devices that require different voltage levels.
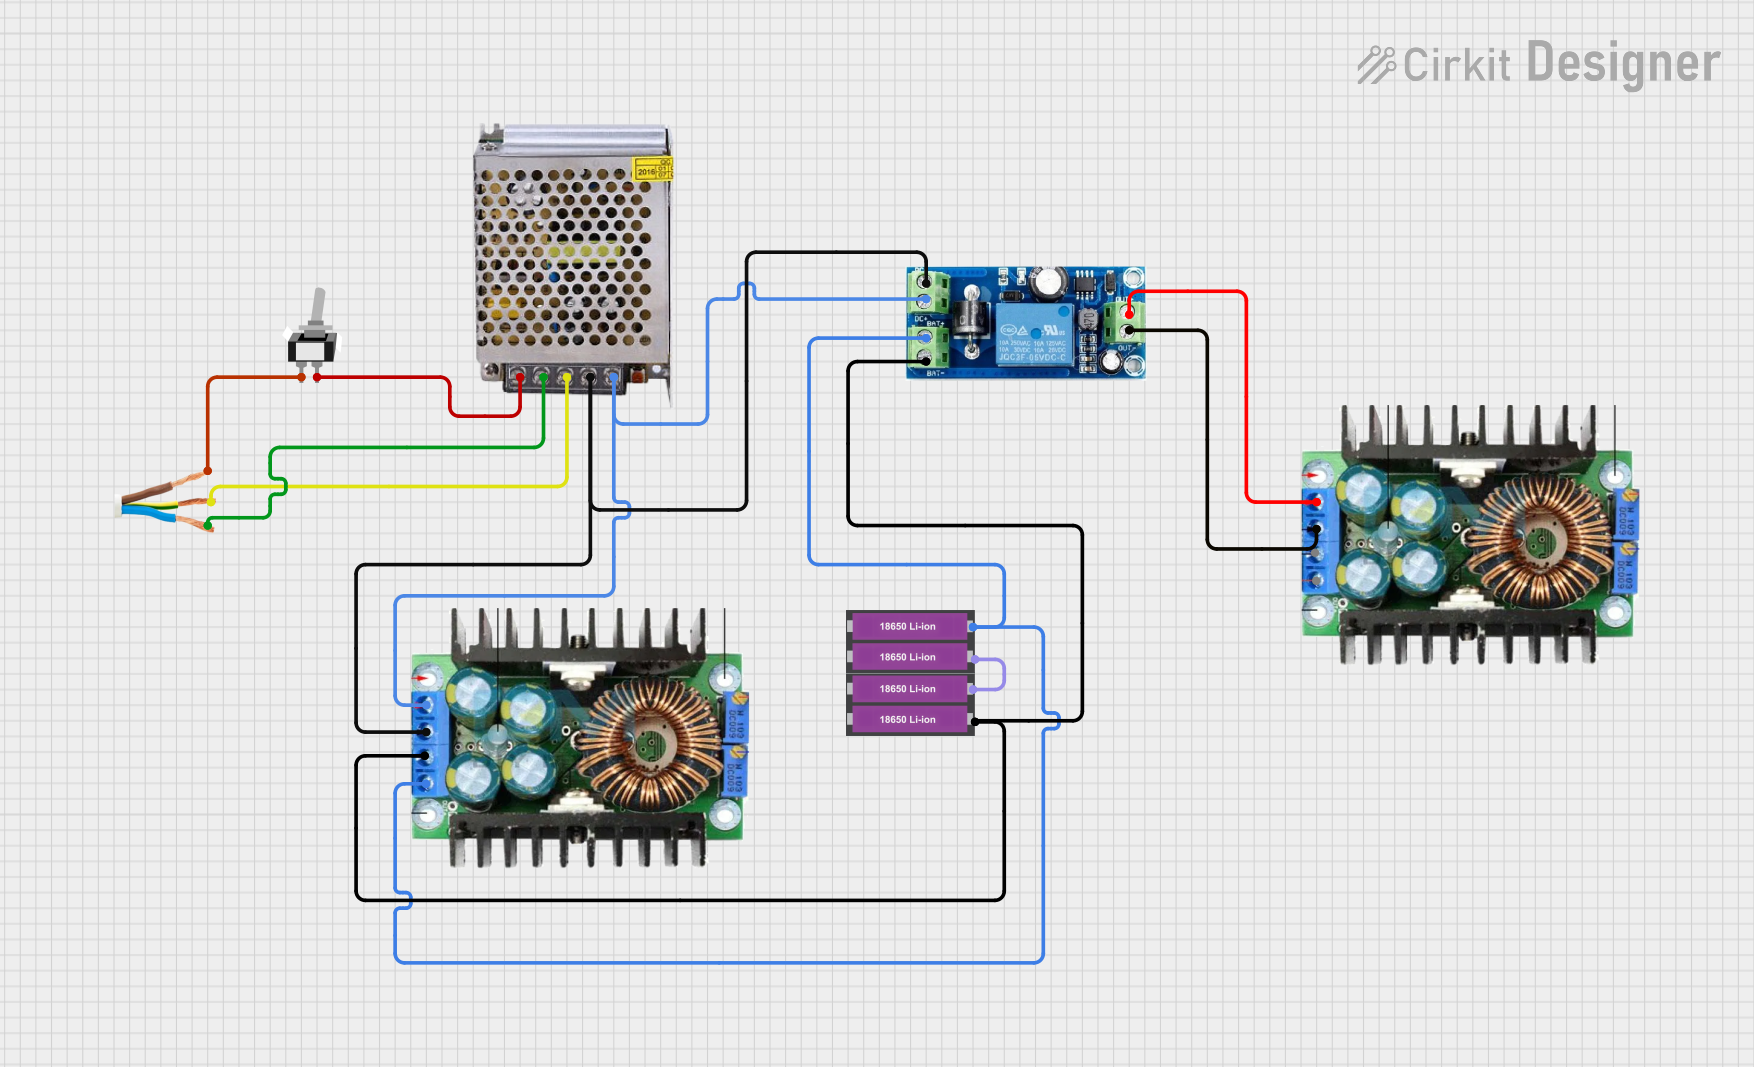
This circuit is designed to provide an uninterruptible power supply (UPS) system with a 12V DC output. It includes a 12V 5A power supply connected to an AC source through a toggle switch, which charges a pair of 18650 Li-ion batteries via a voltage regulator (XL4016). The UPS module ensures a continuous power supply to the load by switching between the power supply and the battery bank.
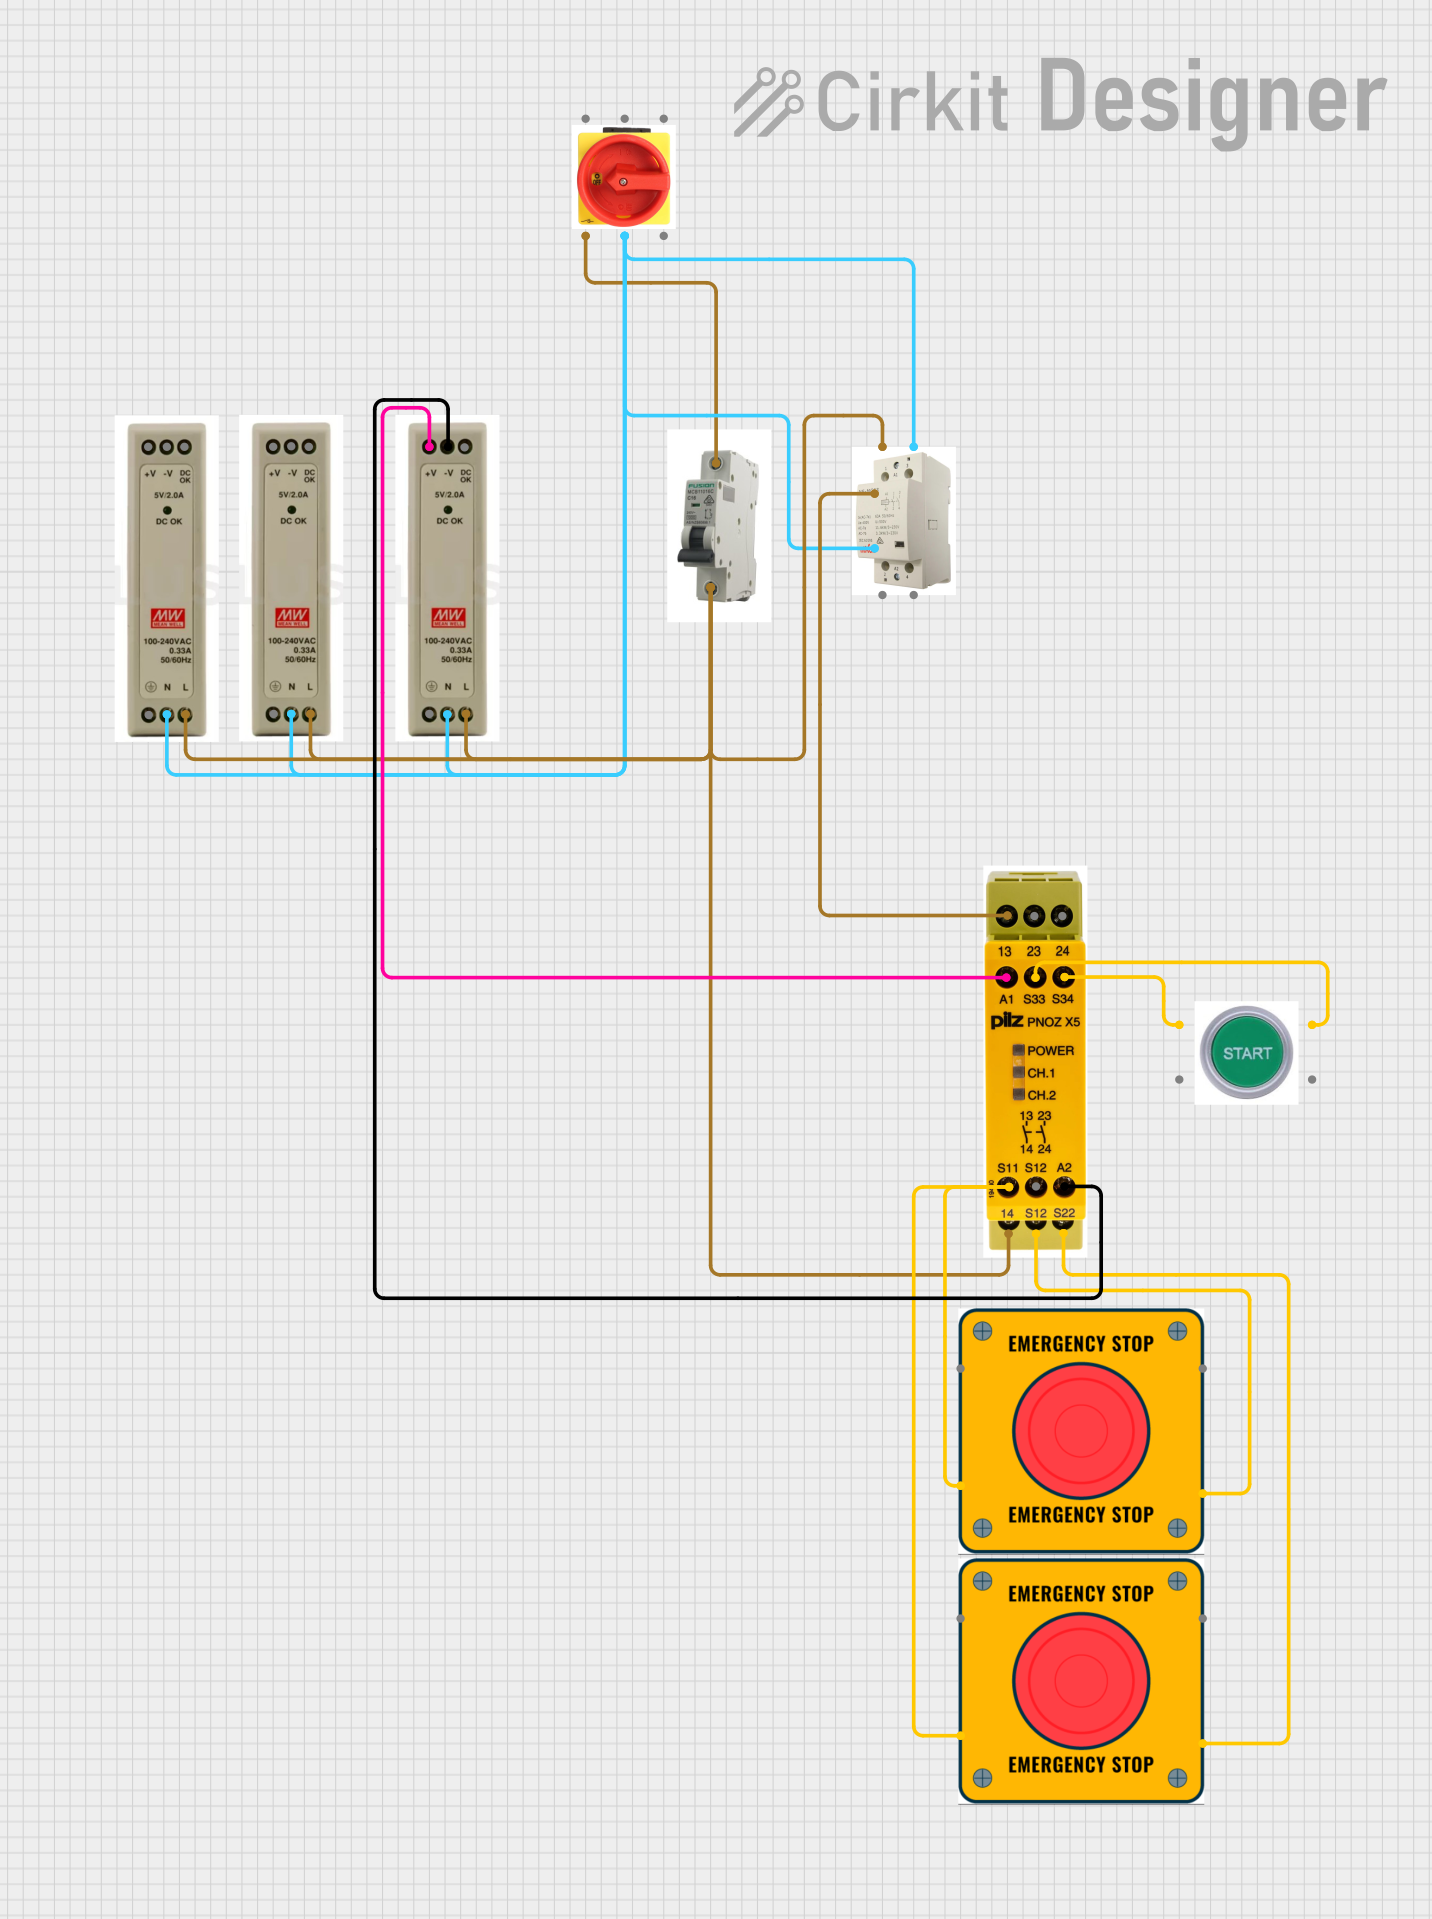
This circuit is designed for power distribution and safety control in an industrial setting. It features a main isolator and circuit breaker for power management, multiple PSUs for 5V, 12V, and 24V outputs, and a safety relay system that interfaces with E-stop buttons and a start switch to control a main contactor, ensuring safe operation and emergency power cut-off capabilities.
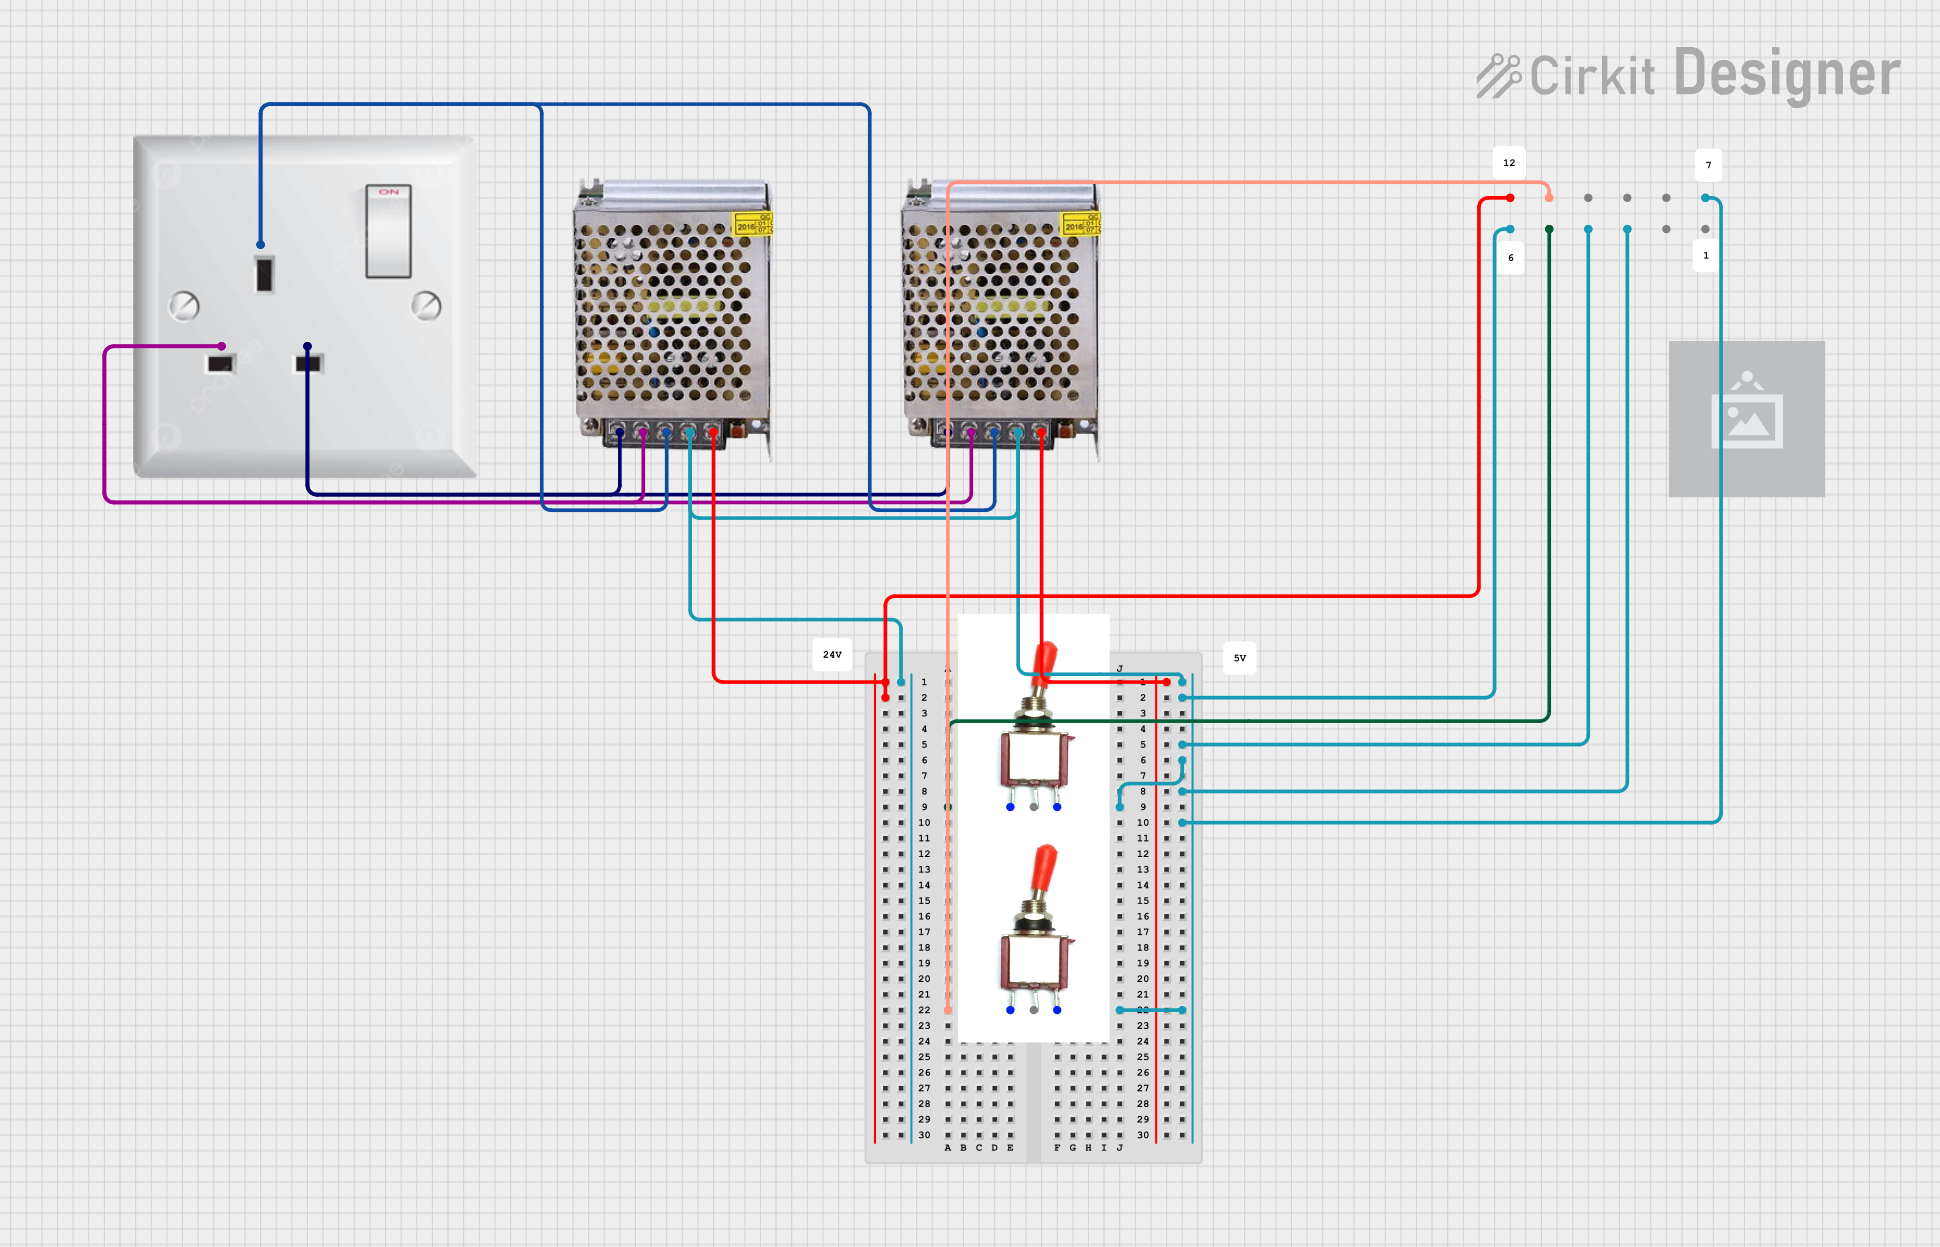
This circuit consists of two 5V 5A power supplies connected to an AC wall plug point, providing DC output through a 12-way connector. The ground connections from both power supplies are interconnected and also connected to the ground pins of two toggle switches. The DC outputs from the power supplies are separately connected to different pins on the 12-way connector, with each power supply output being switchable via one of the toggle switches.
Powering LED lighting systems (e.g., LED strips, LED panels)
Supplying power to CCTV camera systems
Driving motors and actuators in robotics
Providing power to single-board computers like Raspberry Pi (with proper regulation)
General-purpose 12V DC power supply for electronics projects
Technical Specifications
Key Specifications
Parameter
Value
Input Voltage Range
100-240V AC, 50/60Hz
Output Voltage
12V DC
Maximum Output Current
10A
Output Power
120W
Efficiency
≥85%
Ripple and Noise
≤120mV
Operating Temperature
-10°C to +50°C
Cooling Method
Natural air cooling or fan-assisted
Protection Features
Overload, overvoltage, short circuit
Pin Configuration and Descriptions
The SMPS PSU 12V 10A typically has screw terminal connections for input and output. Below is the pin configuration:
Terminal Label
Description
L
Live AC input (100-240V AC)
N
Neutral AC input
GND
Earth/ground connection
+V
Positive 12V DC output
-V
Negative 12V DC output (ground)
Usage Instructions
How to Use the SMPS PSU 12V 10A in a Circuit
Safety First: Ensure the SMPS is disconnected from the mains power before making any connections.
Input Connection:
Connect the AC mains live wire to the L terminal.
Connect the AC mains neutral wire to the N terminal.
Optionally, connect the earth wire to the GND terminal for safety.
Output Connection:
Connect the positive load wire to the +V terminal.
Connect the negative load wire to the -V terminal.
Power On:
After verifying all connections, plug the SMPS into the mains power supply.
Use a multimeter to confirm the output voltage is 12V DC before connecting sensitive devices.
Load Connection:
Connect your load (e.g., LED strip, motor, or other devices) to the output terminals.
Ensure the total current draw does not exceed 10A.
Important Considerations
Ventilation: Ensure adequate airflow around the SMPS to prevent overheating.
Load Capacity: Do not exceed the maximum output current of 10A to avoid triggering overload protection.
Polarity: Double-check the polarity of the output connections to prevent damage to connected devices.
Isolation: Avoid direct contact with the SMPS circuitry when powered to prevent electric shock.
Example: Using SMPS PSU 12V 10A with an Arduino UNO
To power an Arduino UNO using the SMPS PSU, you can connect the 12V output to the Arduino's VIN pin and GND pin. Below is an example code to blink an LED connected to the Arduino:
// Example code to blink an LED using Arduino UNO powered by SMPS PSU 12V 10A

const int ledPin = 13; // Pin connected to the onboard LED

void setup() {
  pinMode(ledPin, OUTPUT); // Set the LED pin as an output
}

void loop() {
  digitalWrite(ledPin, HIGH); // Turn the LED on
  delay(1000);               // Wait for 1 second
  digitalWrite(ledPin, LOW);  // Turn the LED off
  delay(1000);               // Wait for 1 second
}
Note: Ensure the Arduino's onboard voltage regulator can handle the 12V input. If not, use a DC-DC step-down converter to reduce the voltage to 5V.
Troubleshooting and FAQs
Common Issues and Solutions
No Output Voltage:
Cause: Incorrect input wiring or no AC power.
Solution: Verify the AC input connections and ensure the mains power is on.
Output Voltage Too Low or Unstable:
Cause: Overloaded output or insufficient input voltage.
Solution: Reduce the load to within the 10A limit and check the input voltage.
Overheating:
Cause: Poor ventilation or excessive load.
Solution: Ensure proper airflow around the SMPS and reduce the load if necessary.
Device Not Powering On:
Cause: Polarity mismatch or loose connections.
Solution: Double-check the output polarity and tighten all connections.
FAQs
Q1: Can I use this SMPS to charge a 12V battery?
A1: No, this SMPS is not designed for battery charging as it lacks the necessary current regulation and charging profiles.
Q2: Is the SMPS PSU 12V 10A waterproof?
A2: No, this SMPS is not waterproof. Use it in a dry environment or enclose it in a waterproof housing if necessary.
Q3: Can I connect multiple devices to the output?
A3: Yes, as long as the total current draw does not exceed 10A.
Q4: What happens if I exceed the 10A limit?
A4: The SMPS will activate its overload protection and shut down the output to prevent damage.


 Open Project in Cirkit Designer