
How to Use PTC Heater Plate: Examples, Pinouts, and Specs
 Design with PTC Heater Plate in Cirkit Designer
Introduction
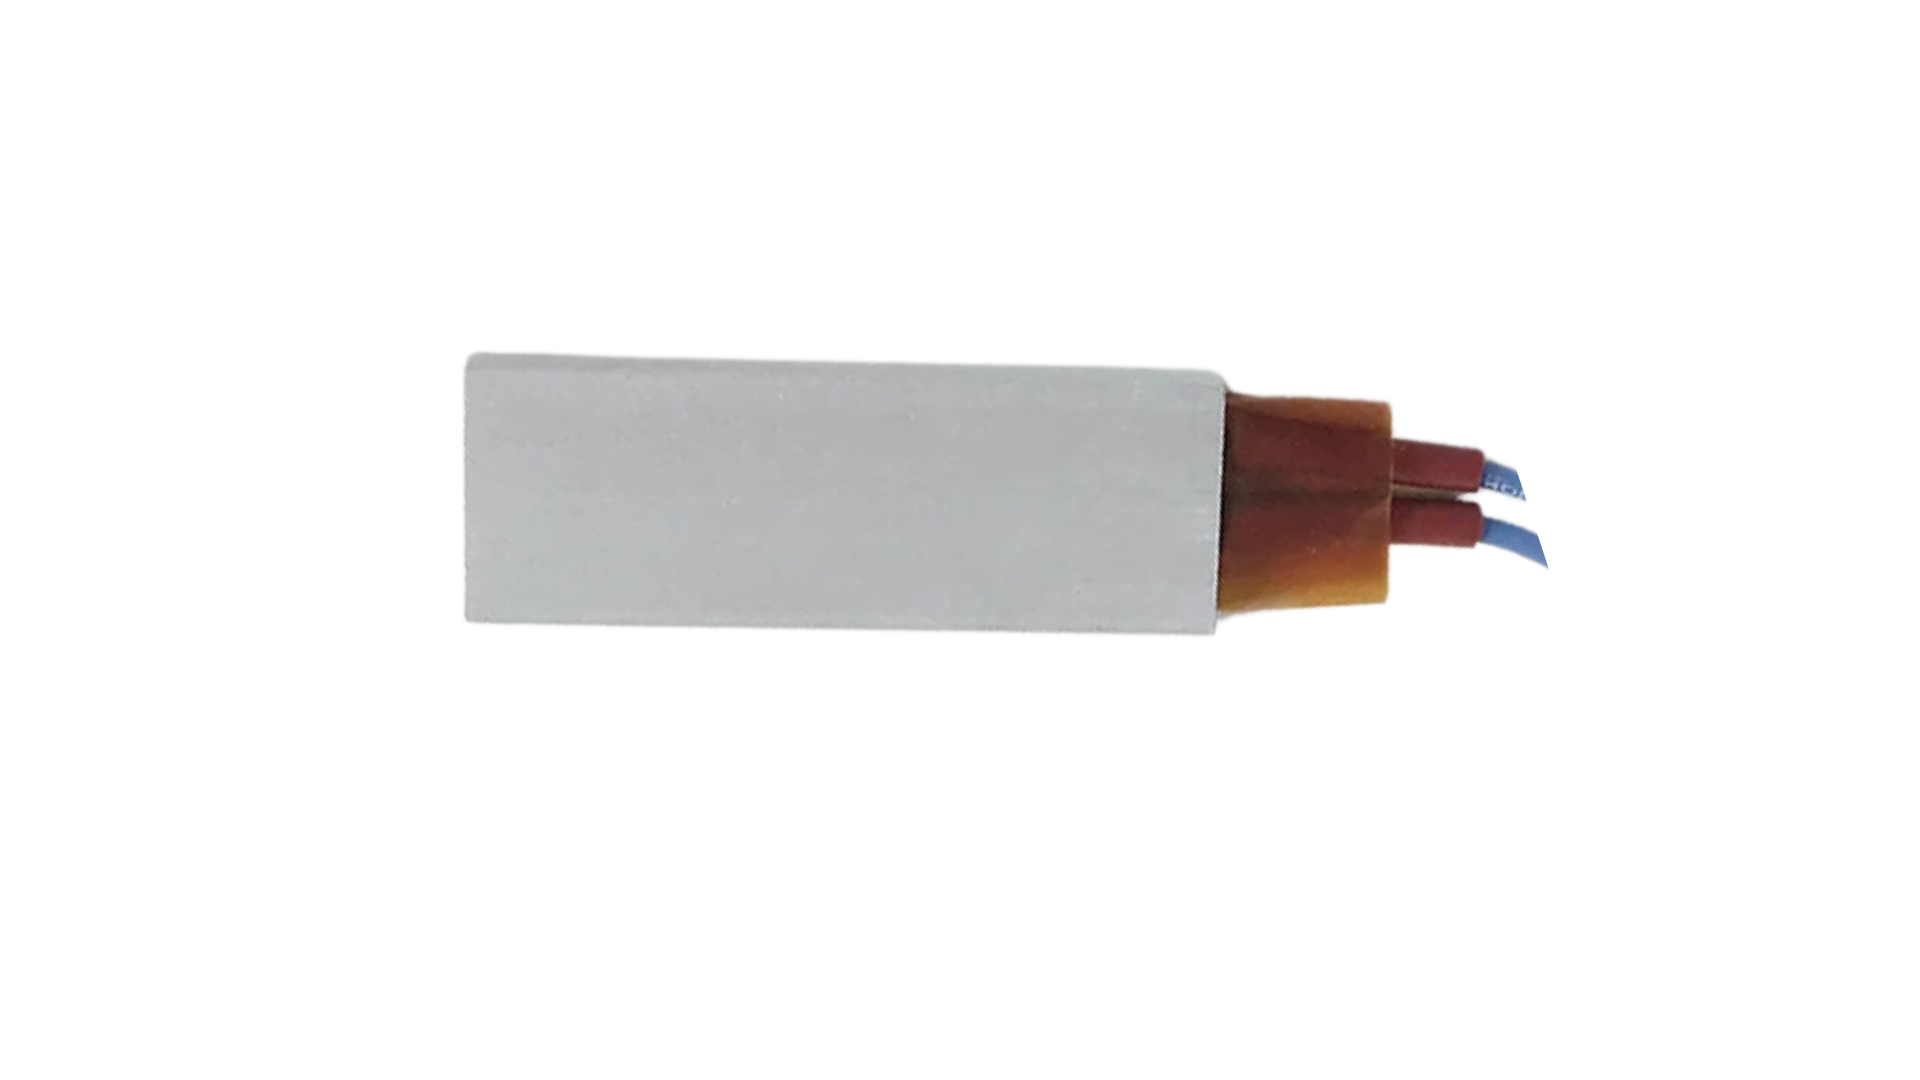
The PTC Heater Plate is a self-regulating heating element that utilizes Positive Temperature Coefficient (PTC) technology. As the temperature of the plate increases, its electrical resistance also rises, which naturally limits the current flow and prevents overheating. This makes it an efficient and safe heating solution for a wide range of applications.
Explore Projects Built with PTC Heater Plate
 Open Project in Cirkit Designer
 Open Project in Cirkit Designer
 Open Project in Cirkit Designer
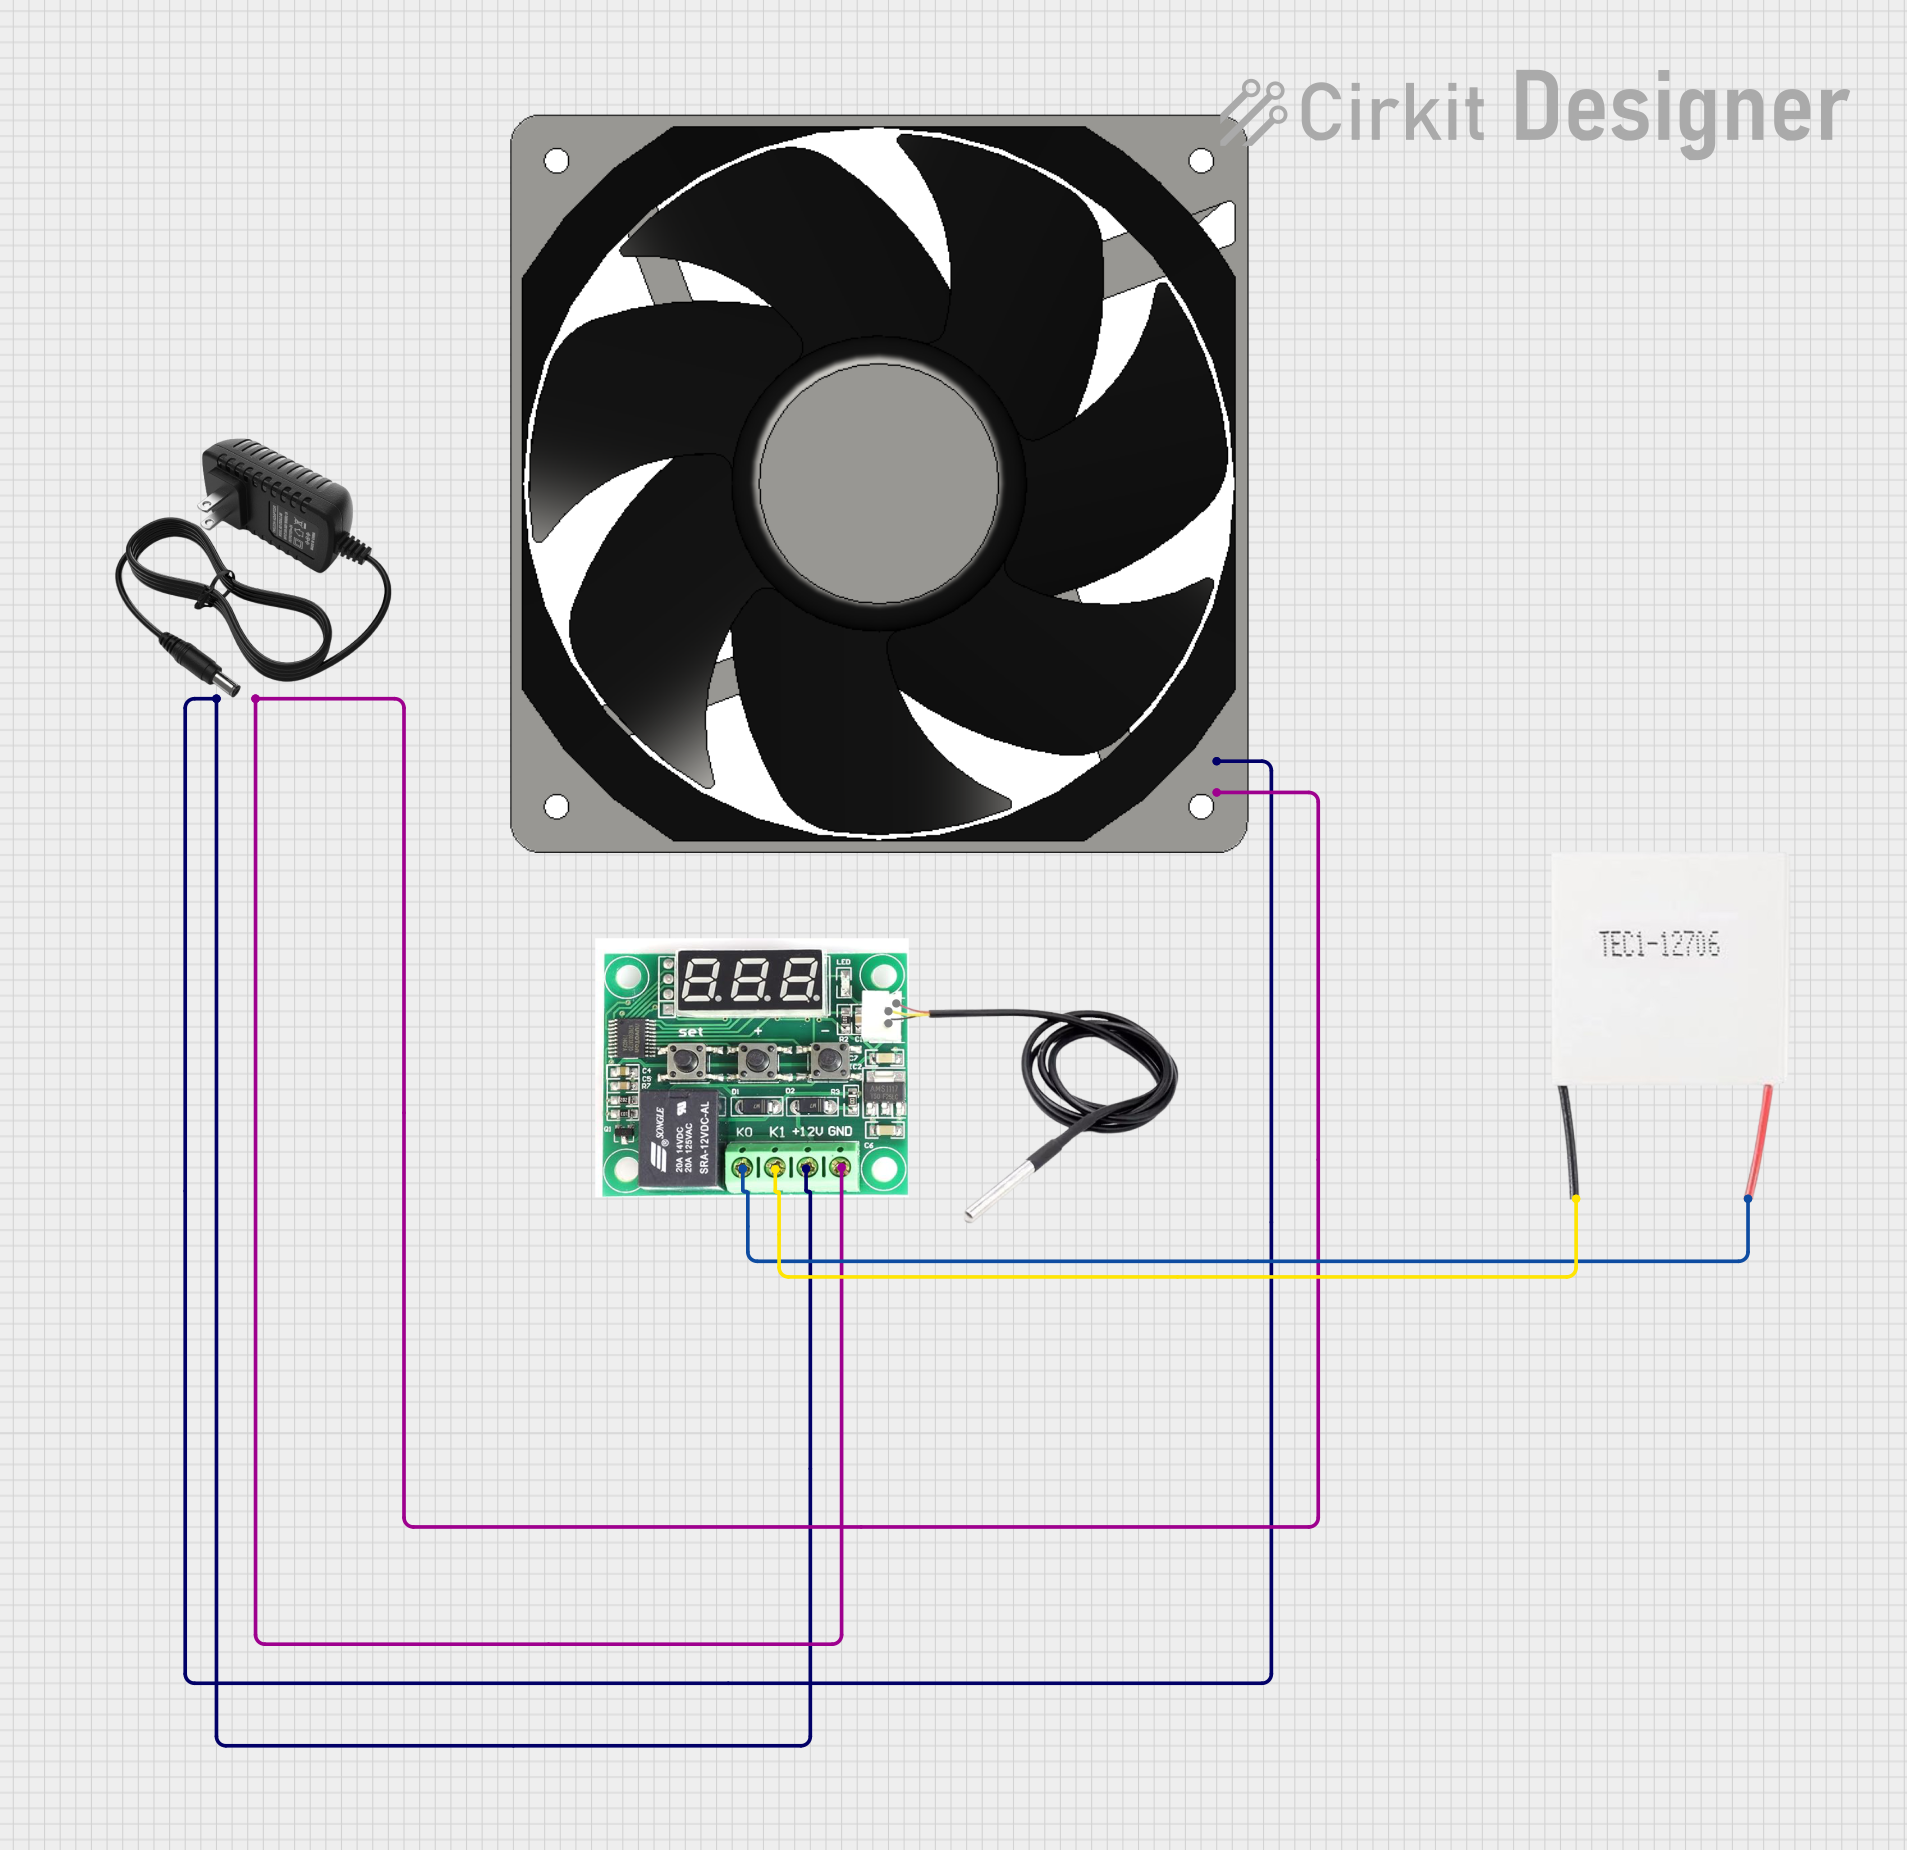 Open Project in Cirkit Designer
Explore Projects Built with PTC Heater Plate
Open Project in Cirkit DesignerOpen Project in Cirkit DesignerOpen Project in Cirkit DesignerOpen Project in Cirkit DesignerCommon Applications and Use Cases
- Automotive: Seat warmers, defoggers, and battery warmers.
- Home Appliances: Hair dryers, space heaters, and electric kettles.
- Industrial Equipment: Dehumidifiers, thermal management systems, and adhesive curing.
- Medical Devices: Heating pads and temperature-controlled instruments.
Technical Specifications
Below are the key technical details for the PTC Heater Plate:
| Parameter | Value |
|---|---|
| Manufacturer Part ID | PTC |
| Operating Voltage Range | 12V to 240V AC/DC |
| Power Rating | 10W to 500W (varies by model) |
| Temperature Range | 50°C to 300°C |
| Resistance Range | 10Ω to 1kΩ (temperature-dependent) |
| Heating Time | 10 to 60 seconds (to reach steady state) |
| Material | Aluminum or ceramic heating plate |
| Dimensions | Varies (e.g., 50mm x 50mm, 100mm x 100mm) |
| Safety Features | Self-regulating, overheat protection |
Pin Configuration and Descriptions
The PTC Heater Plate typically has two terminals for electrical connections. Below is the pin configuration:
| Pin | Description |
|---|---|
| Pin 1 | Positive terminal (connect to power supply) |
| Pin 2 | Negative terminal (connect to ground) |
Usage Instructions
How to Use the PTC Heater Plate in a Circuit
- Power Supply: Connect the PTC Heater Plate to a power supply within its operating voltage range (e.g., 12V DC or 110V AC). Ensure the power supply can handle the current draw of the heater.
- Polarity: For DC applications, connect Pin 1 to the positive terminal of the power supply and Pin 2 to the ground. For AC applications, polarity does not matter.
- Mounting: Secure the heater plate to the surface or enclosure using screws or thermal adhesive. Ensure proper thermal contact for efficient heat transfer.
- Temperature Control: The PTC Heater Plate is self-regulating, but you can add an external thermostat or temperature sensor for precise control if needed.
- Insulation: Use proper insulation to prevent accidental contact with the heating surface.
Important Considerations and Best Practices
- Ventilation: Ensure adequate airflow around the heater plate to prevent heat buildup in enclosed spaces.
- Power Rating: Do not exceed the specified power rating to avoid damaging the component.
- Surface Contact: For optimal performance, ensure the heater plate is in full contact with the surface it is heating.
- Safety: Avoid touching the heater plate during operation, as it can reach high temperatures.
Example: Using a PTC Heater Plate with Arduino UNO
Below is an example of how to control a PTC Heater Plate using an Arduino UNO and a relay module:
// Example: Controlling a PTC Heater Plate with Arduino UNO
// This code turns the heater on for 10 seconds and off for 10 seconds in a loop.

const int relayPin = 7; // Pin connected to the relay module

void setup() {
  pinMode(relayPin, OUTPUT); // Set relay pin as output
  digitalWrite(relayPin, LOW); // Ensure relay is off at startup
}

void loop() {
  digitalWrite(relayPin, HIGH); // Turn on the relay (heater ON)
  delay(10000); // Keep heater ON for 10 seconds
  digitalWrite(relayPin, LOW); // Turn off the relay (heater OFF)
  delay(10000); // Keep heater OFF for 10 seconds
}
Note: Use a relay module rated for the voltage and current of the PTC Heater Plate. Ensure proper isolation between the Arduino and the high-power circuit.
Troubleshooting and FAQs
Common Issues and Solutions
Heater Does Not Turn On:
- Check the power supply voltage and current rating.
- Verify the connections to the heater plate terminals.
- Ensure the relay or switch controlling the heater is functioning properly.
Heater Does Not Reach Desired Temperature:
- Ensure the heater plate is in full contact with the surface being heated.
- Check for proper ventilation to avoid heat dissipation issues.
- Verify that the power supply is providing sufficient current.
Overheating or Burnt Smell:
- Ensure the heater plate is operating within its specified voltage and power range.
- Check for any obstructions or poor airflow around the heater.
Intermittent Operation:
- Inspect the wiring for loose connections.
- Verify that the power supply is stable and not fluctuating.
FAQs
Q1: Can I use the PTC Heater Plate with a battery?
A1: Yes, as long as the battery voltage matches the operating voltage range of the heater plate and the battery can supply sufficient current.
Q2: Is additional temperature control required?
A2: The PTC Heater Plate is self-regulating, but you can add external temperature control for more precise regulation.
Q3: Can the PTC Heater Plate be used in wet environments?
A3: Only if the heater plate is specifically rated for waterproof or moisture-resistant applications. Otherwise, avoid exposure to water.
Q4: How long does the heater take to reach its operating temperature?
A4: The heating time varies but typically ranges from 10 to 60 seconds, depending on the model and power rating.
Q5: Can I cut or modify the heater plate?
A5: No, modifying the heater plate can damage its internal structure and compromise its performance or safety.