How to Use Senseair S8: Examples, Pinouts, and Specs
Introduction
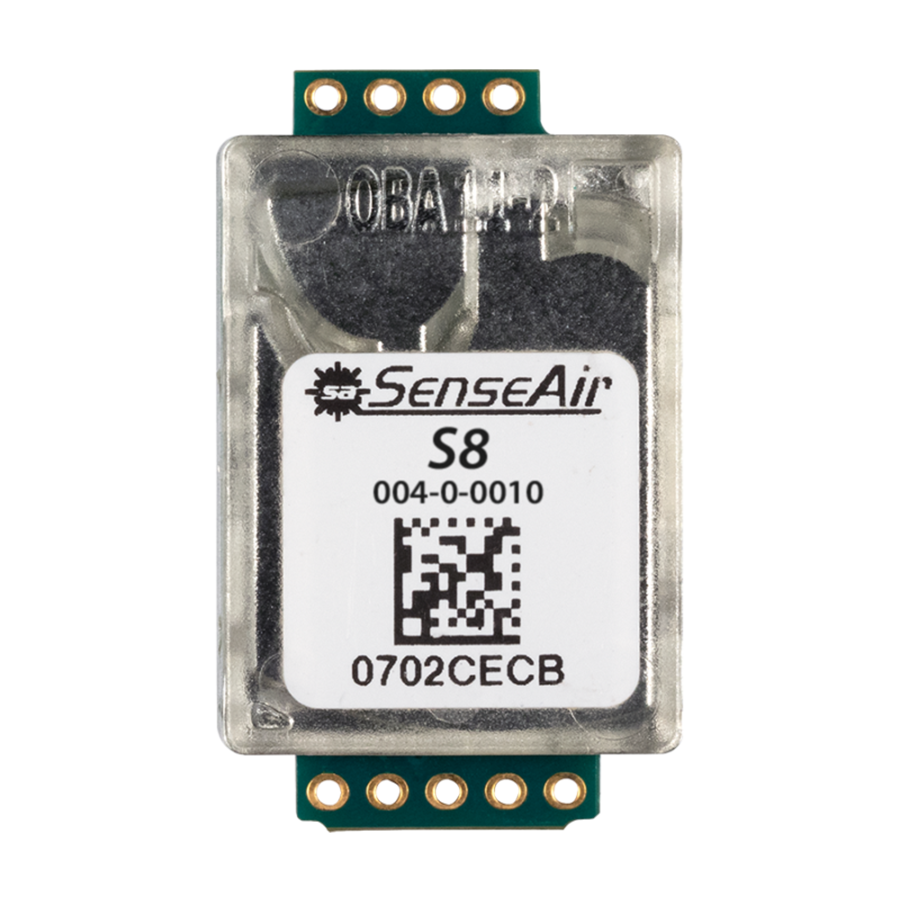
The Senseair S8 is a compact, low-power carbon dioxide (CO2) sensor designed for indoor air quality monitoring. It employs non-dispersive infrared (NDIR) technology to deliver accurate and reliable CO2 measurements. The S8 is ideal for applications such as HVAC systems, smart buildings, and environmental monitoring, where maintaining optimal air quality is critical. Its small form factor and low power consumption make it a versatile choice for integration into various systems.
Explore Projects Built with Senseair S8
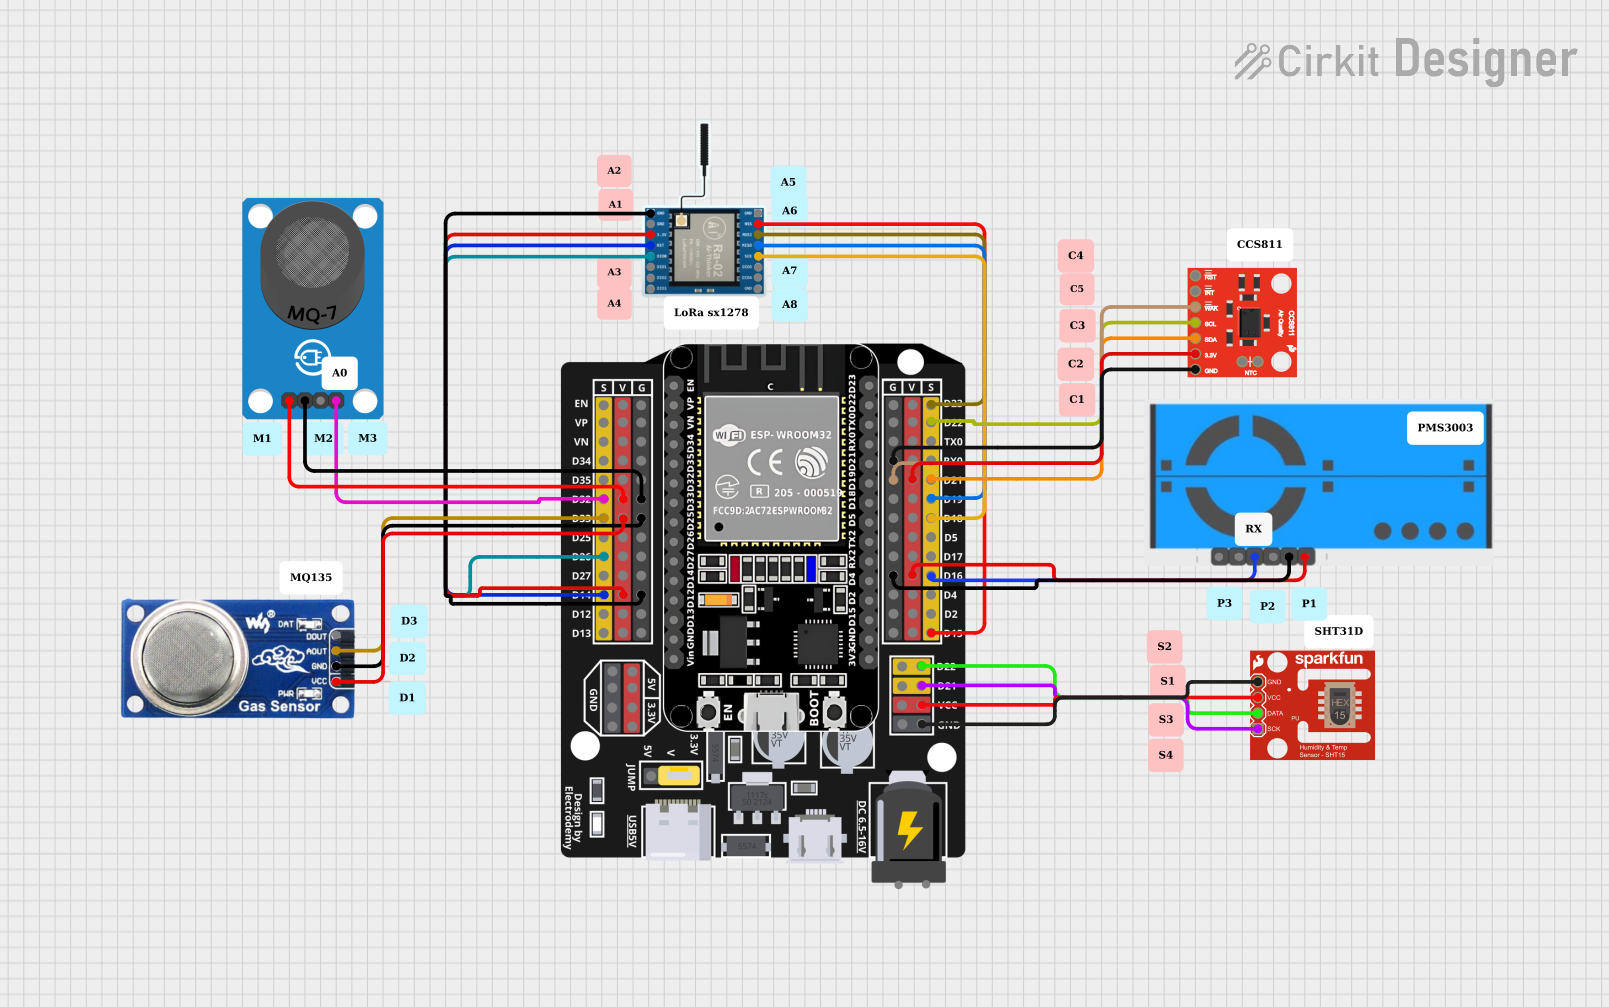
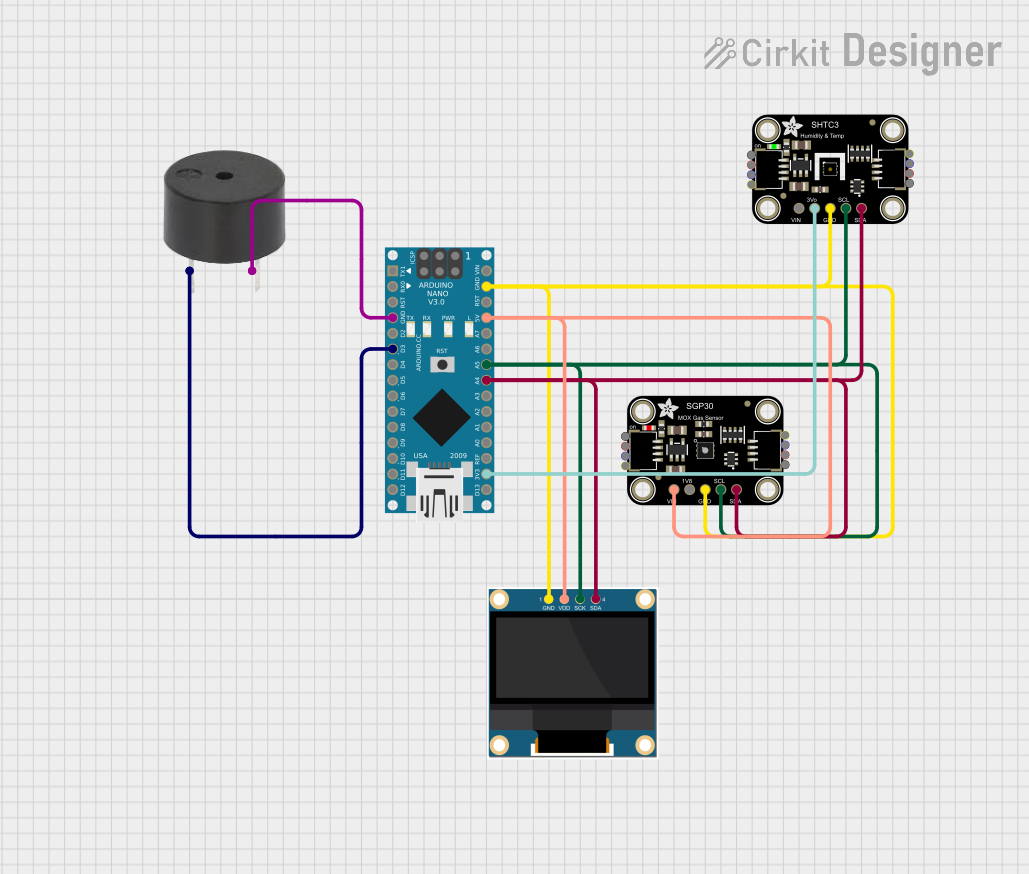

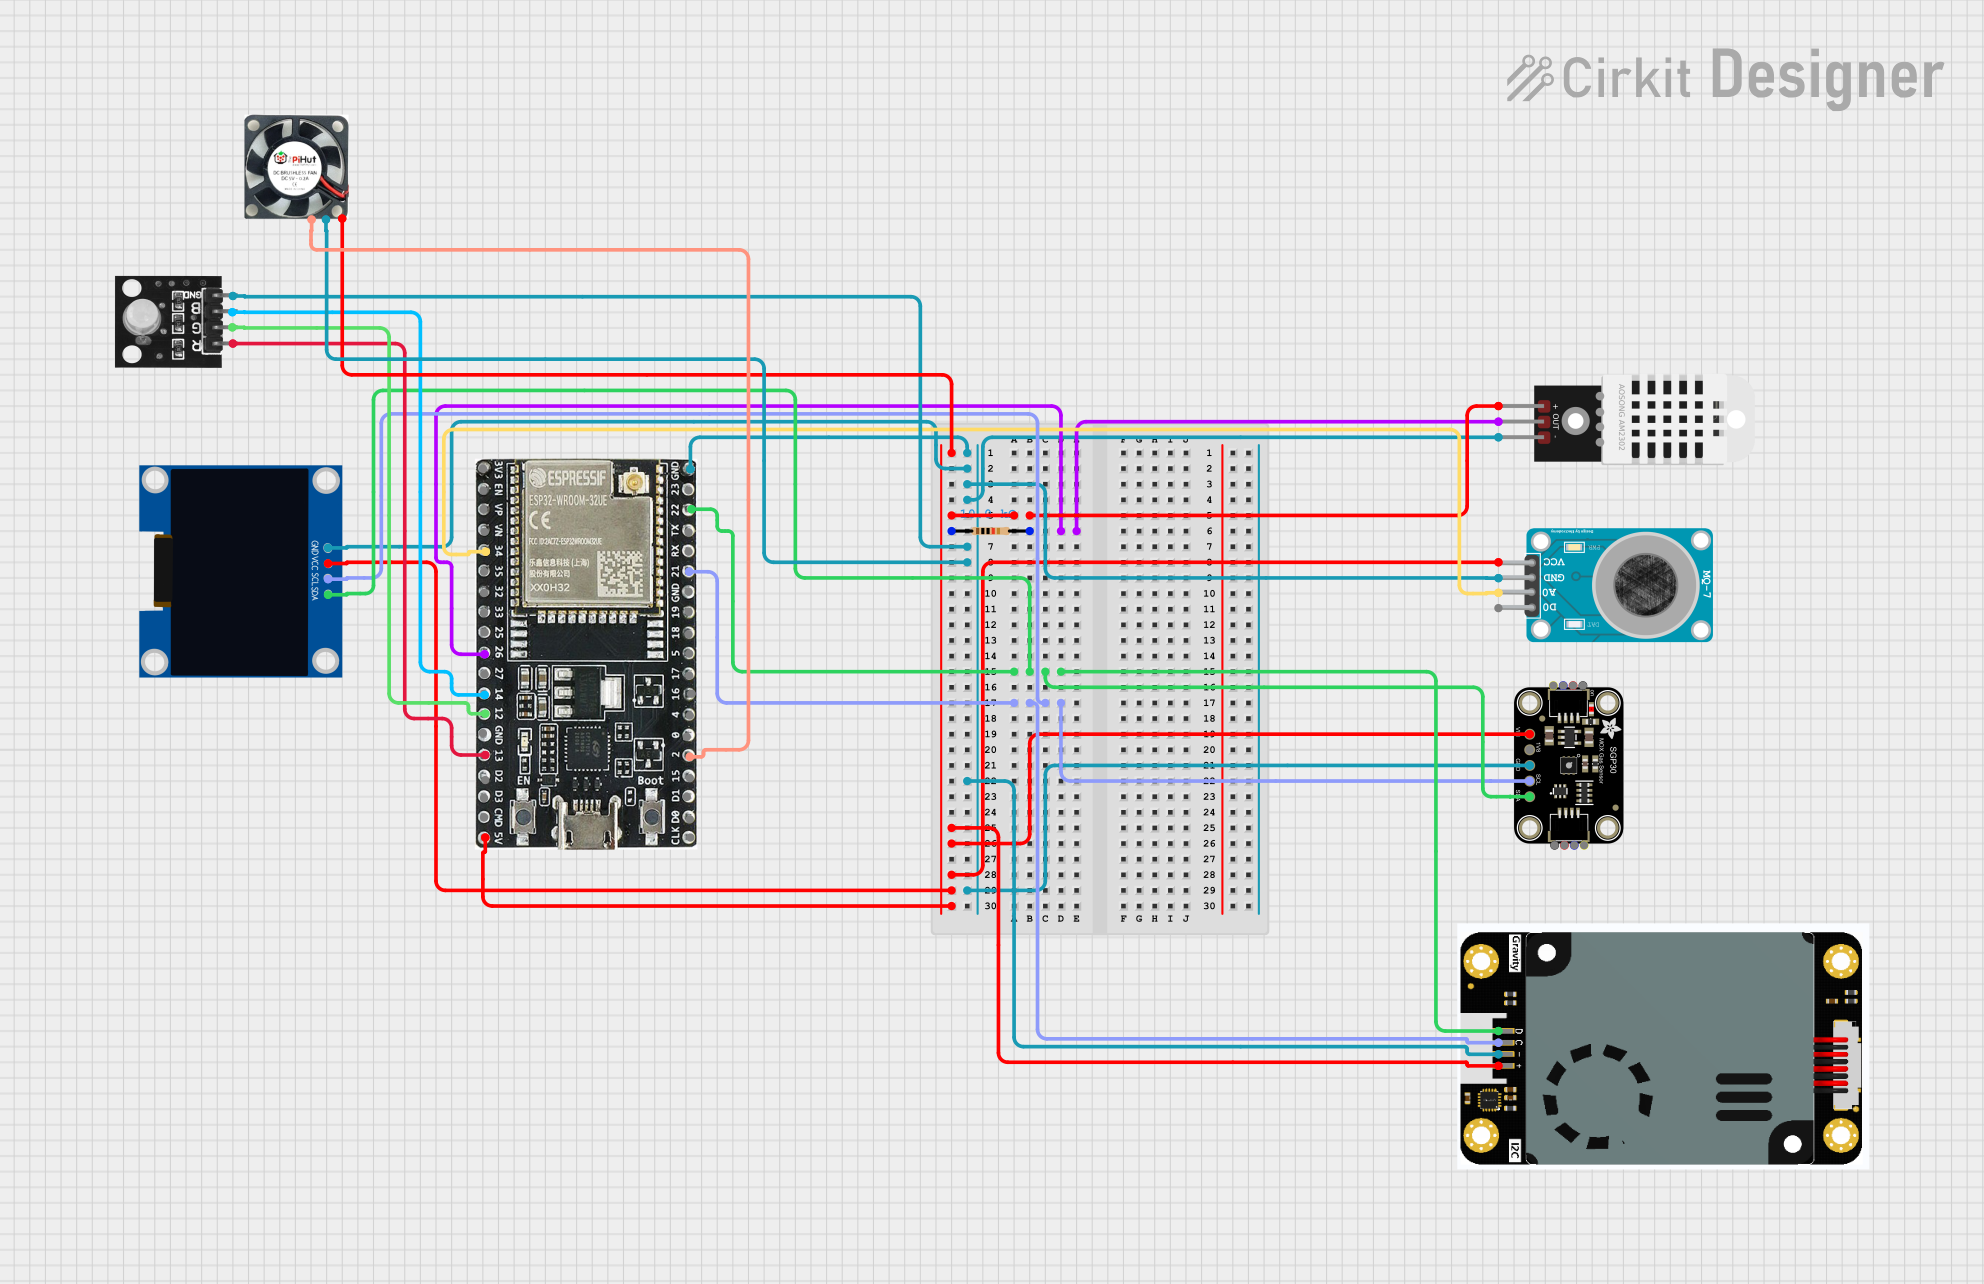
Explore Projects Built with Senseair S8
Technical Specifications
The following table outlines the key technical specifications of the Senseair S8:
| Parameter | Value |
|---|---|
| Measurement Range | 0–2000 ppm (standard) |
| Accuracy | ±(30 ppm + 3% of reading) |
| Power Supply Voltage | 4.5–5.25 V DC |
| Power Consumption | < 1 W (average) |
| Operating Temperature | 0°C to +50°C |
| Operating Humidity | 0–95% RH (non-condensing) |
| Warm-Up Time | < 1 minute |
| Measurement Interval | 2 seconds (default) |
| Communication Interface | UART (TTL level) |
Pin Configuration and Descriptions
The Senseair S8 has a 6-pin interface. The pin configuration is as follows:
| Pin Number | Pin Name | Description |
|---|---|---|
| 1 | VCC | Power supply input (4.5–5.25 V DC) |
| 2 | GND | Ground |
| 3 | TxD | UART Transmit Data (TTL level) |
| 4 | RxD | UART Receive Data (TTL level) |
| 5 | NC | Not connected |
| 6 | PWM | Pulse-width modulation output for CO2 levels |
Usage Instructions
How to Use the Senseair S8 in a Circuit
- Power Supply: Connect the VCC pin to a 5V DC power source and the GND pin to ground.
- Communication: Use the TxD and RxD pins for UART communication. Ensure the UART voltage levels are TTL-compatible.
- PWM Output: If your application requires a simple analog-like output, use the PWM pin to read CO2 levels. The duty cycle corresponds to the CO2 concentration.
- Warm-Up Time: Allow the sensor to warm up for at least 1 minute after powering it on to ensure accurate readings.
Important Considerations and Best Practices
- Ventilation: Ensure the sensor is placed in a well-ventilated area to avoid CO2 buildup around the sensor, which could affect accuracy.
- Calibration: The S8 sensor is factory-calibrated, but periodic calibration may be required for long-term accuracy, especially in environments with high humidity or temperature fluctuations.
- UART Communication: Use a baud rate of 9600 bps for UART communication. Ensure the microcontroller or host device is configured to match this baud rate.
- Power Supply Stability: Use a stable power supply to avoid noise or fluctuations that could interfere with sensor operation.
Example: Connecting the Senseair S8 to an Arduino UNO
Below is an example of how to connect and read data from the Senseair S8 using an Arduino UNO:
Wiring Diagram
| Senseair S8 Pin | Arduino UNO Pin |
|---|---|
| VCC | 5V |
| GND | GND |
| TxD | Pin 10 (SoftwareSerial Rx) |
| RxD | Pin 11 (SoftwareSerial Tx) |
Arduino Code
#include <SoftwareSerial.h>

// Define the pins for SoftwareSerial
SoftwareSerial S8Serial(10, 11); // Rx = Pin 10, Tx = Pin 11

void setup() {
  Serial.begin(9600);          // Initialize hardware serial for debugging
  S8Serial.begin(9600);        // Initialize SoftwareSerial for S8 communication
  Serial.println("Senseair S8 CO2 Sensor Example");
}

void loop() {
  if (S8Serial.available()) {
    // Read data from the S8 sensor
    String sensorData = "";
    while (S8Serial.available()) {
      char c = S8Serial.read();
      sensorData += c;
    }
    // Print the received data to the Serial Monitor
    Serial.println("CO2 Data: " + sensorData);
  }
  delay(2000); // Wait for 2 seconds before the next read
}
Notes on the Code
- The
SoftwareSeriallibrary is used to communicate with the S8 sensor via UART. - Ensure the Arduino UNO's Serial Monitor is set to 9600 baud to view the output.
- The sensor sends data in a specific format. Refer to the S8 communication protocol for parsing the data.
Troubleshooting and FAQs
Common Issues and Solutions
No Data Received from the Sensor
- Cause: Incorrect wiring or baud rate mismatch.
- Solution: Double-check the connections and ensure the UART baud rate is set to 9600 bps.
Inaccurate CO2 Readings
- Cause: Sensor not warmed up or placed in a poorly ventilated area.
- Solution: Allow the sensor to warm up for at least 1 minute and ensure proper ventilation.
Sensor Not Powering On
- Cause: Insufficient or unstable power supply.
- Solution: Verify that the power supply provides 4.5–5.25 V DC and is stable.
PWM Output Not Working
- Cause: Incorrect interpretation of the PWM signal.
- Solution: Measure the duty cycle of the PWM signal and convert it to CO2 concentration using the sensor's datasheet.
FAQs
Can the Senseair S8 measure CO2 levels above 2000 ppm?
- The standard measurement range is 0–2000 ppm. For higher ranges, contact Senseair for custom configurations.
Is the sensor suitable for outdoor use?
- The S8 is designed for indoor use. Outdoor environments may affect its accuracy due to temperature and humidity variations.
How often should the sensor be calibrated?
- Calibration frequency depends on the application. For most indoor environments, calibration every 6–12 months is sufficient.
Can I use the sensor with a 3.3V microcontroller?
- The S8 requires a 5V power supply, but its UART pins are TTL-compatible. Use a level shifter if your microcontroller operates at 3.3V logic levels.