How to Use 1:3 Split: Examples, Pinouts, and Specs

Introduction
The 1:3 Split is a circuit component designed to divide an input signal into three equal output signals. It is commonly used in audio and video applications to distribute signals to multiple devices without significant loss of quality. This component ensures that the input signal is evenly split and delivered to three outputs, making it ideal for scenarios where a single source needs to feed multiple receivers or devices.
Explore Projects Built with 1:3 Split

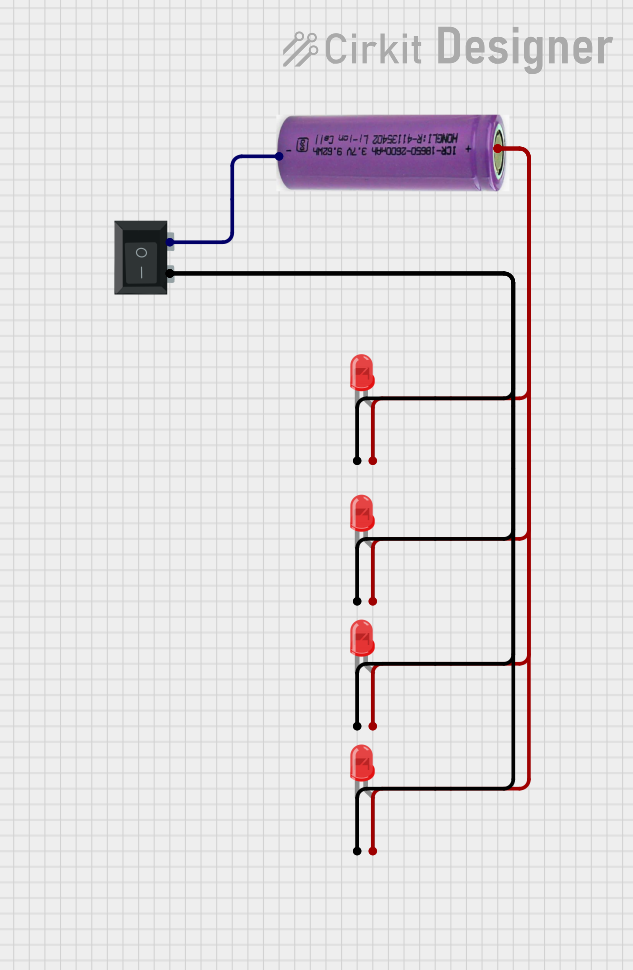

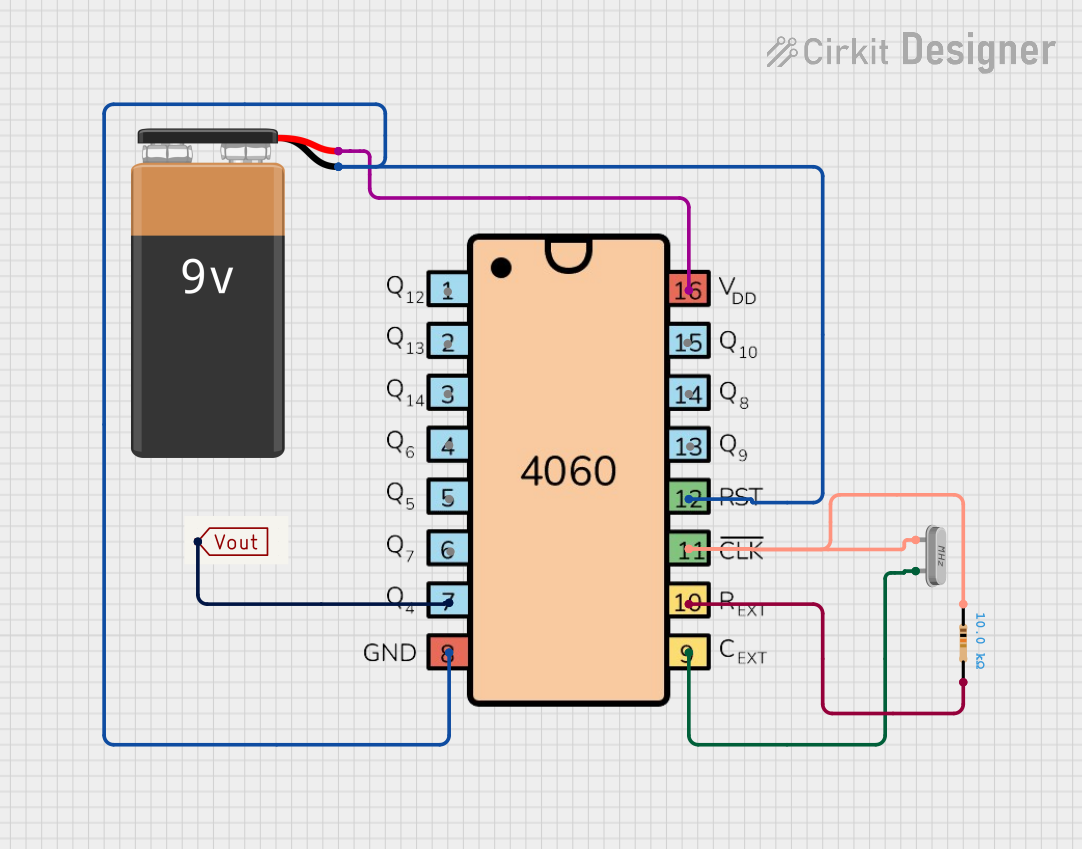
Explore Projects Built with 1:3 Split
Common Applications and Use Cases
- Audio Distribution: Splitting audio signals to multiple speakers or amplifiers.
- Video Distribution: Sending video signals to multiple displays or projectors.
- Signal Testing: Distributing signals to multiple test equipment for analysis.
- Broadcasting: Feeding signals to multiple transmission or recording devices.
Technical Specifications
The 1:3 Split is designed to handle a variety of signal types, including analog and digital signals. Below are the key technical details:
General Specifications
| Parameter | Value |
|---|---|
| Input Voltage Range | 3.3V to 12V |
| Signal Type Supported | Analog and Digital |
| Frequency Range | 20 Hz to 20 kHz (audio) |
| Impedance | 75 Ω (video), 600 Ω (audio) |
| Power Consumption | < 1W |
| Operating Temperature | -10°C to 60°C |
| Dimensions | 50mm x 30mm x 15mm |
Pin Configuration and Descriptions
| Pin Number | Name | Description |
|---|---|---|
| 1 | Input | Signal input pin. Connect the source signal here. |
| 2 | Output 1 | First output pin. Delivers one-third of the input signal. |
| 3 | Output 2 | Second output pin. Delivers one-third of the input signal. |
| 4 | Output 3 | Third output pin. Delivers one-third of the input signal. |
| 5 | Ground (GND) | Ground connection for the circuit. |
| 6 | VCC | Power supply pin. Connect to a voltage source (3.3V to 12V). |
Usage Instructions
How to Use the 1:3 Split in a Circuit
- Power the Component: Connect the VCC pin to a power source within the specified voltage range (3.3V to 12V). Connect the GND pin to the ground of your circuit.
- Connect the Input Signal: Attach the signal source (e.g., audio or video device) to the Input pin.
- Connect the Outputs: Attach the devices or components that will receive the split signal to the Output 1, Output 2, and Output 3 pins.
- Verify Connections: Ensure all connections are secure and that the input signal is within the supported frequency range.
Important Considerations and Best Practices
- Impedance Matching: Ensure that the connected devices have matching impedance to avoid signal degradation.
- Signal Quality: Use shielded cables for audio and video signals to minimize interference.
- Power Supply: Use a stable and noise-free power supply to prevent distortion in the output signals.
- Load Balancing: Avoid connecting devices with significantly different input impedances to the outputs, as this may cause uneven signal distribution.
Example: Connecting to an Arduino UNO
The 1:3 Split can be used with an Arduino UNO to distribute a PWM signal to multiple devices. Below is an example code snippet:
// Example: Using Arduino UNO to send a PWM signal to a 1:3 Split

const int pwmPin = 9; // PWM output pin on Arduino UNO

void setup() {
  pinMode(pwmPin, OUTPUT); // Set the pin as an output
}

void loop() {
  analogWrite(pwmPin, 128); // Send a 50% duty cycle PWM signal
  delay(1000); // Wait for 1 second
  analogWrite(pwmPin, 255); // Send a 100% duty cycle PWM signal
  delay(1000); // Wait for 1 second
}
Note: Ensure that the devices connected to the outputs of the 1:3 Split are compatible with the PWM signal.
Troubleshooting and FAQs
Common Issues and Solutions
No Output Signal:
- Cause: Power supply not connected or incorrect voltage.
- Solution: Verify the VCC and GND connections and ensure the voltage is within the specified range.
Uneven Signal Distribution:
- Cause: Connected devices have mismatched impedance.
- Solution: Use devices with similar input impedance or add impedance-matching resistors.
Signal Distortion:
- Cause: Interference or noise in the input signal or power supply.
- Solution: Use shielded cables and a stable power source.
Overheating:
- Cause: Exceeding the operating voltage or current limits.
- Solution: Ensure the input voltage and connected load are within the specified limits.
FAQs
Q1: Can the 1:3 Split handle high-frequency signals?
A1: The 1:3 Split is optimized for audio and video signals, with a frequency range of 20 Hz to 20 kHz. For higher frequencies, consider using a specialized splitter.
Q2: Can I use the 1:3 Split without a power supply?
A2: No, the 1:3 Split requires a power supply to function properly. Ensure the voltage is within the specified range.
Q3: What happens if I connect fewer than three devices to the outputs?
A3: The unused outputs will remain active but unconnected. To avoid signal reflections, you can terminate unused outputs with a matching resistor.
Q4: Is the 1:3 Split compatible with HDMI signals?
A4: No, the 1:3 Split is not designed for HDMI signals. Use an HDMI splitter for such applications.