How to Use Rain Sensor: Examples, Pinouts, and Specs
Introduction
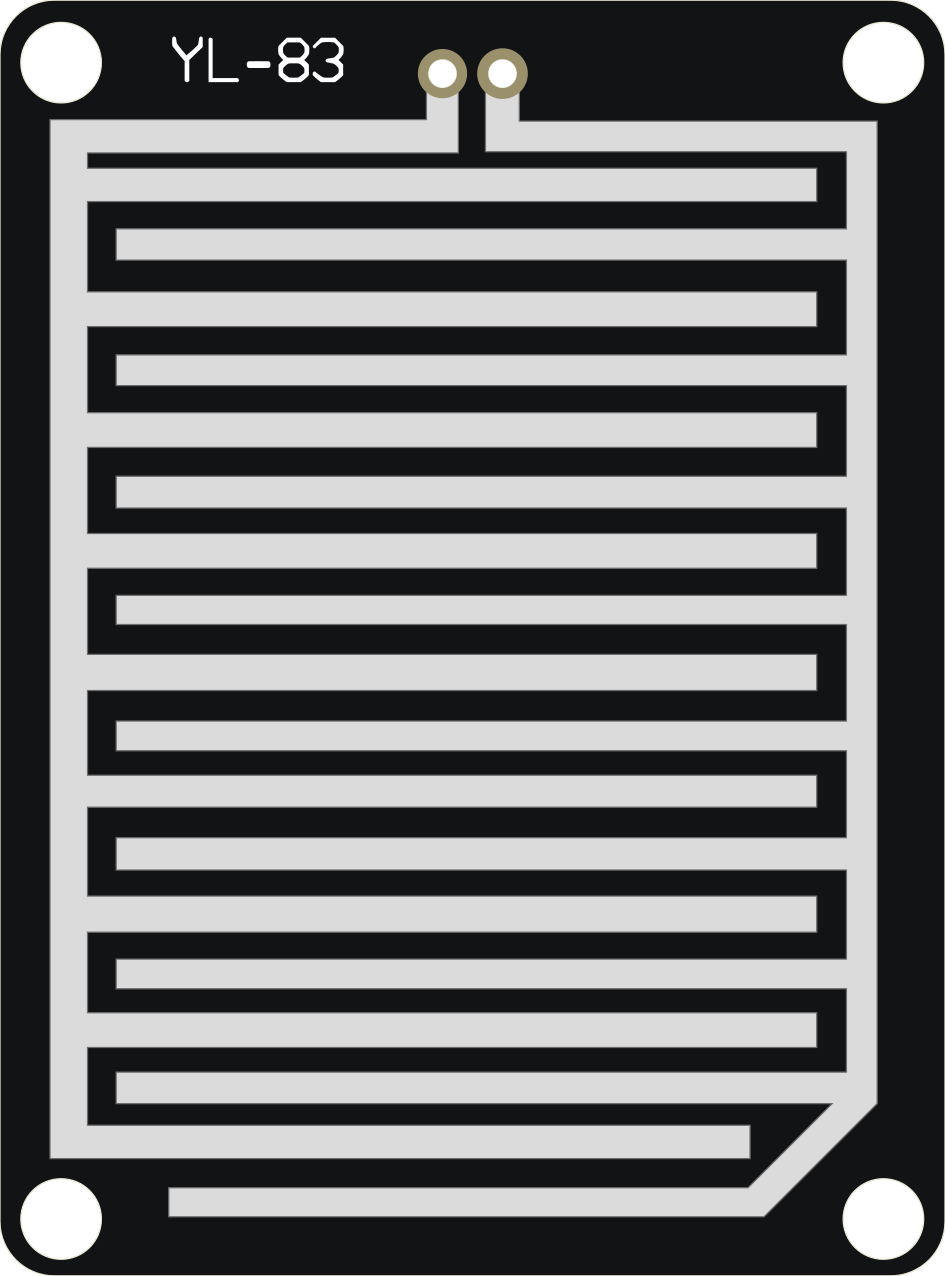
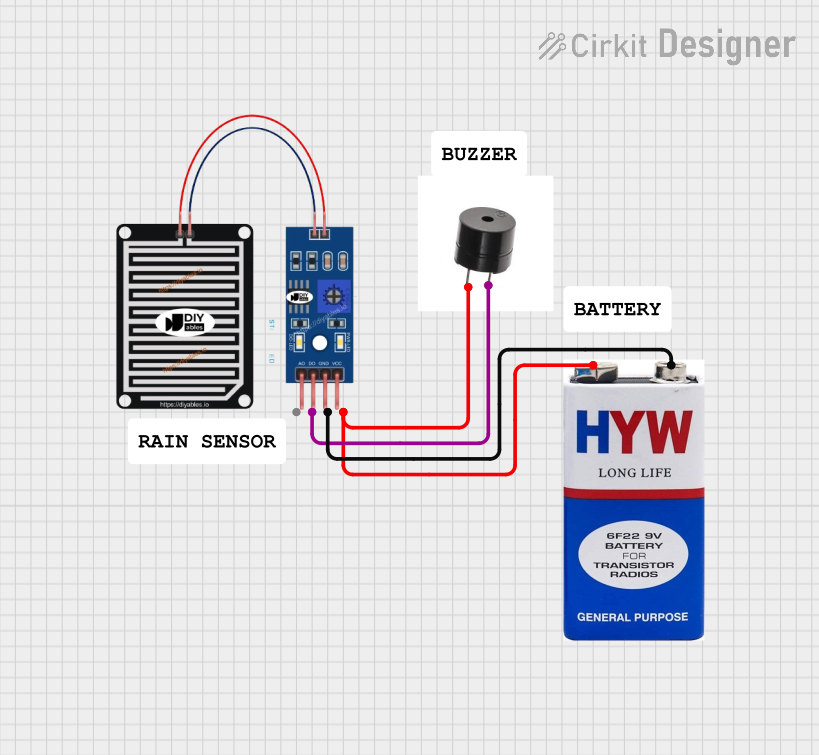
The Rain Sensor is a device designed to detect the presence of rain or water. It is commonly used in weather monitoring systems, automatic wiper control in vehicles, and smart irrigation systems. The sensor typically consists of a rain detection board and a control module that outputs either an analog or digital signal based on the presence of water droplets.
By integrating this sensor into a circuit, users can automate responses to rain, such as activating windshield wipers, sending alerts, or pausing irrigation to conserve water.
Explore Projects Built with Rain Sensor
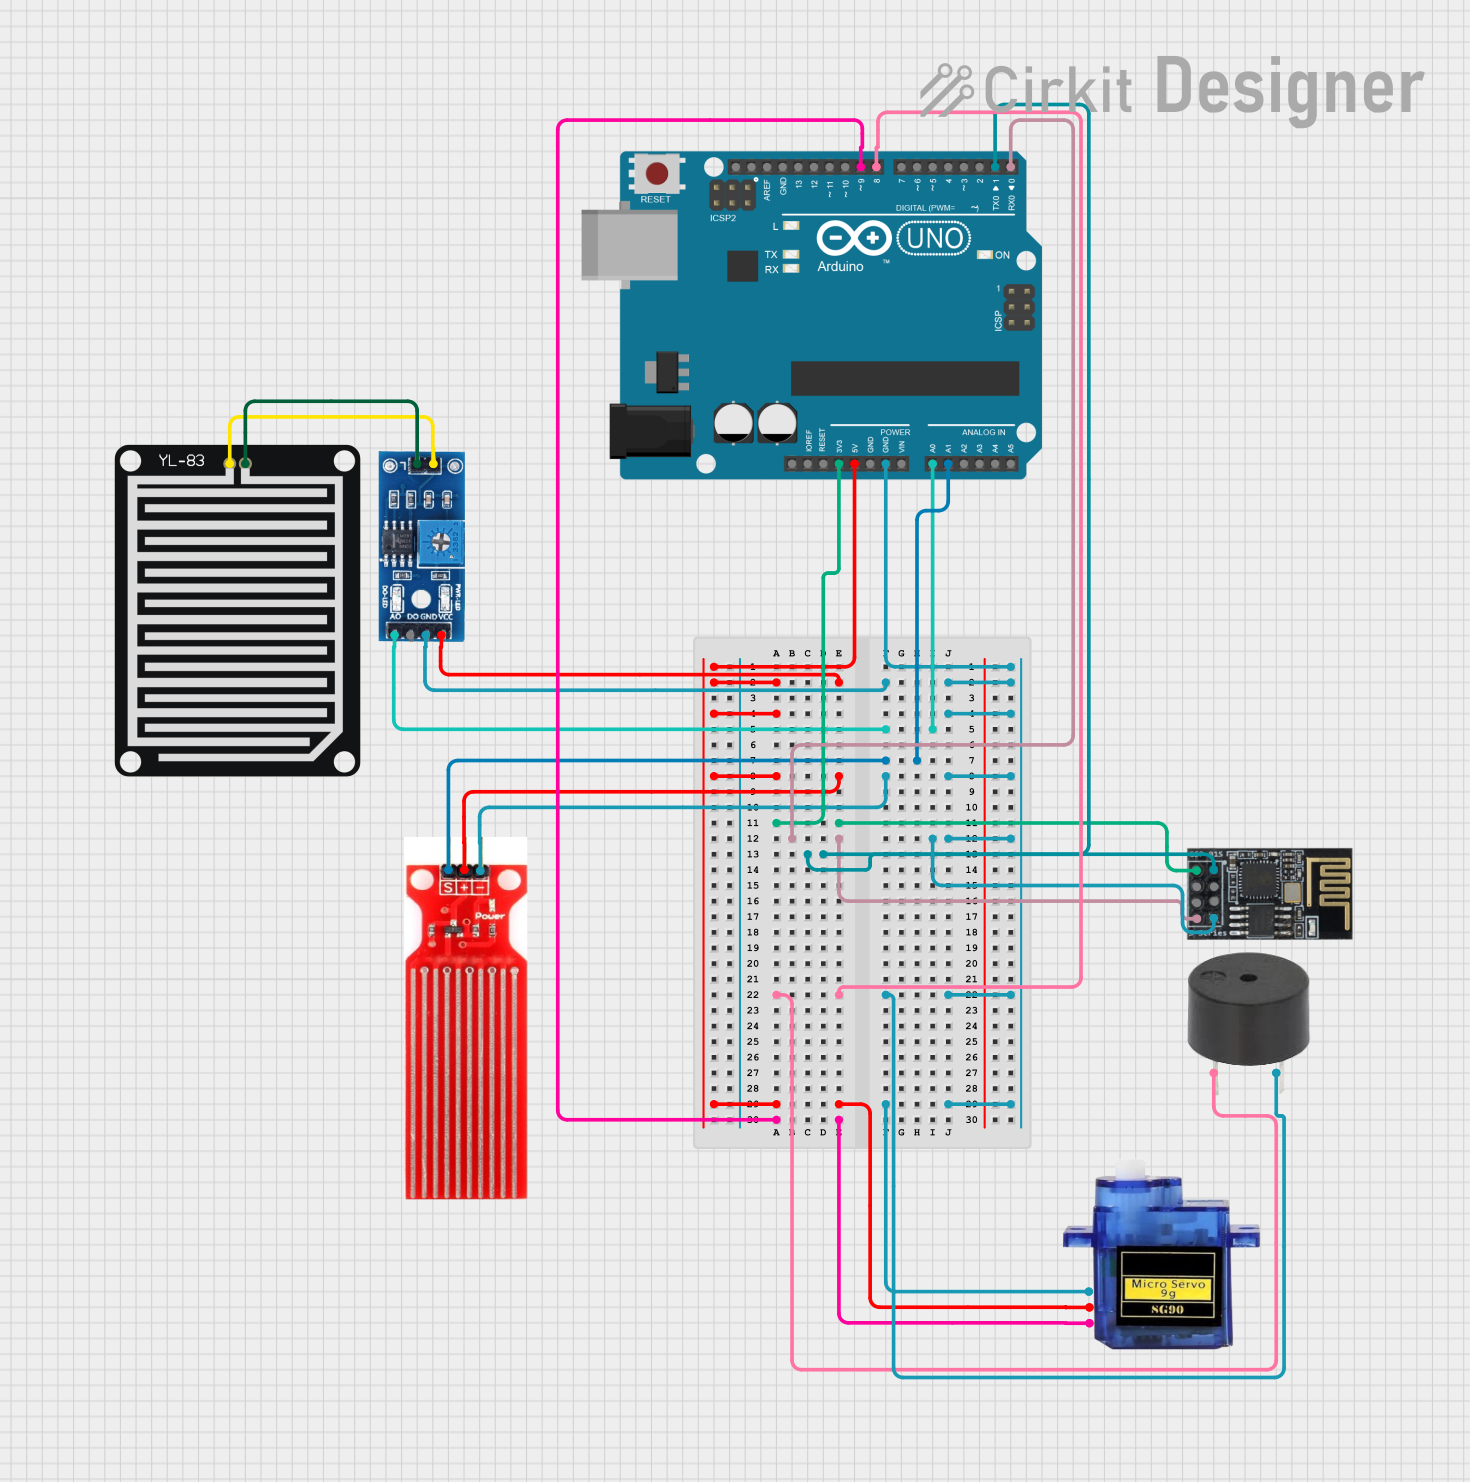
Explore Projects Built with Rain Sensor
Technical Specifications
- Operating Voltage: 3.3V to 5V
- Output Types: Digital (0 or 1) and Analog (variable voltage)
- Current Consumption: < 20mA
- Detection Area: ~5cm x 4cm (varies by model)
- Output Signal:
- Digital Output: High (1) when no rain, Low (0) when rain is detected
- Analog Output: Proportional to the amount of water on the sensor
- Operating Temperature: -40°C to 85°C
- Dimensions: Varies by model, typically compact for easy integration
Pin Configuration and Descriptions
Rain Detection Board
| Pin Name | Description |
|---|---|
| VCC | Power supply input (3.3V to 5V) |
| GND | Ground connection |
| AOUT | Analog output signal |
| DOUT | Digital output signal |
Control Module
| Pin Name | Description |
|---|---|
| VCC | Power supply input (3.3V to 5V) |
| GND | Ground connection |
| DOUT | Digital output signal |
| AOUT | Analog output signal |
| Sensitivity Adjust | Potentiometer to adjust the sensitivity of the digital output |
Usage Instructions
How to Use the Rain Sensor in a Circuit
- Connect the Power Supply:
- Connect the
VCCpin to a 3.3V or 5V power source. - Connect the
GNDpin to the ground of the circuit.
- Connect the
- Choose the Output Type:
- For digital output, connect the
DOUTpin to a digital input pin on your microcontroller. - For analog output, connect the
AOUTpin to an analog input pin on your microcontroller.
- For digital output, connect the
- Adjust Sensitivity:
- Use the onboard potentiometer to adjust the sensitivity of the digital output. Turn clockwise to increase sensitivity and counterclockwise to decrease it.
- Monitor the Output:
- The digital output will be
HIGH(1) when no rain is detected andLOW(0) when rain is detected. - The analog output will vary based on the amount of water on the sensor.
- The digital output will be
Important Considerations and Best Practices
- Placement: Ensure the rain detection board is placed in an open area where it can directly come into contact with rain. Avoid placing it under obstructions like roofs or trees.
- Waterproofing: While the detection board is designed to handle water, ensure the control module and connections are protected from water exposure.
- Cleaning: Periodically clean the detection board to remove dirt or debris that may affect sensitivity.
- Power Supply: Use a stable power source to avoid erratic readings.
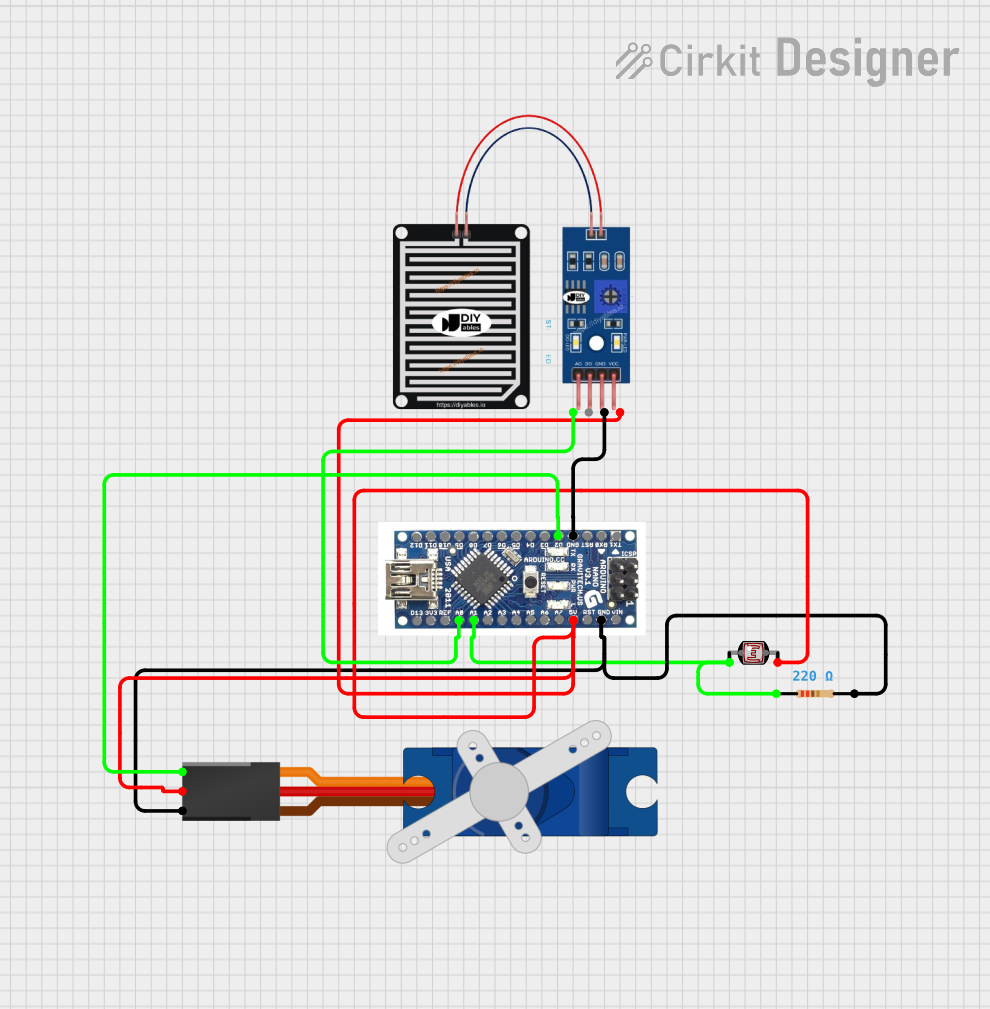
Example: Connecting to an Arduino UNO
Below is an example of how to use the Rain Sensor with an Arduino UNO to monitor rain and display the status via the Serial Monitor.
// Define pin connections
const int digitalPin = 2; // Digital output from the sensor
const int analogPin = A0; // Analog output from the sensor

void setup() {
  pinMode(digitalPin, INPUT); // Set digital pin as input
  Serial.begin(9600); // Initialize serial communication
}

void loop() {
  int digitalValue = digitalRead(digitalPin); // Read digital output
  int analogValue = analogRead(analogPin);   // Read analog output

  // Print the digital and analog values to the Serial Monitor
  Serial.print("Digital Output: ");
  Serial.println(digitalValue);
  Serial.print("Analog Output: ");
  Serial.println(analogValue);

  // Add a delay to avoid flooding the Serial Monitor
  delay(500);
}
Troubleshooting and FAQs
Common Issues
No Output Signal:
- Cause: Loose or incorrect wiring.
- Solution: Double-check all connections, ensuring the
VCCandGNDpins are properly connected.
Erratic Readings:
- Cause: Unstable power supply or dirty detection board.
- Solution: Use a stable power source and clean the detection board with a soft cloth.
Digital Output Always HIGH:
- Cause: Sensitivity is too low or no water is detected.
- Solution: Adjust the potentiometer to increase sensitivity and ensure the board is exposed to rain.
Digital Output Always LOW:
- Cause: Sensitivity is too high or the board is wet.
- Solution: Adjust the potentiometer to decrease sensitivity and dry the board.
FAQs
Q1: Can the Rain Sensor detect the intensity of rain?
A1: Yes, the analog output provides a variable signal that corresponds to the amount of water on the detection board, which can be used to estimate rain intensity.
Q2: Is the Rain Sensor waterproof?
A2: The detection board is designed to handle water, but the control module and connections should be protected from water exposure.
Q3: Can I use the Rain Sensor with a 3.3V microcontroller?
A3: Yes, the sensor operates within a voltage range of 3.3V to 5V, making it compatible with 3.3V microcontrollers like the ESP32.
Q4: How do I clean the Rain Sensor?
A4: Use a soft, dry cloth to gently wipe the detection board. Avoid using abrasive materials or chemicals.