How to Use TFT_4"_Touchscreen: Examples, Pinouts, and Specs
Introduction
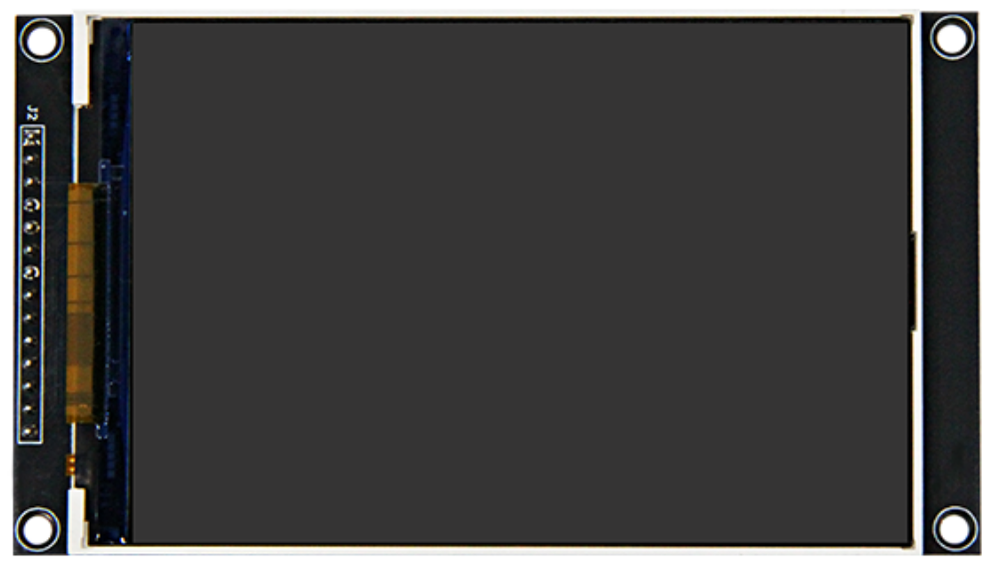
The TFT_4"_Touchscreen (Manufacturer Part ID: MP4031) is a 4-inch thin-film transistor (TFT) touchscreen display that combines visual output with interactive touch input. This component is ideal for applications requiring a compact, high-resolution display with user interaction capabilities. It is commonly used in embedded systems, portable devices, industrial control panels, and DIY electronics projects.
The display supports both graphical and textual output, while the resistive or capacitive touchscreen (depending on the variant) enables precise user input. Its versatility makes it a popular choice for hobbyists and professionals alike.
Explore Projects Built with TFT_4"_Touchscreen


Explore Projects Built with TFT_4"_Touchscreen
Technical Specifications
Below are the key technical details for the TFT_4"_Touchscreen:
General Specifications
| Parameter | Value |
|---|---|
| Display Type | TFT (Thin-Film Transistor) |
| Screen Size | 4 inches (diagonal) |
| Resolution | 480 x 320 pixels |
| Touchscreen Type | Resistive or Capacitive |
| Interface | SPI (Serial Peripheral Interface) or Parallel |
| Backlight | LED |
| Operating Voltage | 3.3V or 5V (depending on configuration) |
| Power Consumption | ~150mA (typical) |
| Operating Temperature | -20°C to 70°C |
Pin Configuration
The TFT_4"_Touchscreen typically has a 14-pin interface. Below is the pinout description:
| Pin Number | Pin Name | Description |
|---|---|---|
| 1 | VCC | Power supply input (3.3V or 5V) |
| 2 | GND | Ground connection |
| 3 | CS | Chip Select for SPI communication |
| 4 | RESET | Reset pin to initialize the display |
| 5 | DC/RS | Data/Command control pin |
| 6 | SDI/MOSI | Serial Data Input / Master Out Slave In |
| 7 | SCK | Serial Clock for SPI |
| 8 | LED | Backlight control (PWM or constant voltage) |
| 9 | T_IRQ | Touchscreen interrupt output (active low) |
| 10 | T_CS | Touchscreen Chip Select |
| 11 | T_SCK | Touchscreen Serial Clock |
| 12 | T_MISO | Touchscreen Master In Slave Out |
| 13 | T_MOSI | Touchscreen Master Out Slave In |
| 14 | NC | Not Connected (reserved for future use) |
Note: Pin configuration may vary slightly depending on the manufacturer. Always refer to the specific datasheet for your module.
Usage Instructions
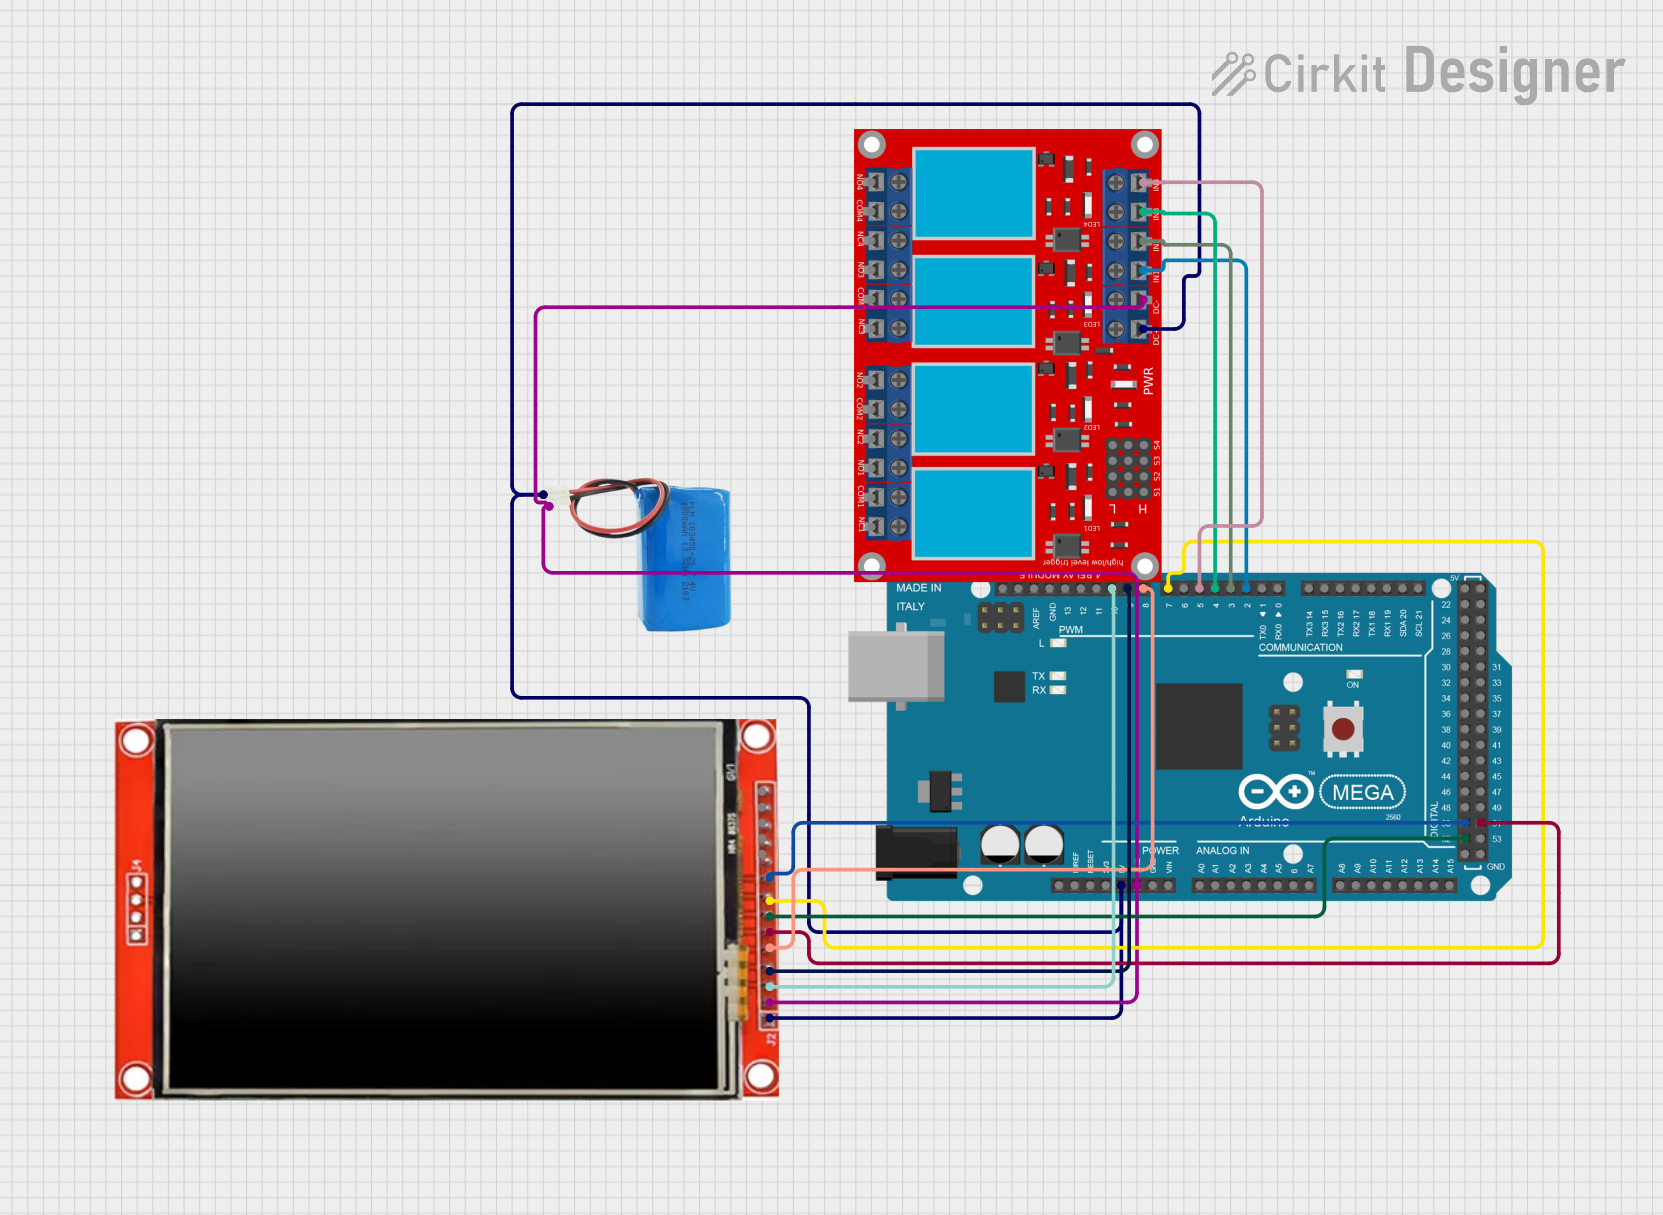
Connecting the TFT_4"_Touchscreen to an Arduino UNO
To use the TFT_4"_Touchscreen with an Arduino UNO, follow these steps:
Wiring the Display:
- Connect the
VCCpin to the 5V pin on the Arduino. - Connect the
GNDpin to the GND pin on the Arduino. - Connect the
CS,RESET,DC/RS,SDI/MOSI, andSCKpins to the corresponding digital pins on the Arduino (as defined in your code). - If using the touchscreen, connect the
T_CS,T_IRQ,T_SCK,T_MISO, andT_MOSIpins to additional digital pins.
- Connect the
Install Required Libraries:
- Install the
Adafruit_GFXandAdafruit_TFTLCDlibraries from the Arduino Library Manager. - If using the touchscreen, install the
Adafruit_TouchScreenlibrary.
- Install the
Upload Example Code: Use the following example code to test the display and touchscreen functionality:
// Include necessary libraries
#include <Adafruit_GFX.h>       // Graphics library for TFT
#include <Adafruit_TFTLCD.h>   // TFT LCD library
#include <TouchScreen.h>       // Touchscreen library

// Define pin connections
#define LCD_CS A3    // Chip Select
#define LCD_CD A2    // Command/Data
#define LCD_WR A1    // LCD Write
#define LCD_RD A0    // LCD Read
#define LCD_RESET A4 // Reset

// Touchscreen pins
#define YP A1  // Must be an analog pin
#define XM A2  // Must be an analog pin
#define YM 7   // Can be a digital pin
#define XP 6   // Can be a digital pin

// Touchscreen calibration values (example values, may vary)
#define TS_MINX 150
#define TS_MAXX 920
#define TS_MINY 120
#define TS_MAXY 940

// Initialize display and touchscreen
Adafruit_TFTLCD tft(LCD_CS, LCD_CD, LCD_WR, LCD_RD, LCD_RESET);
TouchScreen ts = TouchScreen(XP, YP, XM, YM, 300);

void setup() {
  tft.begin(0x9341); // Initialize with the display driver ID
  tft.setRotation(1); // Set display orientation
  tft.fillScreen(0xFFFF); // Clear screen with white color
  tft.setTextColor(0x0000); // Set text color to black
  tft.setTextSize(2);
  tft.setCursor(10, 10);
  tft.print("TFT Touchscreen Test");
}

void loop() {
  // Check for touch input
  TSPoint p = ts.getPoint();
  if (p.z > ts.pressureThreshhold) {
    // Map touch coordinates to screen coordinates
    int x = map(p.x, TS_MINX, TS_MAXX, 0, tft.width());
    int y = map(p.y, TS_MINY, TS_MAXY, 0, tft.height());
    tft.fillCircle(x, y, 3, 0xF800); // Draw a red dot at the touch point
  }
}
Run the Code:
- Upload the code to your Arduino UNO.
- Open the Serial Monitor to view any debug messages.
- Touch the screen to see the red dot appear at the touch location.
Important Considerations
- Ensure the operating voltage of the display matches your microcontroller (3.3V or 5V).
- Use level shifters if your microcontroller operates at 5V and the display is 3.3V.
- Calibrate the touchscreen for accurate touch detection.
- Avoid excessive pressure on the touchscreen to prevent damage.
Troubleshooting and FAQs
Common Issues
The display does not turn on:
- Verify the power connections (VCC and GND).
- Check if the backlight pin (LED) is properly connected.
No image or incorrect display:
- Ensure the correct driver ID is passed to the
tft.begin()function. - Double-check the wiring of the SPI or parallel interface.
- Ensure the correct driver ID is passed to the
Touchscreen not responding:
- Verify the touchscreen pins are correctly connected.
- Calibrate the touchscreen using the
TouchScreenlibrary.
Flickering or unstable display:
- Ensure a stable power supply.
- Add decoupling capacitors near the power pins if necessary.
FAQs
Q: Can I use this display with a Raspberry Pi?
A: Yes, the TFT_4"_Touchscreen can be used with a Raspberry Pi. You will need to configure the SPI interface and install the appropriate libraries (e.g., fbtft or Pillow for Python).
Q: How do I clean the touchscreen?
A: Use a soft, lint-free cloth slightly dampened with water or a screen-safe cleaning solution. Avoid abrasive materials.
Q: Can I use this display outdoors?
A: The display is not sunlight-readable and may require a shade or anti-glare film for outdoor use. Ensure the operating temperature is within the specified range.
By following this documentation, you can successfully integrate and use the TFT_4"_Touchscreen in your projects!