
How to Use esp32-s3-devkitc: Examples, Pinouts, and Specs
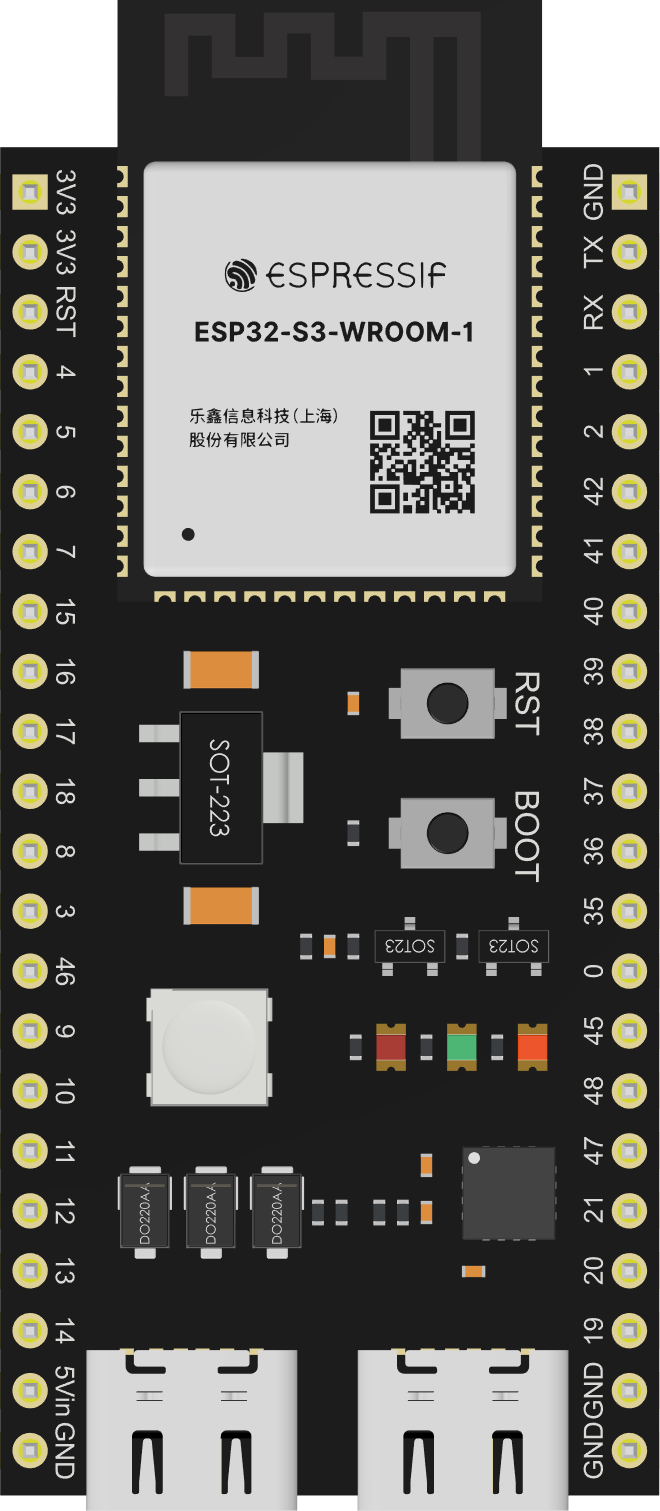
 Design with esp32-s3-devkitc in Cirkit Designer
Introduction
The ESP32-S3-DevKitC is a compact and versatile development board built around the ESP32-S3 chip. This chip integrates dual-core Xtensa LX7 processors, Wi-Fi, and Bluetooth Low Energy (BLE) capabilities, making it ideal for Internet of Things (IoT) applications. The board is designed to simplify prototyping and development of smart devices, offering support for a wide range of peripherals and interfaces.
Explore Projects Built with esp32-s3-devkitc
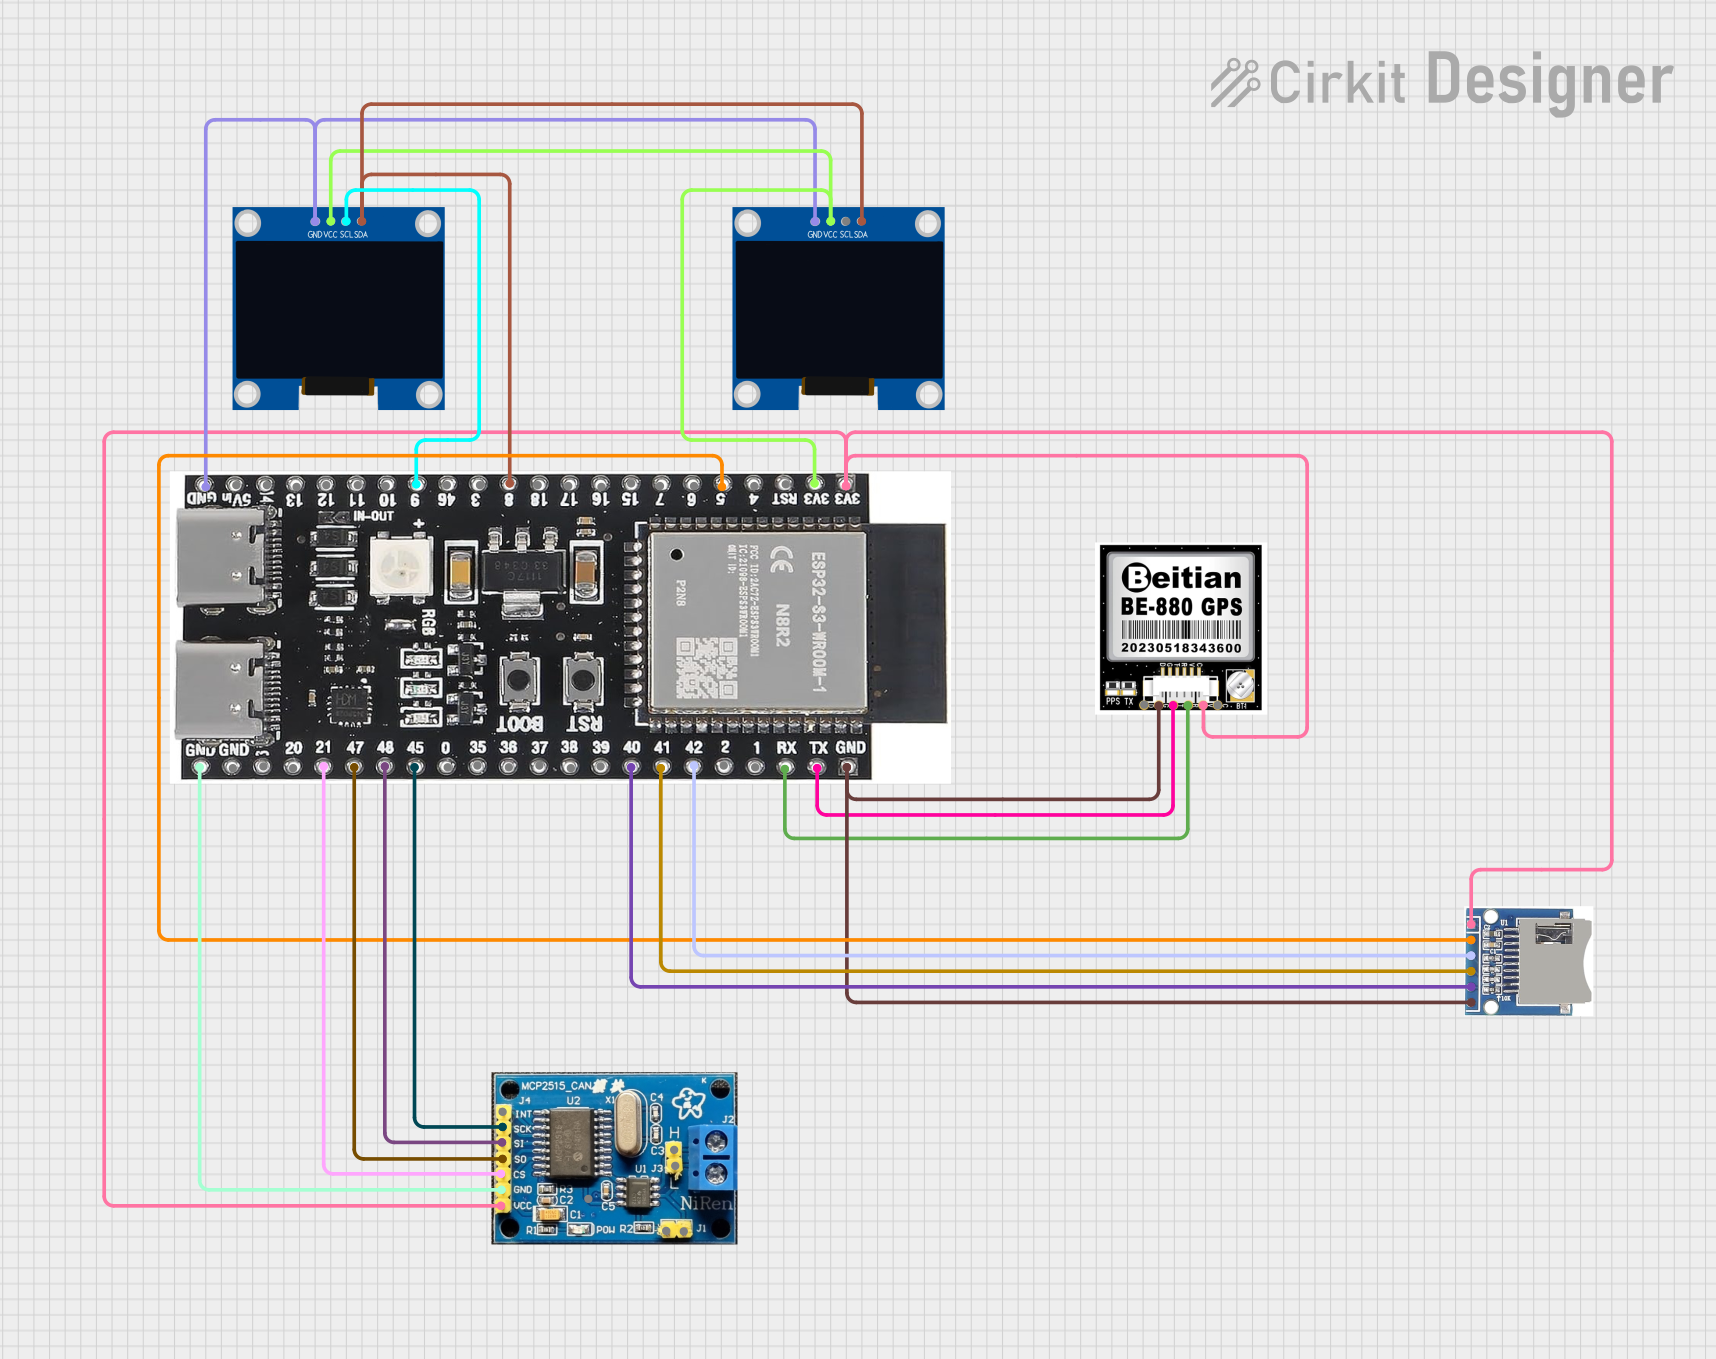 Open Project in Cirkit Designer
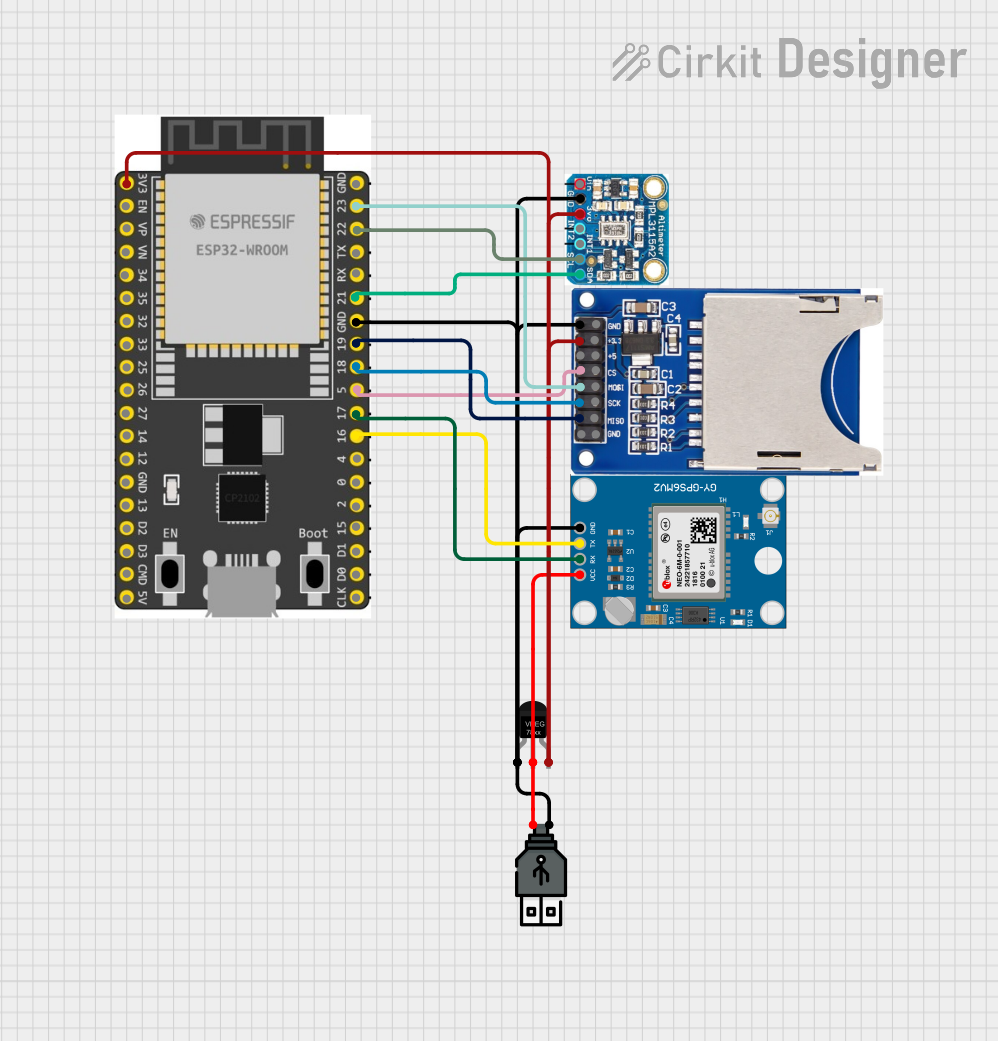 Open Project in Cirkit Designer
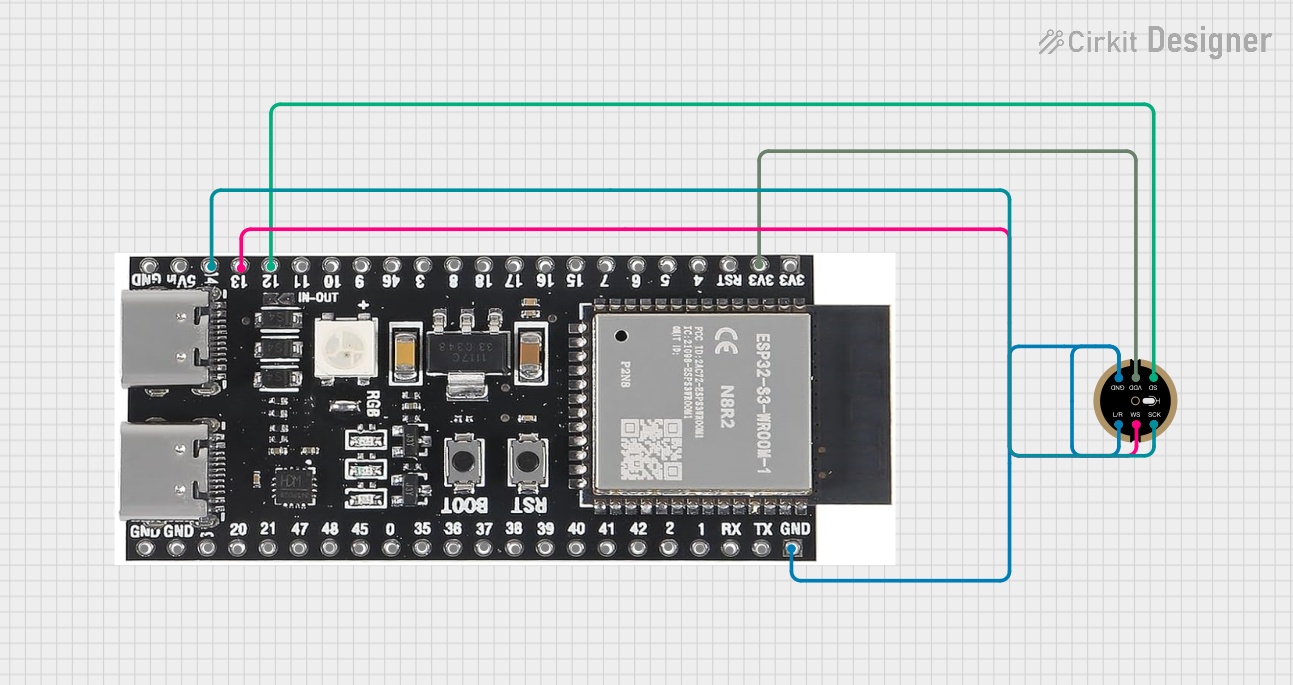 Open Project in Cirkit Designer
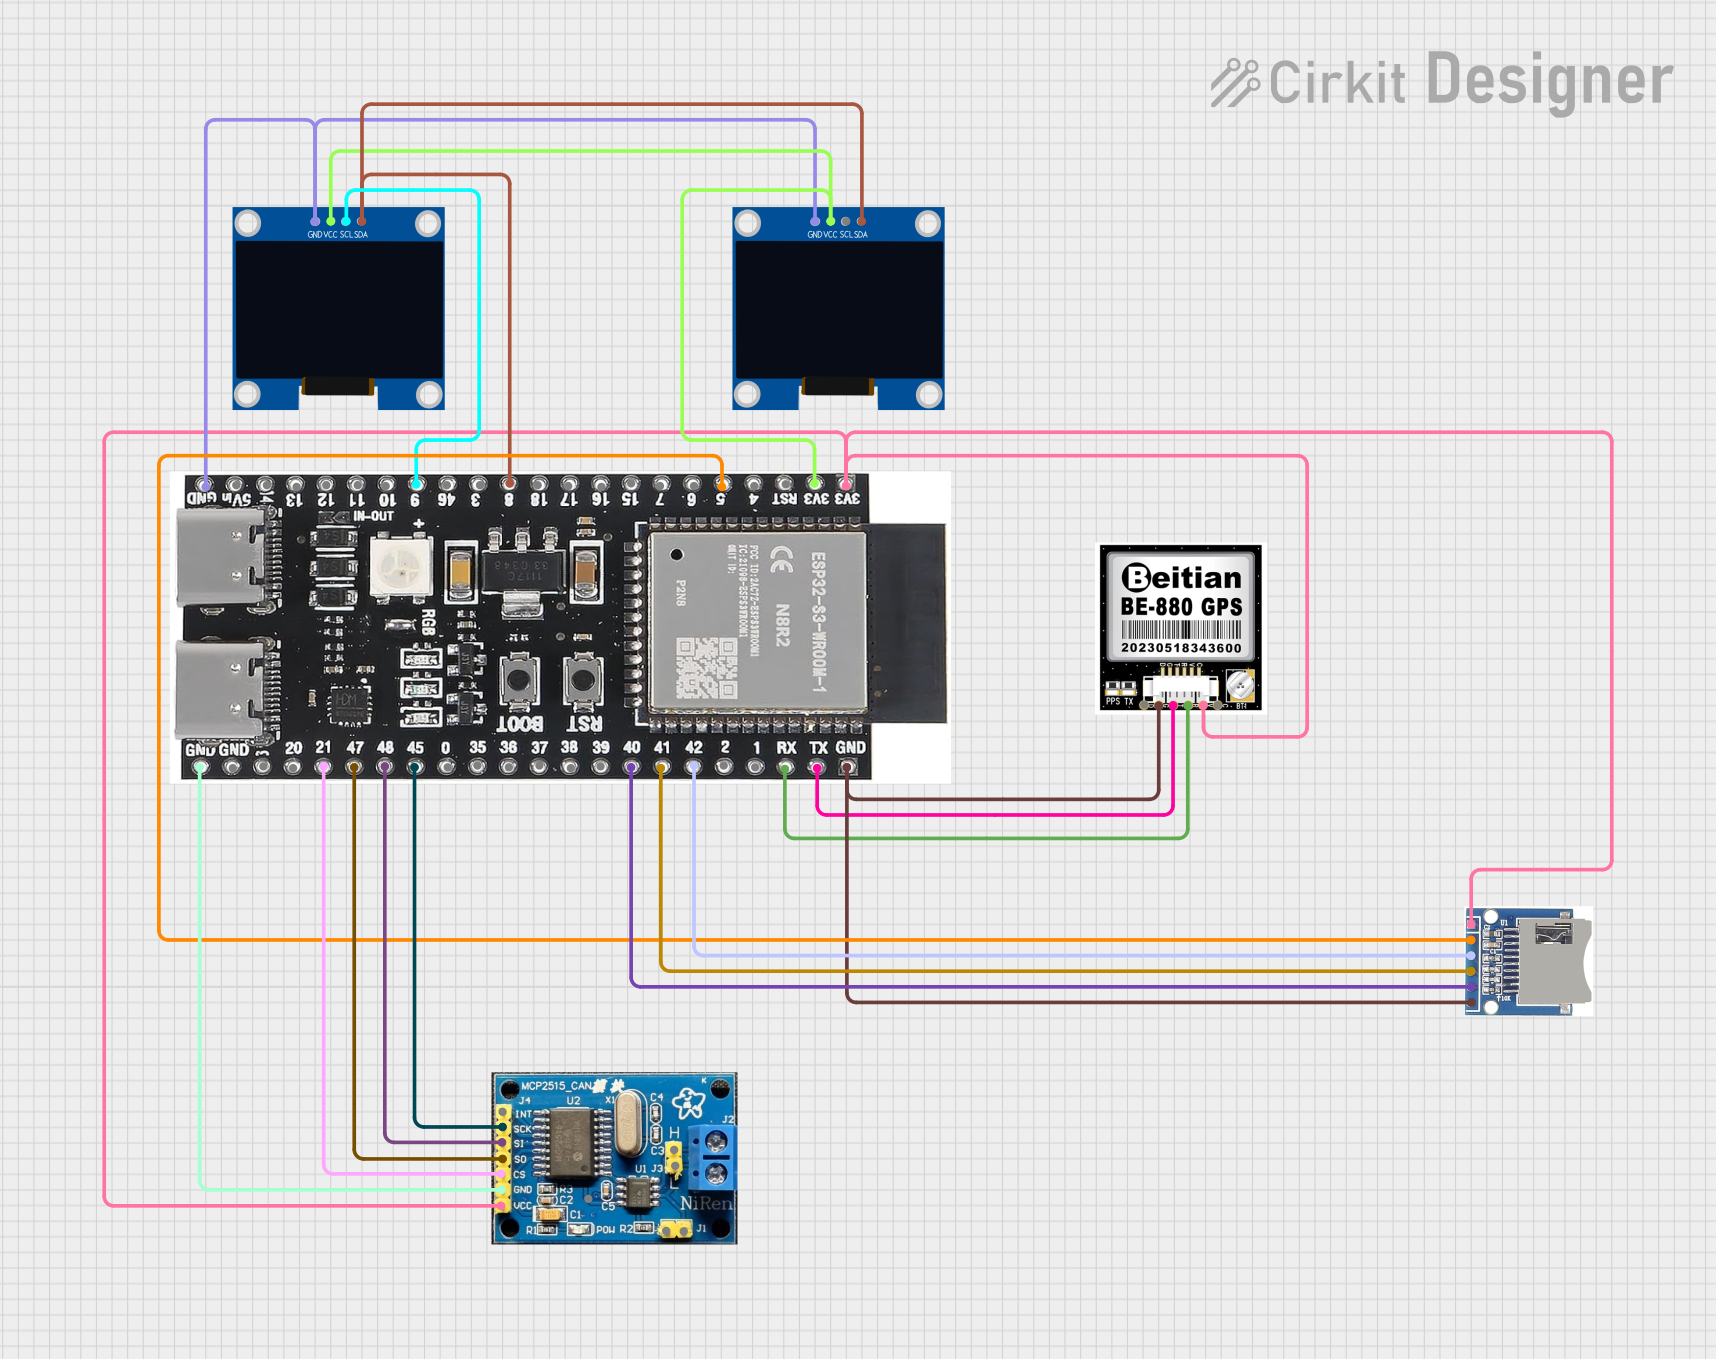 Open Project in Cirkit Designer
Explore Projects Built with esp32-s3-devkitc
Open Project in Cirkit DesignerOpen Project in Cirkit DesignerOpen Project in Cirkit DesignerOpen Project in Cirkit DesignerCommon Applications and Use Cases
- IoT devices and smart home automation
- Wearable electronics
- Wireless sensor networks
- Industrial automation
- Prototyping AI and machine learning applications at the edge
Technical Specifications
The ESP32-S3-DevKitC is packed with features that make it a powerful tool for developers. Below are its key technical specifications:
Key Technical Details
- Processor: Dual-core Xtensa LX7, up to 240 MHz
- Wireless Connectivity: Wi-Fi 802.11 b/g/n and Bluetooth 5 (LE)
- Flash Memory: 4 MB (varies by model)
- SRAM: 512 KB
- GPIO Pins: 45 (multiplexed with other functions)
- Operating Voltage: 3.3V
- USB Interface: USB Type-C for programming and power
- Power Supply: 5V via USB or external power source
- Operating Temperature: -40°C to 85°C
- Dimensions: 54 mm x 25.5 mm
Pin Configuration and Descriptions
The ESP32-S3-DevKitC features a 2x19 pin header layout. Below is a summary of the pin configuration:
| Pin | Name | Function |
|---|---|---|
| 1 | 3V3 | 3.3V power output |
| 2 | GND | Ground |
| 3 | IO0 | GPIO0, used for boot mode selection |
| 4 | IO1 | GPIO1, general-purpose I/O |
| 5 | IO2 | GPIO2, general-purpose I/O |
| 6 | IO3 | GPIO3, general-purpose I/O |
| 7 | IO4 | GPIO4, general-purpose I/O |
| 8 | IO5 | GPIO5, general-purpose I/O |
| ... | ... | ... (Refer to the official datasheet for the full pinout) |
| 38 | EN | Enable pin, used to reset the chip |
| 39 | VIN | Power input (5V) |
Note: Many GPIO pins are multiplexed with other functions such as ADC, DAC, I2C, SPI, UART, and PWM. Refer to the ESP32-S3 datasheet for detailed pin functionality.
Usage Instructions
How to Use the ESP32-S3-DevKitC in a Circuit
Powering the Board:
- Connect the board to your computer using a USB Type-C cable for power and programming.
- Alternatively, supply 5V to the VIN pin for external power.
Programming the Board:
- Install the Arduino IDE or ESP-IDF development framework.
- Add the ESP32 board support package to your IDE.
- Select "ESP32-S3-DevKitC" as the target board in the IDE.
Connecting Peripherals:
- Use the GPIO pins to connect sensors, actuators, or other peripherals.
- Ensure that the voltage levels of connected devices are compatible with the 3.3V logic of the ESP32-S3.
Uploading Code:
- Write your code in the IDE and upload it to the board via the USB connection.
- Use the onboard EN (enable) button to reset the board if needed.
Important Considerations and Best Practices
- Voltage Levels: Avoid applying voltages higher than 3.3V to the GPIO pins to prevent damage.
- Boot Mode: Hold the IO0 pin low while pressing the EN button to enter bootloader mode for firmware flashing.
- Power Supply: Use a stable power source to avoid unexpected resets or malfunctions.
- Debugging: Use the onboard USB-to-UART bridge for serial debugging.
Example Code for Arduino IDE
Below is an example of how to blink an LED connected to GPIO2:
// Define the GPIO pin for the LED
#define LED_PIN 2

void setup() {
  // Initialize the LED pin as an output
  pinMode(LED_PIN, OUTPUT);
}

void loop() {
  // Turn the LED on
  digitalWrite(LED_PIN, HIGH);
  delay(1000); // Wait for 1 second

  // Turn the LED off
  digitalWrite(LED_PIN, LOW);
  delay(1000); // Wait for 1 second
}
Tip: Ensure the LED is connected to GPIO2 with a current-limiting resistor (e.g., 220Ω) to prevent damage.
Troubleshooting and FAQs
Common Issues and Solutions
Board Not Detected by Computer:
- Ensure the USB cable is functional and supports data transfer.
- Verify that the correct drivers for the USB-to-UART bridge are installed.
Code Upload Fails:
- Check that the correct board and port are selected in the IDE.
- Enter bootloader mode by holding IO0 low and pressing the EN button.
Wi-Fi Connection Issues:
- Verify the SSID and password in your code.
- Ensure the Wi-Fi network is within range and operational.
Board Resets Unexpectedly:
- Check the power supply for stability.
- Avoid excessive current draw from GPIO pins.
FAQs
Q: Can I use 5V sensors with the ESP32-S3-DevKitC?
A: No, the GPIO pins operate at 3.3V logic levels. Use a level shifter if interfacing with 5V devices.
Q: How do I update the firmware?
A: Use the ESP-IDF or Arduino IDE to flash new firmware. Enter bootloader mode if required.
Q: Is the ESP32-S3-DevKitC compatible with ESP32 libraries?
A: Yes, most ESP32 libraries are compatible, but ensure they support the ESP32-S3 variant.
Q: Can I power the board with a battery?
A: Yes, you can use a 3.7V LiPo battery with a suitable regulator or connect a 5V source to the VIN pin.
By following this documentation, you can effectively utilize the ESP32-S3-DevKitC for your IoT and smart device projects.