How to Use Proto shield v5: Examples, Pinouts, and Specs

Introduction
The Proto Shield V5 is a prototyping shield designed for Arduino boards, enabling users to create custom circuits and projects with ease. It features a breadboard area for solderless prototyping, access to Arduino pins, and additional features like power supply rails and reset buttons. This shield is ideal for hobbyists, students, and professionals who want to quickly test and develop electronic circuits without the need for a custom PCB.
Explore Projects Built with Proto shield v5

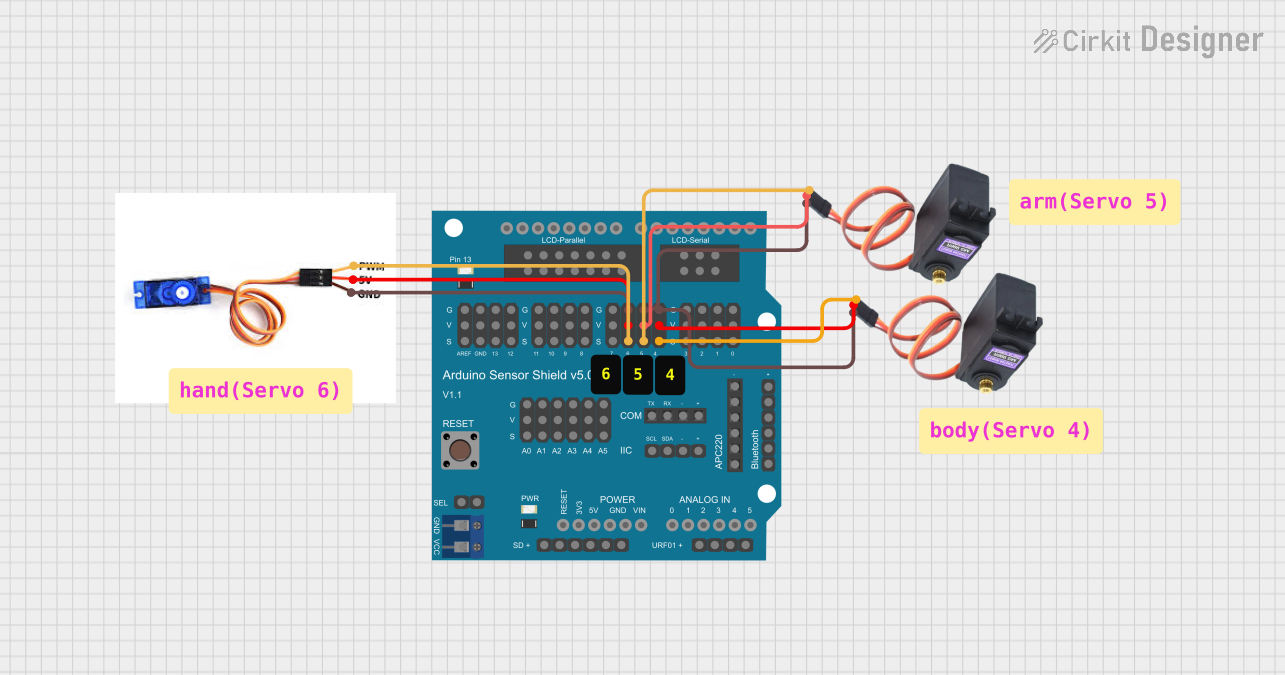
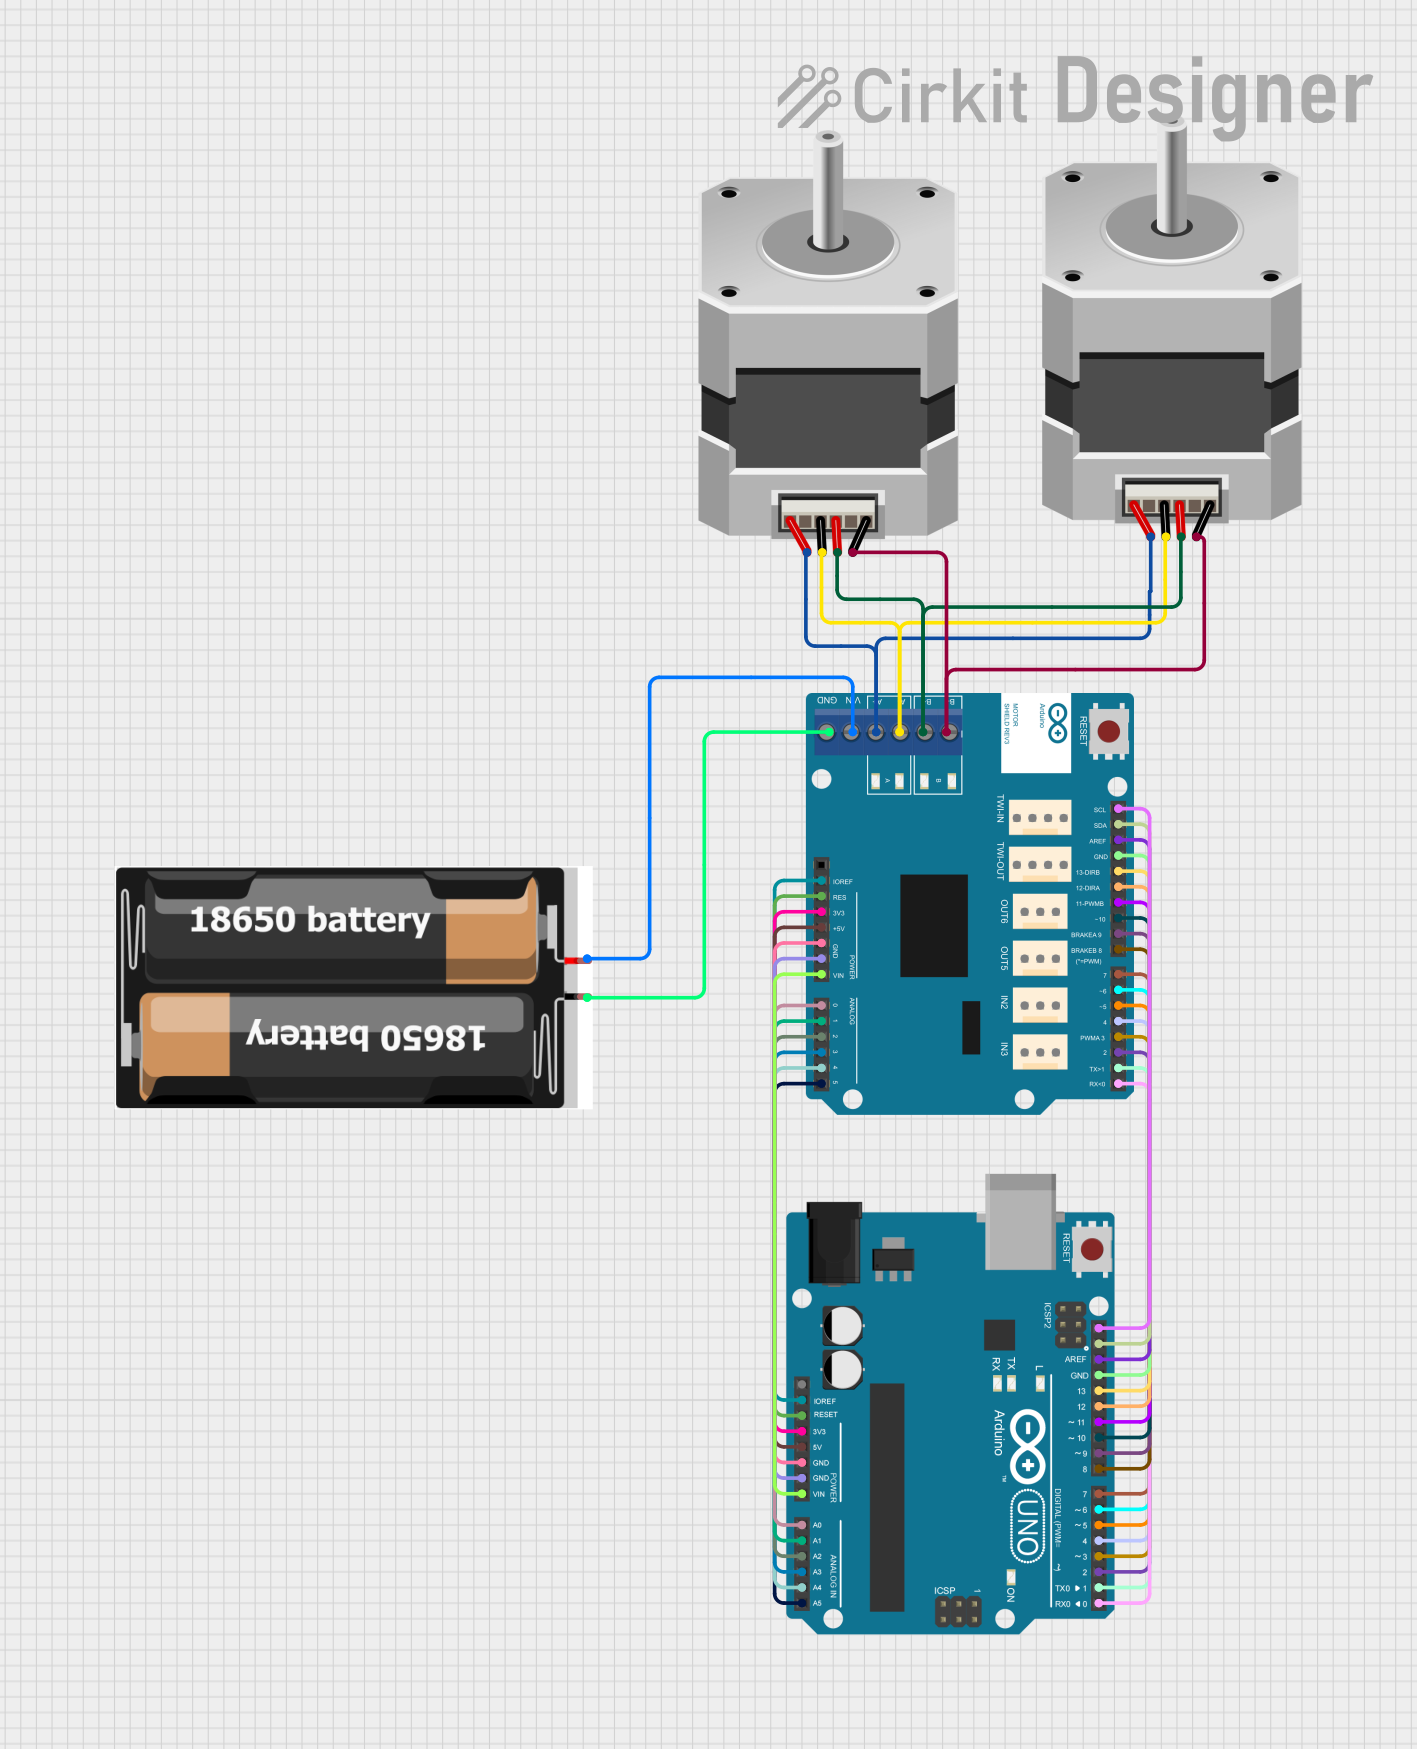

Explore Projects Built with Proto shield v5
Common Applications and Use Cases
- Rapid prototyping of electronic circuits
- Testing sensors, actuators, and other components with Arduino
- Educational projects and learning electronics
- Building small-scale IoT or robotics projects
- Creating custom shields for specific applications
Technical Specifications
Key Technical Details
- Compatibility: Arduino UNO, Mega, Leonardo, and other standard Arduino boards
- Breadboard Area: Solderless prototyping area for quick circuit assembly
- Power Supply: Access to 5V and GND rails for powering components
- Pin Access: Breakout for all Arduino pins, including analog and digital I/O
- Additional Features:
- Reset button for Arduino
- Extra soldering pads for permanent connections
- Onboard LEDs for power indication
- Dimensions: Matches the standard Arduino form factor
Pin Configuration and Descriptions
The Proto Shield V5 provides access to all Arduino pins via headers. Below is a description of the pin layout:
| Pin | Description |
|---|---|
| Digital Pins | Breakout for all digital I/O pins (D0-D13) |
| Analog Pins | Breakout for all analog input pins (A0-A5) |
| Power Pins | Access to 5V, 3.3V, and GND for powering external components |
| ICSP Header | Provides access to the In-Circuit Serial Programming (ICSP) pins |
| Reset Button | Allows manual resetting of the Arduino board |
| Breadboard | Solderless area for connecting components and creating temporary circuits |
Usage Instructions
How to Use the Proto Shield V5 in a Circuit
- Attach the Shield: Place the Proto Shield V5 on top of your Arduino board, ensuring the headers align with the Arduino pins.
- Connect Components: Use the breadboard area to connect components like resistors, LEDs, sensors, or ICs. Insert wires into the breadboard to create connections.
- Power Your Circuit: Use the 5V and GND rails on the shield to power your components. For components requiring 3.3V, use the 3.3V pin.
- Access Arduino Pins: Use the breakout headers to connect to Arduino's digital and analog pins as needed.
- Upload Code: Write and upload your Arduino sketch using the Arduino IDE to control your circuit.
Important Considerations and Best Practices
- Avoid Short Circuits: Double-check connections on the breadboard to prevent accidental short circuits.
- Component Ratings: Ensure components used on the shield are within the voltage and current limits of the Arduino board.
- Permanent Connections: For long-term projects, consider soldering components to the extra soldering pads provided on the shield.
- Reset Button: Use the reset button on the shield to restart your Arduino without disconnecting it from power.
Example Code for Arduino UNO
Below is an example code to blink an LED connected to pin 13 using the Proto Shield V5:
// Example code to blink an LED connected to pin 13
// Ensure the LED's longer leg (anode) is connected to pin 13
// and the shorter leg (cathode) is connected to GND.

void setup() {
  pinMode(13, OUTPUT); // Set pin 13 as an output
}

void loop() {
  digitalWrite(13, HIGH); // Turn the LED on
  delay(1000);            // Wait for 1 second
  digitalWrite(13, LOW);  // Turn the LED off
  delay(1000);            // Wait for 1 second
}
Troubleshooting and FAQs
Common Issues and Solutions
Shield Not Fitting Properly:
- Ensure the shield is aligned correctly with the Arduino headers.
- Check for bent pins and straighten them if necessary.
Components Not Working:
- Verify all connections on the breadboard.
- Check if the components are receiving the correct voltage and current.
Arduino Not Responding:
- Press the reset button on the shield to restart the Arduino.
- Ensure the Arduino is properly connected to your computer via USB.
Short Circuits on the Breadboard:
- Inspect the breadboard for overlapping wires or incorrect connections.
- Use a multimeter to check for continuity where it shouldn't exist.
FAQs
Q: Can I use the Proto Shield V5 with an Arduino Mega?
A: Yes, the Proto Shield V5 is compatible with the Arduino Mega, but note that the additional pins on the Mega (beyond the standard UNO layout) will not be accessible.
Q: Can I solder components directly to the shield?
A: Yes, the Proto Shield V5 includes extra soldering pads for permanent connections.
Q: Is the breadboard reusable?
A: Yes, the breadboard area is solderless, allowing you to reuse it for multiple projects.
Q: Can I power the shield externally?
A: The shield relies on the Arduino's power supply. If you need external power, connect it to the Arduino's power input.
By following this documentation, you can effectively use the Proto Shield V5 to prototype and test your electronic projects with ease.