How to Use STM32WL Nucleo 73 : Examples, Pinouts, and Specs
Introduction
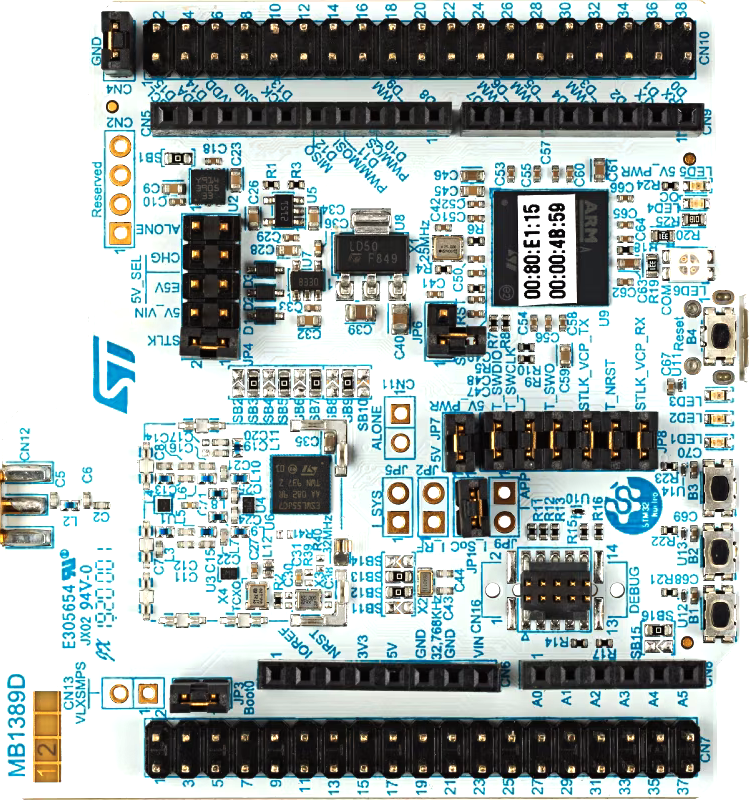
The STM32WL Nucleo 73 (Manufacturer Part ID: NUCLEO-WL55JC1) is a development board designed by STMicroelectronics. It features the STM32WL series microcontroller, which integrates a low-power wireless transceiver and an ARM Cortex-M4 core. This board is tailored for low-power wireless applications, including LoRa, Sigfox, and other Sub-GHz communication protocols. It provides a versatile platform for prototyping and development, with onboard RF capabilities and compatibility with Arduino and ST morpho connectors for expansion.
Explore Projects Built with STM32WL Nucleo 73
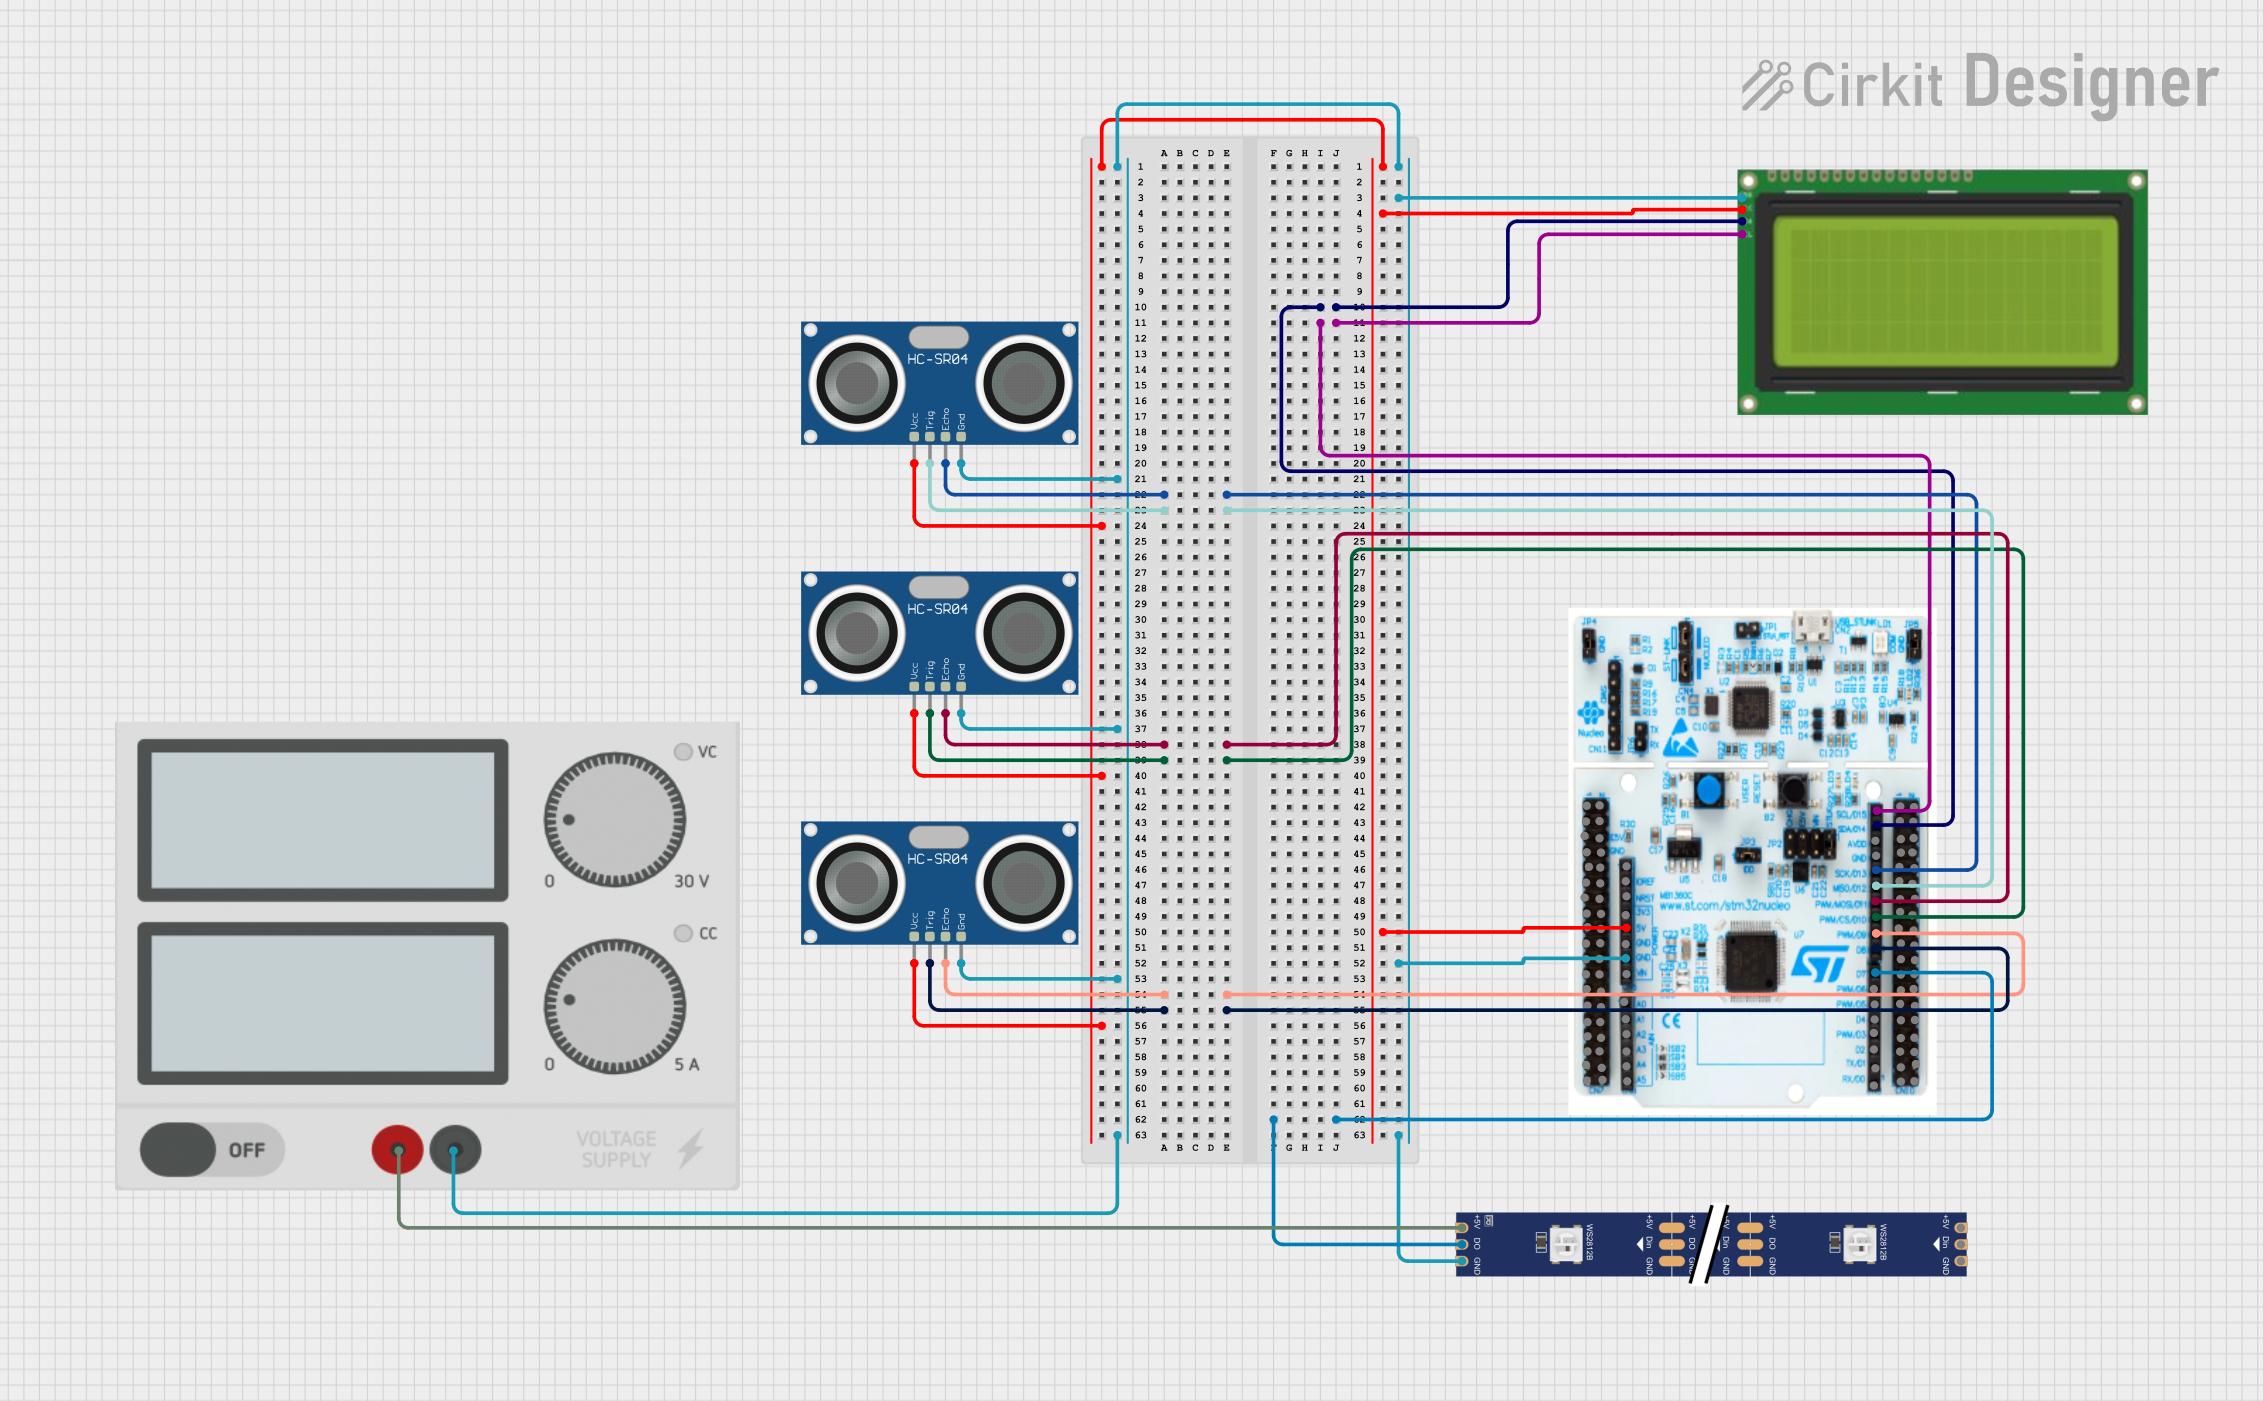

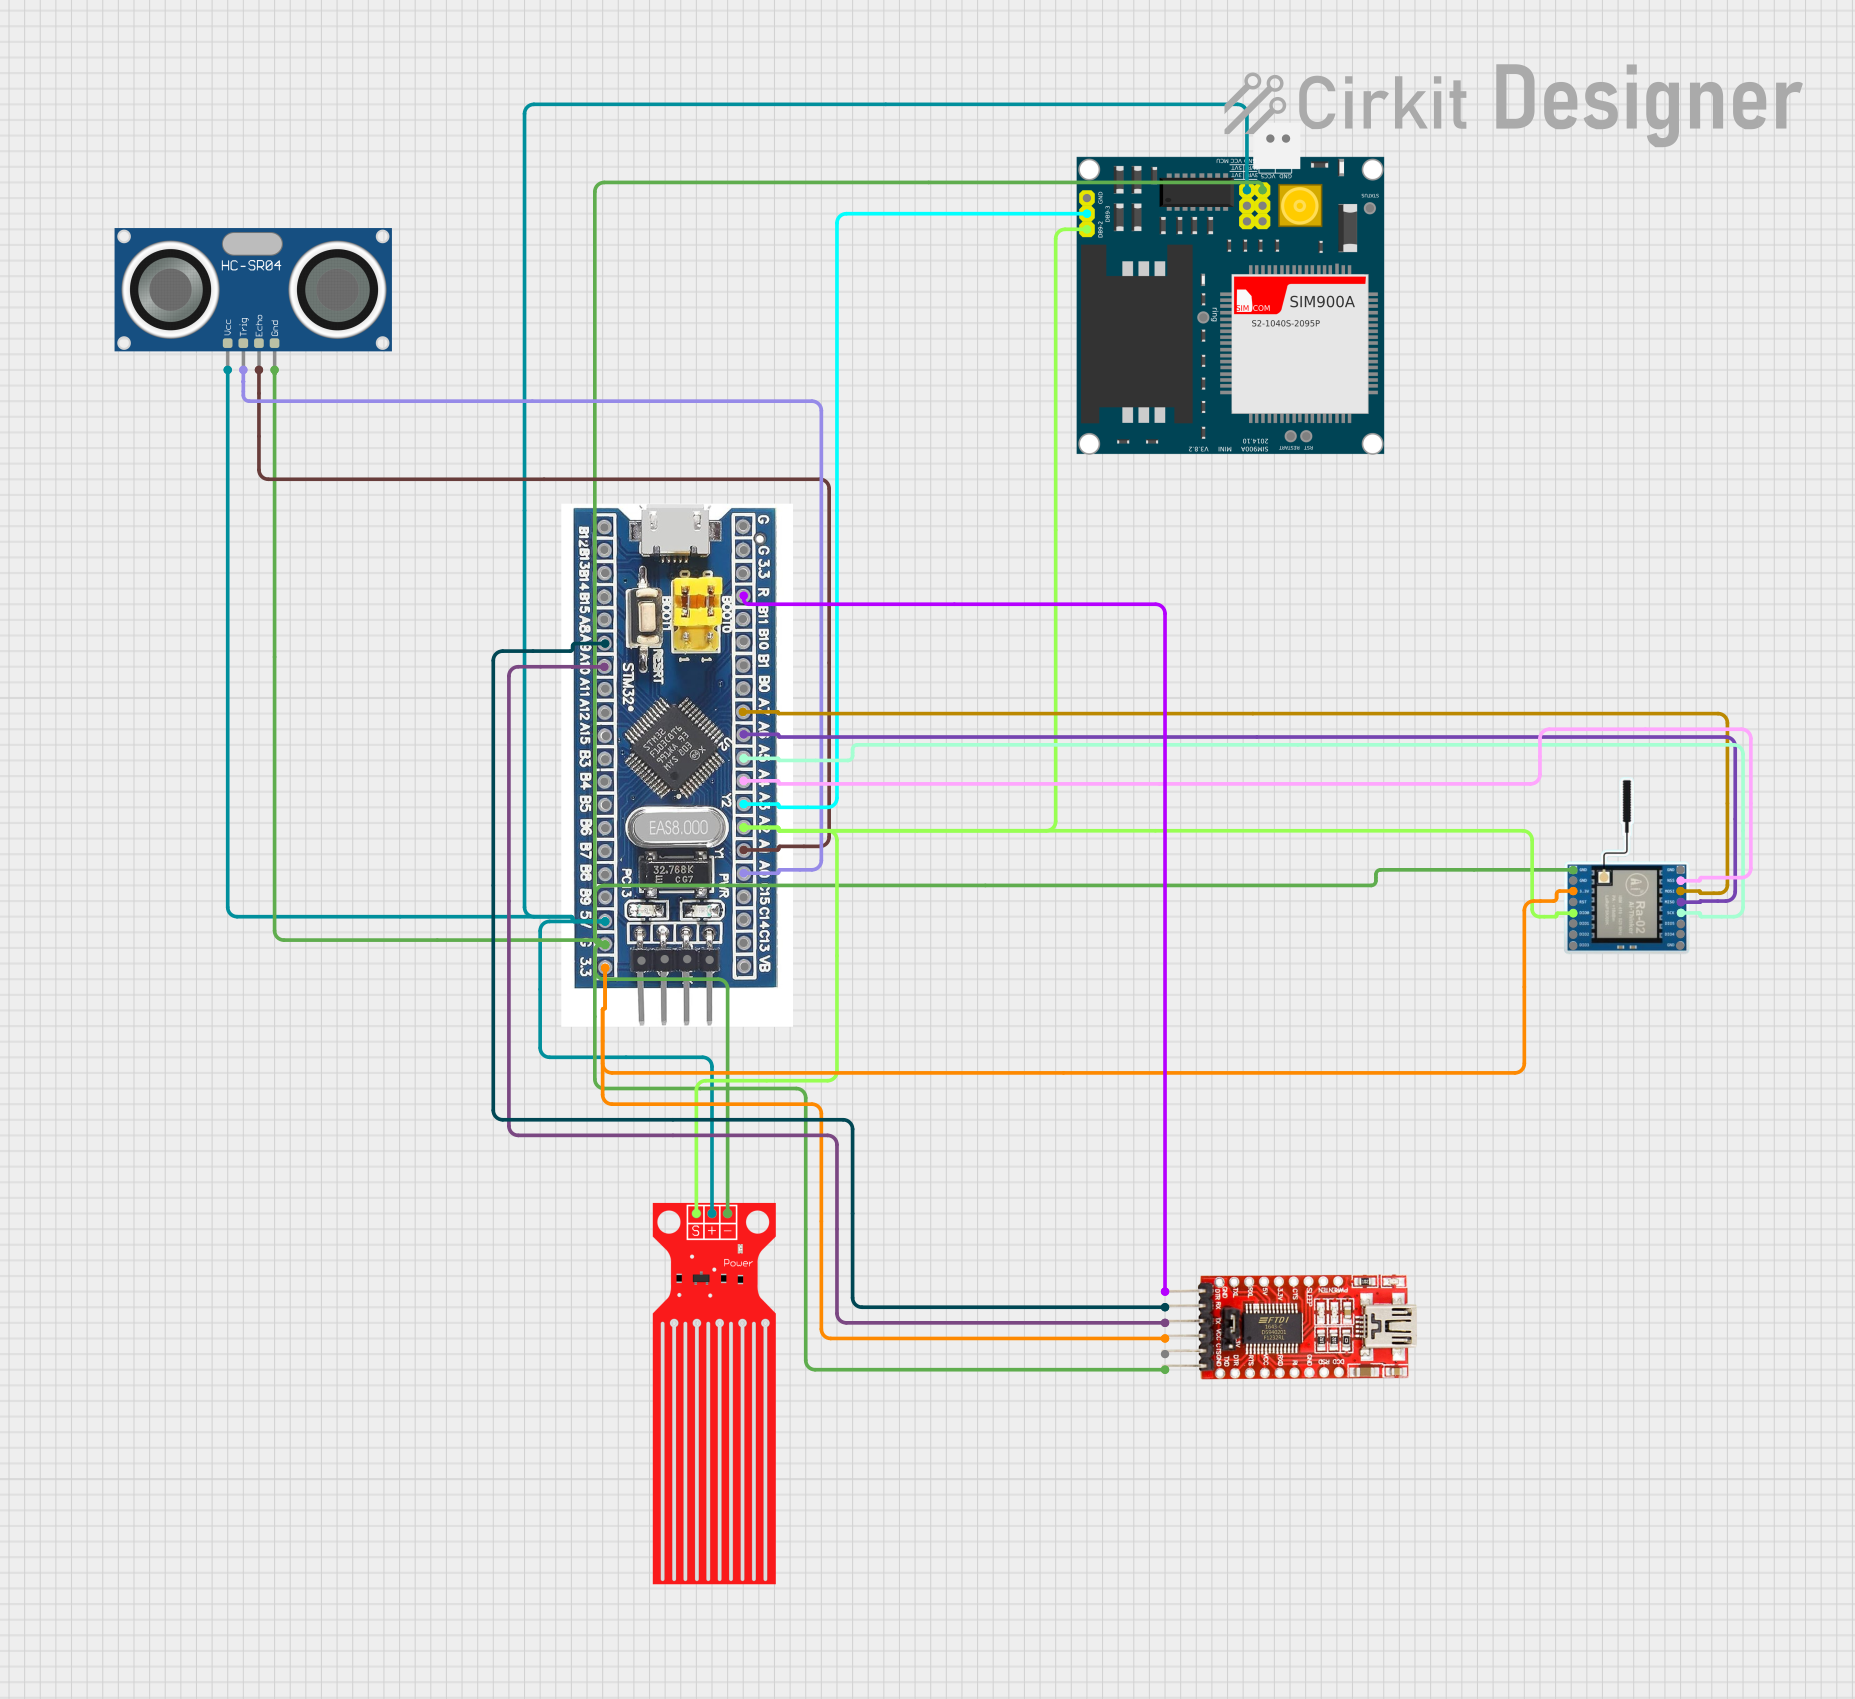
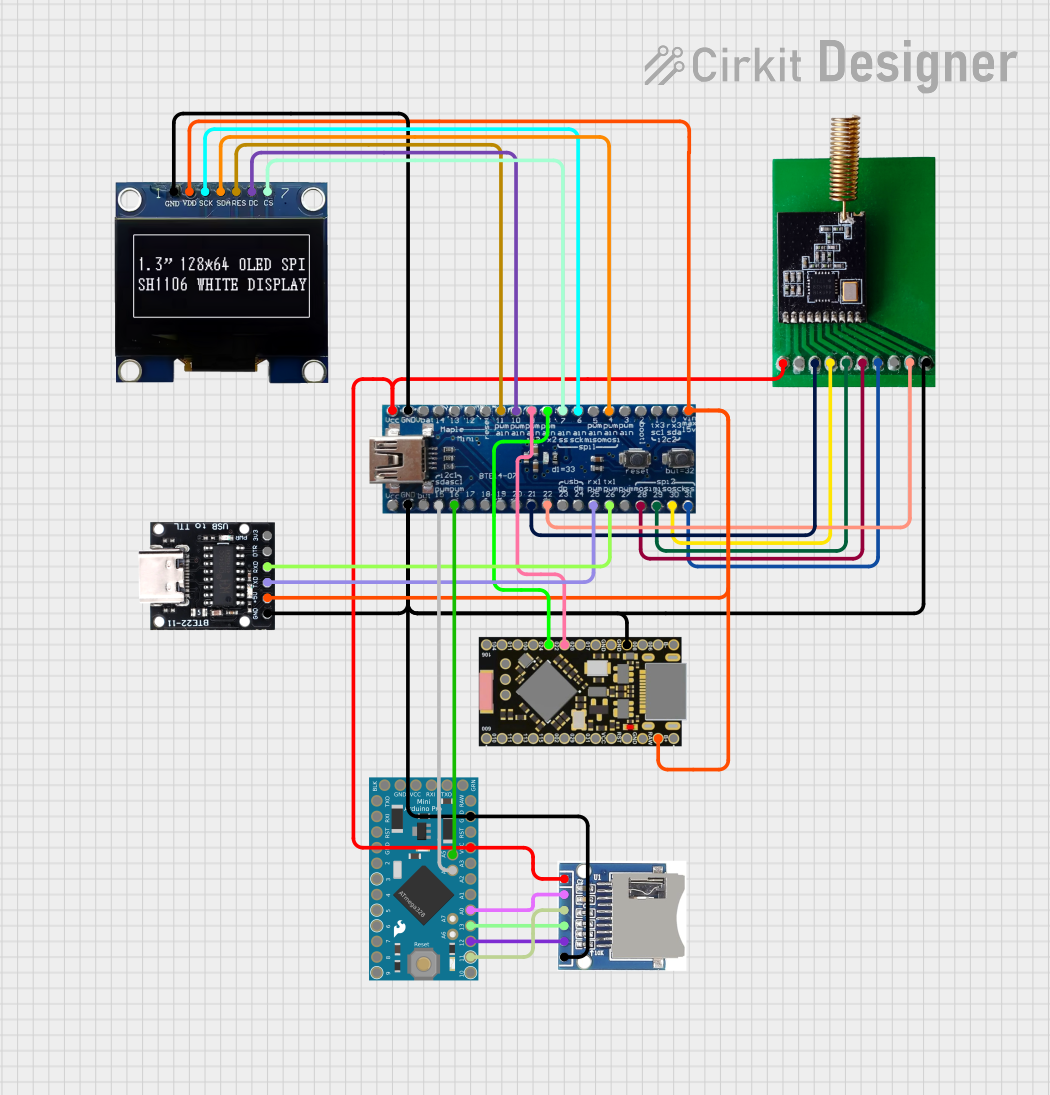
Explore Projects Built with STM32WL Nucleo 73
Common Applications and Use Cases
- Internet of Things (IoT) devices
- Low-power wide-area network (LPWAN) applications
- Smart metering and industrial monitoring
- Environmental sensing and asset tracking
- Wireless sensor networks (WSNs)
Technical Specifications
Key Technical Details
| Parameter | Value/Description |
|---|---|
| Microcontroller | STM32WL55JC (ARM Cortex-M4 + Cortex-M0+ cores) |
| Operating Voltage | 3.3V |
| RF Frequency Range | 150 MHz to 960 MHz |
| Communication Protocols | LoRa, Sigfox, (G)FSK, (G)MSK, BPSK |
| Flash Memory | 256 KB |
| SRAM | 64 KB |
| Operating Temperature Range | -40°C to +85°C |
| Power Supply | USB or external (VIN: 7V-12V) |
| Debug Interface | ST-LINK/V2-1 onboard debugger |
| Expansion Connectors | Arduino Uno V3 and ST morpho connectors |
Pin Configuration and Descriptions
The STM32WL Nucleo 73 features multiple pin headers for interfacing with external components. Below is a summary of the key pin configurations:
Arduino Uno V3 Connector
| Pin Name | Functionality | Description |
|---|---|---|
| A0-A5 | Analog Input | 6 analog input pins for sensors or other inputs |
| D0-D13 | Digital I/O | 14 digital I/O pins, some with PWM capabilities |
| 3.3V | Power Output | 3.3V power supply for external components |
| 5V | Power Output | 5V power supply for external components |
| GND | Ground | Common ground |
| VIN | Power Input | External power input (7V-12V) |
ST Morpho Connector
| Pin Name | Functionality | Description |
|---|---|---|
| RF_IO | RF Transceiver Interface | Connects to the onboard RF circuitry |
| GPIOs | General Purpose I/O | Additional GPIO pins for custom applications |
| SWDIO | Debug Interface | Serial Wire Debug I/O |
| SWCLK | Debug Clock | Serial Wire Debug clock |
Usage Instructions
How to Use the Component in a Circuit
Powering the Board:
- Connect the board to your computer via the USB cable for power and programming.
- Alternatively, use an external power source through the VIN pin (7V-12V).
Programming the Board:
- Use the onboard ST-LINK/V2-1 debugger to program the STM32WL microcontroller.
- Compatible IDEs include STM32CubeIDE, Keil MDK, and IAR Embedded Workbench.
Wireless Communication:
- Configure the RF transceiver for LoRa, Sigfox, or other supported protocols using the STM32CubeWL library.
- Connect an appropriate antenna to the RF_IO pin for optimal wireless performance.
Interfacing with Sensors and Actuators:
- Use the Arduino Uno V3 or ST morpho connectors to attach external components.
- Ensure proper voltage levels and pin configurations for connected devices.
Important Considerations and Best Practices
- Antenna Selection: Use an antenna that matches the desired frequency range (e.g., 868 MHz for LoRa in Europe).
- Power Management: Leverage the STM32WL's low-power modes to extend battery life in IoT applications.
- Firmware Updates: Regularly update the firmware using STM32CubeProgrammer to ensure compatibility and performance.
- RF Compliance: Verify that your application complies with regional RF regulations (e.g., ETSI, FCC).
Example Code for Arduino IDE
The STM32WL Nucleo 73 can be programmed using the Arduino IDE with the STM32 core installed. Below is an example of initializing the LoRa transceiver:
#include <LoRa.h> // Include the LoRa library

// Define LoRa parameters
#define LORA_SCK 5    // SPI Clock pin
#define LORA_MISO 19  // SPI MISO pin
#define LORA_MOSI 27  // SPI MOSI pin
#define LORA_CS 18    // LoRa chip select pin
#define LORA_RST 14   // LoRa reset pin
#define LORA_IRQ 26   // LoRa IRQ pin

void setup() {
  Serial.begin(9600); // Initialize serial communication
  while (!Serial);

  // Initialize LoRa transceiver
  if (!LoRa.begin(868E6)) { // Set frequency to 868 MHz
    Serial.println("Starting LoRa failed!");
    while (1);
  }
  Serial.println("LoRa initialized successfully!");
}

void loop() {
  // Send a test message
  Serial.println("Sending packet...");
  LoRa.beginPacket();
  LoRa.print("Hello, LoRa!");
  LoRa.endPacket();

  delay(5000); // Wait 5 seconds before sending the next packet
}
Note: Ensure the LoRa library is installed in the Arduino IDE. Adjust the pin definitions and frequency as needed for your specific setup.
Troubleshooting and FAQs
Common Issues Users Might Face
Board Not Detected by IDE:
- Ensure the correct USB drivers are installed for the ST-LINK/V2-1 debugger.
- Verify that the USB cable is functional and supports data transfer.
LoRa Communication Fails:
- Check the antenna connection and ensure it matches the operating frequency.
- Verify that the LoRa settings (e.g., frequency, spreading factor) are consistent across devices.
Power Issues:
- Ensure the board is powered within the specified voltage range (3.3V or 7V-12V for VIN).
- Check for loose connections or damaged power cables.
Debugging Problems:
- Confirm that the SWDIO and SWCLK pins are properly connected if using an external debugger.
- Update the ST-LINK firmware using the ST-LINK Utility.
Solutions and Tips for Troubleshooting
- Use the STM32CubeMonitor tool to debug and monitor the microcontroller's performance.
- Refer to the STM32WL datasheet and reference manual for detailed technical information.
- Join the ST Community forums for additional support and resources.
By following this documentation, users can effectively utilize the STM32WL Nucleo 73 for a wide range of wireless and IoT applications.