How to Use Hyperpixel XP Square Touch 4.0: Examples, Pinouts, and Specs
Introduction
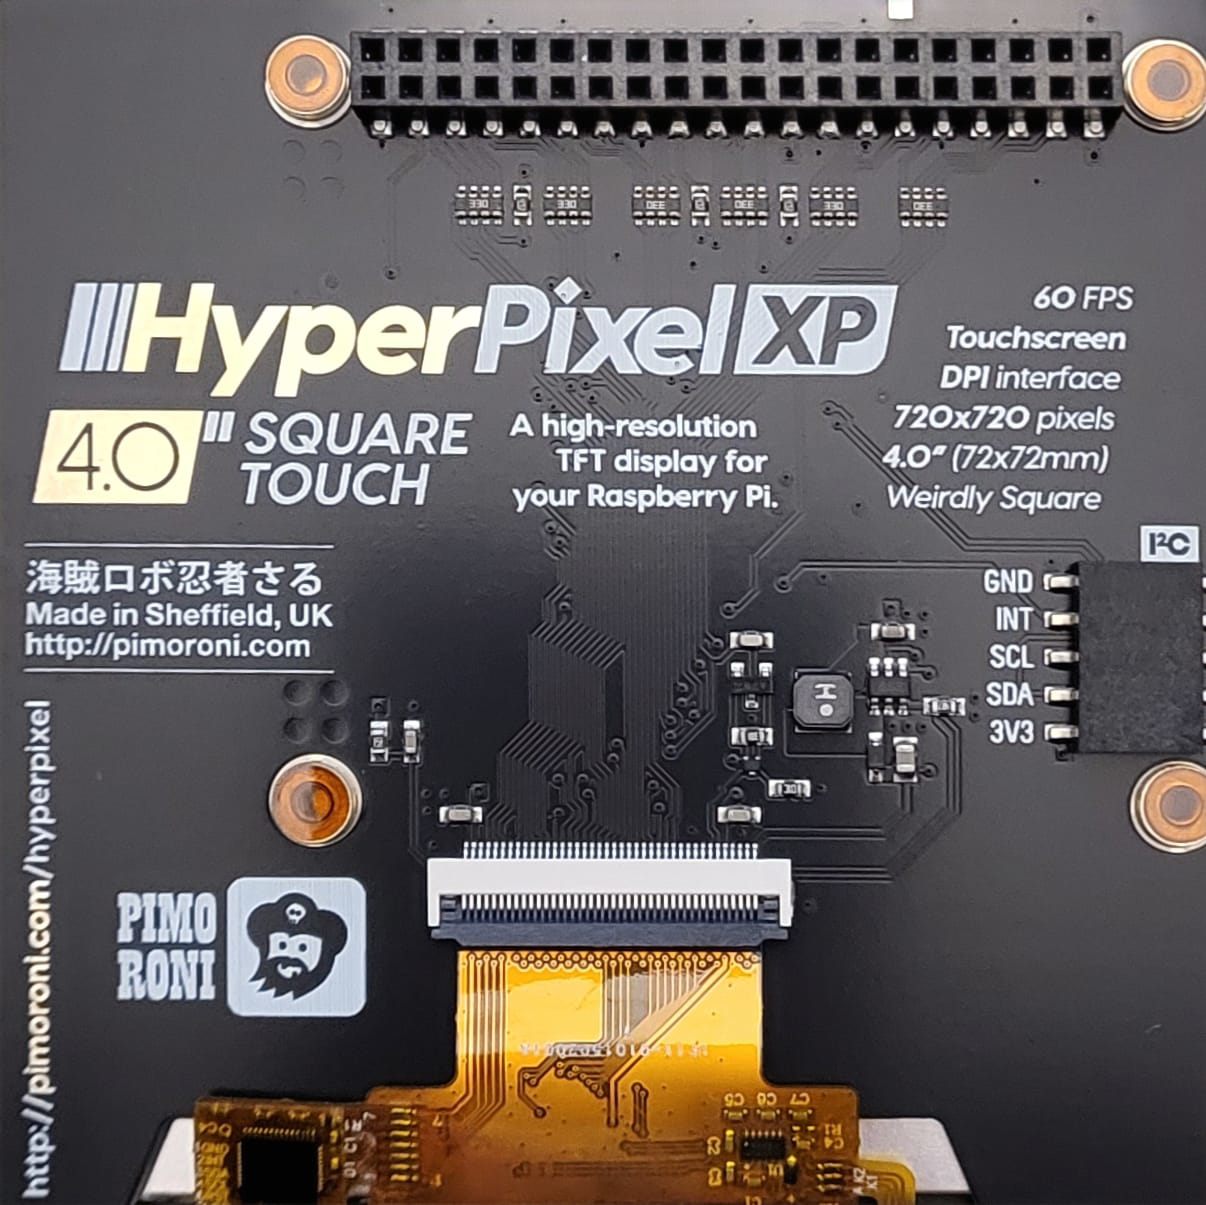
The Hyperpixel XP Square Touch 4.0 is a high-resolution touchscreen display designed specifically for Raspberry Pi. With its unique 4-inch square form factor, vibrant color reproduction, and multi-touch capabilities, this display is ideal for interactive projects, graphical interfaces, and compact applications requiring precise touch input. Its plug-and-play design ensures seamless integration with Raspberry Pi boards, making it a popular choice for hobbyists and professionals alike.
Explore Projects Built with Hyperpixel XP Square Touch 4.0


Explore Projects Built with Hyperpixel XP Square Touch 4.0
Common Applications and Use Cases
- Interactive kiosks and control panels
- Compact graphical user interfaces (GUIs)
- IoT dashboards and monitoring systems
- Educational and prototyping projects
- Media players and photo frames
- Gaming and retro computing projects
Technical Specifications
The following table outlines the key technical details of the Hyperpixel XP Square Touch 4.0:
| Specification | Details |
|---|---|
| Manufacturer | Hyperpixel |
| Part ID | 4.0 Square Touch |
| Display Size | 4 inches (square form factor) |
| Resolution | 720 x 720 pixels |
| Touch Technology | Capacitive multi-touch (up to 10 touch points) |
| Color Depth | 18-bit (262,144 colors) |
| Viewing Angle | 160° wide viewing angle |
| Interface | DPI (Display Parallel Interface) and I2C for touch input |
| Power Supply | 5V (via Raspberry Pi GPIO header) |
| Backlight | Adjustable brightness via software control |
| Dimensions | 76.2mm x 76.2mm x 10mm |
| Compatibility | Raspberry Pi models with a 40-pin GPIO header (e.g., Pi 4, Pi 3, Pi Zero) |
Pin Configuration and Descriptions
The Hyperpixel XP Square Touch 4.0 connects directly to the Raspberry Pi's 40-pin GPIO header. Below is the pin configuration:
| Pin Number | Pin Name | Description |
|---|---|---|
| 1 | 3.3V | Power supply for the display |
| 2 | 5V | Main power supply for the display and backlight |
| 3 | SDA (I2C) | I2C data line for touch input |
| 5 | SCL (I2C) | I2C clock line for touch input |
| 7 | DPI Data | Display Parallel Interface data line |
| 9 | GND | Ground connection |
| 11 | DPI Control | DPI control signal |
| 13 | DPI Clock | DPI clock signal |
| 15 | Backlight Control | PWM signal for backlight brightness adjustment |
Note: The remaining GPIO pins are used internally by the display and should not be connected to other components.
Usage Instructions
Connecting the Display
- Attach the Display: Align the Hyperpixel XP Square Touch 4.0 with the Raspberry Pi's 40-pin GPIO header and gently press it into place.
- Power On: Power the Raspberry Pi using a reliable 5V power supply. The display will automatically power on.
- Install Drivers:
- Open a terminal on your Raspberry Pi.
- Run the following commands to install the required drivers:
curl -sSL https://get.pimoroni.com/hyperpixel4 | bash - Follow the on-screen instructions to complete the installation.
Writing Code for Touch Input
The Hyperpixel XP Square Touch 4.0 supports Python for touch input and display control. Below is an example script to detect touch events:
Import necessary libraries
import evdev from evdev import InputDevice, categorize, ecodes
Specify the input device for the touchscreen
Replace 'event0' with the correct event file for your setup
touchscreen = InputDevice('/dev/input/event0')
print("Touchscreen is ready. Touch the display to see events.")
Loop to read touch events
for event in touchscreen.read_loop(): if event.type == ecodes.EV_ABS: # Categorize the event to extract details absevent = categorize(event) if event.code == ecodes.ABS_MT_POSITION_X: print(f"X Position: {event.value}") elif event.code == ecodes.ABS_MT_POSITION_Y: print(f"Y Position: {event.value}")
Best Practices
- Use a Stable Power Supply: Ensure your Raspberry Pi is powered by a reliable 5V/2.5A (or higher) power supply to avoid display flickering or instability.
- Avoid Pin Conflicts: Do not connect other devices to GPIO pins used by the display.
- Update Software: Regularly update your Raspberry Pi OS and Hyperpixel drivers for optimal performance and compatibility.
- Handle with Care: Avoid applying excessive pressure to the touchscreen to prevent damage.
Troubleshooting and FAQs
Common Issues and Solutions
Display Not Turning On
- Cause: Loose connection or insufficient power supply.
- Solution: Ensure the display is firmly connected to the GPIO header and use a reliable power supply.
Touch Input Not Working
- Cause: Missing or outdated drivers.
- Solution: Reinstall the drivers using the installation command provided above.
Flickering or Dim Display
- Cause: Insufficient power or incorrect backlight settings.
- Solution: Check the power supply and adjust the backlight brightness using software.
Incorrect Touch Coordinates
- Cause: Calibration issue.
- Solution: Recalibrate the touchscreen using the Hyperpixel configuration tool.
FAQs
Q: Can I use the Hyperpixel XP Square Touch 4.0 with other single-board computers?
A: The display is designed specifically for Raspberry Pi models with a 40-pin GPIO header. Compatibility with other boards is not guaranteed.
Q: How do I adjust the backlight brightness?
A: You can control the backlight brightness using the pwm utility or through Python scripts.
Q: Is the display sunlight-readable?
A: The display is best suited for indoor use. For outdoor applications, additional shading may be required.
Q: Can I use the display in portrait mode?
A: Yes, the display orientation can be configured in the Raspberry Pi OS display settings or via the Hyperpixel driver.
This concludes the documentation for the Hyperpixel XP Square Touch 4.0. For further assistance, refer to the official Hyperpixel support resources.