How to Use touch: Examples, Pinouts, and Specs
Introduction
A touch sensor is an electronic component that detects and measures a user's physical touch or proximity. These sensors are widely used in various applications, including smartphones, tablets, home appliances, and interactive installations. They provide a convenient and intuitive way for users to interact with electronic devices.
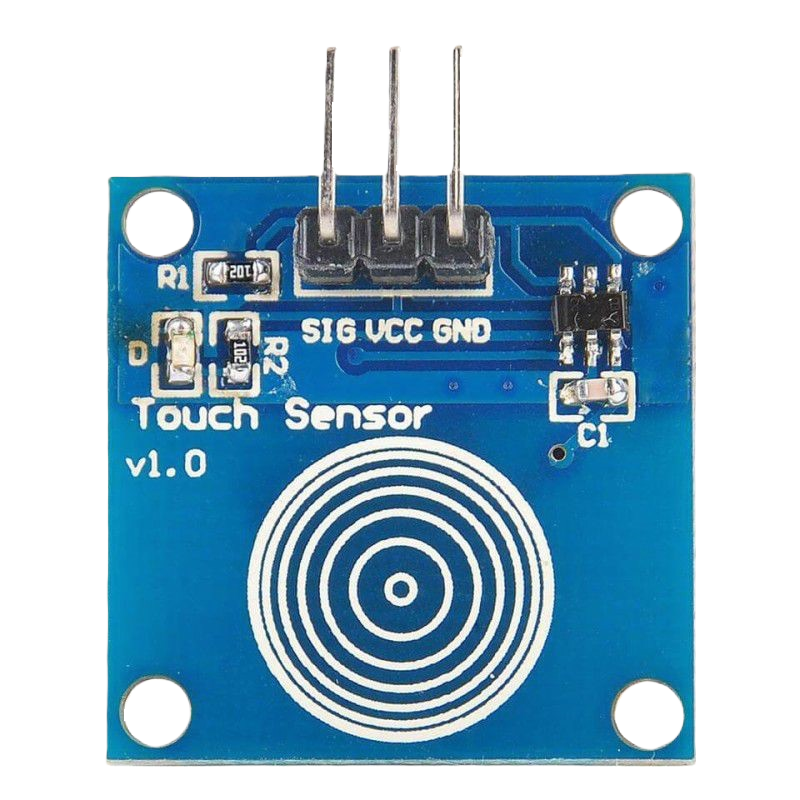
Explore Projects Built with touch
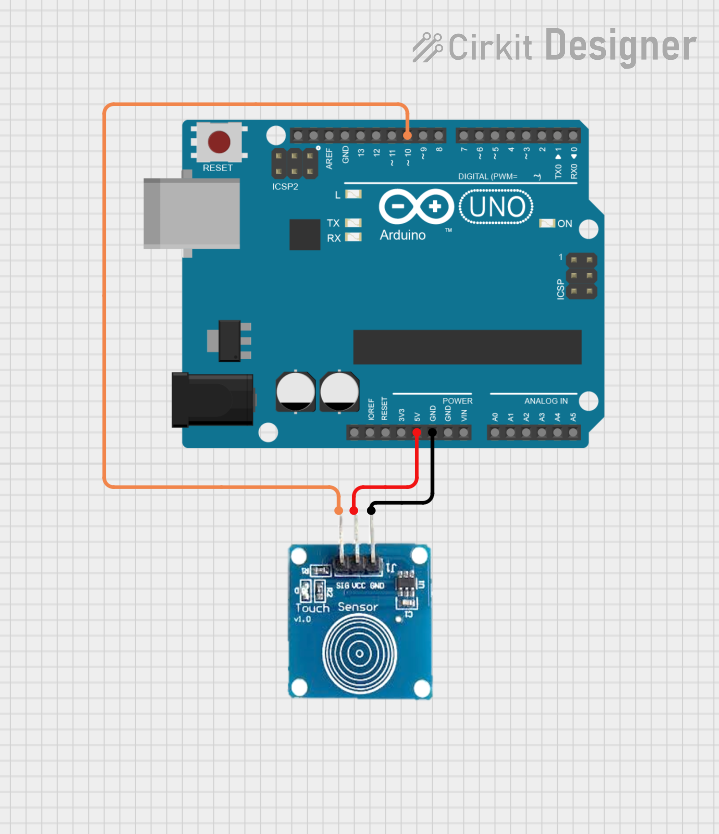

Explore Projects Built with touch
Common Applications and Use Cases
- Touchscreen interfaces on mobile devices and kiosks
- Touch-sensitive buttons on appliances and control panels
- Interactive exhibits in museums or public installations
- Home automation systems for light and environment control
Technical Specifications
Key Technical Details
- Operating Voltage: Typically 2.0V to 5.5V
- Current Consumption: Varies with the sensor, often in the microampere range
- Output Signal: Digital (High/Low) or Analog (varying voltage)
- Sensitivity: Adjustable in some models
- Response Time: Typically in the milliseconds range
Pin Configuration and Descriptions
| Pin Number | Name | Description |
|---|---|---|
| 1 | VCC | Power supply (2.0V to 5.5V) |
| 2 | OUT | Output signal (High/Low) |
| 3 | GND | Ground connection |
Usage Instructions
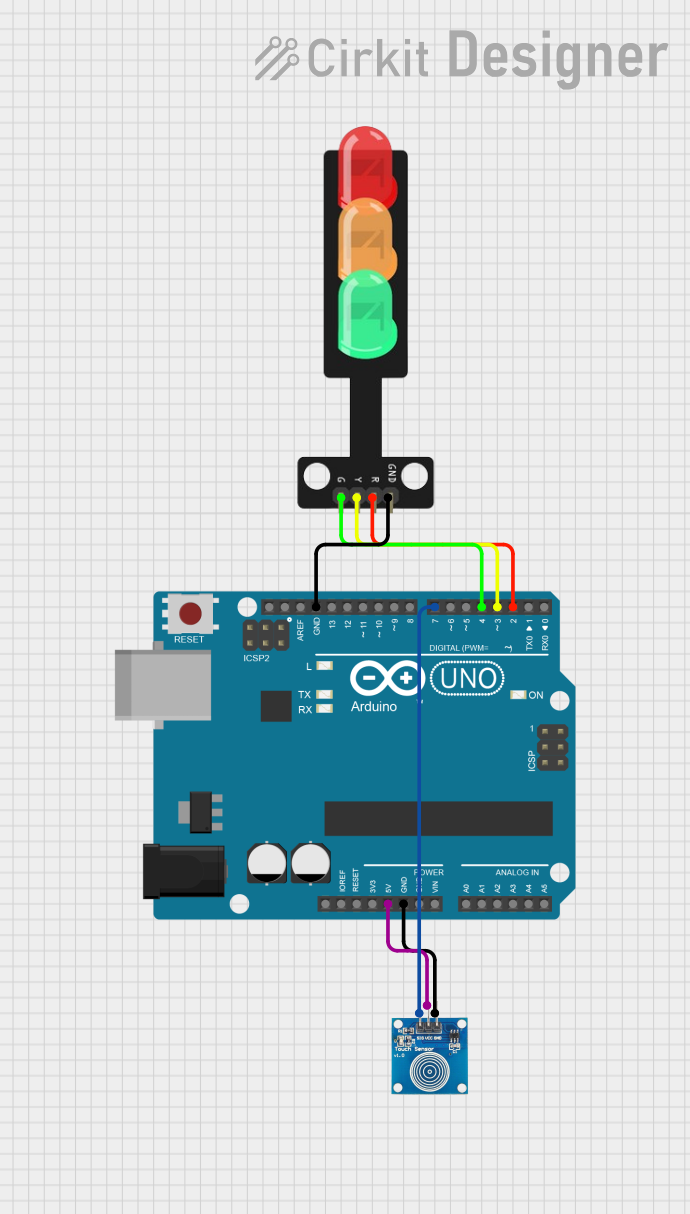
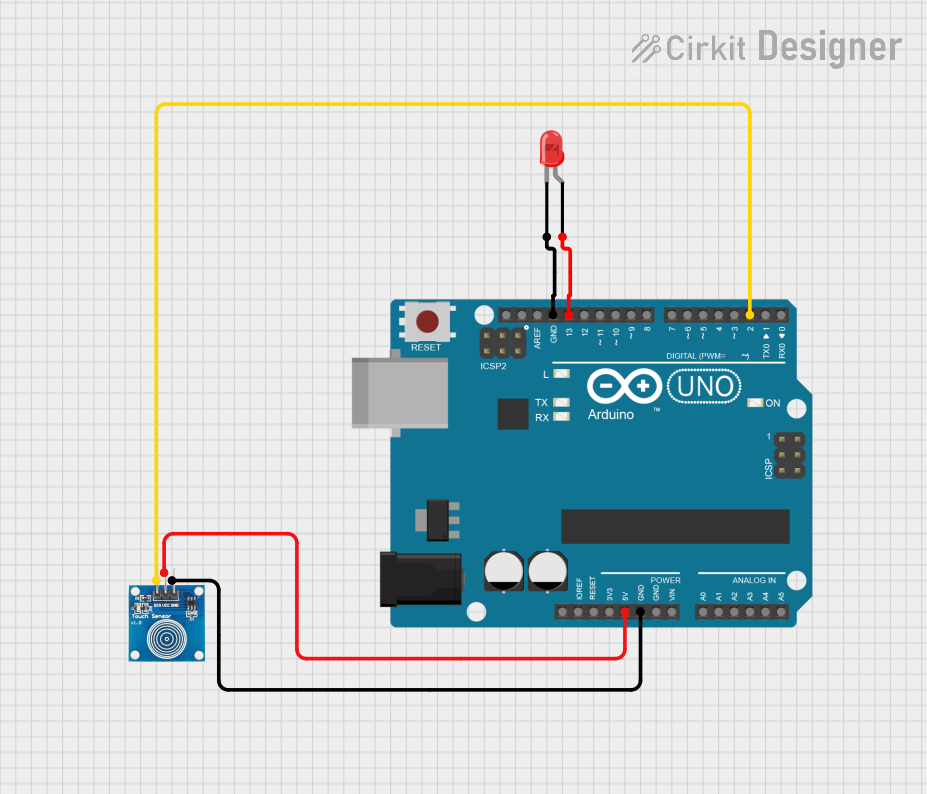
How to Use the Component in a Circuit
- Power Connection: Connect the VCC pin to a power supply within the sensor's operating voltage range.
- Ground Connection: Connect the GND pin to the ground of the power supply.
- Output Signal: Connect the OUT pin to a digital input pin on a microcontroller to read the sensor's state.
Important Considerations and Best Practices
- Ensure that the power supply voltage does not exceed the sensor's maximum rating to prevent damage.
- Some touch sensors have a calibration feature; follow the manufacturer's instructions to calibrate for optimal performance.
- Avoid placing the sensor in an environment with high levels of electromagnetic interference, as this may cause false triggers.
- Keep the sensor surface clean and free from obstructions that may affect sensitivity.
Example Code for Arduino UNO
// Define the touch sensor pin
const int touchPin = 2; // Connect the touch sensor signal to digital pin 2
const int ledPin = 13;  // LED connected to digital pin 13

void setup() {
  pinMode(touchPin, INPUT); // Set the touch sensor pin as an input
  pinMode(ledPin, OUTPUT);  // Set the LED pin as an output
}

void loop() {
  int touchState = digitalRead(touchPin); // Read the state of the touch sensor

  if (touchState == HIGH) { // If the sensor is touched
    digitalWrite(ledPin, HIGH); // Turn on the LED
  } else {
    digitalWrite(ledPin, LOW); // Turn off the LED
  }
}
Troubleshooting and FAQs
Common Issues Users Might Face
- Sensor Not Responding: Ensure that the sensor is properly powered and that the connections are secure.
- False Triggers: Check for sources of electromagnetic interference or recalibrate the sensor if possible.
- Inconsistent Sensitivity: Clean the sensor surface and make sure it is not obstructed.
Solutions and Tips for Troubleshooting
- Double-check wiring against the pin configuration table to ensure correct connections.
- Use a multimeter to verify that the power supply is within the specified voltage range.
- If using a digital output sensor, ensure that the microcontroller's input pin is configured correctly.
FAQs
Q: Can the touch sensor detect touch through materials?
A: Some touch sensors can detect touch through thin, non-conductive materials. Check the sensor's specifications for details.
Q: How do I adjust the sensitivity of the touch sensor?
A: If the sensor has a sensitivity adjustment, it will typically be a potentiometer or a software setting. Refer to the manufacturer's instructions for adjustment procedures.
Q: Is it possible to use the touch sensor with a battery-powered device?
A: Yes, as long as the battery provides a voltage within the sensor's operating range and can supply the necessary current.