How to Use Haptic Feedback and Audio Exciter: Examples, Pinouts, and Specs
Introduction
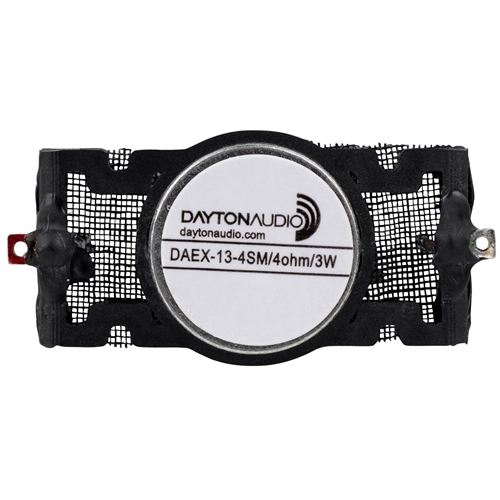
The Dayton DAEX-13-4SM is a compact and versatile haptic feedback and audio exciter designed to transform virtually any solid surface into a high-quality speaker or tactile feedback device. By utilizing vibration technology, this exciter eliminates the need for traditional speaker cones, enabling innovative audio and haptic applications.
Explore Projects Built with Haptic Feedback and Audio Exciter

Explore Projects Built with Haptic Feedback and Audio Exciter
Common Applications and Use Cases
- Haptic Feedback: Used in gaming controllers, VR devices, and touch interfaces to provide tactile sensations.
- Surface Audio: Converts surfaces like tables, windows, or walls into sound-emitting devices.
- Compact Audio Systems: Ideal for portable or embedded audio solutions where space is limited.
- Interactive Displays: Enhances user experience in kiosks, touchscreens, and smart devices.
Technical Specifications
The following table outlines the key technical details of the DAEX-13-4SM:
| Parameter | Value |
|---|---|
| Manufacturer | Dayton |
| Part Number | DAEX-13-4SM |
| Impedance | 4 Ohms |
| Power Handling (RMS) | 3 Watts |
| Power Handling (Max) | 6 Watts |
| Resonant Frequency (Fs) | 200 Hz |
| Dimensions | 32 mm diameter, 6 mm height |
| Weight | 15 grams |
| Mounting Type | Adhesive backing |
Pin Configuration and Descriptions
The DAEX-13-4SM has two connection terminals for electrical input. These terminals are used to connect the exciter to an audio amplifier or haptic driver circuit.
| Pin | Description |
|---|---|
| + | Positive terminal for input signal |
| - | Negative terminal for input signal |
Usage Instructions
How to Use the Component in a Circuit
- Power Requirements: Ensure the exciter is connected to an amplifier capable of delivering 3W RMS at 4 Ohms. Avoid exceeding the maximum power rating of 6W to prevent damage.
- Surface Selection: Attach the exciter to a flat, rigid surface for optimal performance. Materials like wood, glass, or metal work well for audio applications, while softer materials may be better for haptic feedback.
- Mounting: Use the adhesive backing to securely attach the exciter to the desired surface. Ensure the surface is clean and free of dust or grease for proper adhesion.
- Wiring: Connect the positive (+) and negative (-) terminals of the exciter to the corresponding output terminals of the amplifier or haptic driver.
Important Considerations and Best Practices
- Surface Properties: The material and size of the surface significantly affect the sound or haptic output. Experiment with different surfaces to achieve the desired effect.
- Amplifier Selection: Use an amplifier with a low distortion output to maintain audio quality and prevent damage to the exciter.
- Thermal Management: Avoid prolonged operation at maximum power to prevent overheating.
- Polarity: Ensure correct polarity when connecting the exciter to avoid phase issues in multi-exciter setups.
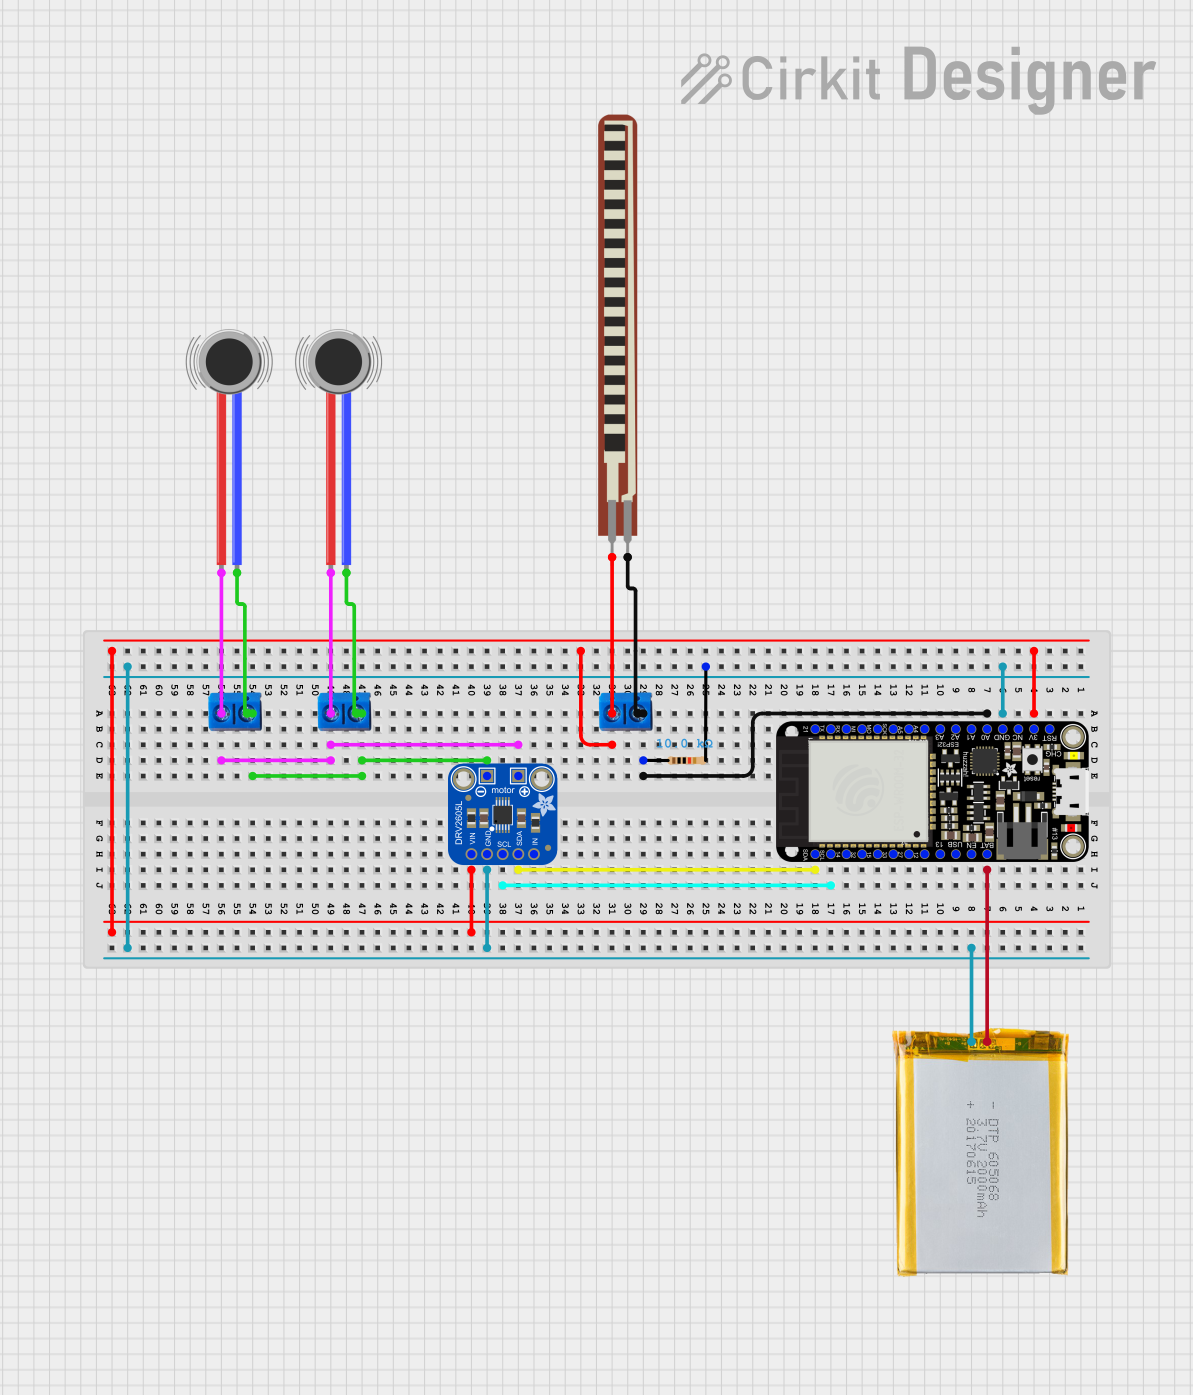
Example: Connecting to an Arduino UNO
The DAEX-13-4SM can be used with an Arduino UNO for haptic feedback applications. Below is an example of how to control the exciter using a PWM signal:
Circuit Setup
- Connect the positive terminal of the exciter to the output of an NPN transistor (e.g., 2N2222).
- Connect the negative terminal of the exciter to the ground (GND).
- Use a 1kΩ resistor to connect the base of the transistor to a PWM-capable pin on the Arduino (e.g., Pin 9).
- Connect the emitter of the transistor to GND and the collector to the exciter.
Arduino Code
// Example code to control the DAEX-13-4SM exciter using PWM
// Connect the exciter to a transistor circuit as described above.

const int exciterPin = 9; // PWM-capable pin connected to the transistor

void setup() {
  pinMode(exciterPin, OUTPUT); // Set the exciter pin as an output
}

void loop() {
  // Generate a PWM signal to drive the exciter
  analogWrite(exciterPin, 128); // 50% duty cycle for moderate vibration
  delay(1000); // Keep the exciter on for 1 second

  analogWrite(exciterPin, 0); // Turn off the exciter
  delay(1000); // Wait for 1 second before repeating
}
Troubleshooting and FAQs
Common Issues and Solutions
No Sound or Vibration:
- Cause: Incorrect wiring or insufficient power.
- Solution: Verify the connections and ensure the amplifier or driver is providing adequate power.
Distorted Output:
- Cause: Overdriving the exciter or using a low-quality amplifier.
- Solution: Reduce the input power and use a high-quality amplifier with low distortion.
Exciter Falls Off the Surface:
- Cause: Poor adhesion or unsuitable surface.
- Solution: Clean the surface thoroughly before mounting and ensure it is flat and rigid.
Overheating:
- Cause: Prolonged operation at high power levels.
- Solution: Operate within the recommended power range and allow cooling periods.
FAQs
Q: Can I use multiple exciters on the same surface?
- A: Yes, but ensure they are wired in parallel or series as needed to match the amplifier's impedance requirements. Also, consider the phase alignment for optimal performance.
Q: What surfaces work best for audio applications?
- A: Hard, flat surfaces like glass, wood, or metal typically produce the best sound quality.
Q: Can this exciter be used underwater?
- A: No, the DAEX-13-4SM is not waterproof and should not be exposed to moisture.
Q: How do I clean the adhesive backing?
- A: The adhesive is not reusable. If it loses its stickiness, replace it with a new adhesive pad or double-sided tape.