How to Use LED: Examples, Pinouts, and Specs
Introduction
A Light Emitting Diode (LED) is a semiconductor device that emits light when an electric current flows through it. LEDs are highly efficient, long-lasting, and require low power to operate. They are widely used in various applications such as indicator lights, digital displays, lighting, signage, and as components in electronic devices.
Explore Projects Built with LED
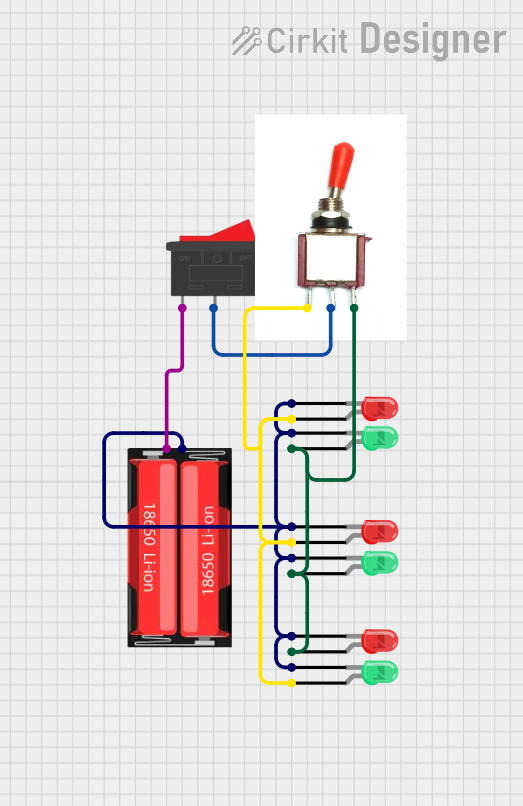
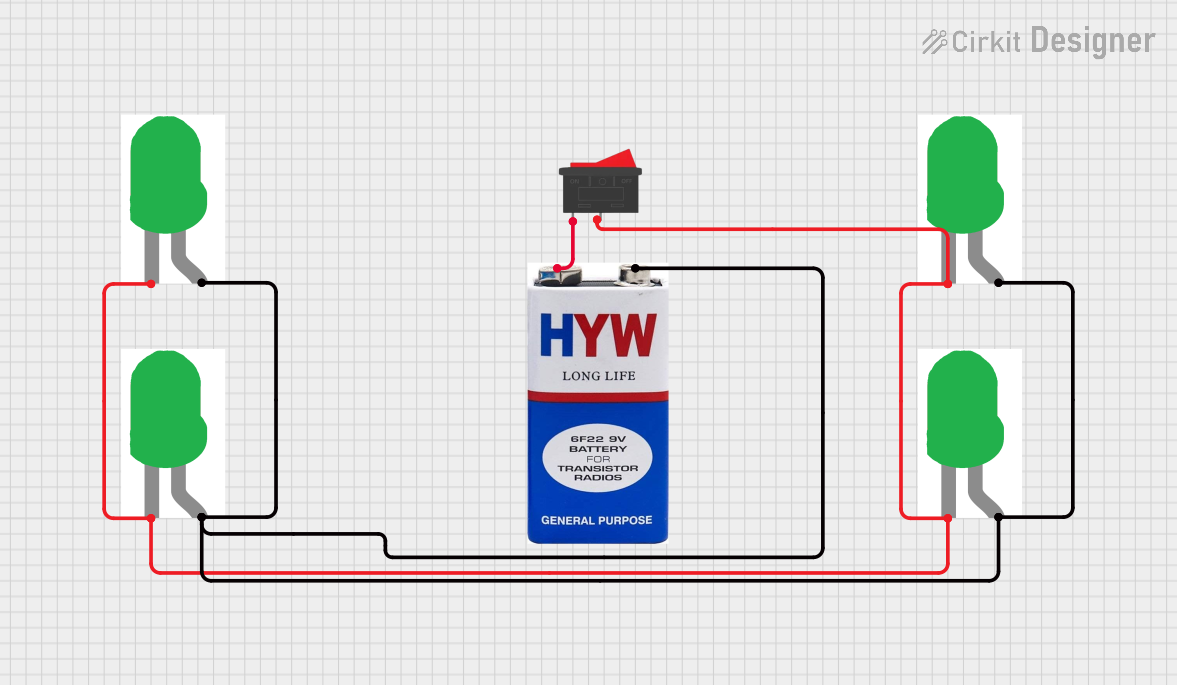

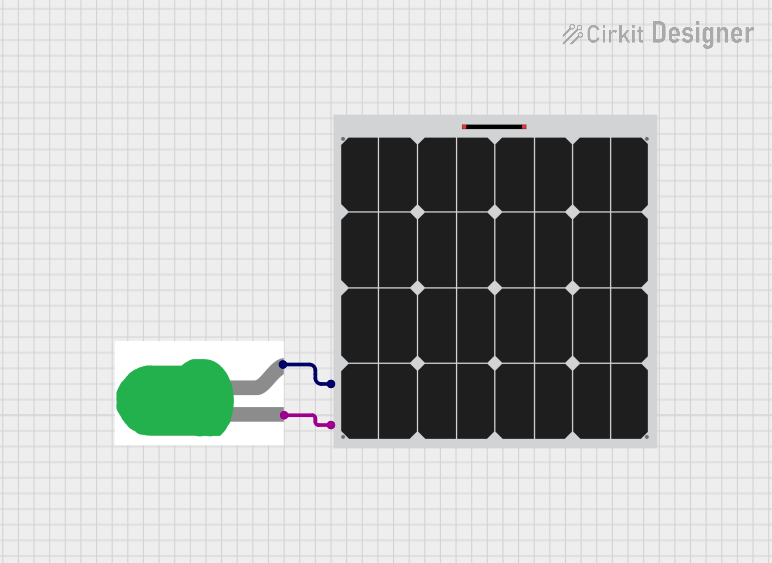
Explore Projects Built with LED
Common Applications and Use Cases
- Indicator lights on electronic devices
- Backlighting for LCD screens
- Traffic signals and automotive lighting
- General illumination and decorative lighting
- Flashlights and headlamps
- Electronic signs and billboards
Technical Specifications
Key Technical Details
- Forward Voltage (Vf): Typically ranges from 1.8V to 3.3V for standard LEDs
- Forward Current (If): Recommended operating current, usually around 10mA to 20mA
- Luminous Intensity: Measured in millicandela (mcd), indicating the light output
- Wavelength/Color: The color of the light emitted, measured in nanometers (nm) for monochromatic LEDs
- Viewing Angle: The angle over which the LED is visibly luminous
Pin Configuration and Descriptions
| Pin Number | Name | Description |
|---|---|---|
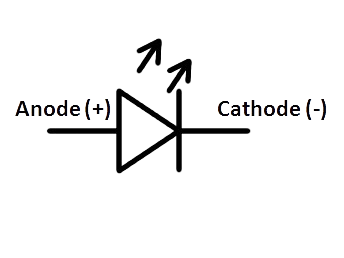
| 1 | Anode (+) | The positive side of the LED, longer lead |
| 2 | Cathode (-) | The negative side of the LED, shorter lead |
Usage Instructions
How to Use the LED in a Circuit
- Identify the Anode and Cathode: The longer lead is typically the anode (+), and the shorter lead is the cathode (-).
- Current Limiting Resistor: Always use a current limiting resistor in series with the LED to prevent it from drawing excessive current.
- Calculating Resistor Value: Use Ohm's law to calculate the resistor value:
R = (Vsource - Vf) / If, whereVsourceis the supply voltage. - Polarity: Ensure correct polarity by connecting the anode to the positive voltage and the cathode to the negative or ground.
Important Considerations and Best Practices
- Do not exceed the maximum forward current and voltage ratings.
- Use a resistor with an adequate power rating to avoid overheating.
- Consider using a breadboard for prototyping to easily test LED circuits.
- When using multiple LEDs, connect them with individual resistors to ensure equal brightness.
Example Circuit with Arduino UNO
// Define the LED pin
const int ledPin = 13;

void setup() {
  // Set the LED pin as an output
  pinMode(ledPin, OUTPUT);
}

void loop() {
  // Turn the LED on
  digitalWrite(ledPin, HIGH);
  delay(1000); // Wait for 1 second
  // Turn the LED off
  digitalWrite(ledPin, LOW);
  delay(1000); // Wait for 1 second
}
Troubleshooting and FAQs
Common Issues
- LED not lighting up: Check the polarity of the LED and ensure the current limiting resistor is correctly calculated and installed.
- Dim LED: The current limiting resistor may be too high, or the supply voltage is too low.
- LED burned out: The current may have exceeded the maximum rating, or the polarity was reversed.
Solutions and Tips for Troubleshooting
- Double-check the polarity of the LED before powering the circuit.
- Verify the supply voltage and ensure it matches the calculated requirements.
- Use a multimeter to check the continuity of the LED and the resistor.
FAQs
Q: Can I connect an LED directly to a battery? A: No, you should always use a current limiting resistor to prevent damage to the LED.
Q: How do I choose the right resistor for my LED? A: Calculate the resistor value using Ohm's law, considering the supply voltage and the LED's forward voltage and current.
Q: Can I use one resistor for multiple LEDs? A: It's best to use individual resistors for each LED to ensure they all receive the correct current.
Q: What happens if I reverse the polarity of the LED? A: The LED will not light up if the polarity is reversed, and prolonged reverse voltage may damage the LED.