How to Use Estardyn: Examples, Pinouts, and Specs
Introduction
Estardyn is a versatile electronic component commonly used in energy storage and conversion applications. Its design and functionality make it suitable for a wide range of use cases, including renewable energy systems, power management circuits, and industrial electronics. Estardyn components are valued for their efficiency, reliability, and adaptability in both low-power and high-power systems.
Explore Projects Built with Estardyn
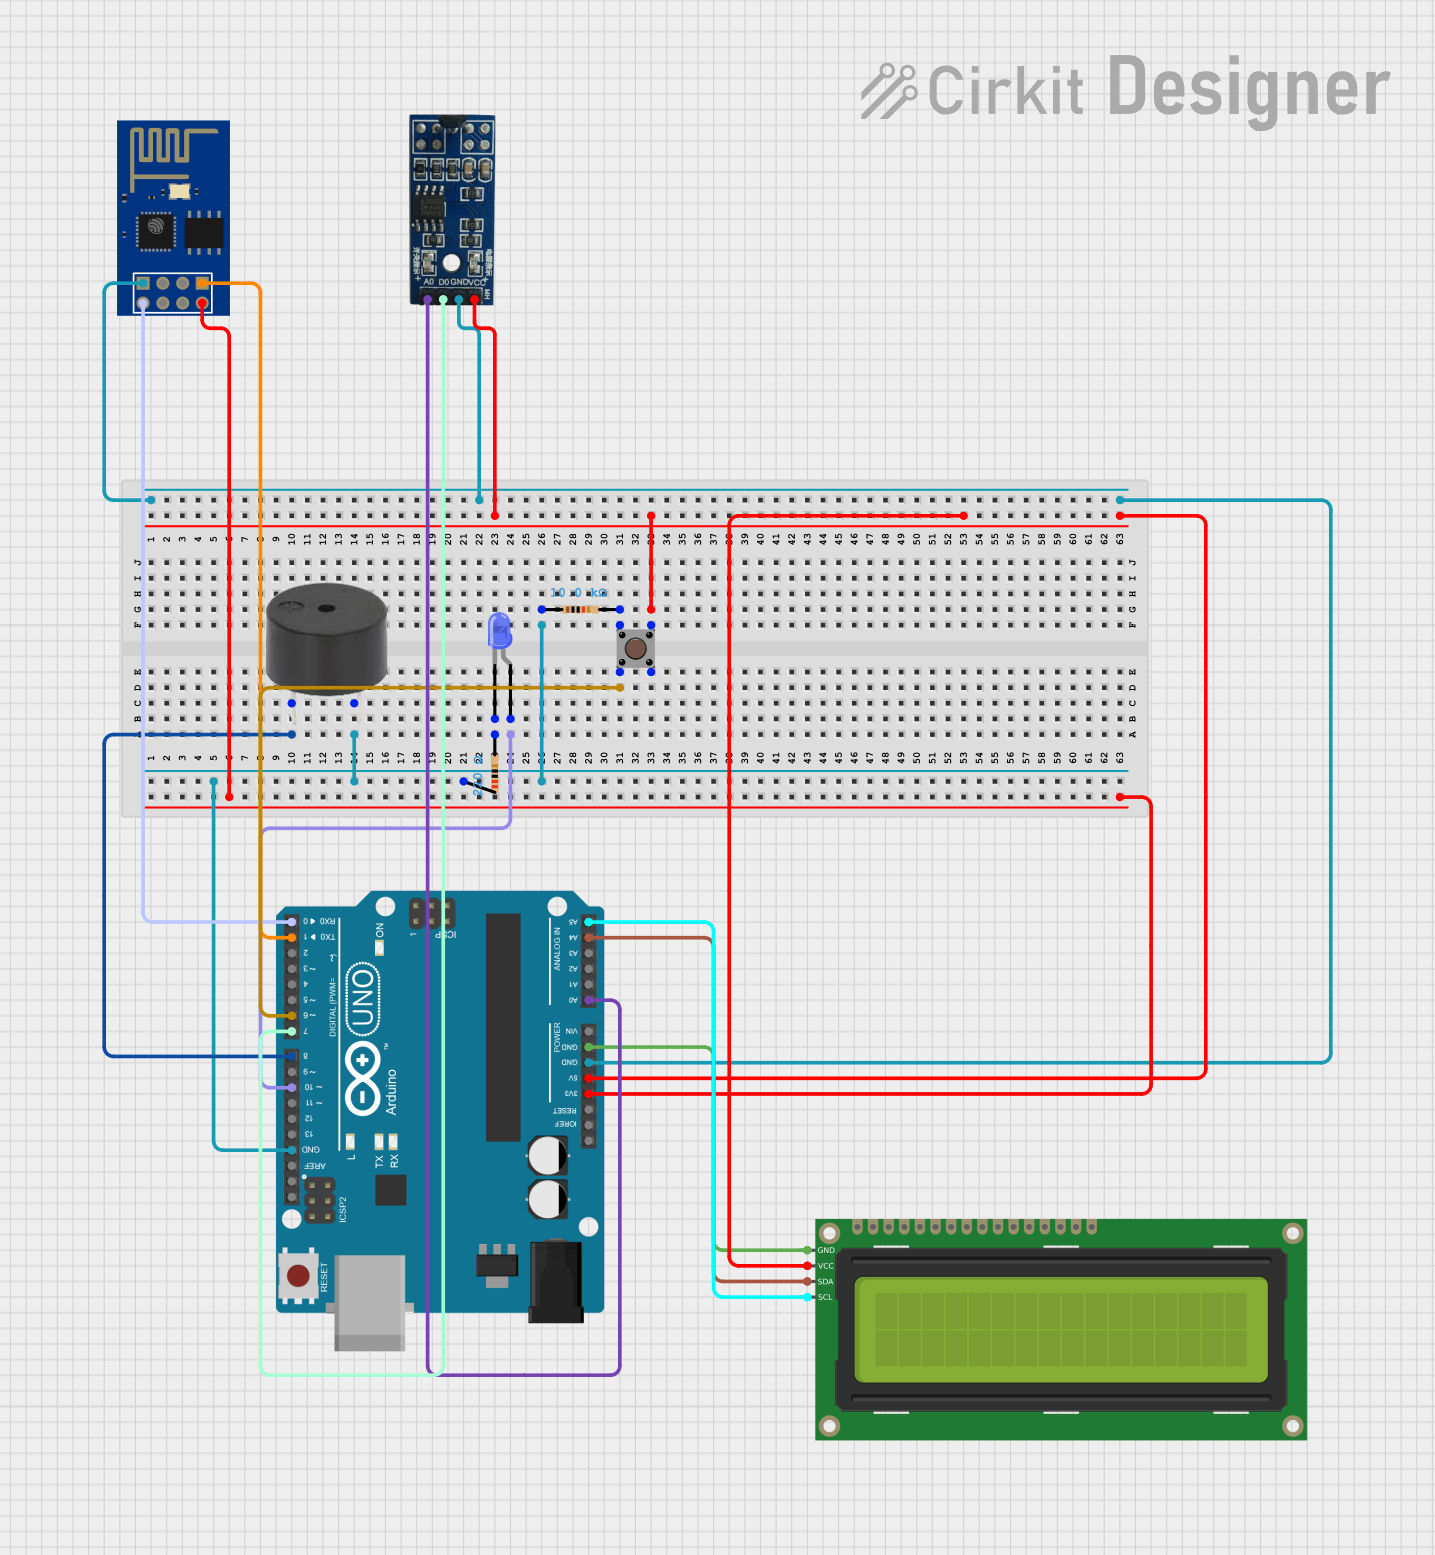

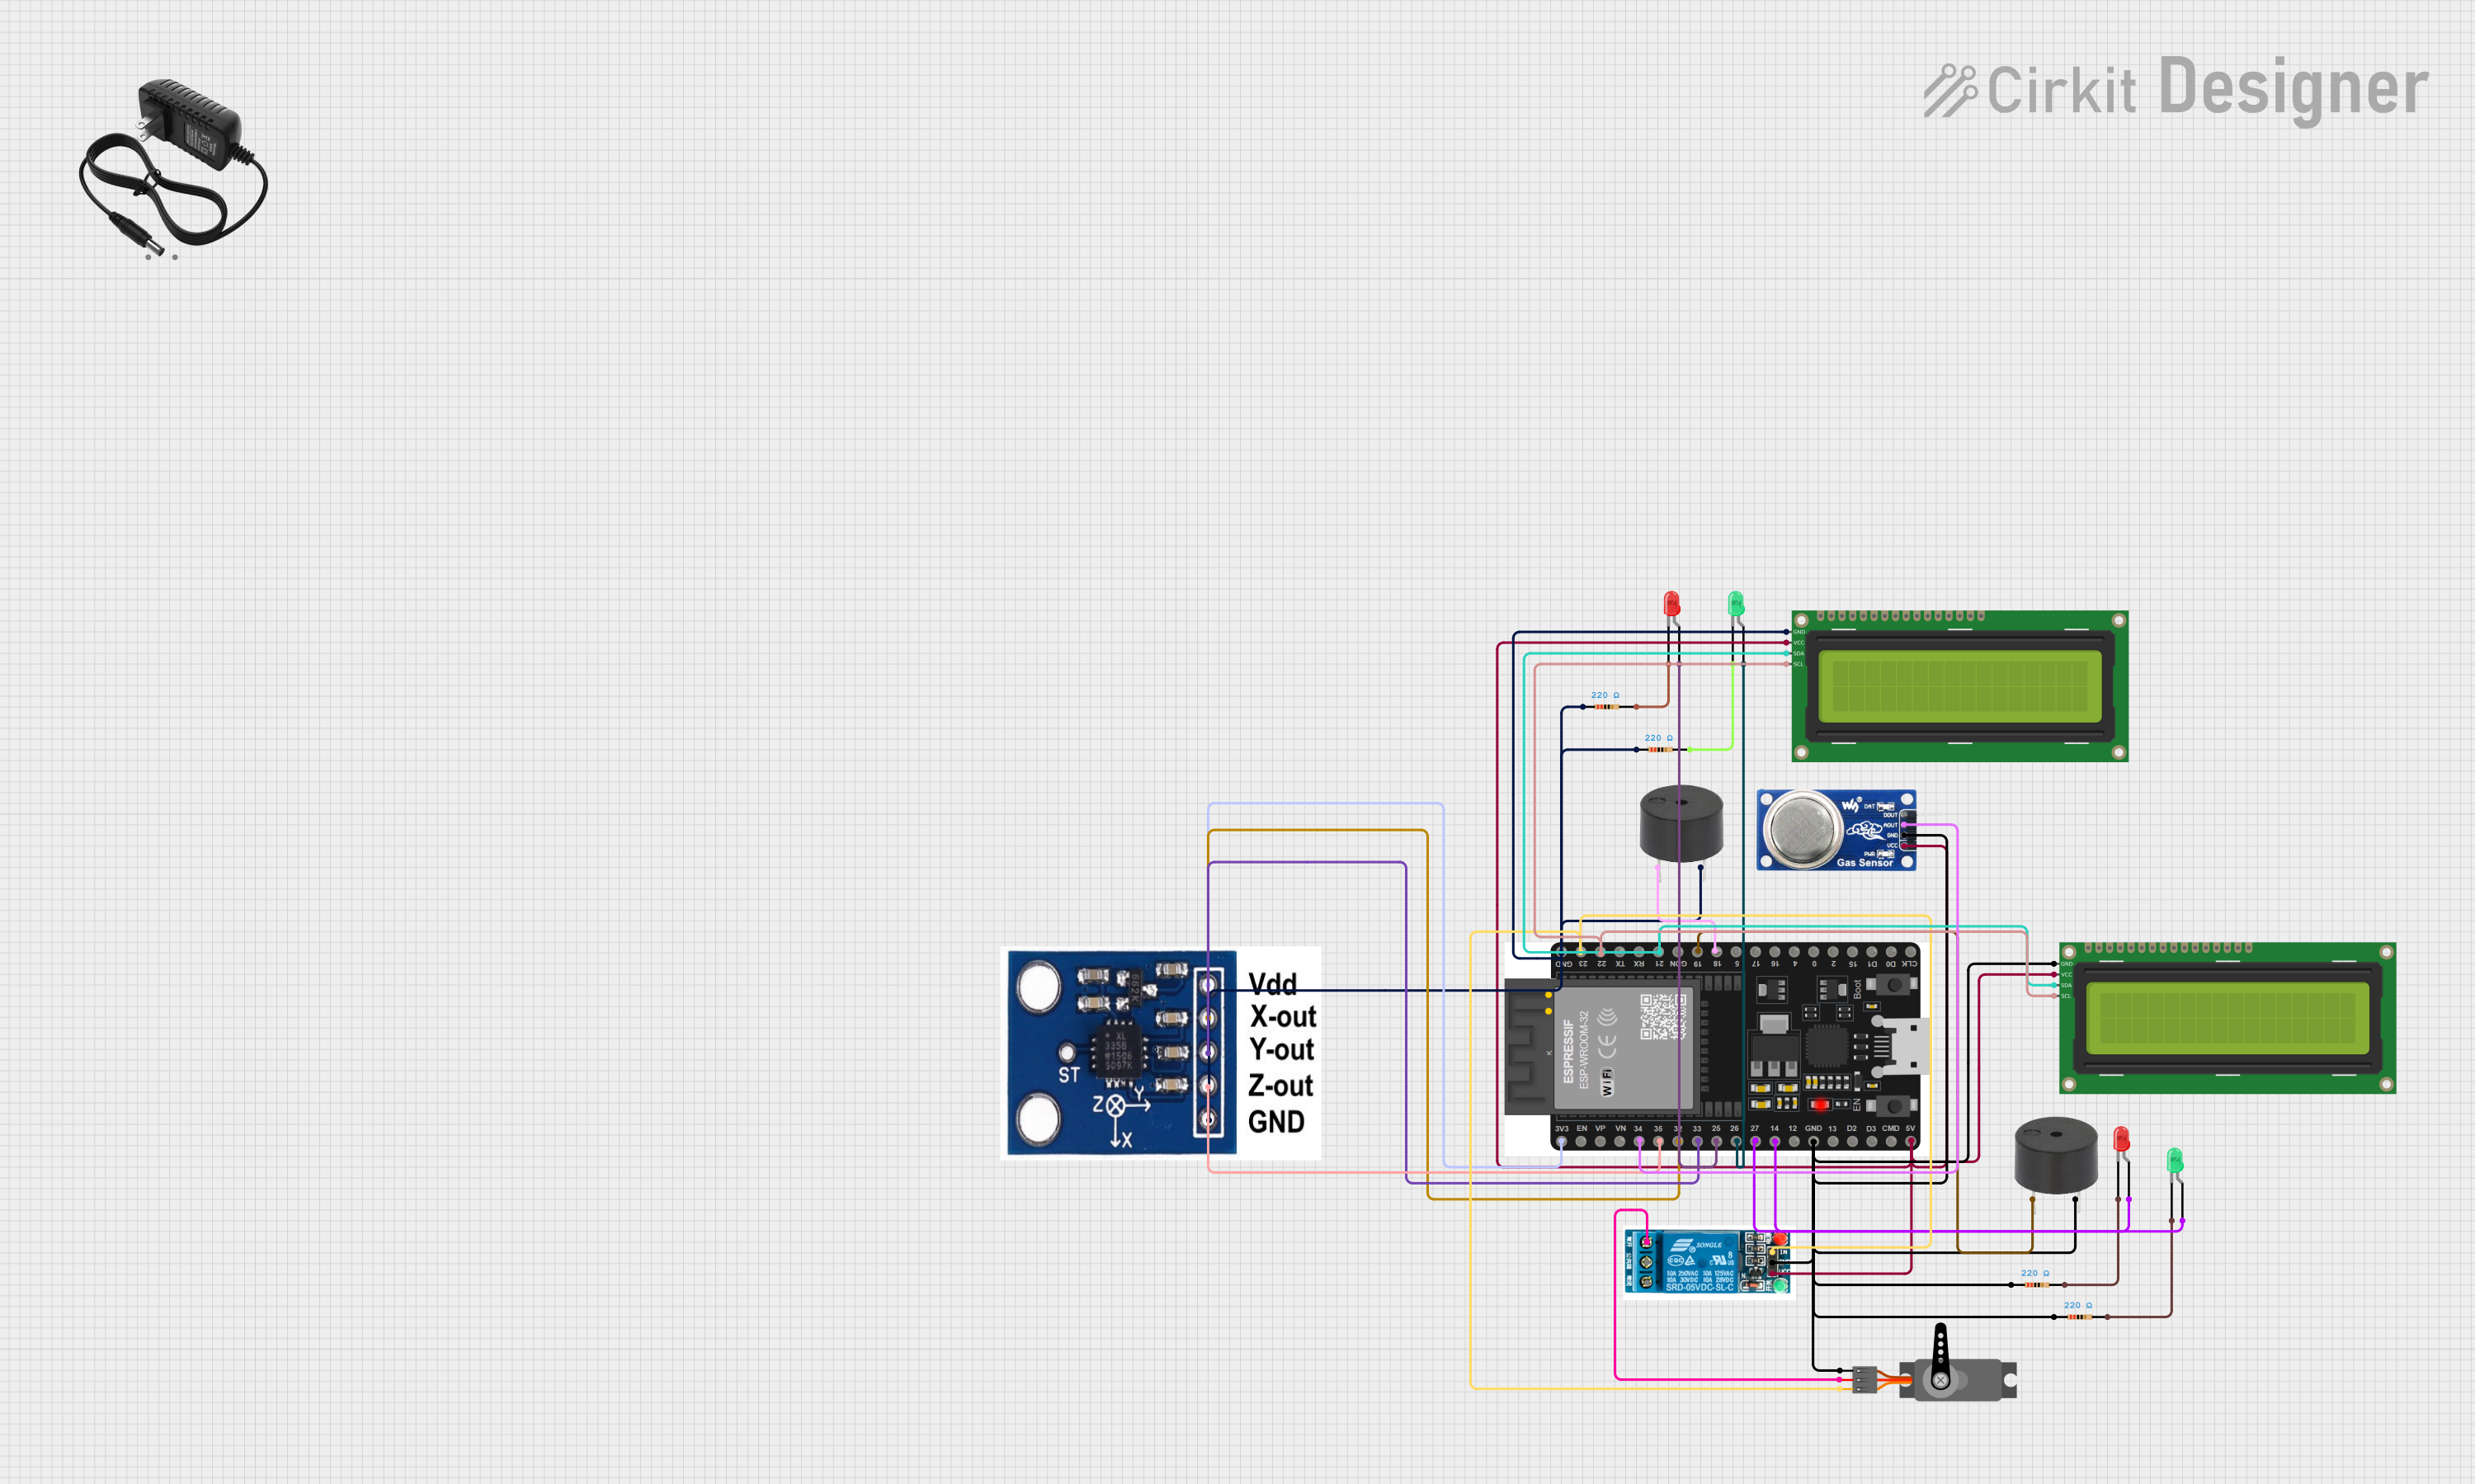

Explore Projects Built with Estardyn
Common Applications
- Energy storage in renewable energy systems (e.g., solar or wind power setups)
- Power conversion in industrial electronics
- Voltage regulation and stabilization
- Backup power systems
- High-efficiency power supplies
Technical Specifications
Below are the general technical specifications for the Estardyn component. Note that specific models may vary slightly in their ratings.
Key Specifications
- Operating Voltage Range: 3.3V to 48V
- Maximum Current: 10A
- Power Rating: Up to 480W
- Efficiency: ≥ 95% (typical)
- Operating Temperature: -40°C to 85°C
- Storage Temperature: -55°C to 125°C
- Form Factor: Compact, PCB-mountable
Pin Configuration and Descriptions
The Estardyn component typically features a 6-pin configuration. Below is the pinout description:
| Pin Number | Pin Name | Description |
|---|---|---|
| 1 | VIN | Input voltage (3.3V to 48V) |
| 2 | GND | Ground connection |
| 3 | VOUT | Regulated output voltage |
| 4 | EN | Enable pin (active high) |
| 5 | FB | Feedback pin for voltage regulation |
| 6 | NC | No connection (reserved for future use) |
Usage Instructions
How to Use the Estardyn in a Circuit
- Power Supply: Connect the input voltage (VIN) to a stable DC power source within the specified range (3.3V to 48V). Ensure the power source can supply sufficient current for your application.
- Ground Connection: Connect the GND pin to the ground of your circuit.
- Output Voltage: The VOUT pin provides the regulated output voltage. Connect this pin to the load or circuit requiring power.
- Enable Pin: To activate the Estardyn, apply a high signal (e.g., 3.3V or 5V) to the EN pin. If unused, tie this pin to VIN to keep the component enabled.
- Feedback Pin: Use the FB pin to fine-tune the output voltage. Connect it to a resistor divider network if precise voltage regulation is required.
- No Connection Pin: Leave the NC pin unconnected.
Important Considerations
- Heat Dissipation: For high-power applications, ensure proper heat dissipation using heatsinks or active cooling.
- Input Voltage: Avoid exceeding the maximum input voltage (48V) to prevent damage.
- Decoupling Capacitors: Place decoupling capacitors (e.g., 10µF and 0.1µF) near the VIN and VOUT pins to reduce noise and improve stability.
- PCB Layout: Minimize the length of high-current traces and use wide traces to reduce resistance and heat.
Example: Using Estardyn with an Arduino UNO
The following example demonstrates how to use the Estardyn to power an Arduino UNO with a regulated 5V output.
Circuit Connections
- Connect a 12V DC power source to the VIN pin of the Estardyn.
- Connect the GND pin of the Estardyn to the ground of the Arduino UNO.
- Connect the VOUT pin of the Estardyn to the 5V pin of the Arduino UNO.
- Tie the EN pin to VIN to enable the Estardyn.
Arduino Code Example
// Example code to demonstrate a simple Arduino setup powered by Estardyn
// This code blinks an LED connected to pin 13 of the Arduino UNO.

void setup() {
  pinMode(13, OUTPUT); // Set pin 13 as an output for the LED
}

void loop() {
  digitalWrite(13, HIGH); // Turn the LED on
  delay(1000);            // Wait for 1 second
  digitalWrite(13, LOW);  // Turn the LED off
  delay(1000);            // Wait for 1 second
}
Troubleshooting and FAQs
Common Issues and Solutions
No Output Voltage
- Cause: The EN pin is not connected or is set to a low state.
- Solution: Ensure the EN pin is tied to VIN or a high signal (e.g., 3.3V or 5V).
Overheating
- Cause: Excessive current draw or insufficient cooling.
- Solution: Check the load current and ensure it does not exceed 10A. Add a heatsink or active cooling if necessary.
Output Voltage Instability
- Cause: Insufficient decoupling or incorrect feedback configuration.
- Solution: Add decoupling capacitors near the VIN and VOUT pins. Verify the resistor divider network on the FB pin.
Component Damage
- Cause: Input voltage exceeds 48V or reverse polarity connection.
- Solution: Use a voltage regulator or protection circuit to ensure the input voltage stays within the specified range.
FAQs
Q1: Can the Estardyn be used with AC input?
A1: No, the Estardyn is designed for DC input only. Use a rectifier circuit to convert AC to DC before connecting to the VIN pin.
Q2: What is the typical efficiency of the Estardyn?
A2: The Estardyn typically operates with an efficiency of 95% or higher, depending on the load and input voltage.
Q3: Is the Estardyn suitable for battery charging applications?
A3: Yes, the Estardyn can be used for battery charging, provided the output voltage and current are configured appropriately for the battery type.
Q4: Can I leave the FB pin unconnected?
A4: No, the FB pin must be connected to a resistor divider network or directly to VOUT for proper voltage regulation.
By following this documentation, users can effectively integrate the Estardyn into their electronic projects and troubleshoot common issues with ease.