
How to Use SOCKET: Examples, Pinouts, and Specs

 Design with SOCKET in Cirkit Designer
Introduction
A socket is a device that provides a connection point for electrical components, enabling easy insertion and removal of devices such as plugs or connectors. Sockets are widely used in electronics to facilitate modularity, simplify maintenance, and ensure secure electrical connections. They are available in various types, including IC sockets, power sockets, and communication sockets, each designed for specific applications.
Explore Projects Built with SOCKET
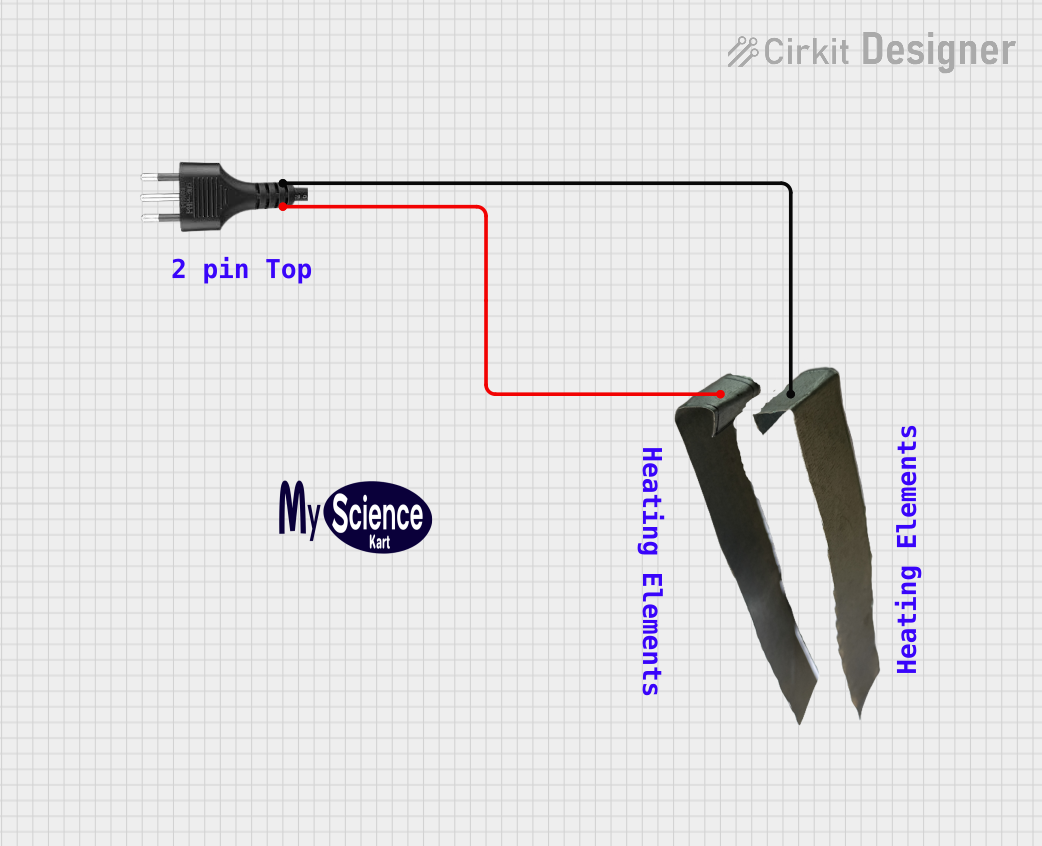 Open Project in Cirkit Designer
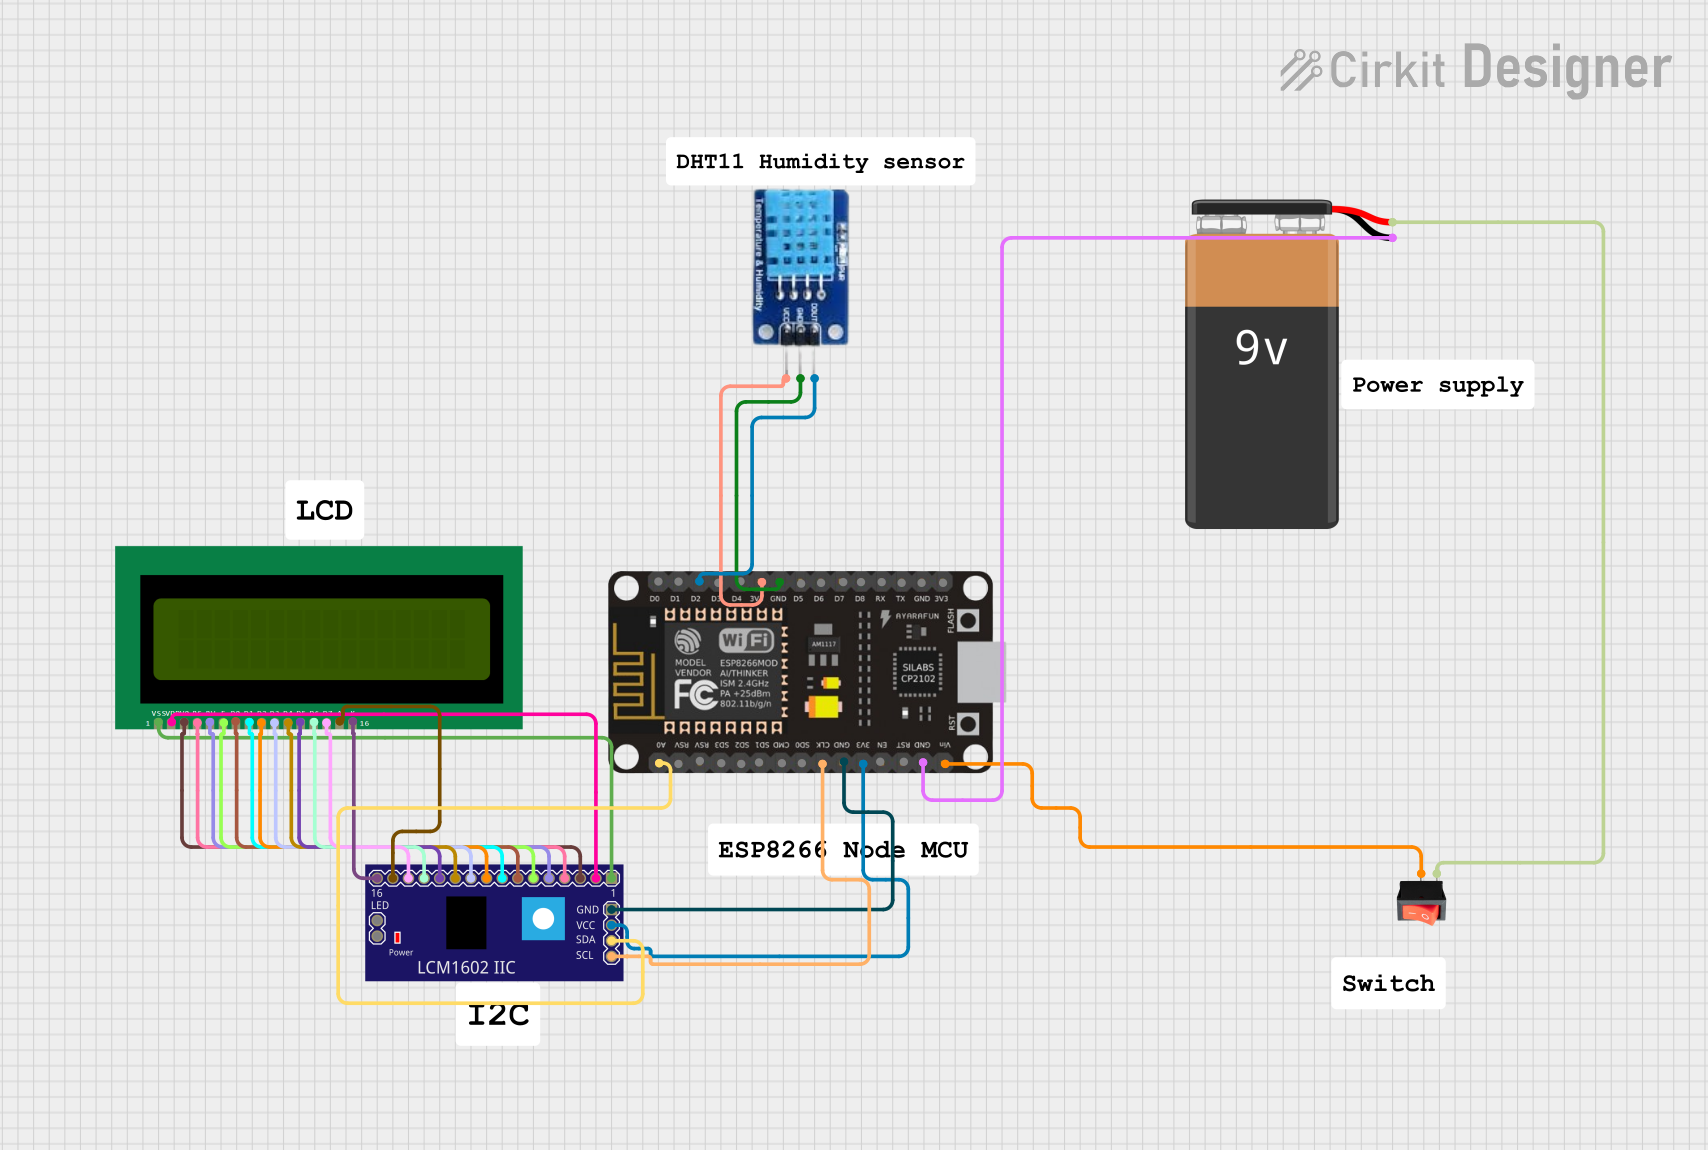 Open Project in Cirkit Designer
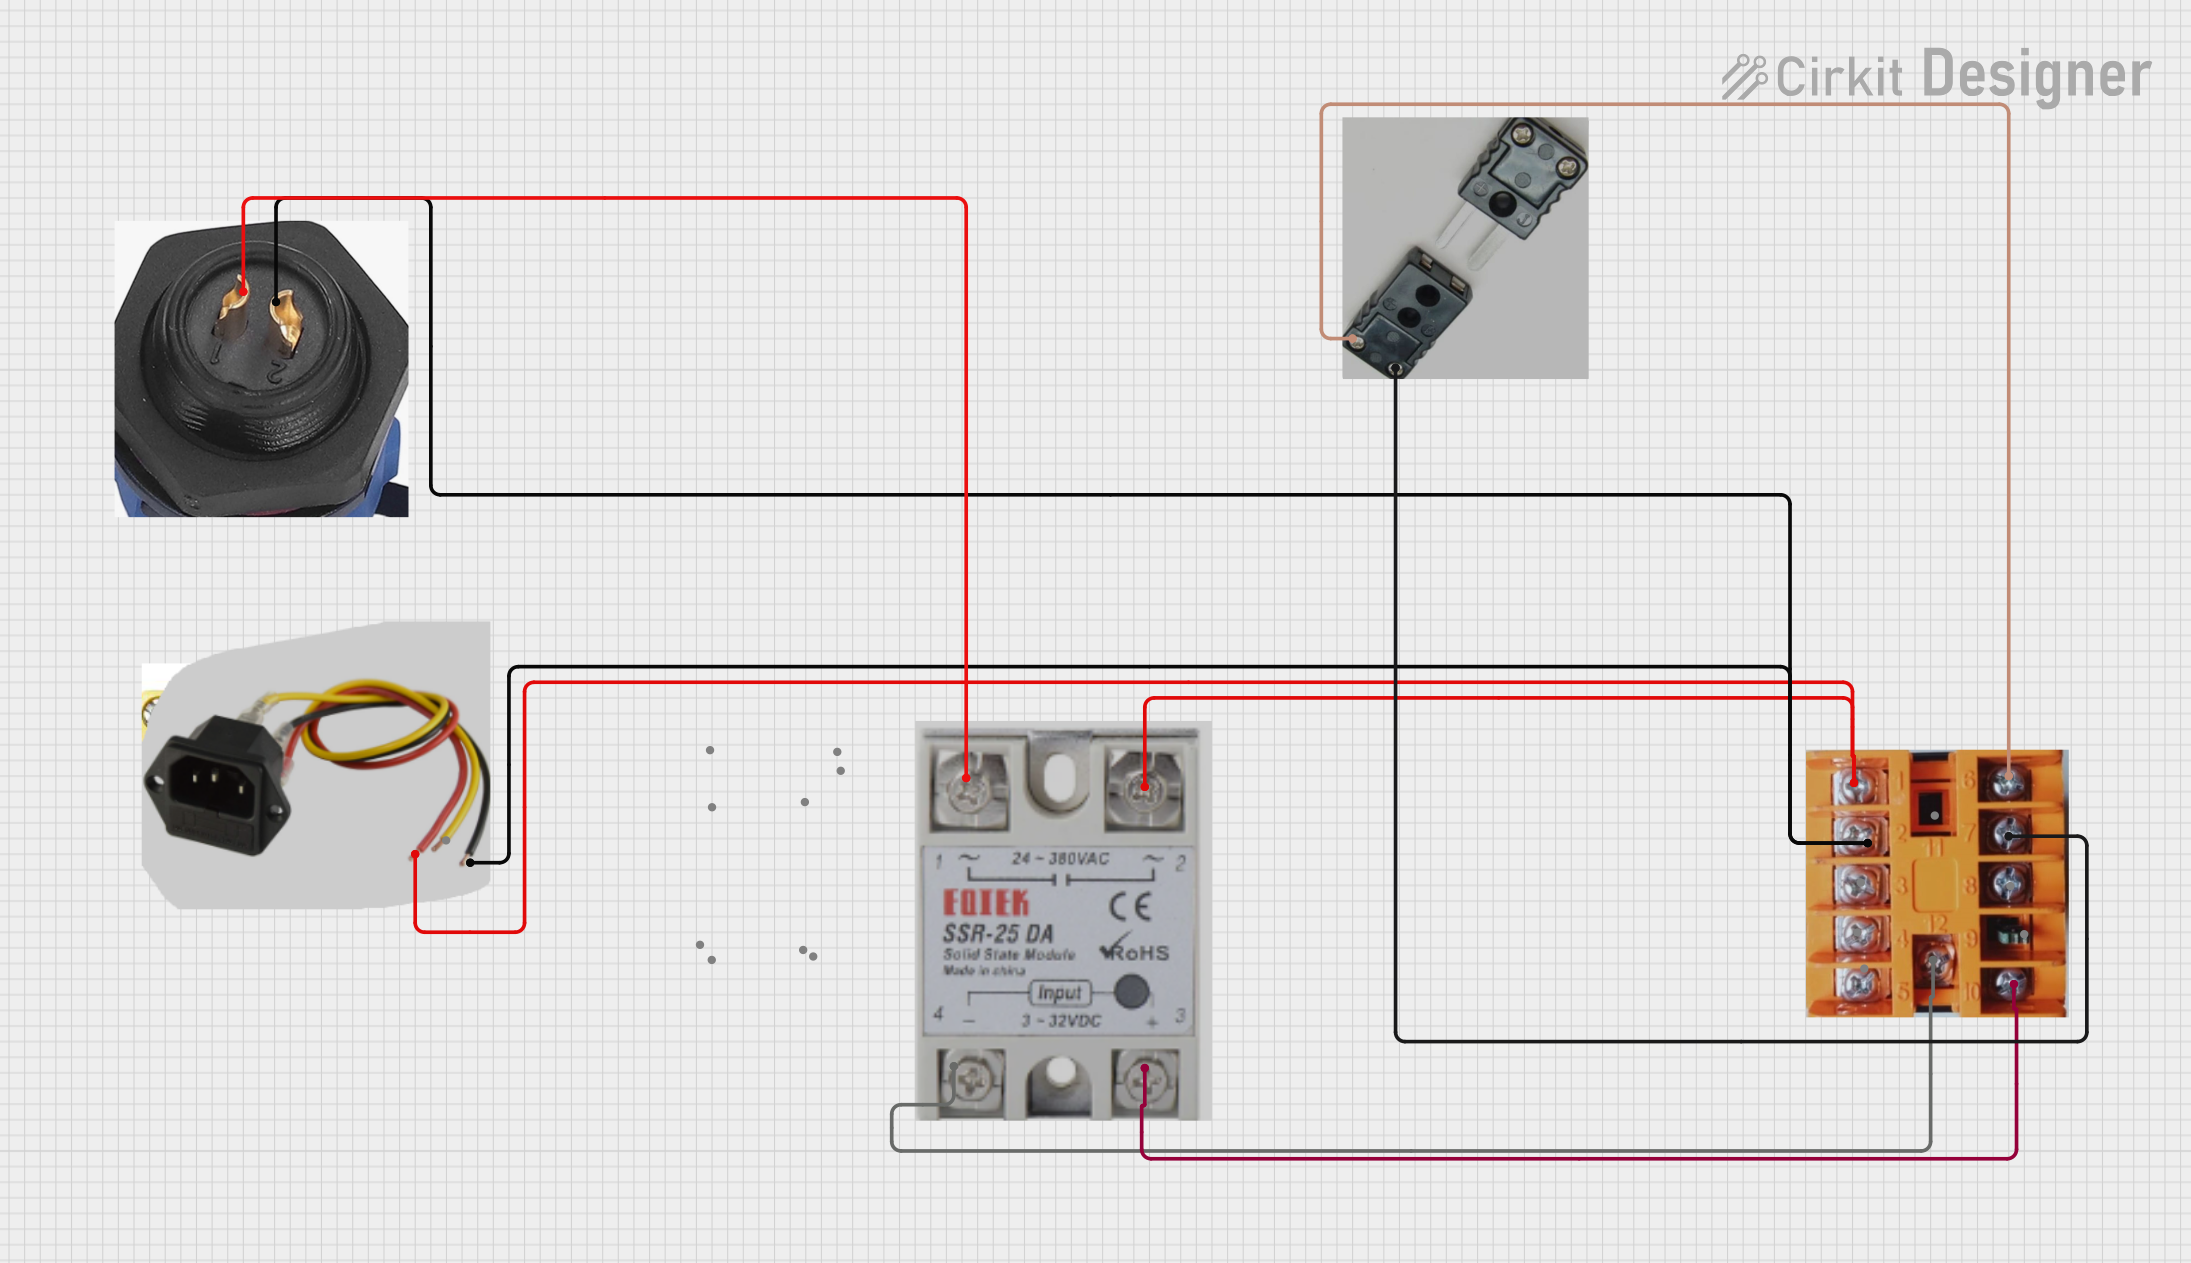 Open Project in Cirkit Designer
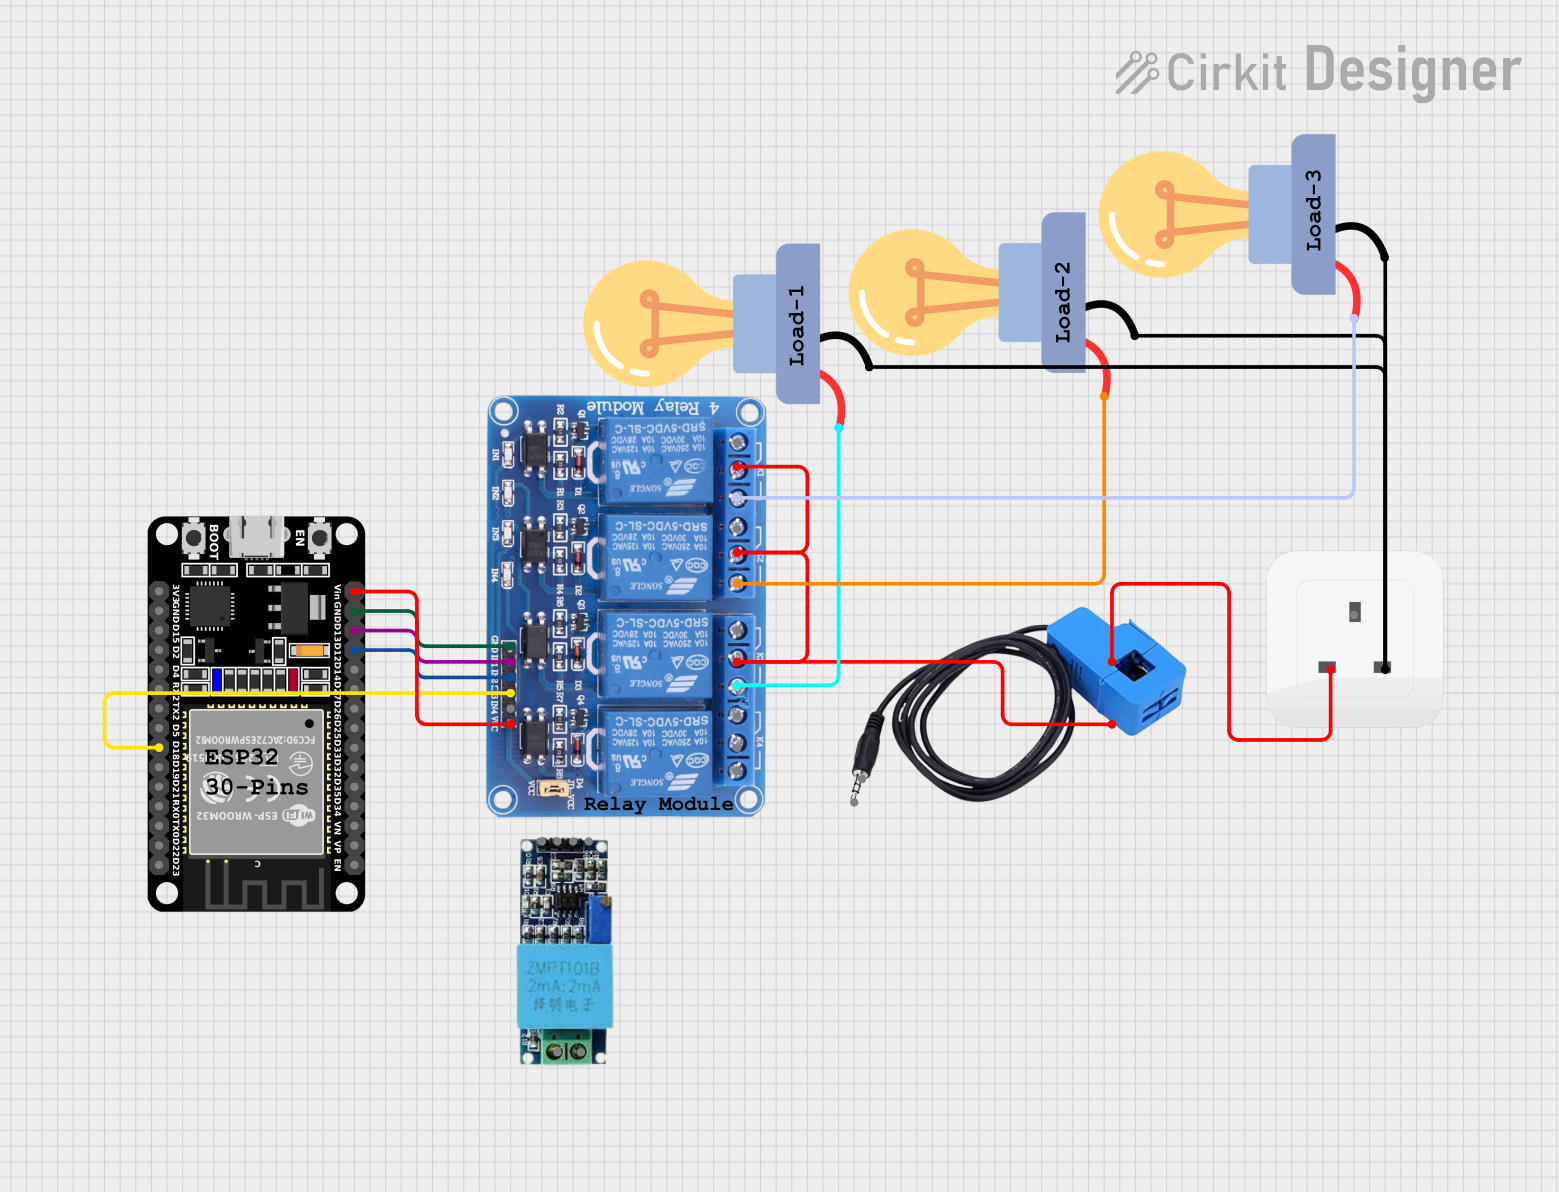 Open Project in Cirkit Designer
Explore Projects Built with SOCKET
Open Project in Cirkit DesignerOpen Project in Cirkit DesignerOpen Project in Cirkit DesignerOpen Project in Cirkit DesignerCommon Applications and Use Cases
- Integrated Circuit (IC) Sockets: Used to mount ICs on circuit boards without soldering, allowing for easy replacement or upgrades.
- Power Sockets: Provide a connection point for power plugs in electrical systems.
- Communication Sockets: Facilitate data transfer between devices, such as Ethernet or USB sockets.
- Prototyping: Used in breadboards and development boards for temporary connections.
Technical Specifications
Sockets come in a variety of designs and specifications depending on their intended use. Below are general technical details for common socket types:
General Specifications
| Parameter | Value/Range |
|---|---|
| Voltage Rating | 5V to 250V (varies by type) |
| Current Rating | 0.5A to 15A (varies by type) |
| Material | Plastic (insulator), metal (pins) |
| Operating Temperature | -40°C to 85°C |
| Lifespan (Insertions) | 1,000 to 10,000 cycles |
Pin Configuration and Descriptions
Example: 8-Pin IC Socket
| Pin Number | Description |
|---|---|
| 1 | IC pin 1 connection |
| 2 | IC pin 2 connection |
| 3 | IC pin 3 connection |
| 4 | IC pin 4 connection |
| 5 | IC pin 5 connection |
| 6 | IC pin 6 connection |
| 7 | IC pin 7 connection |
| 8 | IC pin 8 connection |
Example: Power Socket (2-Pin)
| Pin Number | Description |
|---|---|
| 1 | Live (L) terminal |
| 2 | Neutral (N) terminal |
Usage Instructions
How to Use a Socket in a Circuit
- Select the Appropriate Socket: Choose a socket that matches the specifications of the component or device you intend to connect (e.g., IC socket for ICs, power socket for plugs).
- Mount the Socket:
- For IC sockets, solder the socket onto the PCB, ensuring proper alignment with the circuit layout.
- For power or communication sockets, secure the socket to the enclosure or PCB as required.
- Insert the Component or Plug: Gently insert the component (e.g., IC, plug, or connector) into the socket, ensuring proper orientation.
- Test the Connection: Verify that the connection is secure and functional by powering the circuit or testing the signal flow.
Important Considerations and Best Practices
- Avoid Overcurrent: Ensure the socket's current rating matches or exceeds the connected device's requirements.
- Proper Orientation: Always check the orientation of the component or plug before insertion to avoid damage.
- Secure Mounting: For power sockets, ensure they are firmly mounted to prevent accidental disconnections.
- Clean Contacts: Keep socket contacts clean and free of debris to maintain reliable connections.
- Use with Arduino UNO: When using sockets for prototyping with an Arduino UNO, ensure proper pin alignment and secure connections.
Example: Using an IC Socket with Arduino UNO
// Example: Blinking an LED connected via an IC socket
// Ensure the IC socket is securely soldered to the PCB or breadboard.

int ledPin = 13; // Pin connected to the LED via the IC socket

void setup() {
  pinMode(ledPin, OUTPUT); // Set the LED pin as an output
}

void loop() {
  digitalWrite(ledPin, HIGH); // Turn the LED on
  delay(1000);               // Wait for 1 second
  digitalWrite(ledPin, LOW);  // Turn the LED off
  delay(1000);               // Wait for 1 second
}
Troubleshooting and FAQs
Common Issues and Solutions
Loose Connections:
- Issue: The component or plug feels loose in the socket.
- Solution: Check for bent or damaged pins. Replace the socket if necessary.
Intermittent Connections:
- Issue: The circuit works intermittently.
- Solution: Clean the socket contacts with isopropyl alcohol and ensure proper insertion.
Overheating:
- Issue: The socket becomes hot during operation.
- Solution: Verify that the current and voltage ratings of the socket are not being exceeded.
Component Damage:
- Issue: The connected component is damaged after insertion.
- Solution: Ensure correct orientation and compatibility before inserting the component.
FAQs
Q: Can I reuse a socket after removing a component?
- A: Yes, sockets are designed for multiple insertions and removals. However, ensure the contacts are not damaged.
Q: How do I choose the right socket for my application?
- A: Consider the voltage, current, and pin configuration requirements of your component or device.
Q: Can sockets be used in high-frequency circuits?
- A: Yes, but ensure the socket is designed for high-frequency applications to minimize signal loss.
Q: Are sockets compatible with breadboards?
- A: Yes, many sockets, such as IC sockets, are compatible with breadboards for prototyping purposes.