
How to Use BUZZER_PIXHAWK: Examples, Pinouts, and Specs
 Design with BUZZER_PIXHAWK in Cirkit Designer
Introduction
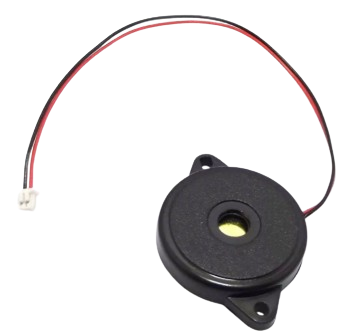
The BUZZER_PIXHAWK is an audio output device specifically designed for use with the Pixhawk flight controller. It provides audible alerts and notifications to inform users of various flight states, warnings, and errors. This component is essential for enhancing situational awareness during drone operations, ensuring that critical information is conveyed effectively.
Explore Projects Built with BUZZER_PIXHAWK
 Open Project in Cirkit Designer
 Open Project in Cirkit Designer
 Open Project in Cirkit Designer
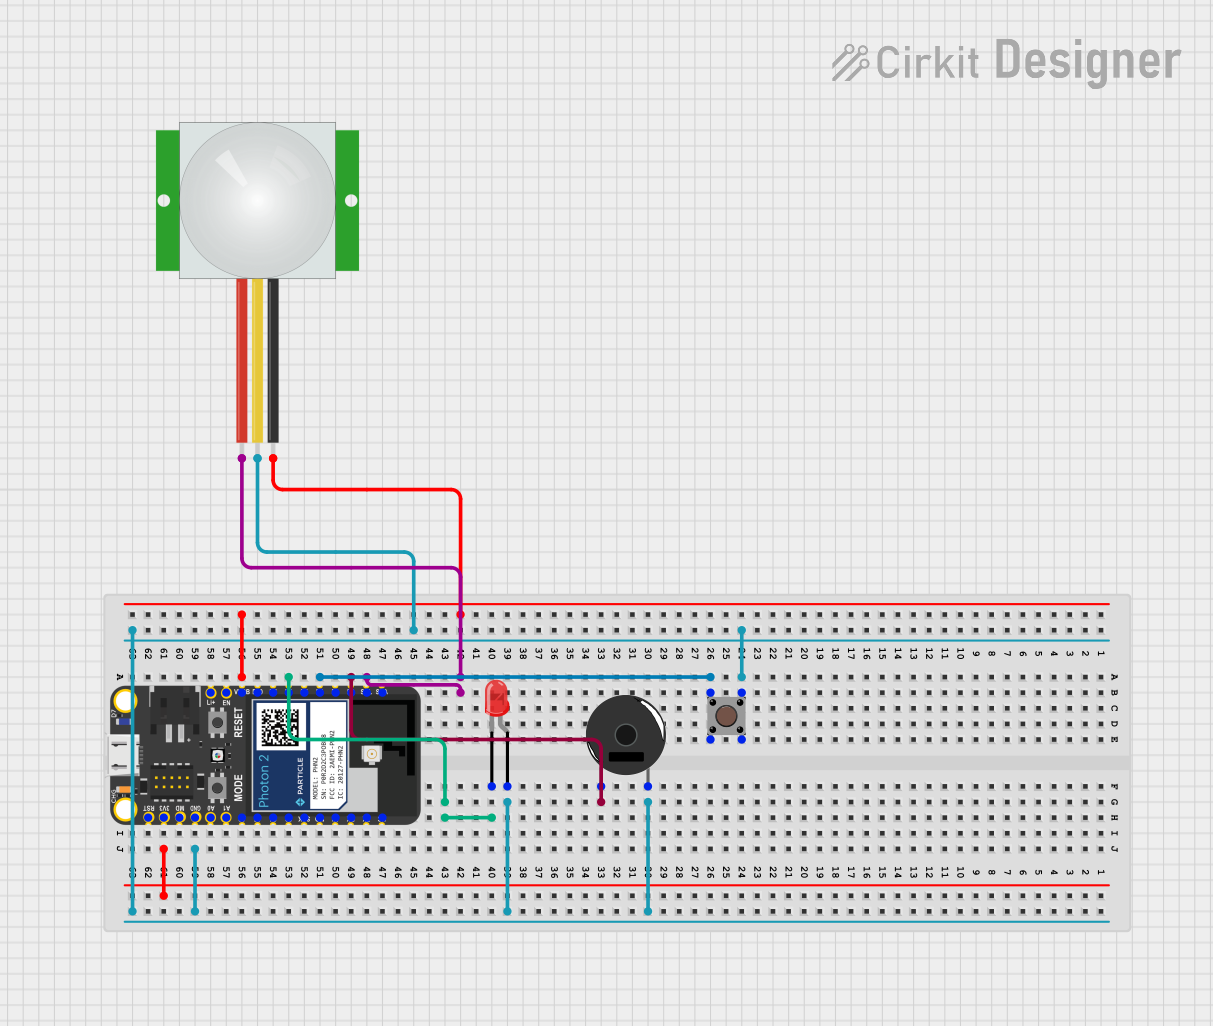 Open Project in Cirkit Designer
Explore Projects Built with BUZZER_PIXHAWK
Open Project in Cirkit DesignerOpen Project in Cirkit DesignerOpen Project in Cirkit DesignerOpen Project in Cirkit DesignerCommon Applications and Use Cases
- Drone Flight Operations: Provides audio feedback for pre-flight checks, arming status, and error alerts.
- Safety Notifications: Alerts users to critical issues such as low battery, GPS signal loss, or system malfunctions.
- Custom Audio Signals: Can be programmed to emit specific tones for user-defined events.
Technical Specifications
The BUZZER_PIXHAWK is a compact and lightweight component optimized for integration with the Pixhawk ecosystem. Below are its key technical details:
Key Specifications
| Parameter | Value |
|---|---|
| Operating Voltage | 3.3V to 5V |
| Current Consumption | ~30mA |
| Sound Pressure Level | 85 dB @ 10 cm |
| Frequency Range | 2 kHz to 4 kHz |
| Dimensions | 20mm x 20mm x 10mm |
| Weight | 5 grams |
| Connector Type | 3-pin JST-GH |
Pin Configuration
The BUZZER_PIXHAWK uses a 3-pin JST-GH connector for interfacing with the Pixhawk flight controller. The pinout is as follows:
| Pin Number | Pin Name | Description |
|---|---|---|
| 1 | VCC | Power supply (3.3V to 5V) |
| 2 | GND | Ground |
| 3 | Signal | Control signal for tone generation |
Usage Instructions
Connecting the BUZZER_PIXHAWK
- Locate the Buzzer Port: Identify the dedicated buzzer port on the Pixhawk flight controller, typically labeled as "BUZZER" or "BUZ".
- Connect the Buzzer: Plug the 3-pin JST-GH connector of the BUZZER_PIXHAWK into the corresponding port on the Pixhawk. Ensure proper orientation of the connector.
- Power On the System: Once connected, power on the Pixhawk. The buzzer will emit a startup tone to indicate successful initialization.
Important Considerations
- Voltage Compatibility: Ensure the Pixhawk's output voltage matches the buzzer's operating range (3.3V to 5V).
- Mounting: Secure the buzzer in a location where the sound is unobstructed but protected from environmental factors like water or dust.
- Signal Control: The Pixhawk firmware automatically controls the buzzer to emit predefined tones for various events. Custom tones can be programmed via the Pixhawk's configuration software.
Example Code for Arduino UNO
Although the BUZZER_PIXHAWK is primarily designed for Pixhawk, it can also be used with an Arduino UNO for custom applications. Below is an example code snippet to generate a simple tone:
// Define the pin connected to the buzzer signal
const int buzzerPin = 9;

void setup() {
  // Set the buzzer pin as an output
  pinMode(buzzerPin, OUTPUT);
}

void loop() {
  // Generate a 2 kHz tone for 500 milliseconds
  tone(buzzerPin, 2000, 500);
  delay(1000); // Wait for 1 second before the next tone

  // Generate a 4 kHz tone for 300 milliseconds
  tone(buzzerPin, 4000, 300);
  delay(1000); // Wait for 1 second before the next tone
}
Notes:
- Use a resistor in series with the buzzer if required to limit current.
- The
tone()function is part of the Arduino core library and does not require additional libraries.
Troubleshooting and FAQs
Common Issues
No Sound from the Buzzer
- Cause: Incorrect connection or insufficient power supply.
- Solution: Verify the orientation of the JST-GH connector and ensure the Pixhawk is supplying the correct voltage.
Distorted or Weak Sound
- Cause: Obstruction near the buzzer or low voltage.
- Solution: Ensure the buzzer is mounted in an open area and check the power supply voltage.
Buzzer Emits Continuous Tone
- Cause: Firmware issue or incorrect signal from the Pixhawk.
- Solution: Update the Pixhawk firmware and verify the configuration settings.
FAQs
Q: Can I use the BUZZER_PIXHAWK with other flight controllers?
A: While it is optimized for Pixhawk, it can be used with other controllers that support a 3.3V to 5V signal and have a compatible buzzer port.
Q: How do I customize the buzzer tones?
A: Custom tones can be configured through the Pixhawk's mission planning software (e.g., QGroundControl or Mission Planner) by modifying the parameter settings.
Q: Is the buzzer waterproof?
A: No, the BUZZER_PIXHAWK is not waterproof. It should be mounted in a protected location to avoid exposure to water or excessive moisture.